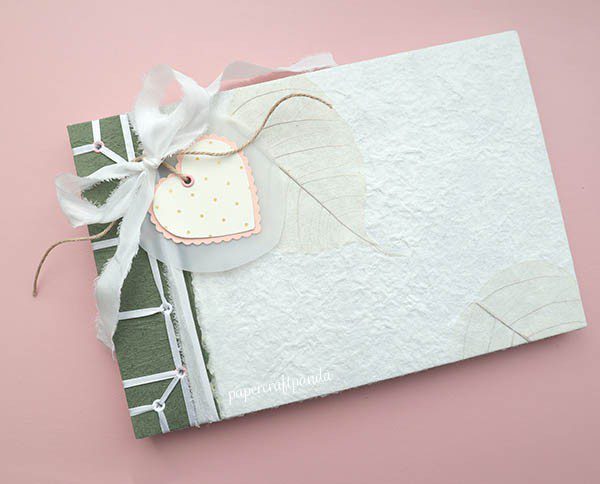
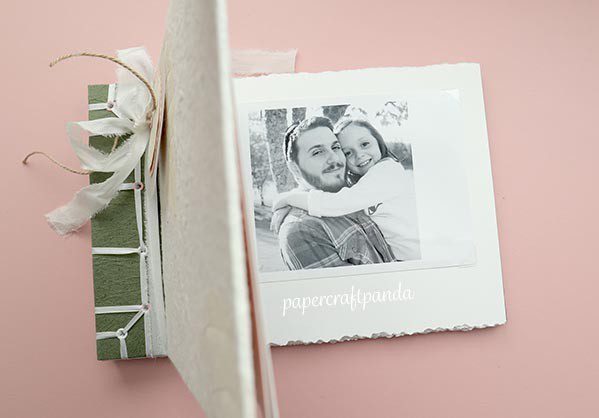
During a closet reorganization project a few weeks ago, I came across a bin of my favorite family photos. Unfortunately, one of the photos had a discoloration mark I took this as a sign: get those photos into an album, woman! In today’s tutorial, I’ll show you how to create a soft, romantic photo album for your own pictures.
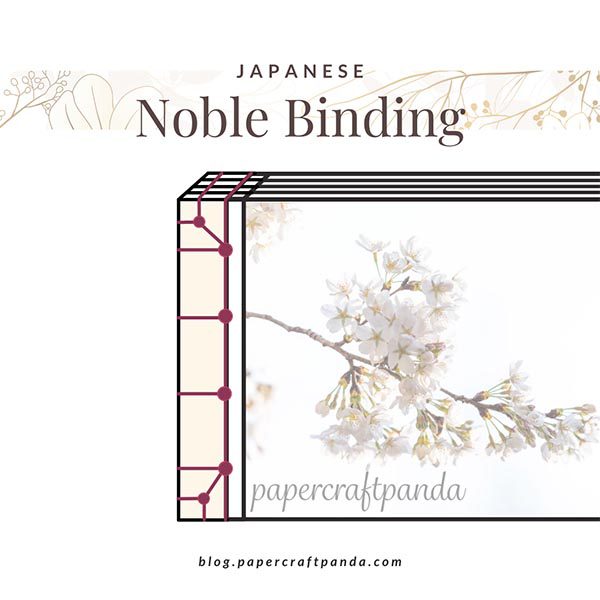
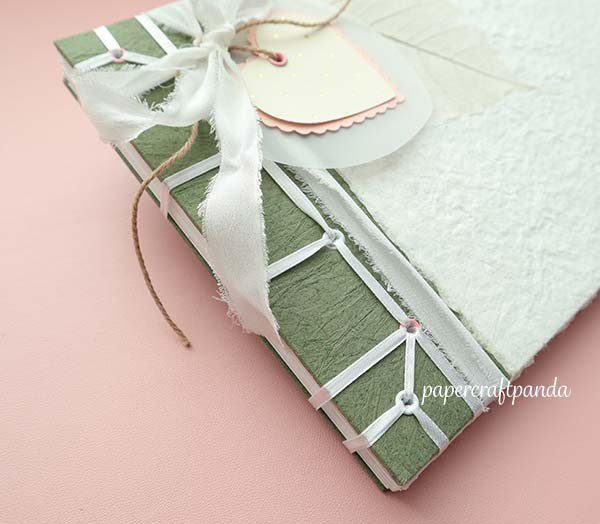
This landscape album is 9″x6″ and intended to hold 4×6 prints. It’s bound using the Japanese Stab Binding method, which is perfect for a book of this shape and size. To add structure and a romantic touch, the spine is sewn with the Noble binding pattern using 1/8″ white satin ribbon. I’ll share more about the materials I chose (and why) below along with a few extra tips to help you customize this for your own needs.
Bookbinding Tutorial: Soft, Romantic Photo Album
Measurements: 9″w x 6″h
Cost Level: $$
Skill Level: Intermediate
Total Time: 180 minutes + drying time
Quick Menu:
- Choosing materials
- Part 1: Prepare the paper
- Part 2: Create the front & back covers
- Part 3: Sew the book using a Noble binding pattern
- Part 4: Decorate the finished album
- Jump to Video Tutorial
Choosing materials for a romantic look & feel
When I think of romance, I imagine the following:
- a white cotton dress
- warm, breezy sunshine
- flower-filled meadows
To bring this image to life, I chose out materials to represent each point.
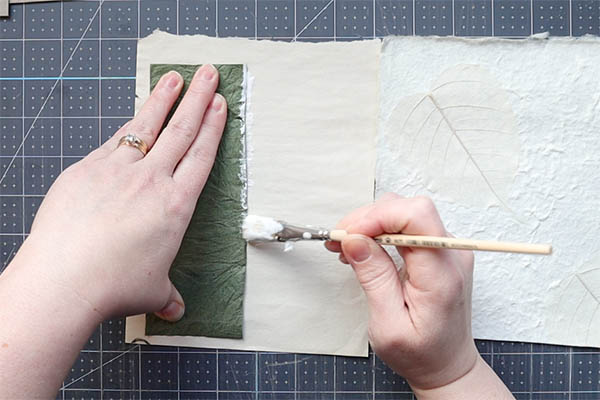
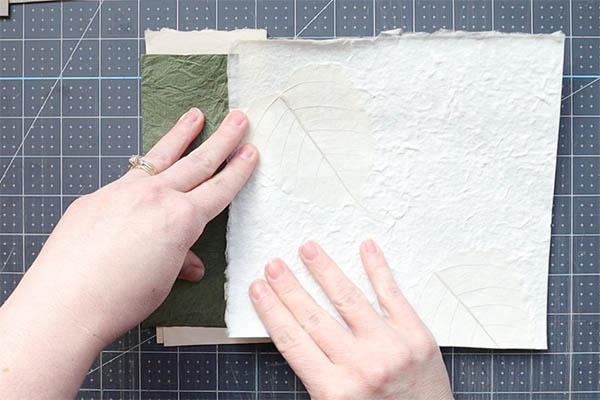
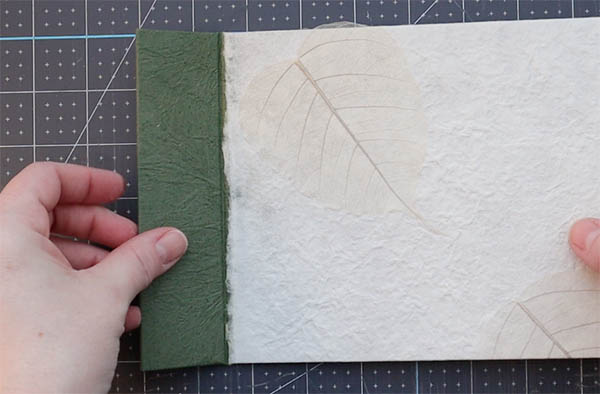
Bodhi Leaf Paper
This 130gsm handmade paper has a white Kozo base, making it soft yet strong and flexible. It features the Bodhi Leaf (“bodhi” translates to “awakening” or “enlightenment” in Western language), which is heart shaped and translucent. These features remind me of cotton dresses and floral meadows.
Green Leather Paper
This 90gsm paper is leather-soft and crinkly. It reminds me of floral leaves and stems grown in the warm sunshine. It’s very easy to work with, which was a bonus I hadn’t expected.
Satin ribbon & enamel eyelets
Instead of waxed thread, I picked out 1/8″ satin ribbon. To avoid any snags, I paired the ribbon with 3mm enamel coated eyelets in pink and white.
I’ve linked these papers below under Resources. Now, let’s get into the tutorial!
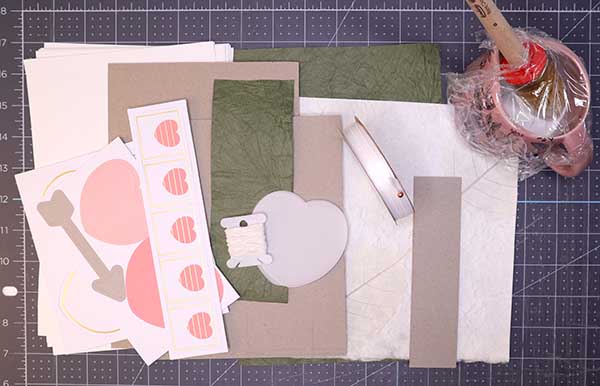
Soft, Romantic Photo Album Materials:
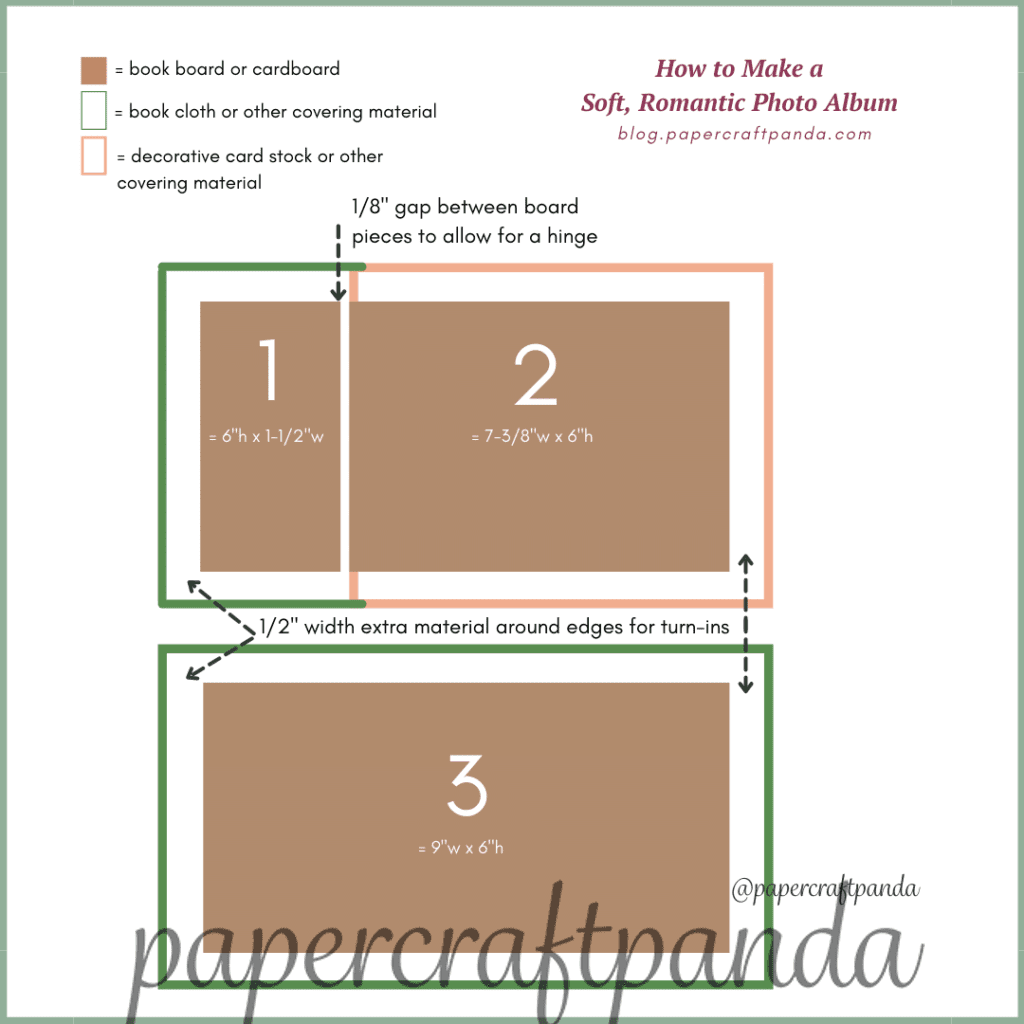
- 1 sheet of covering material for the front and back covers cut into two pieces, (A) 2-3/8″w x 7″h, (B) 10″wx7″h
- One piece cover material for the front board, 7-7/8″w x 7″h
- 2 sheets of decorative card stock or fine paper, each cut to 8-3/4″w x 5-3/4″h
- 3 pieces of book board, (A) 1-1/2″w x 6″h, (B) 7-3/8″ x 6″h, (C) 9″w x 6″h
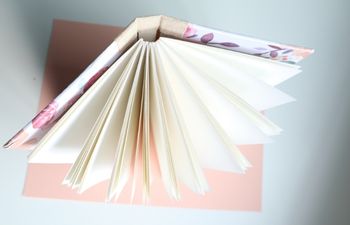
- 22-25 sheets 190gsm paper, cut to 8-7/8″w x 6″h
- 22 to 25 pieces of 190gsm paper, cut to 1-1/2″w x 6″h
- 48″ satin ribbon, 1/8″ wide
- PVA or Elmer’s glue and double sided tape
- Ribbon, stickers, twine, etc. to decorate
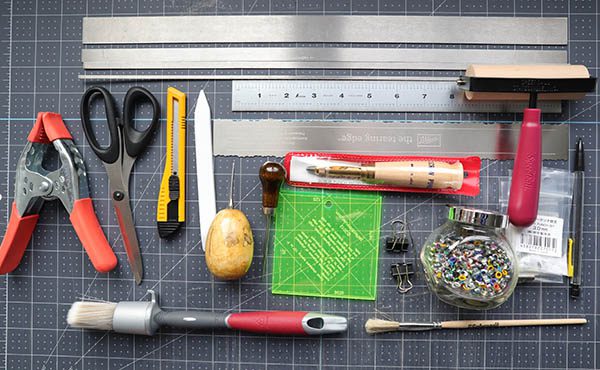
- Bone folder
- Olfa knife
- Japanese Screw Punch with 3mm tip or 1/8″ hole punch
- Heavy duty awl
- 6″ light duty tapered awl
- Scissors
- 12” ruler
- 1 large & 1 small paste brushes (or glue sticks)
- clamps or two 3/4″ binder clips
- pencil
- several sheets of waste paper
- Optional: Corner jig, steel spacers, self-backing eyelets, crop-a-dile, paper tear bar
Starting at the “end”
Here is an illustration of how each of the materials listed above will come together to create the album in this tutorial.
Part I: Preparing the paper
A note about binding photo albums:
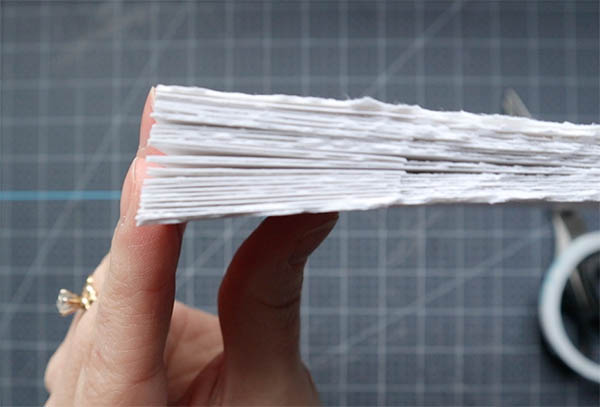
Photo albums will expand as memorabilia is added, which places strain on the spine. To avoid this, we need to include “spacers” between each sheet to allow for this to happen. Without spacers, the book would expand and damage the spine over time. Spacers are often created from individual sheets, but this tutorial will show you how to add them manually.
Steps:
Cut paper, apply spacers & score a line on each sheet
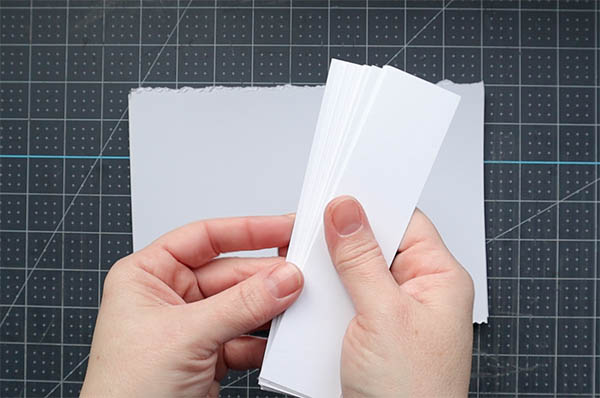
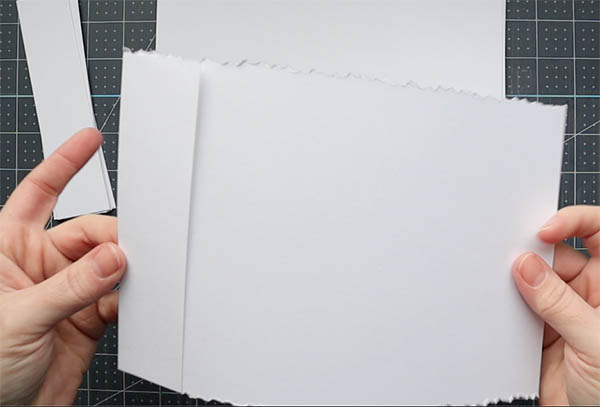
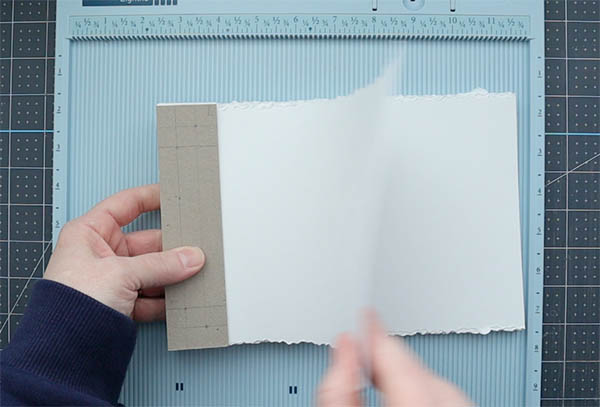
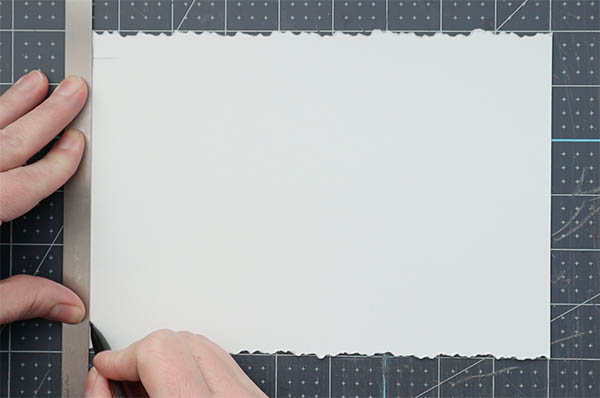
- Cut (and deckle, optional) each sheet of paper. For my book, I chose 24 sheets of 98lb (160gsm) Canson MiTientes drawing paper. I deckled the edges using a tear bar.
- Apply a spacer to 23 sheets of paper using double-sided tape. Leave 1 sheet for use as a template.
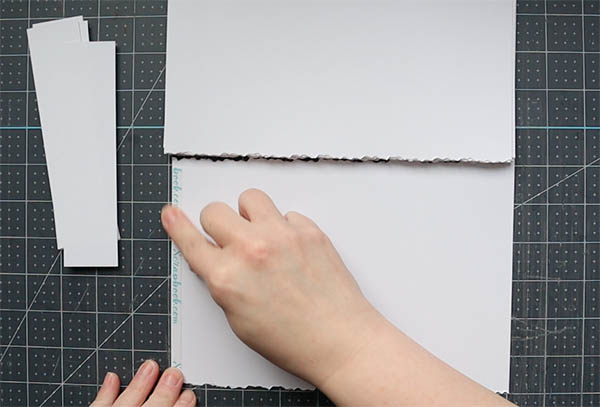
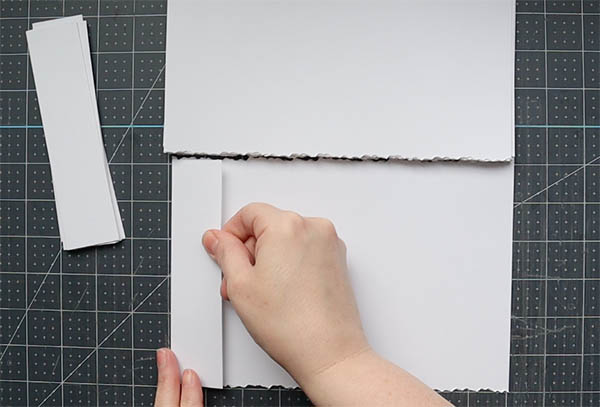
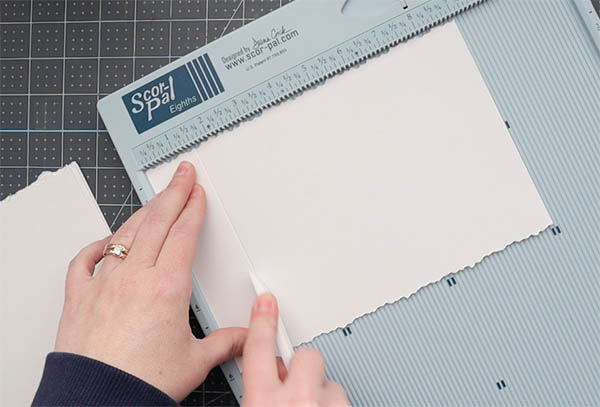
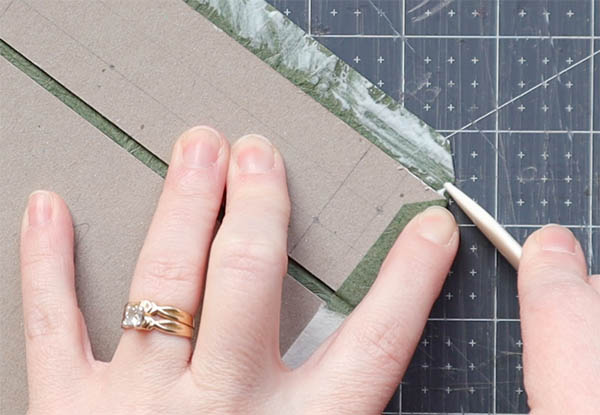
- Score a line on each sheet 1-1/2″ in from the left edge (directly after the spacer). This line will make it easier for each page to bend from right to left.
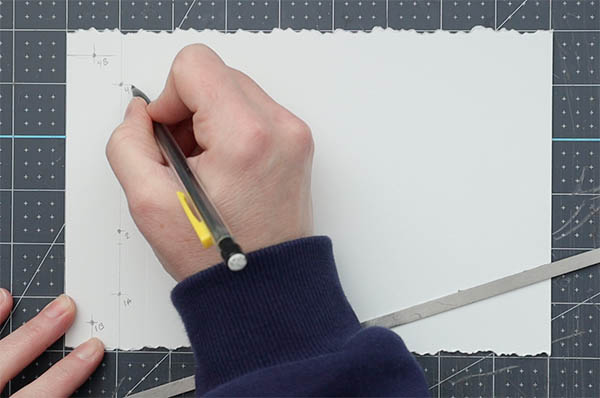
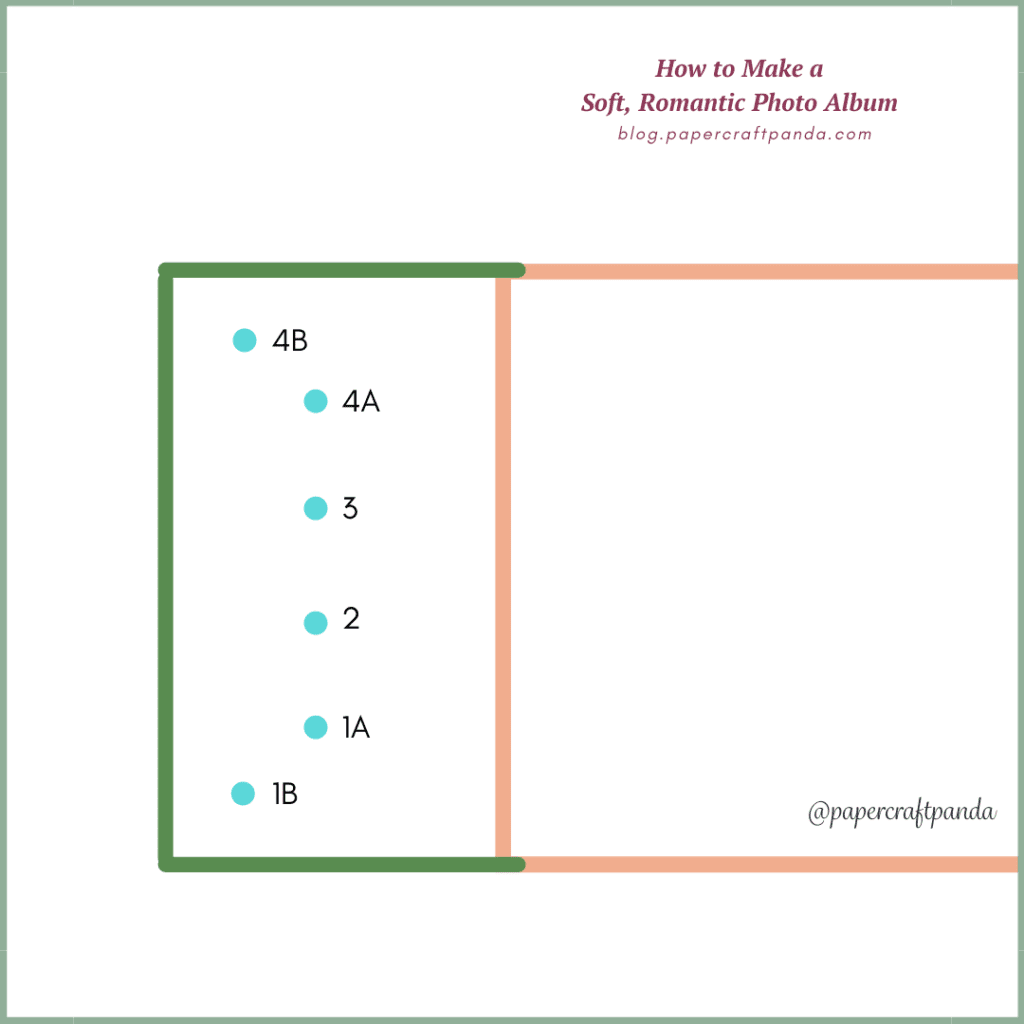
Create a sewing station template for the Noble binding pattern
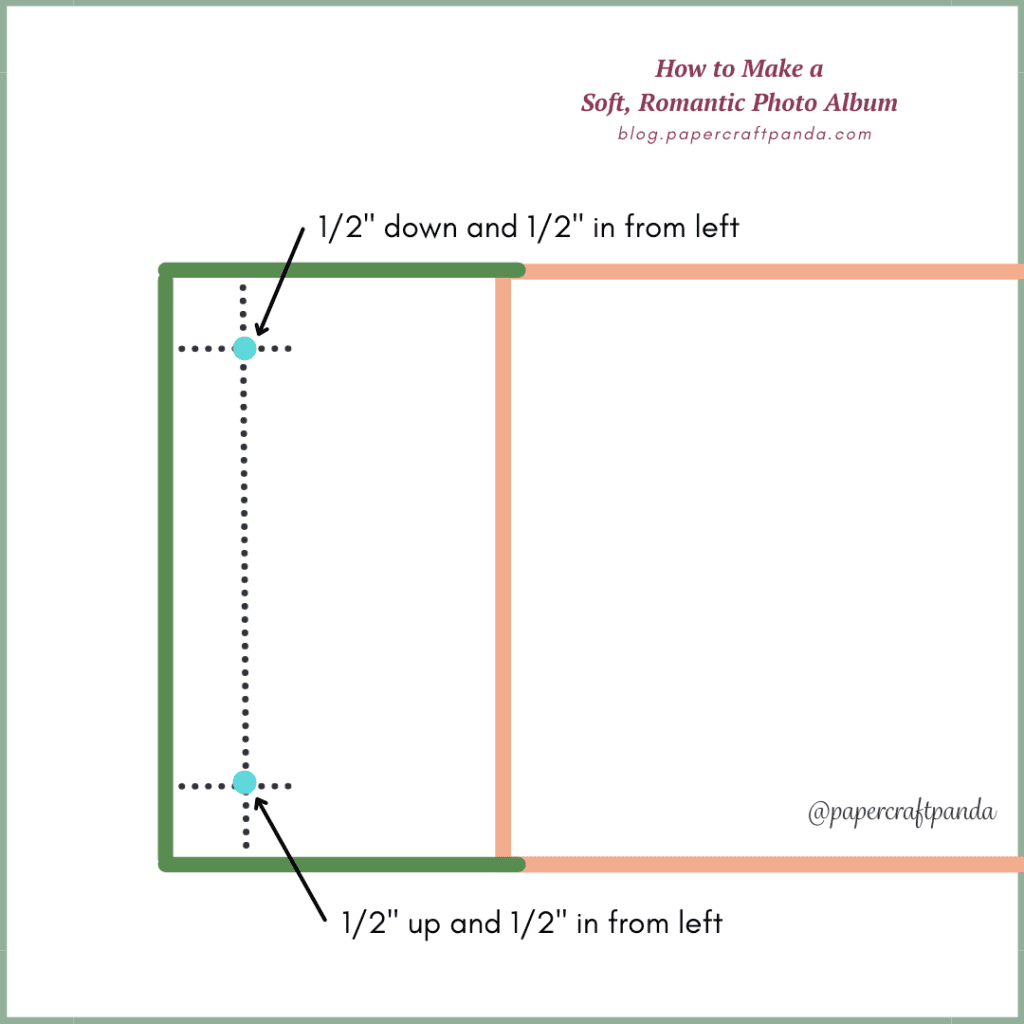
- Place a mark in each of these locations on the reserved sheet:
- 1B: 1/2″ up from tail, 1/2″ in from spine
- 1A: 1″ up from tail, 1″ in from spine
- 2: 2-1/4″ up from tail, 1″ in from spine
- 3: 2-1/4″ down from head, 1″ in from spine
- 4A: 1″ down from head, 1″ in from spine
- 4B: 1/2″ down from head, 1/2″ in from spine
- Pierce each of the newly marked stations with either a Japanese screw punch or regular hole punch
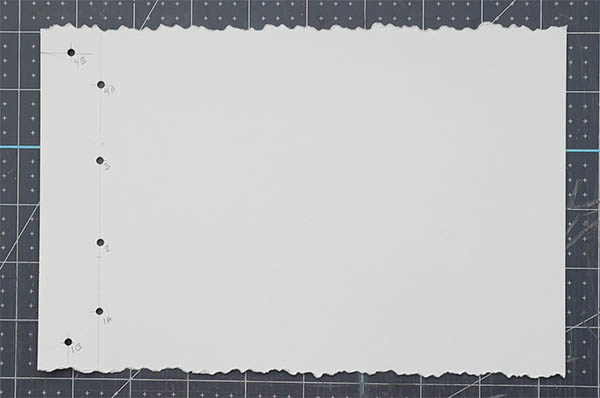
Here are two diagrams I’ve created to show you the position of my sewing stations.

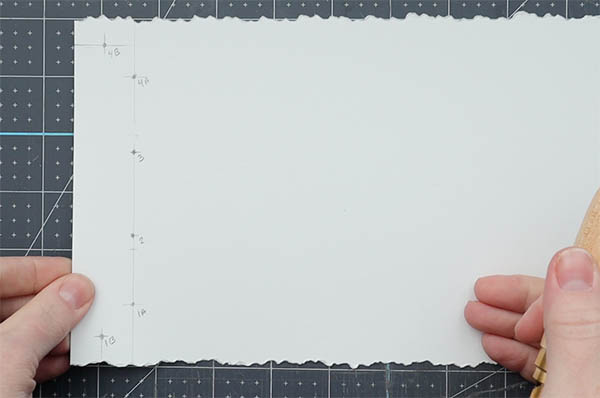
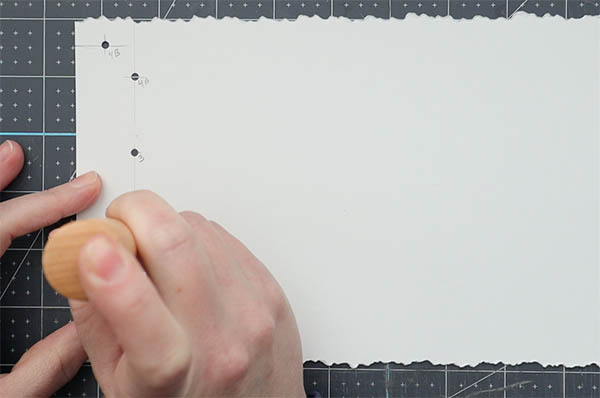
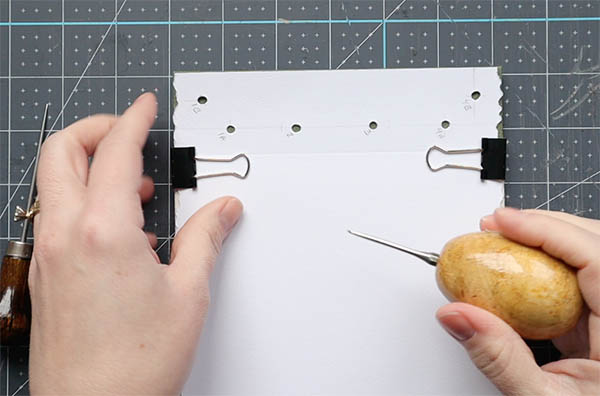
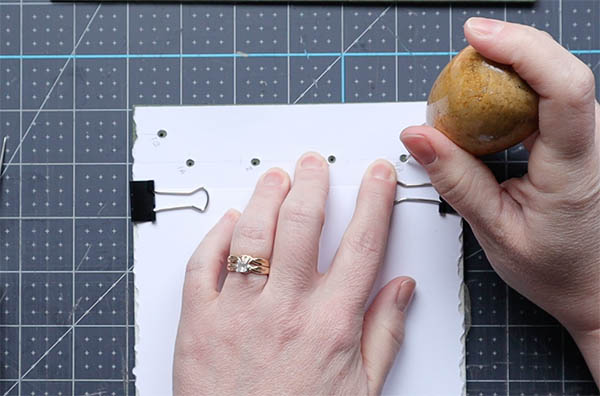
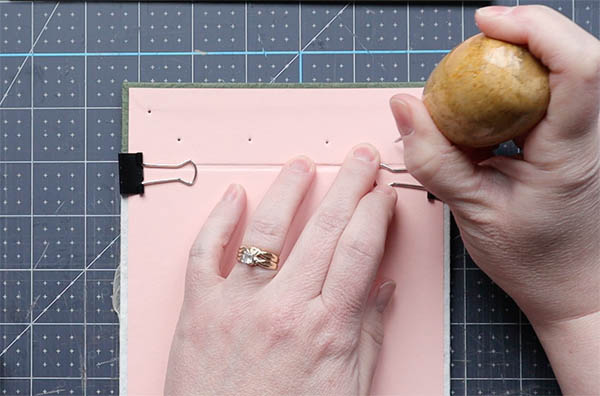
Transfer the sewing station locations to the paper using the new template
- Stack the paper so the spine edge is flush
- Lay the template on top of the stack and clamp it in place using binder clips
- Pierce each sewing station with a Japanese screw punch or regular hole punch. Thicker paper might require you to pierce 3-5 sheets at a time.
Part II
Steps to create the front & back overs:
Back cover
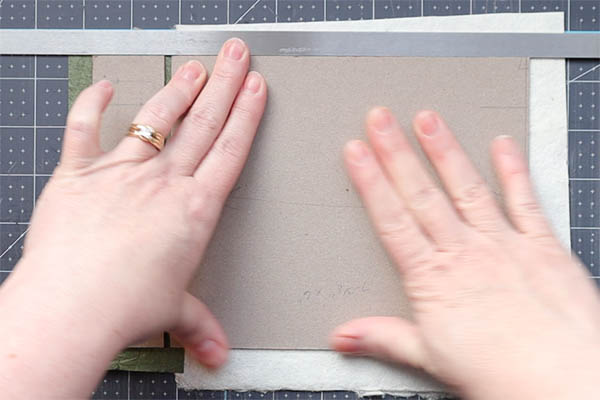
You’ll need the piece of covering material (B) sized 10″x7″ as well as one full piece of book board sized 9″x6″.
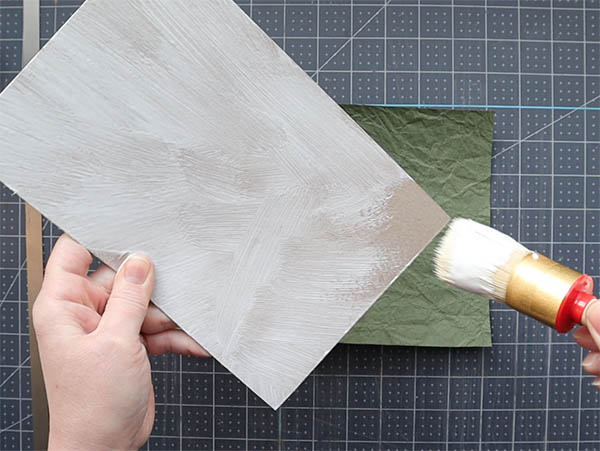
- Lay the covering material face down on the work surface.
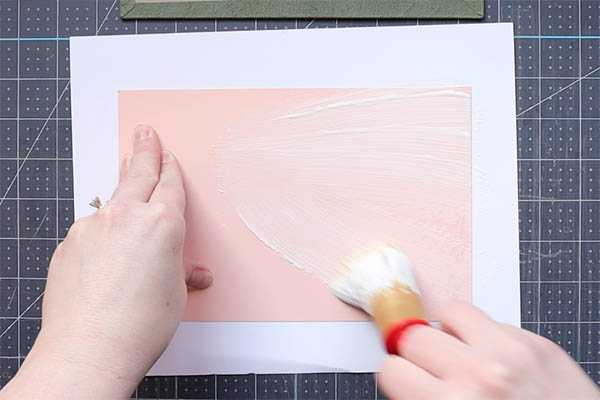
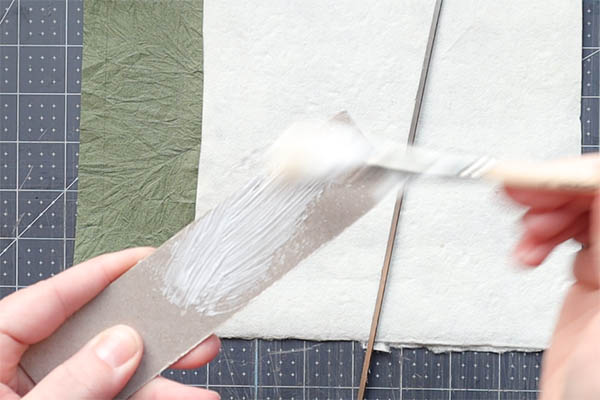
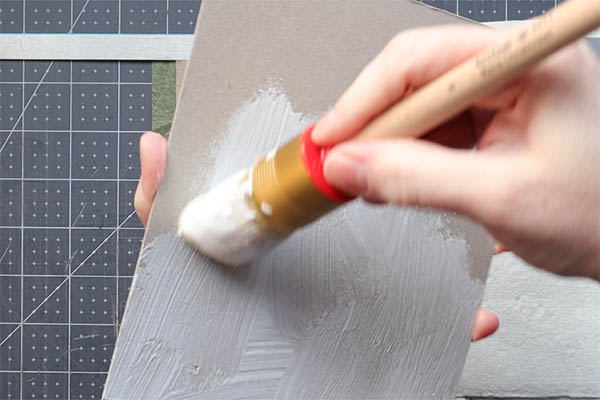
- Apply a layer of PVA to the back of the book board using a large paste brush.
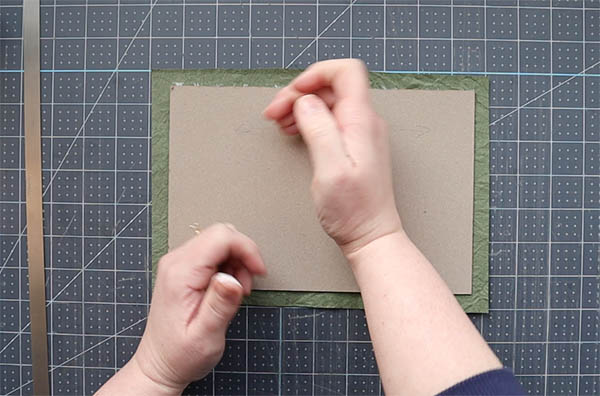
- Lay the board glue-side down on the covering material, roughly centered. There should be about 1/2″ edge around the entire board.
- Press with a bone folder to remove air bubbles.
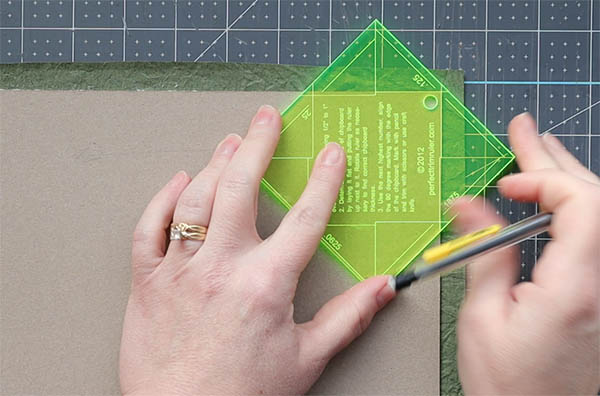
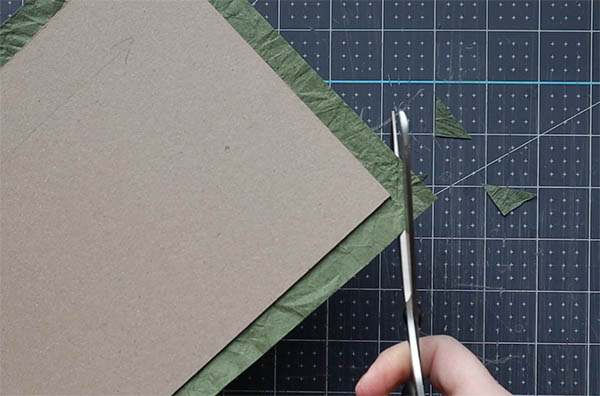
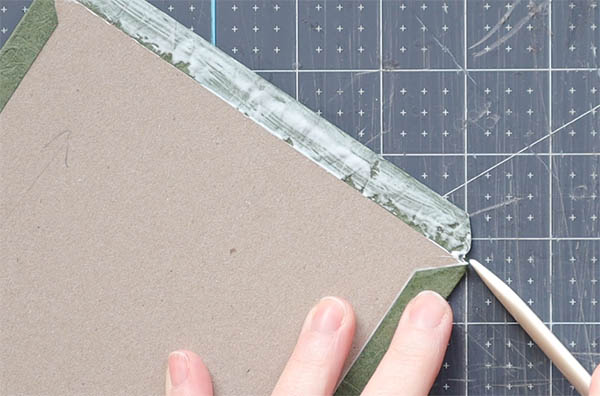
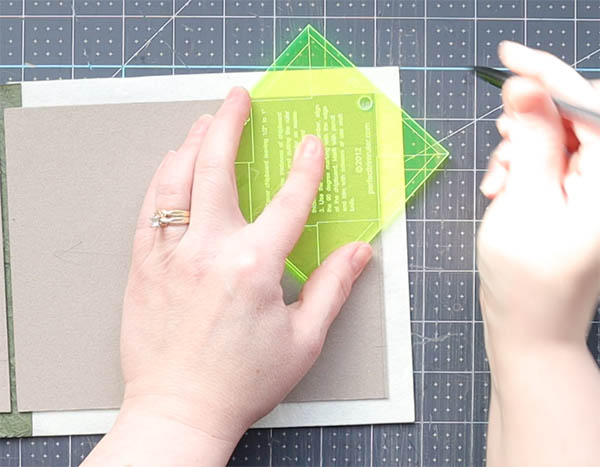
- Mark and cut the four corners. If you need help with this, I have technical videos in my Casebinding tutorial that can help.
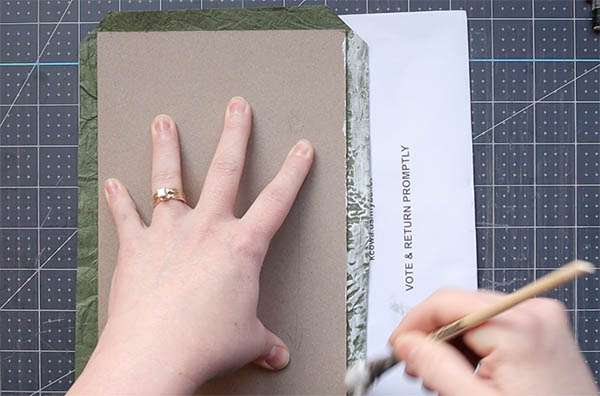
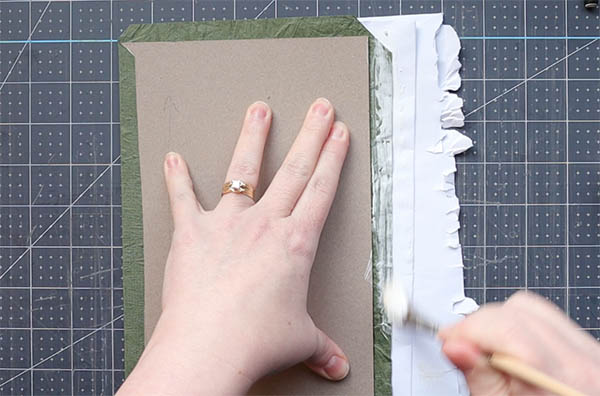
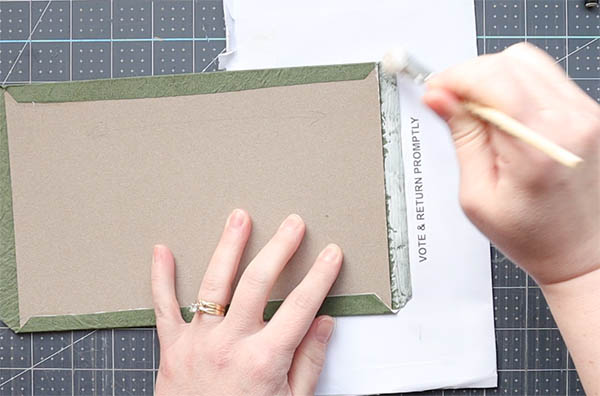
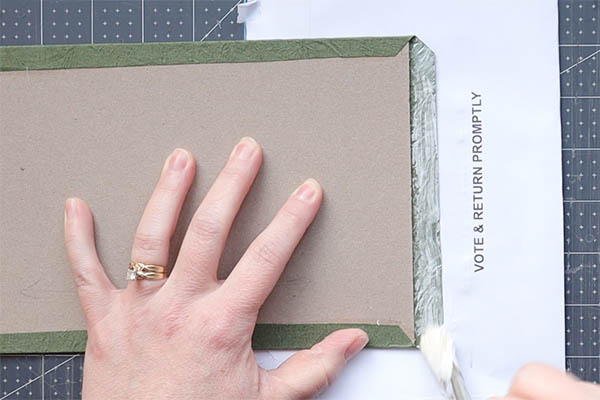
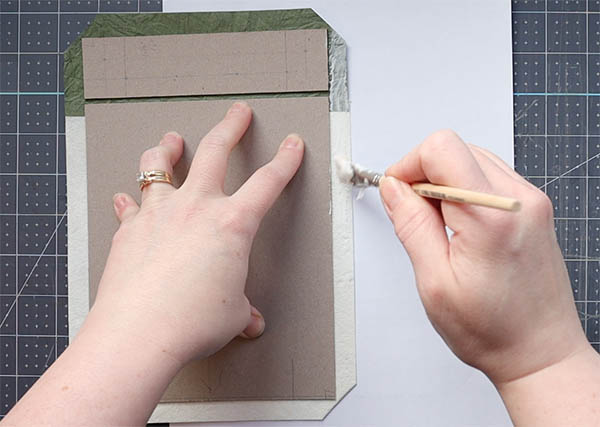
- Glue the top and bottom flaps first, using care to smooth each flap with a bone folder.
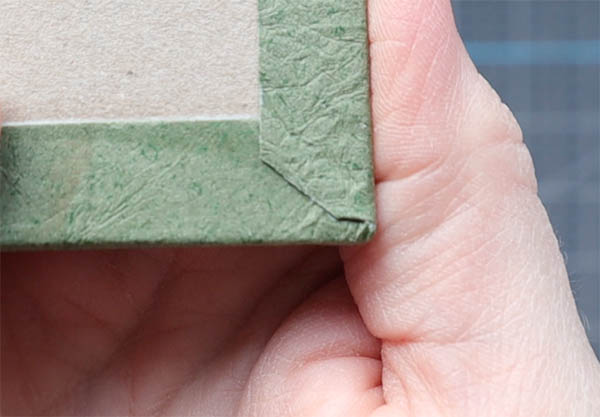
- Glue the right and left flaps next, repeating the smoothing process as you go along. Use care to turn in each corner with the pointed end of your bone folder.
- Press the cover under several large books for 15-20 minutes. Be sure to sandwich the cover between two sheets of waste paper (regular printer paper works here), which will absorb extra moisture.
- Lay the cover face-down on a work surface with the board facing up.
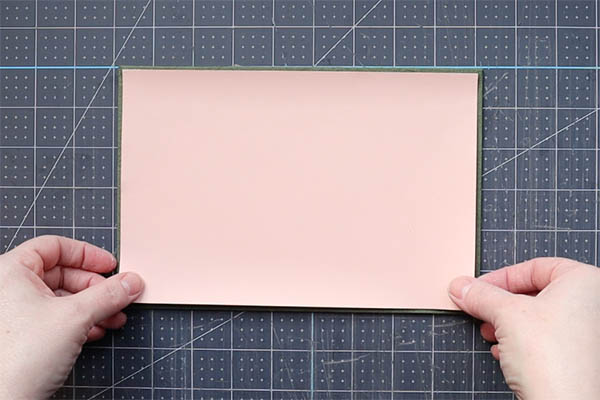
- Apply a layer of PVA to the back of one piece of decorative card stock sized 8-3/4″w x 5-3/4″h.
- Lay the card stock glue-side down on the board. Center the board so there is 1/8″ edge on each side. Use a bone folder to remove any excess air bubbles
- Place the cover under weight to dry for 30 minutes.
Front cover
You’ll need the final two book boards, a piece of covering material for the front board (7-7/8″w x 7″h) as well as the small piece of covering material (A) sized 2-3/8″x7″.
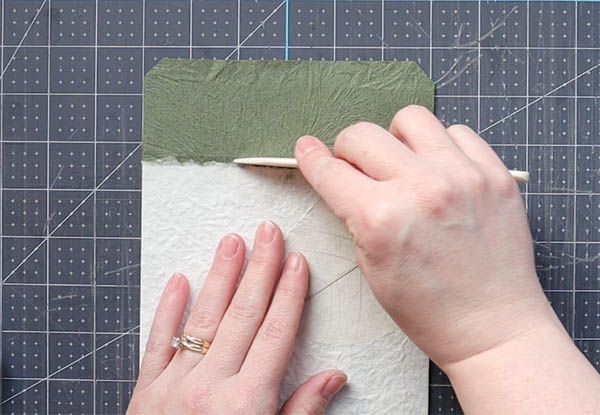
- Lay the small piece of covering material (A) face up on the work surface
- Apply a thin line of PVA to the right edge of the material
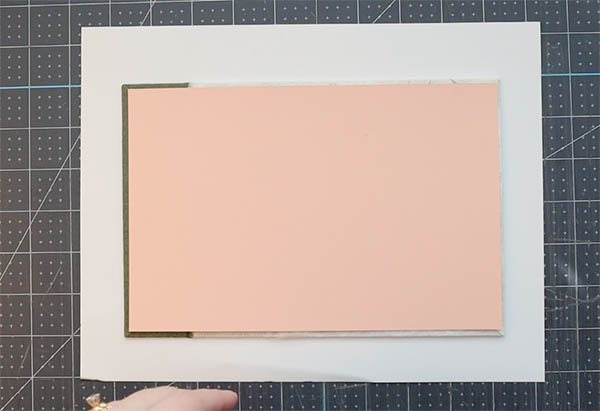
- Lay the front board covering material onto this line of glue so the two pieces overlap each other by 1/8″
- Apply PVA to the back of the small piece of board. Lay the board glue-side down on the small piece of covering material, centered so there is 1/2″ on the top, left and bottom sides. Press with a bone folder to remove air bubbles
- Apply PVA to the back of the large piece of board. Lay this board glue-side down roughly 1/8″ to the right of the small piece of board. Be sure the two boards are level in height with each other. Press with a bone folder to remove air bubbles
- Turn the full piece over and cut away any excess material (there should be 1/2″ around each edge of the board)
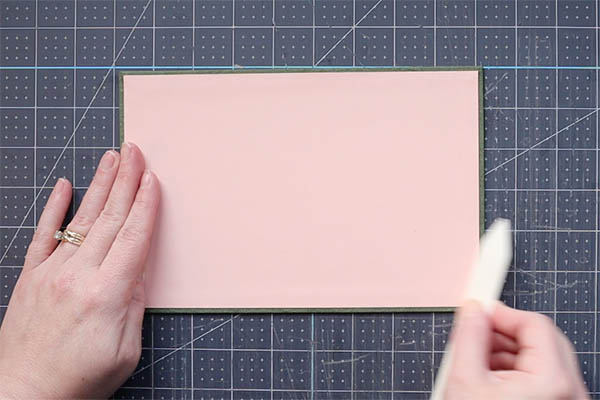
- Turn the full piece over so it is facing down. Using a bone folder, gently define the hinge
- Repeat steps 4-13 above


Pierce the back & front cover sewing stations
- Lay the template you’ve created on top of the front board
- Clamp the template to the board using two binder clips or clamps
- Pierce each sewing station position with a heavy duty awl
- Define each hole using a 6″ light duty tapered awl. The threaded needle should glide through
- Remove the clips or clamps and set the template aside
- Turn the back cover over so it is face-down on the work surface
- Sandwich the front and back covers (it should look like a finished book, but without paper)
- Clamp the front board to the back board. We’re going to use the front board as a piercing template for the back
- Repeat steps 3-4
- Remove the clamps and set the boards aside
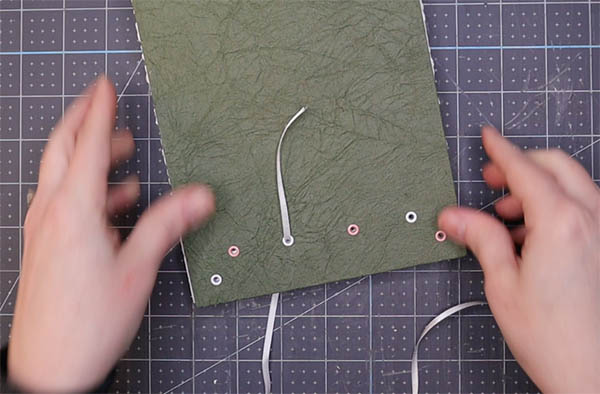
Optional: If using eyelets, go ahead and attach your eyelets to the front and back boards now. I used pink and white eyelets and alternated them among each station.
Part III: Sew the book using a Noble binding pattern
The Noble binding pattern has 6 sewing stations. Here is what it looks like.
Steps:
- Combine the back cover, paper stack and front cover to resemble a finished book
- Ensure the top, bottom and spine are flush. Clamp using binder clips or a larger clamp, if available
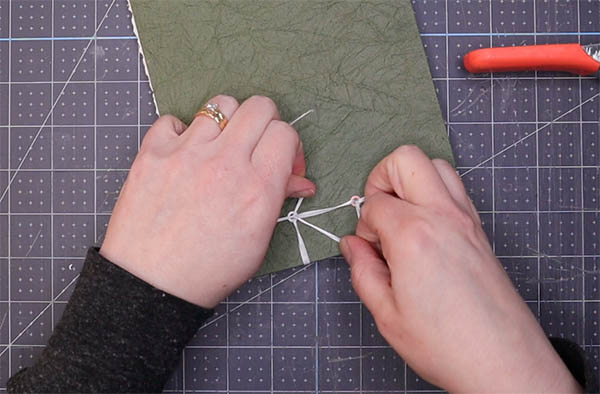
- Thread the needle
- Sew the Noble binding pattern
Here is an illustration showing the position of each sewing station as reference for the steps below:
Steps to sew the Noble binding pattern:
- Starting at the back of the book, move the needle into station 2
- Pull the thread, leaving 3″ on the back side of the book
- Wrap around the spine and back through station 2
- Move into station 3
- Wrap around the spine and back into station 3
- Move into station 4A from back to front
- Wrap around the head and back into station 4A
- Wrap around the spine and back into station 4A
- Move into station 4B
- Wrap around the head and back into station 4B
- Wrap around the spine and back into station 4B
- Move the needle into station 4A from back to front
- Now run the needle into station 3
- From the back of the book at station 3, move into station 2
- Flip the book over and tie off the two threads as close as possible to station 2
- Using an awl or similar tool, tuck the knot down into station 2

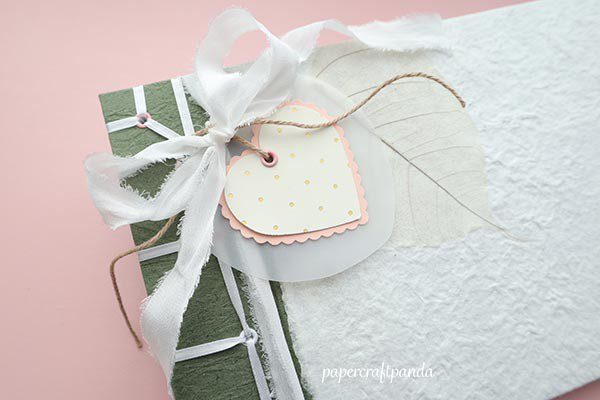
Part IV: Decorate the finished album
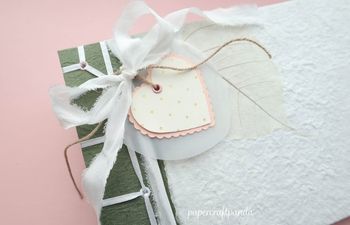
To decorate my album, I decided to use a white silk ribbon and create a tag with heart shaped die cuts and vellum. I completed this soft, romantic photo album with a piece of taupe twine to bring the natural elements forward. What do you think?
Decorating tips:
- Attach glassine sheets to the spacers between each page to protect photos
- For a stronger look (and book), try a 3-ply waxed linen thread in place of ribbon
- To add softness, use 1/4″ silk ribbon in place of satin
- Up the elegance with gold eyelets and corner elements
- Keep the album closed by adding an elastic closure at the fore edge
- Place a photo inside a window cutout on the cover for added personalization
Video: How to Make a Soft, Romantic Photo Album
Thanks for checking out this fun tutorial!
More bookbinding goodness
✨ What tools do I need to get started bookbinding?
- Bookbinding Tools & Supplies Quick Start Guide – learn all about book making tools, which to buy first & where to go online
- Pick up my popular Complete Starter Bookbinding Tools Kit – all the bookbinding essentials in one spot
🌟 Looking for a simple way to start making books?
Try a Complete Book Materials Kit. Each one has everything you need (+ tutorials & videos) to make a beautiful book without all the fuss.
Thank you for taking me along on your book making journey!
Misty


