Welcome to How to Create a Casebinding (Part II)! If you’re here, that means you’ve already completed Part I. If not, head back over to Part I and complete the text block before starting this tutorial. The text block defines the dimensions of our case, so it’s important to get this done before diving into case making.
To simplify the end-to-end process, I’ve broken this casebinding tutorial into three main parts:
- Creating the Text Block (Part I)
- Creating the Case (Part II) <— you are here.
- Casing in the Text Block (Part III)
Bookbinding Tutorial: Casebinding (Part II)
Measurements: Case (6-3/4″h x 11″w), Final Book (6-3/4″h x 5″w x 1/2″d)
Cost Level: $$
Skill Level: Intermediate
Total Time: (Part II) 60+ minutes
Case = Art
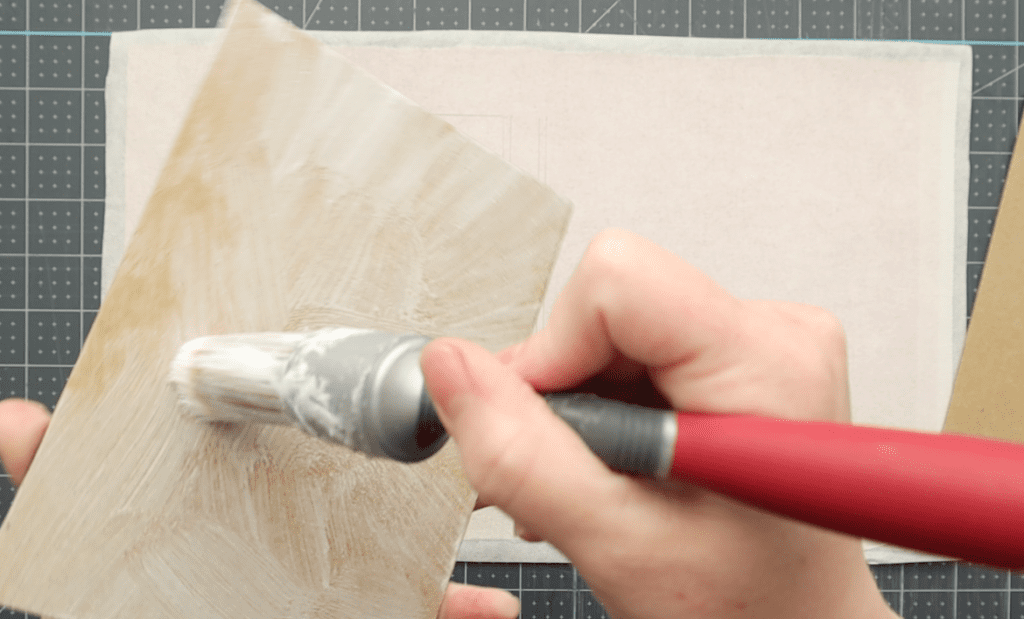
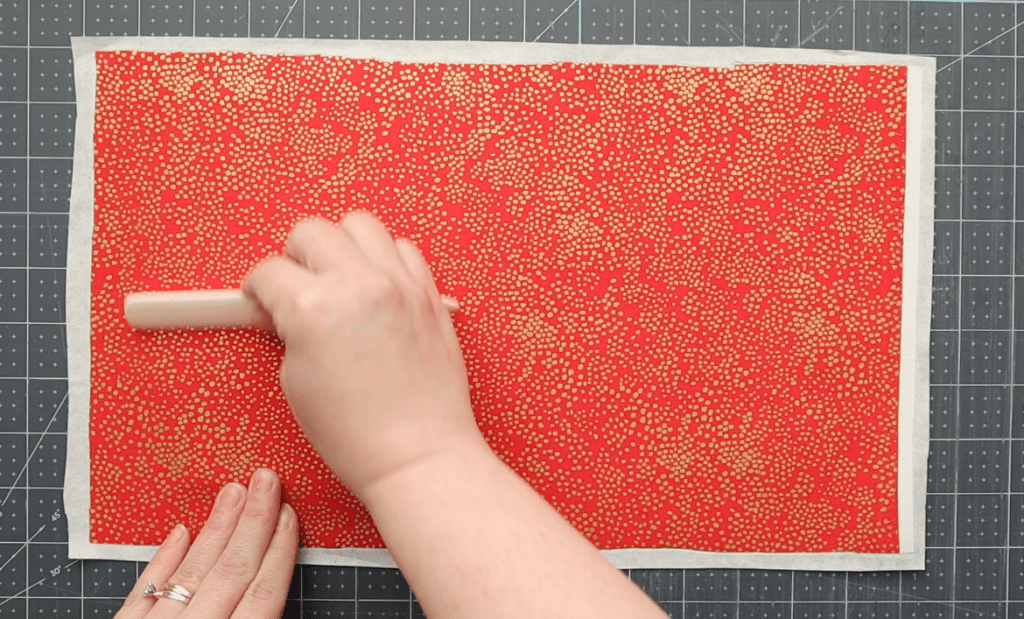
Creating the case for your book is such an exciting (and rewarding) experience. This is where you can really let your inner artist shine. Choose covering materials that speak to you. While I’m using a sheet of fabric I’ve converted into book cloth, you may want to use fine papers, synthetic leather, straight up book cloth or up-cycled canvas. The possibilities are literally endless. No matter what you choose, the steps are nearly the same. Just know, materials like leather may require some extra steps that won’t be covered here.
Okay, let’s get started!
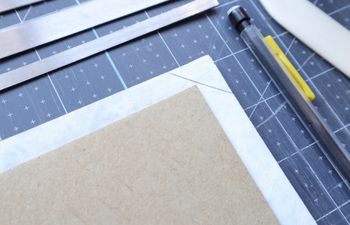
Casebinding Tutorial Materials:
- 2 pieces of Davey book board, cut to size 6-3/4″h x 5″w
- a sheet thick or heavyweight cardstock (240-270gsm), cut to size 6-3/4″h x 1/2″w
- a piece of book covering material (book cloth, paper, fabric, etc.) cut to size 9″h x 15″w
- a sheet of wax paper, cut into two pieces size 9″h x 6″w
- a piece of newsprint or lightweight paper to absorb moisture, cut into two pieces size 9″h x 6″w
- Several pieces of waste paper
- PVA adhesive
Tools
- Book press or 2-3 heavy books (roughly 9×6 in size)
- Bone folder
- Paste brush
- Olfa knife
- Ruler
- Scissors
- Pencil
Bookbinding Terms to Know
We’ll be using some bookbinding words and phrases throughout this tutorial, so I’m calling them out here for added clarity. You may already know what these mean, so feel free to skip over this and start the tutorial.
If you’re brand new to book making, be sure to check out my Bookbinding Tools & Supplies Quick Start Guide, which includes a more robust list of bookbinding terms and definitions that might be helpful for this casebinding tutorial.
- Correct Order of Turn-ins – a process of folding material edges over cover board during the case creation process. This order creates a corner fold that faces away from the outer edge, reducing the possibility of edge fraying or shelf wear.
Steps:
Part II – Create the Case
Measure & Cut the Spine Stiffener
- Measure the width of the text block spine at three points: top (head), bottom (tail) and center. The widest measurement is the one you’ll work with.
- Cut a piece of thick card stock (usually 110lb is perfect) that is 6-3/4″h x SPINE WIDTH.
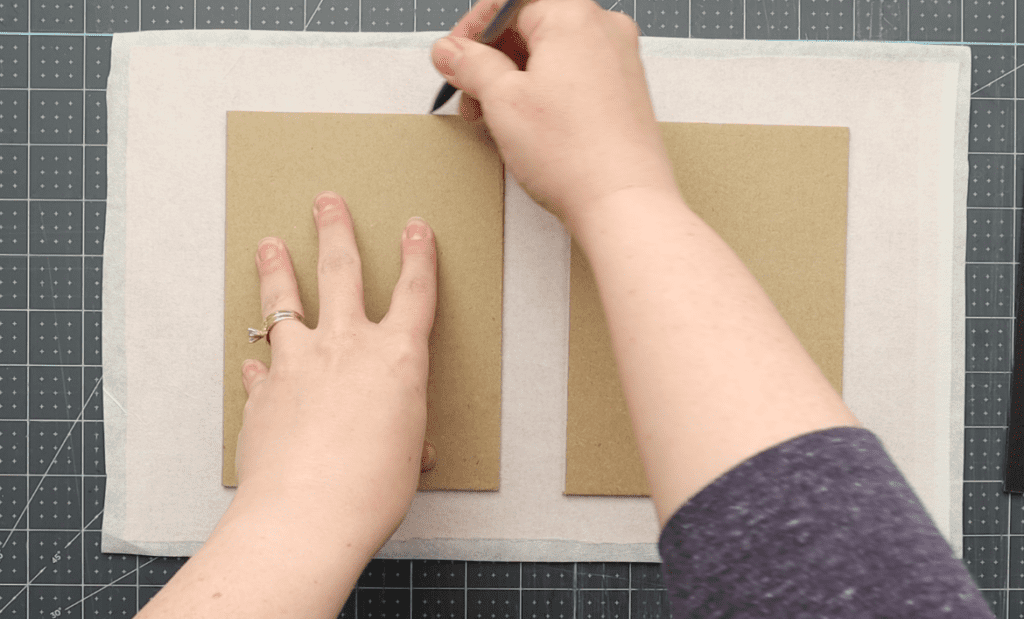
Prepare the covering material
- Lay out your covering material on a work table face down.
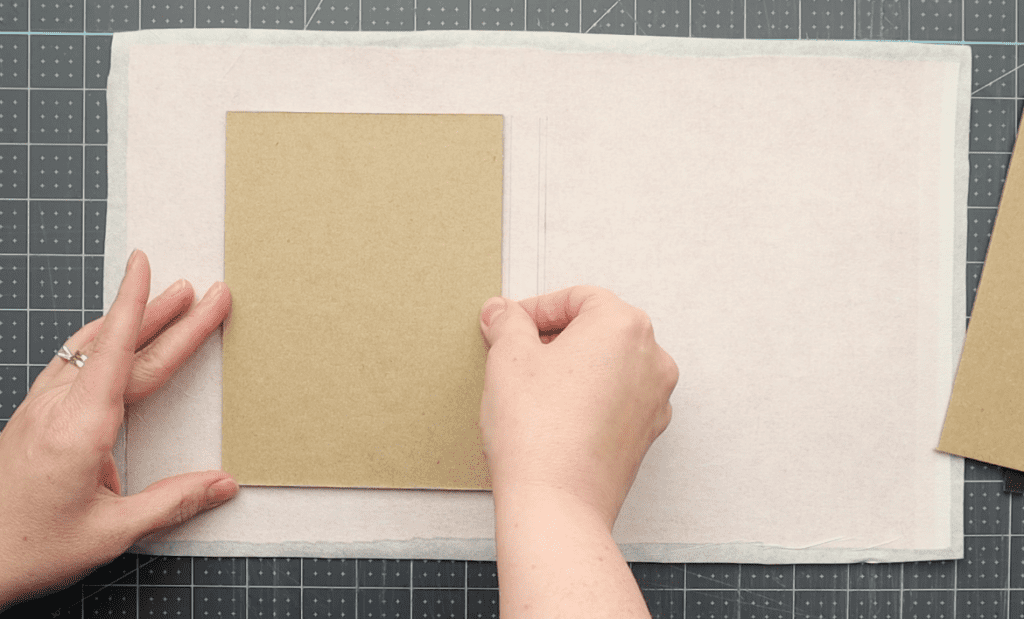
- Lay the left book board down on the material and roughly center it inside the first half of the sheet. You want at least 1/2″ of excess material around the edges (top, bottom and left side).
- Using a pencil, trace the outline of the board.
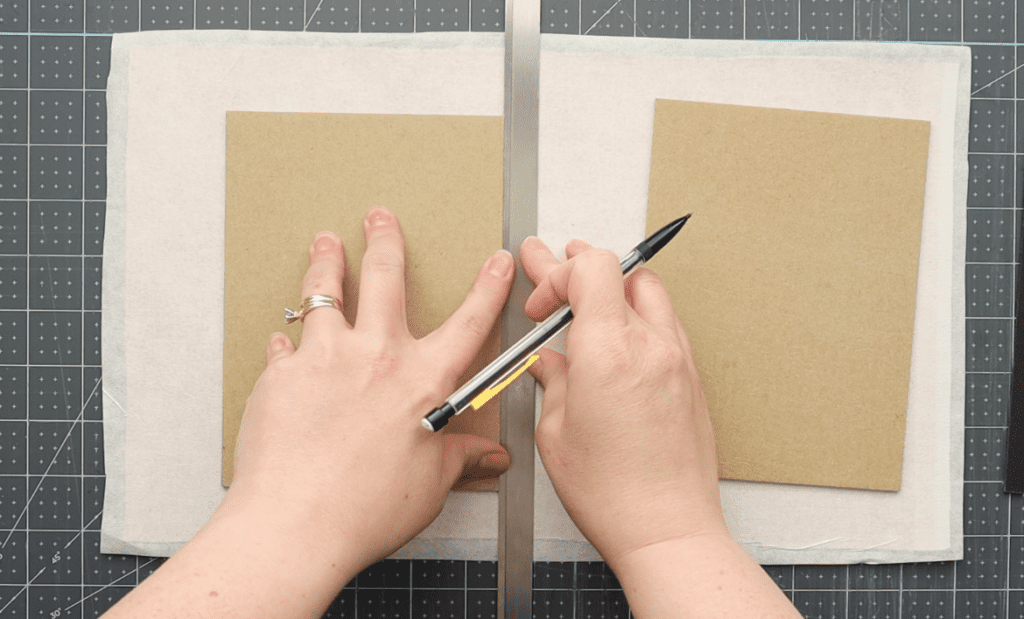
- Leaving the board in place, measure the area for the spine directly to the right using the following formula: Width of text block spine at the widest point + 2 x board thickness.
- Example: if your spine is 1/2″ wide and each board is 1/8″ thick, the numbers would look like this:
1/2 + 2(1/8) = 3/4″.
- Example: if your spine is 1/2″ wide and each board is 1/8″ thick, the numbers would look like this:
- From the right edge of the board, measure over 3/4″ from the top and bottom points.
- Place the second board on the material, lining up the top and bottom corners of the left side of the board with the marks you’ve just made on the paper.
- Using a pencil, trace around the edges of the board on all sides.
- Measure out 1/2″ from all sides to confirm you have enough excess material to wrap the boards.
- Cut away any excess material beyond the 1/2″ that is required.
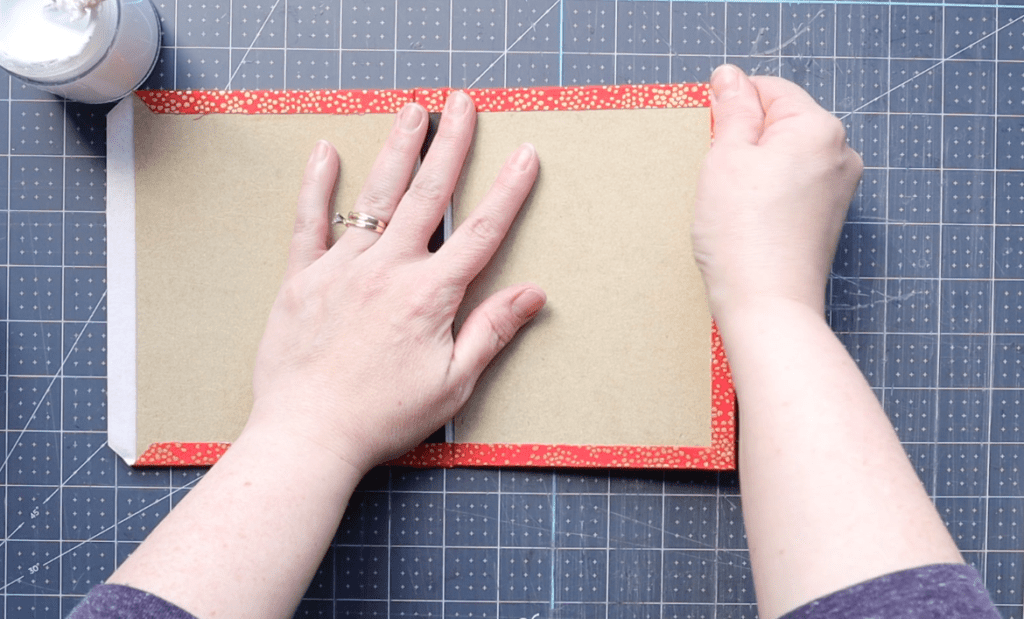
Paste Down the Boards
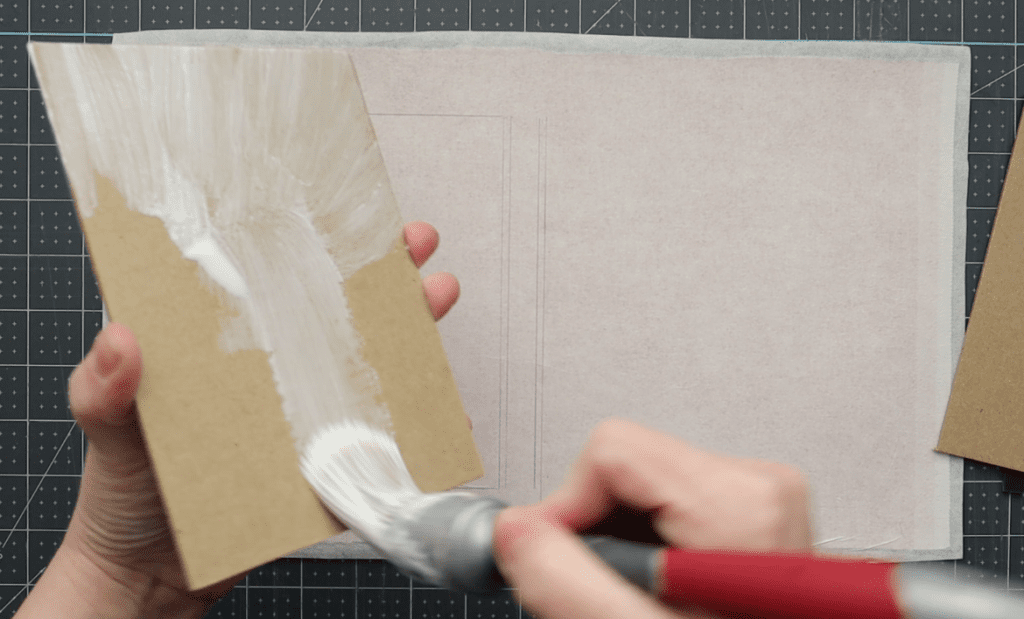
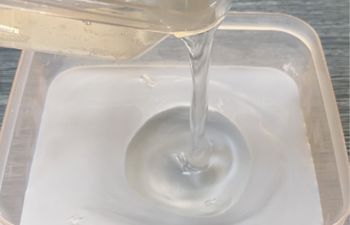
- Starting with the left cover board, apply an even layer of PVA starting at the board’s center, working your way out to each edge.
- Once the board is covered in PVA, line it up glue side down with the trace marks you’ve created on the covering material.
- Press the board firmly at the center with your fingertips and smooth it outward to remove excess air.
- Carefully flip the material over and repeat this process with a bone folder, using care not to mar the material.
- Flip the material back over.
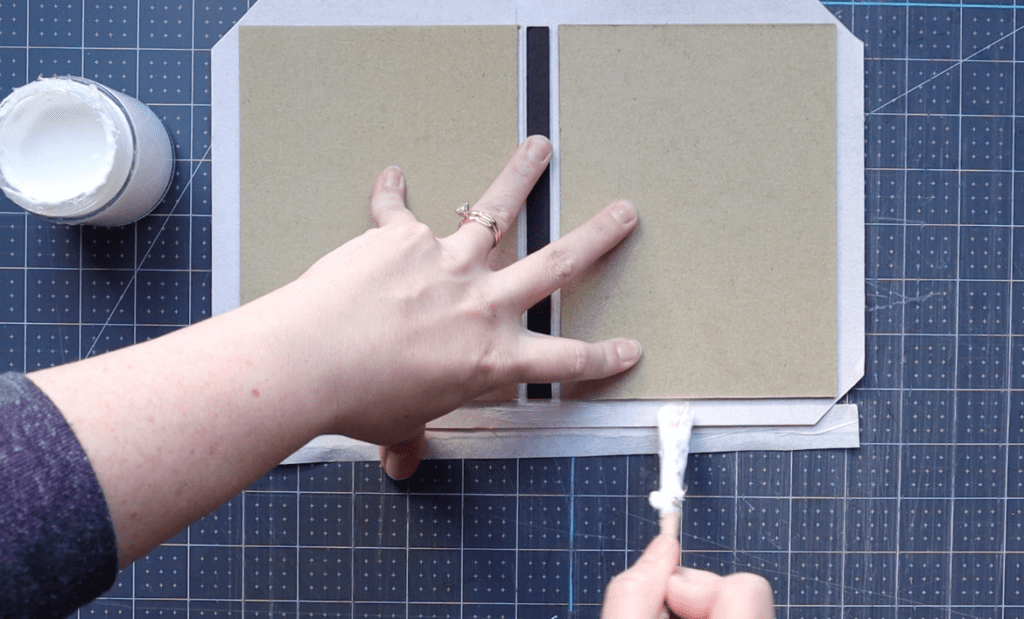
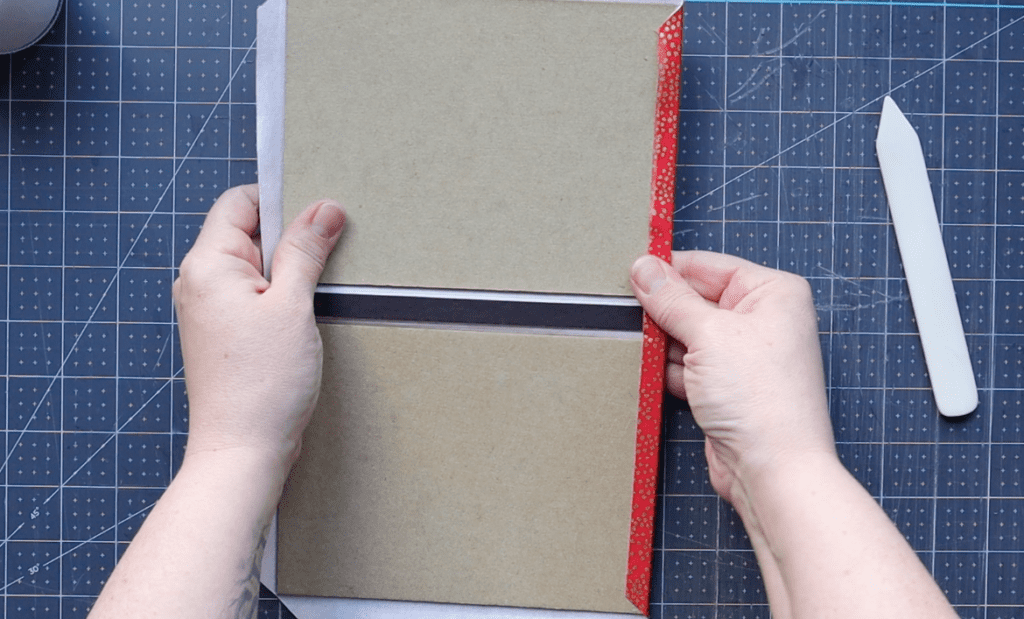
- To determine the placement of the spine stiffener, measure to the right (from the right edge of the board you’ve just pasted down) one cover board’s width. In our case, this is 1/8″. Make a mark at the top and bottom.
- Apply PVA to the back of the spine stiffener, but don’t use too much. A thin layer of paste is perfect.
- Line up the spine stiffener with the top and bottom marks you’ve make on the material, PVA side down. Press firmly into the place. You’ll have some wiggle room to slide the stiffener around before the PVA sets. Since our spine stiffener is 1/2″ wide, we should have 1/8″ on each side between the stiffener and the cover boards.
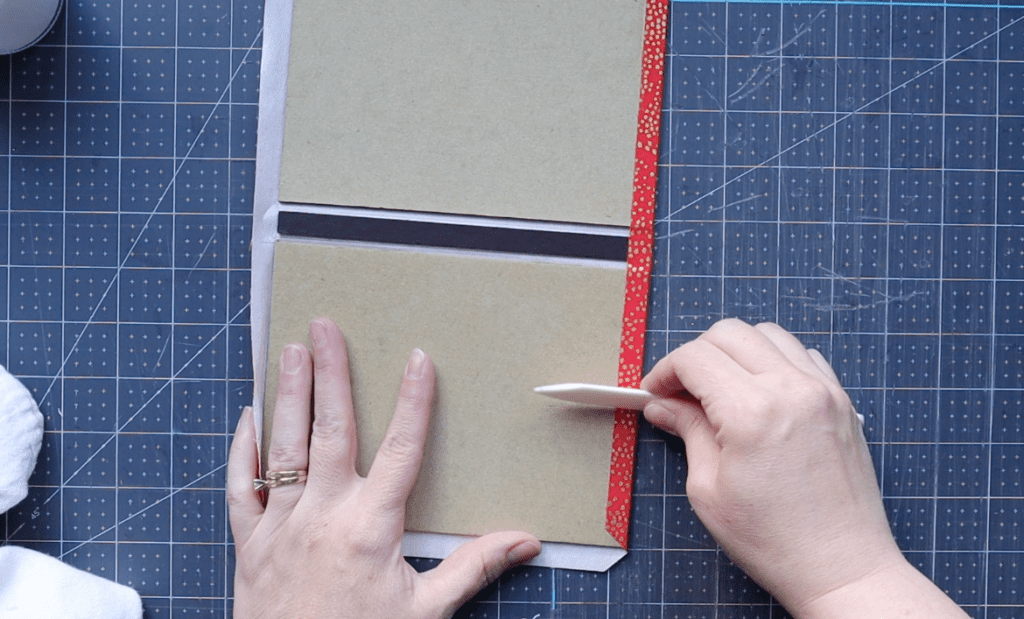
- Pick up the second cover board and apply PVA to the back as you’ve done previously.
- Line up the top and bottom edges of the second board with the outline you’ve already created. Press the board into place PVA side down.
- Repeat the smoothing procedure in steps #3 and #4.
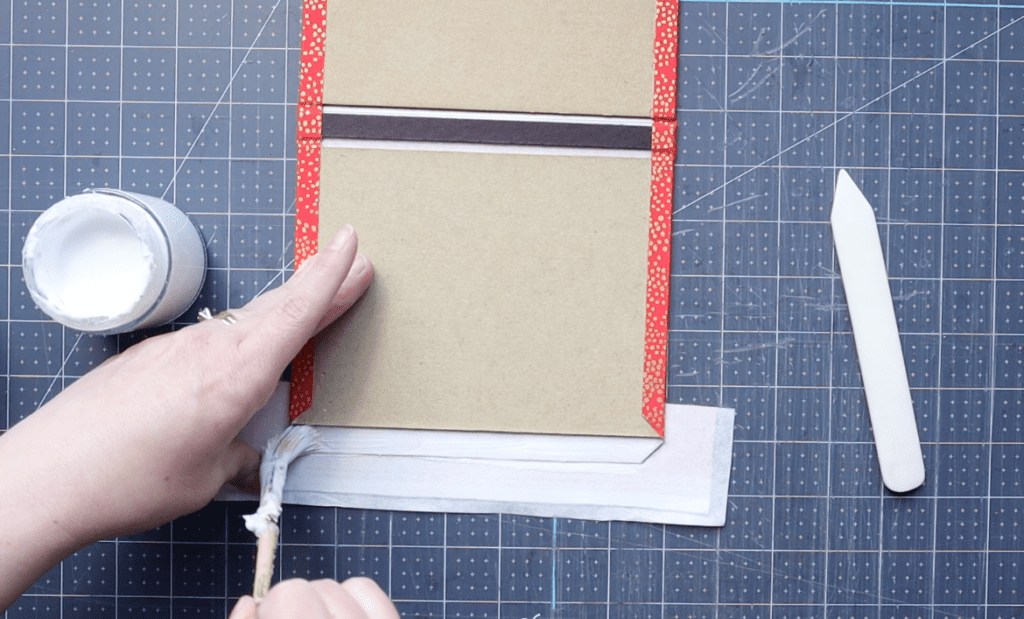
- Place a sheet of waste paper between the material and the table to absorb excess water. Lay a heavy book over each cover board (or both of them at the same time if your book is big enough) and let dry for 15 minutes.
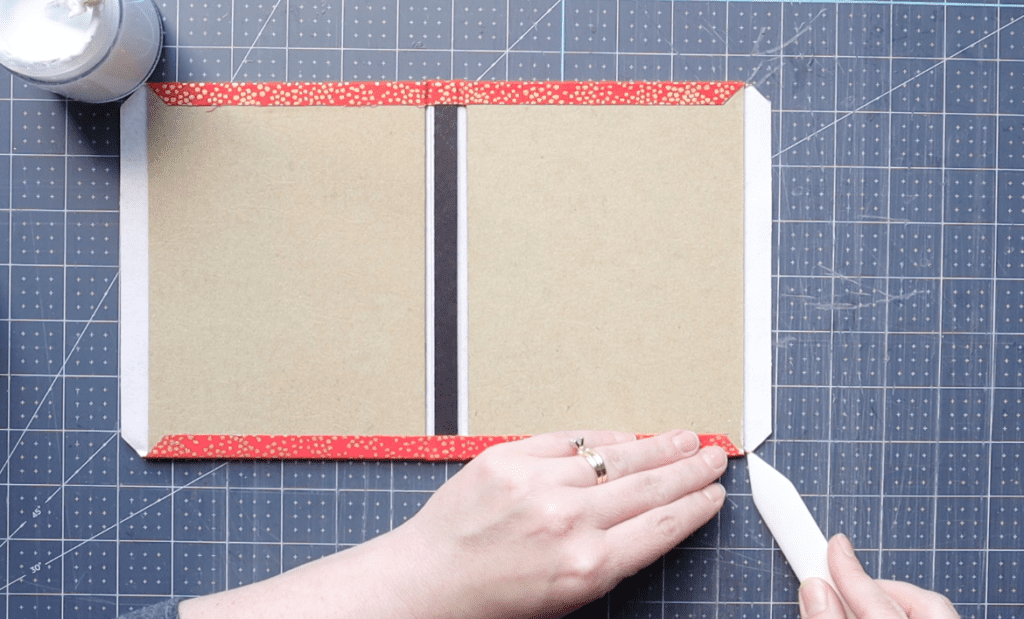
Measure & Cut the Corners
- Remove the large book (or books) and set aside.
- Measure a distance from each corner that is 1.5 x the cover board’s width. In our case, the cover boards are 1/8″, so we would measure 1.5 x 1/8″ = 3/16″.
- Make a mark at the position.
- Turn the ruler so it is moving through the mark at a diagonal, connecting both edges of the material.
- Repeat this process with each corner.
- Using a scissors, cut away the excess material around each corner.
Video technique: measuring & cutting the case corners:
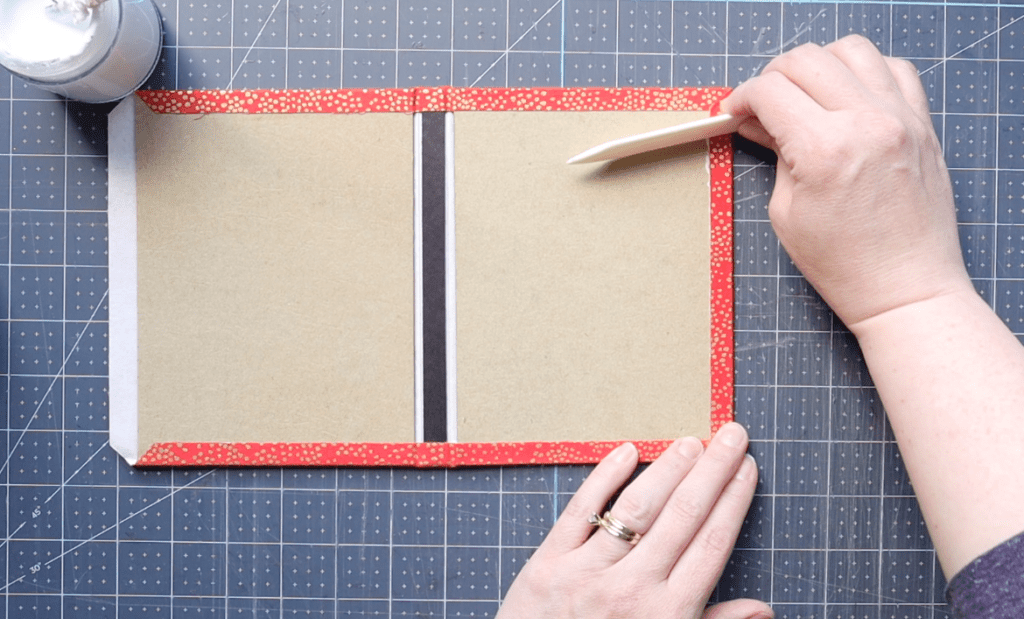
Correct Order of Turn-ins
It’s time to fold the material around the boards. In bookbinding, this is called “turning in” the edges. There is an order to this that helps protect each corner from fray and wear over time, called the “correct order of turn ins.” It asserts that one should always turn in the head and tail first followed by the foredges.
We’ll be working with PVA in this step, so I always recommend having a dampened towel on hand to wipe off your fingers and the bone folder.
- Turn in the head. To do this, lay a sheet of waste paper under the edge. Apply a layer of PVA adhesive to the entire edge, starting at the center and working your way outward.
- Once the PVA is applied, turn the edge over onto the board and use your thumb to move the material tightly into place.
- Once the material is where it needs to be, use a bone folder to smooth out excess air and PVA. To do this, you’ll slide the bone folder along the edge from center outward. PVA will spill out, so swipe it off with a fingertip, the bone folder or a towel.
- Repeat this process with the tail.
- Turn the case 90 degrees and place a piece of waste paper under the first forege. It doesn’t matter which foredge you start with.
- Repeat step #1.
- To turn in the corners, use the tip of a bone folder to push the outer edge in against the cover board at a slight angle. Repeat on both sides before turning the full edge over.
- Repeat steps #2 and #3.
- Repeat this process for the second foredge.
- Once complete, place a sheet of newsprint under the case and another sheet between the top of the case and 2-3 heavy books. Make sure the weight is distributed evenly across both boards. Press overnight.
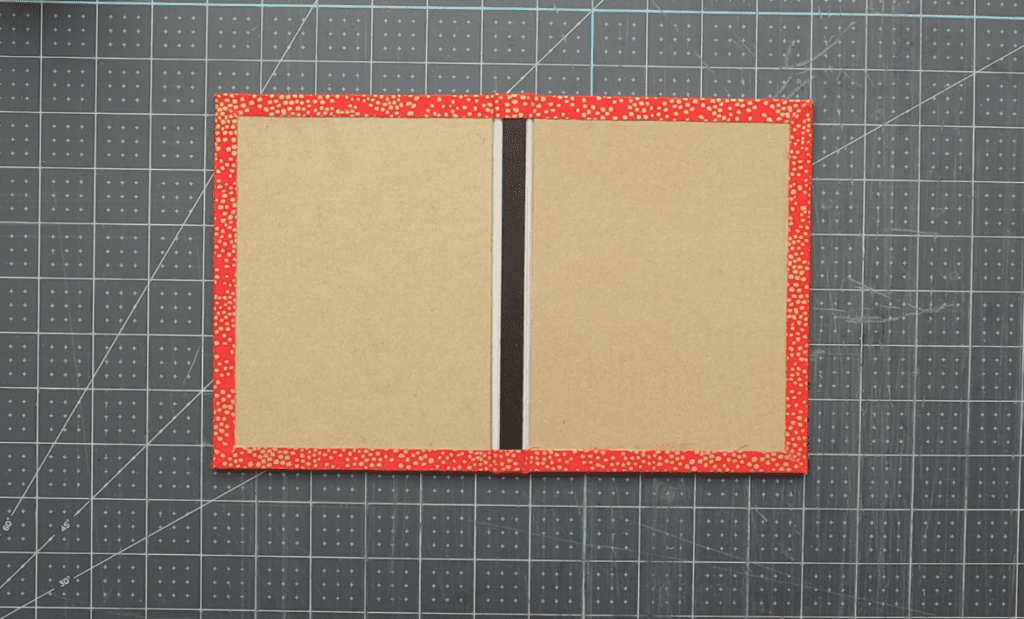
Casebinding Tutorial Part II: COMPLETE
Congratulations, you’ve created the case for your book!
This is a pretty big deal, because the case protects the most important part of the book (the text) from the elements. A strong case will allow the owner and recipient to handle the book on a daily basis. From pulling the book in and out of a back pack to taking it on and off the shelf, there are plenty of instances where it could be damaged (corners crushed, edges frayed, spine misshapen). Your newly minted case will give this book the best possible start in the world, which is all a book parent could hope for. ?
READY TO MOVE FORWARD?
Go to the next step: Casebinding Tutorial Part III: Finishing the book
More bookbinding goodness
✨ What tools do I need to get started bookbinding?
- Bookbinding Tools & Supplies Quick Start Guide – learn all about book making tools, which to buy first & where to go online
- Pick up my popular Complete Starter Bookbinding Tools Kit – all the bookbinding essentials in one spot
🌟 Looking for a simple way to start making books?
Try a Complete Book Materials Kit. Each one has everything you need (+ tutorials & videos) to make a beautiful book without all the fuss.
Thank you for taking me along on your book making journey!
Misty


