If you’re interested in making a French Link stitch journal, this tutorial is for you! I’ve created a lined (or blank) DIY Softcover French Link Stitch Journal Bookbinding Materials Kit with pre-measured and pre-cut materials to make this a fun, easy project and for anyone.
Since it only needs a few materials and tools, it’s a great choice for new or experienced book makers. It also makes for a great group activity with kids as young as 8 years old (just be careful if you’re using awls – they’re pokey).
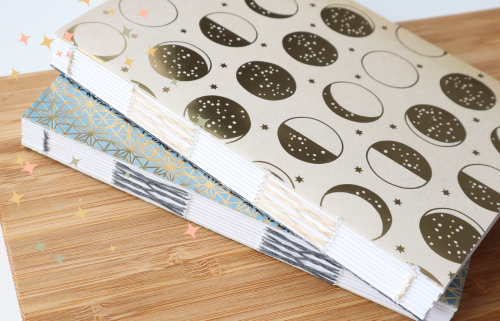
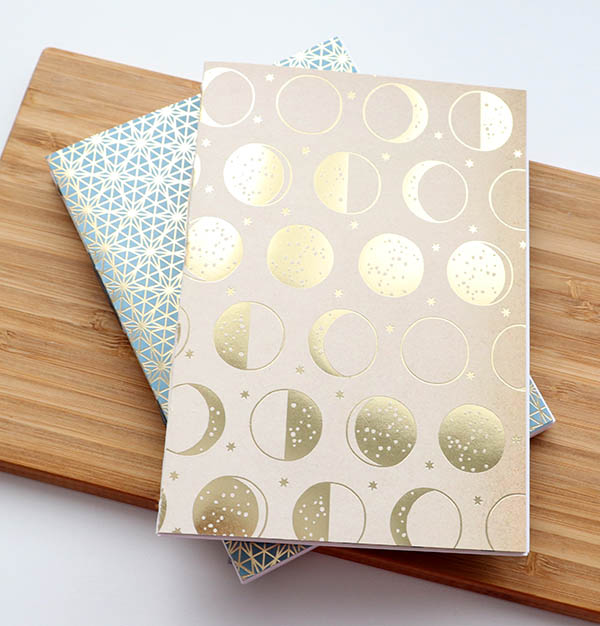
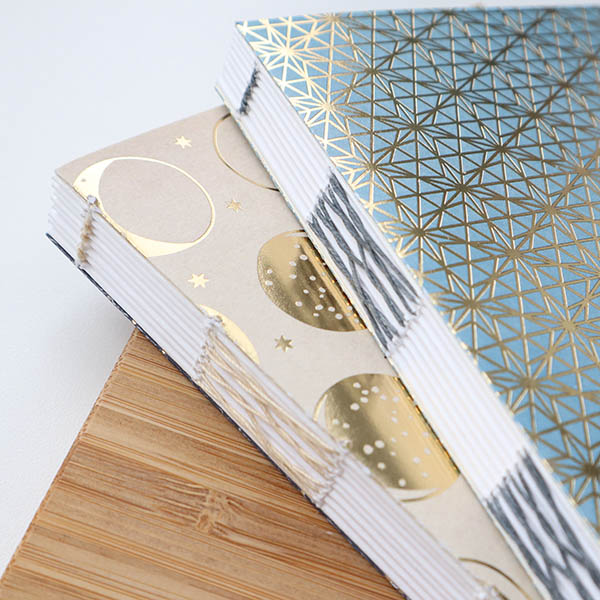
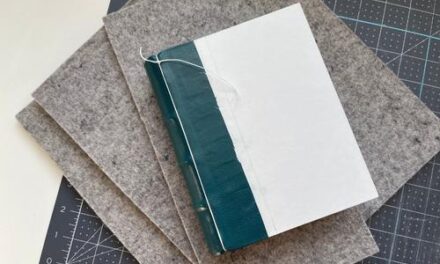
This tutorial will show you how to create an A6 size lay-flat book with a beautiful exposed spine stitch that looks like an “X” pattern. This “x” is characteristic of the French Link Stitch. Perfect for writing, drawing or painting.
If you don’t have the kit, that’s okay! I’ve included all of the measurements below so you can make the book at home using your own materials.
Before you start…
Previously, I created a very similar book & tutorial with a peachy theme. Some of those images are re-used here, but you should know that this new version has modified sewing steps and is intended to be easier to follow. 🙂
Enjoy!
Bookbinding Tutorial: DIY French Link Stitch Journal (using my softcover french link stitch journal bookbinding materials kit)
Measurements: 152mm x 108mm (6″ x 4.25″)
Total Time: approx. 2 hours
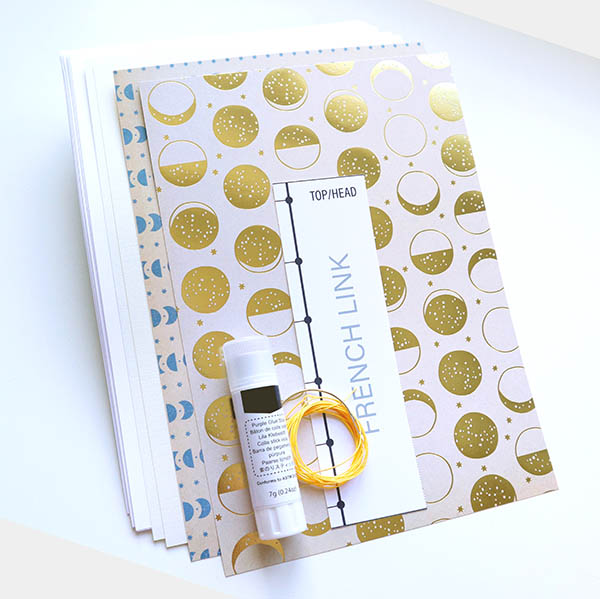
The DIY Softcover French Link Stitch Journal Materials Kit
This kit includes the following pre-measured and pre-cut materials:
- 32 sheets of 70lb smooth bright white Mohawk superfine paper (4 sheets per signature, 8 signatures total)
- your paper is either unlined (blank) or lined, depending on what you chose 🙂
- 2 sheets of 80lb ivory linen laid paper
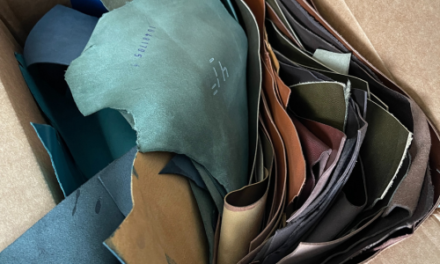
- Two pieces of high quality, double-sided cardstock (110-120-lb)
- the pattern is one of four that you chose
- 1 pre-measured hole punch template
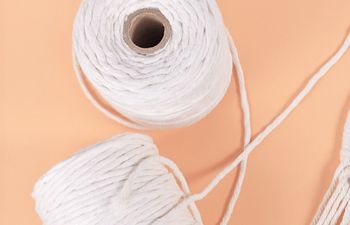
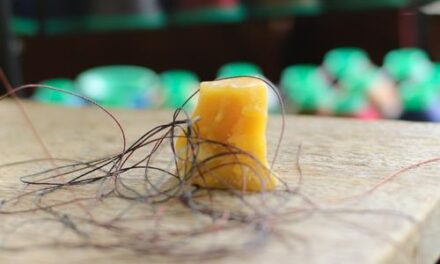
- 72″ (5 ft) of waxed linen thread
- 1 glue stick
- 1 curved bookbinding needle
If you’re making this yourself at home, these are the measurements you’ll want to use for cutting:
- Mohawk superfine white papers: 152mm x 108mm (6″ x 4.25″)
- Ivory linen laid endsheets: 152mm x 108mm (6″ x 4.25″)
- Design cardstock: 152mm x 108mm (6″ x 4.25″)
- Template: 152mm x 76mm piece of plain 90lb cardstock with 6 sewing station holes at 8mm, 36mm, 63mm, 90mm, 117mm and 144mm
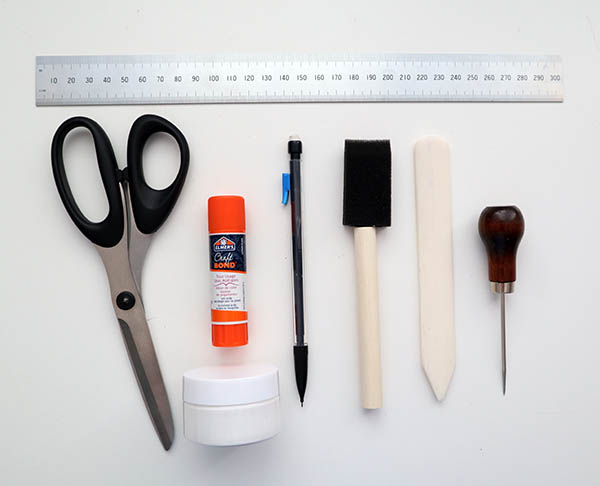
Other things you’ll need:
Note: if you don’t have an awl or bone folder, I do offer a tools upgrade with the kit.
- Scissors
- Pencil
- Awl or thick needle (mounted to cork, if you have some)
- Bone folder OR use your fingertips to crease
- Glue stick (acid-free) or archival PVA (Elmer’s will also work for this)
- Paste brush if you’re working with liquid glue, or use your fingertips
- Heavy book(s), weighted bean bag or other flat/uniform object to press the book
Recommended extras:
- Extra scrap paper to use for gluing
- Damp towel to wipe glue from fingers & desk
- Clean surface to cut and work upon
Steps to create the French Link stitch journal:
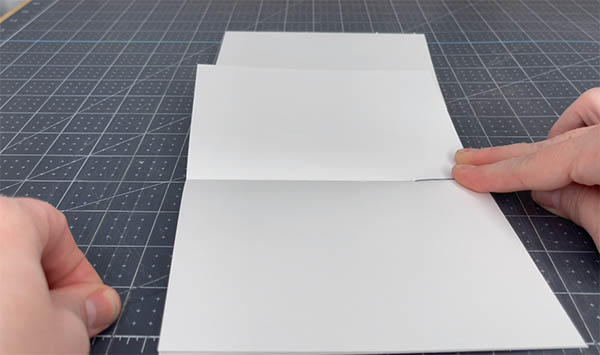
Fold & assemble signatures
- Break the 32 sheets of paper into 8 signatures of 4 sheets each
- Set aside the two ivory linen laid sheets and two pieces of decorative card stock. We’ll come back to these
- Using the fold down method, fold each signature in half and crease using a bone folder or fingertips
- Split the stack of 8 into two sets of 4 signatures and turn one stack so the spines are facing the opposite direction
- Lay under weight to press for 25+ minutes. A couple hours or overnight would be even better
- Now fold each of the ivory linen laid sheets individually and crease. Set aside
- Choose which of the card stock designs will be on the outside/inside. Fold each sheet so the chosen pattern is visible on the outside
- Set the ivory sheets and card stock under weight for 25+ minutes


Pre-assemble the book block
Once everything is done pressing, it’s time to pre-assemble the book to prepare for the next step. From front to back, the order should be:
- front cover
- ivory sheet
- 8 white signatures
- ivory sheet
- back cover
Make sure all of the spines are lined up the same direction.


Mark the first signature
Before we begin, I always recommend using a light pencil to mark the first signature. Since we are going to sew the book one signature at a time, this will help us keep the order and direction accurate.
All you need to do is make a light “F” (for “front”) on the top right of the first signature. Here’s mine for reference:

“Tip on” the covers, endsheets and signatures
In this step, we’re going to attach the covers, endsheets and first/last signatures via glue along the spine. In bookbinding, we call this “tipping in.” It will help to secure the softcovers to the book, keep everything lined up right and provide extra support.
It goes something like this:
- front cover ->glued along spine to->endsheet->glued along spine to->1st signature
- back cover ->glued along spine to->endsheet->glued along spine to->8th signature
A visual of the order before we begin gluing:

- Lay a scrap piece of paper under the signature spine area
- Apply about 3mm wide strip of of glue to the spine edge of the signature. It’s okay to use a thick layer
- Line up the creased edges of the ivory sheet and signature. Press down, gluing them together. Smooth with your fingertips or bone folder to remove excess air & glue
- Now apply another 3mm strip of glue to the spine edge of the ivory linen laid sheet. Again, using a thick layer is okay
- Line up the creased edges of the ivory sheet and front card stock cover piece. Press down, gluing them together. Smooth with a bone folder or fingertips to remove excess air & glue
- Lay under weight for 25+ minutes to ensure a good seal. Overnight is best if you have the time
- Repeat this process with the 8th signature, back cover piece and second ivory linen sheet


Assemble the book block
Make sure all of the glue is set and dry before starting this next step.
Assemble the book block pieces in the following order:
- 1 tipped front cover/first signature
- 6 stacks of 4-sheet signatures
- 1 tipped back cover/8th signature
Make sure all of the signatures are aligned at their spine.
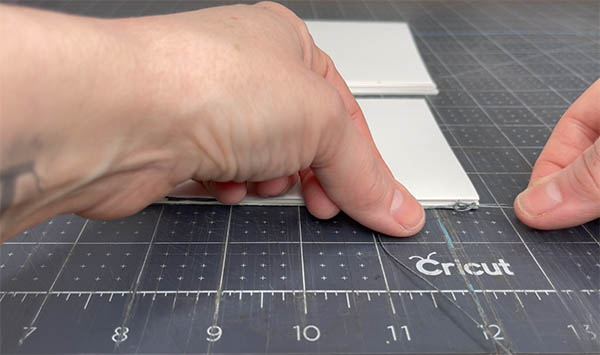
Pierce the holes (called “sewing stations”)
Set the book block to the side and take care to remember which end is the top of the book and which is the bottom (head/tail). We will start with the front cover/first signature set (since they’re glued together now).
- Open the front cover piece and line up the punch template with the inner crease. Be sure the “TOP/HEAD” lines up with the top edge
- Using an awl or needle, follow the lines leading to the edge of the template and pierce a mark at each spot
- Now move the awl or needle through the card stock from inside to outside until about 1-2mm of the awl or needle is visible
- When finished with the front cover piece, open the first signature (be careful not to separate the two) and line up the template with the inner crease
- Mark each position as you’ve done previously and move the awl through. You will need to press a little harder this time since you’re going through 4 sheets at once
- Repeat this process with the remaining 6 signatures and final signature/back cover combo
- Press under weight for another 5-10 minutes


Thread the curved bookbinding needle
The video provides a great visual for this step, so don’t hesitate to watch if you’re able.
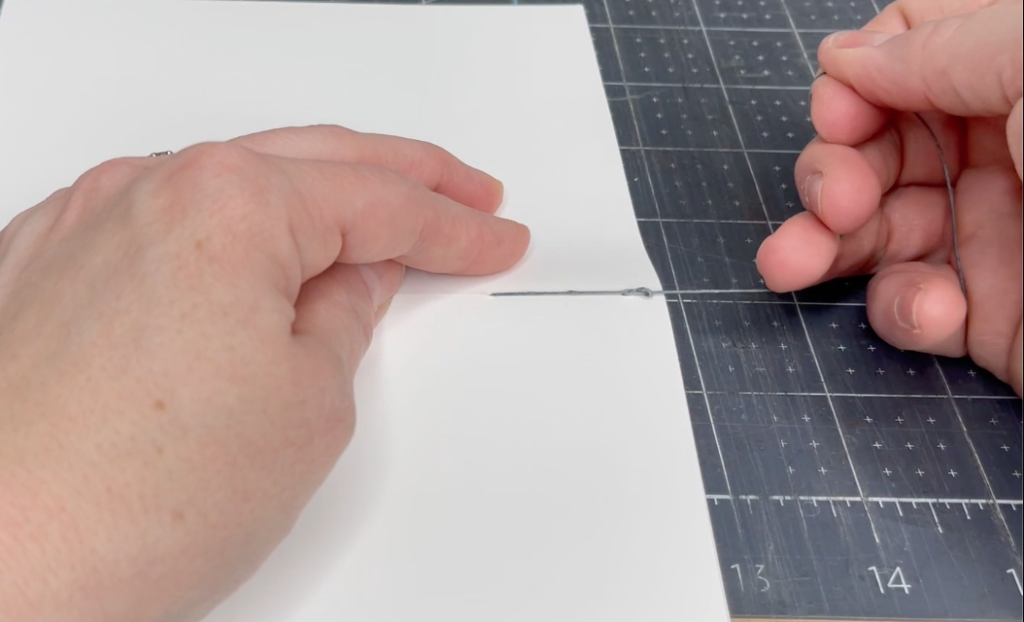
- Unwind your waxed linen thread so it is straightened with no knots
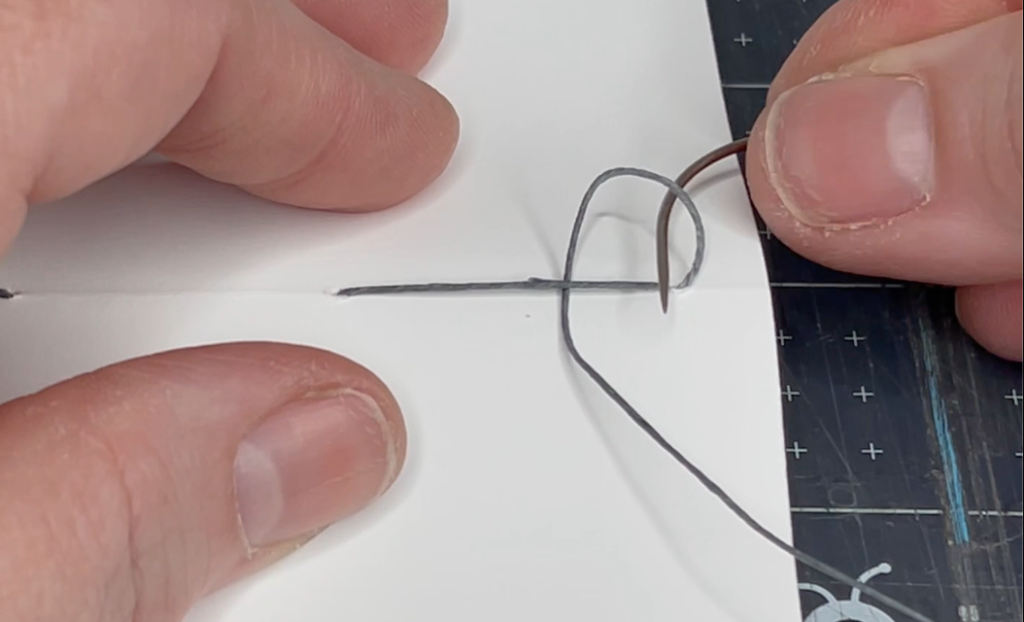
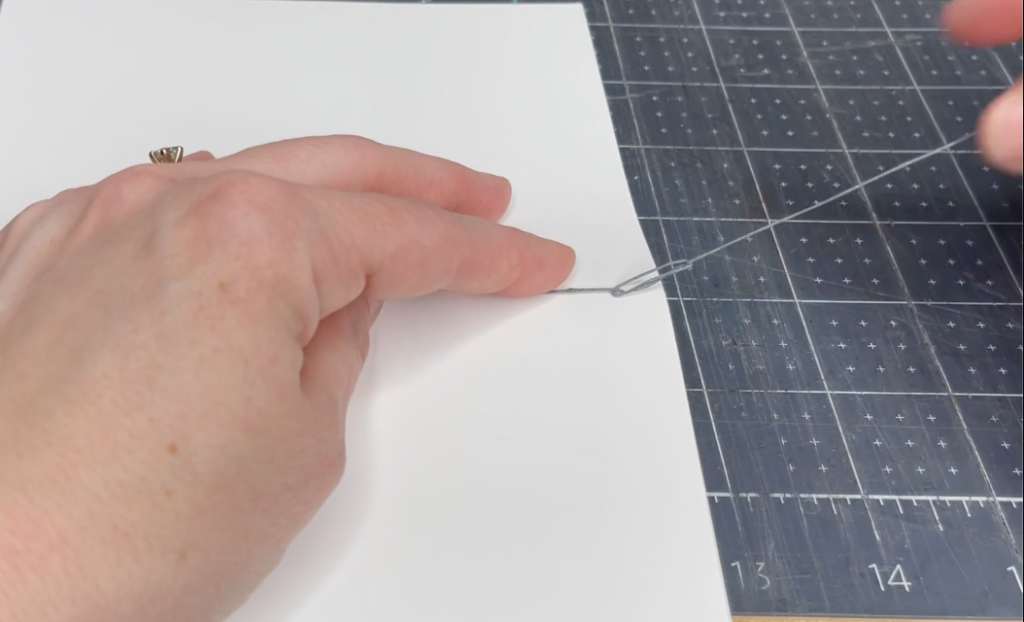
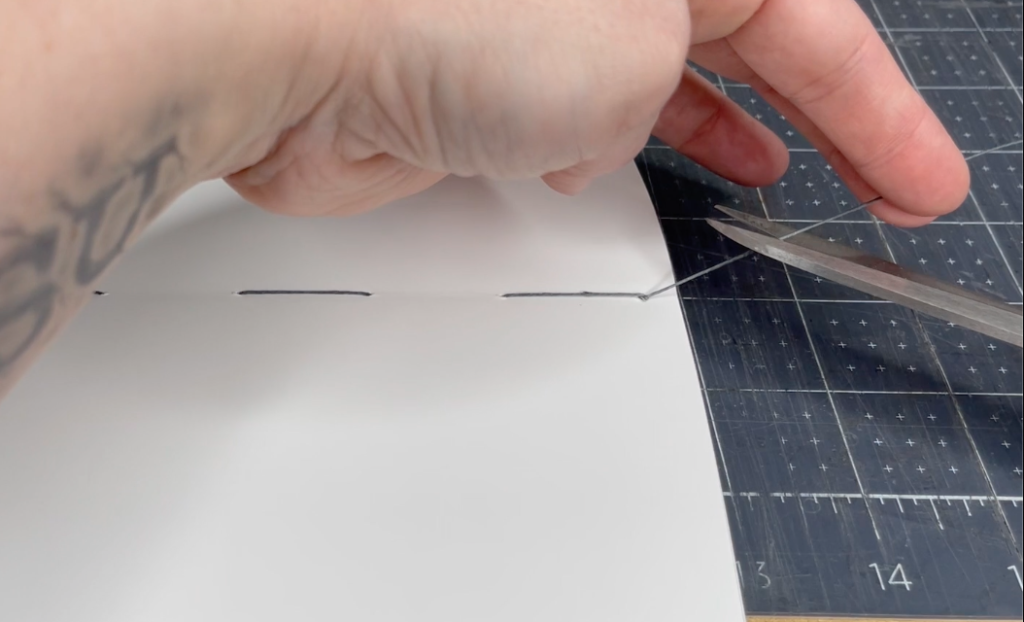
- Using an awl or your thumbnail, flatten about 1-2mm of the waxed thread on one end. This will make it easier to slide the thread into the eye of the needle
- Now move the flattened end through the eye of the needle
- Pull the thread through until it can reach the point of the needle. Poke the needle through the middle of the thread (about 10mm from the flat point you created eariier)
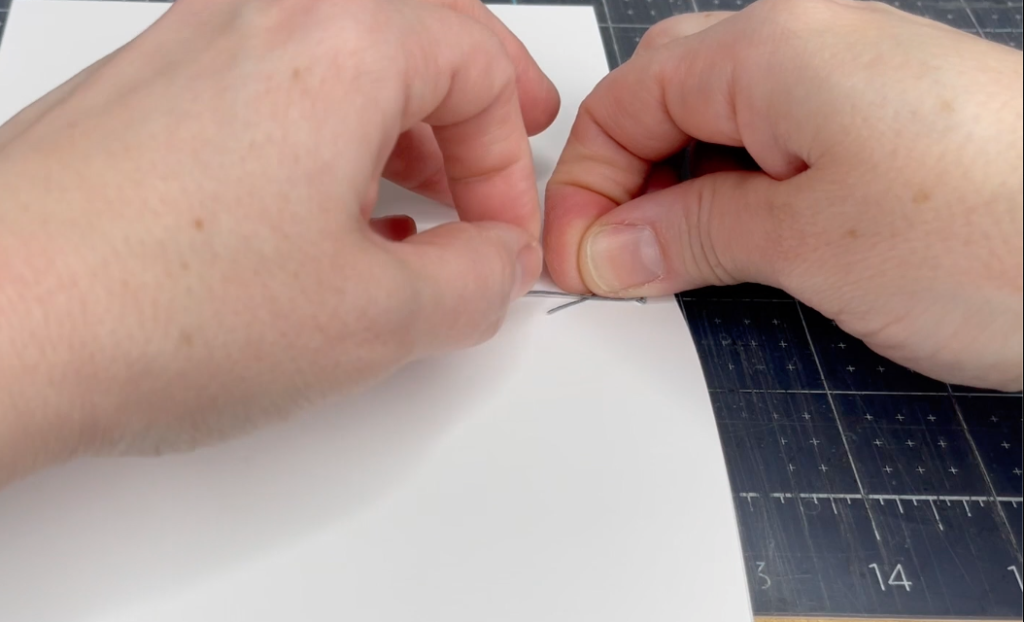
- Move the thread (still poked by the needle) down the shaft of the curve until it reaches the eye
- Pull the thread until it is tight to the eye and then use your thumb and forefinger to pull the thread over the eye itself. This will make a small “knot” that will hold the thread to the needle


Sew the French Link stitch journal
The method I’ll show you today is the most basic (and easiest, in my opinion). I prefer to sew my books from back to front starting at the tail. This keeps all starting errors at the back of the book instead of the front.
If you get confused and are able, feel free to watch the video!
Step-by-step:
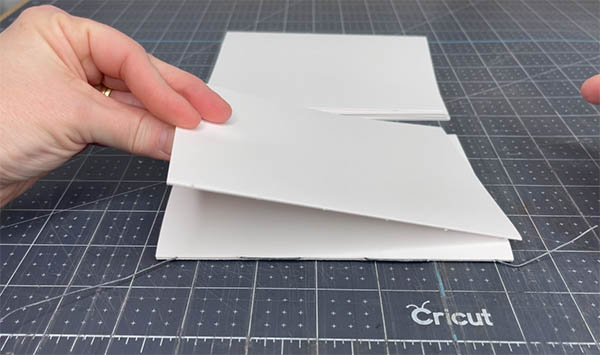
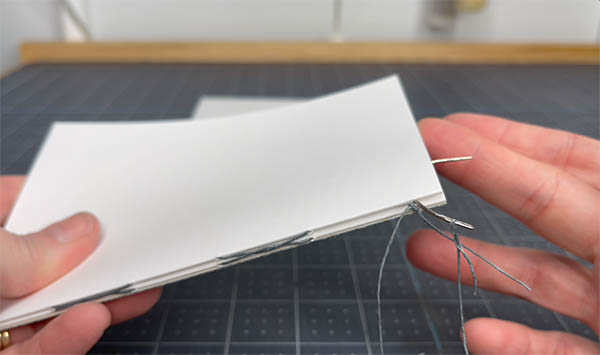
Start outside the book at the last sewing station at the bottom of the back (or, last) signature
- Move into the signature from outside to inside through the very last sewing station at the bottom/tail.
- Pull the thread until about 2″ of is left outside (we call this a “tail”)


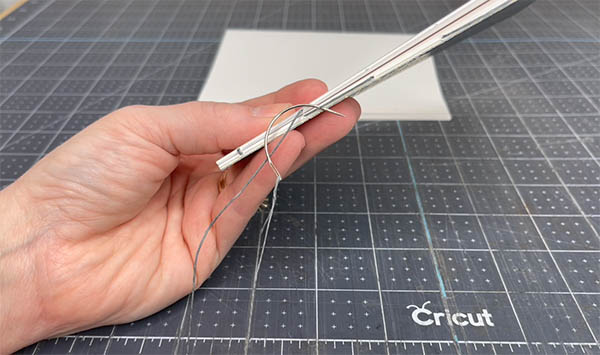
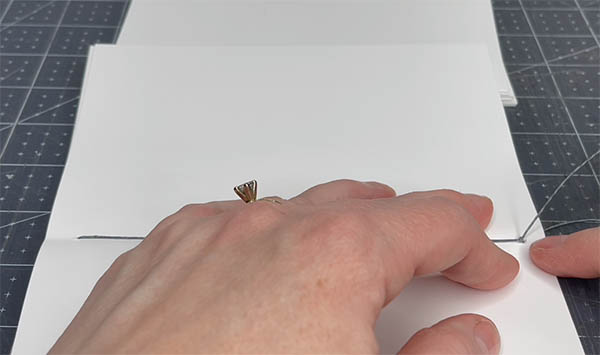
- Now pass the needle (through the next hole up) from the inside to the outside
- Hold the tail with one hand and use the other hand to tug the thread. This adds tension
- Repeat this process until the needle is outside the final sewing station at the top of the signature


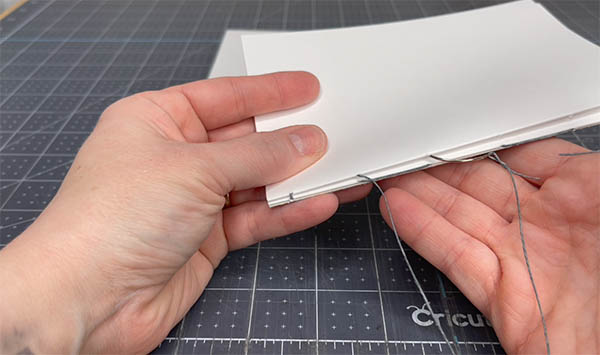
- Add the second signature and return the needle into the first sewing station at the top
- Once inside, pass the needle back out through the next hole down. Pull until all of the thread is outside
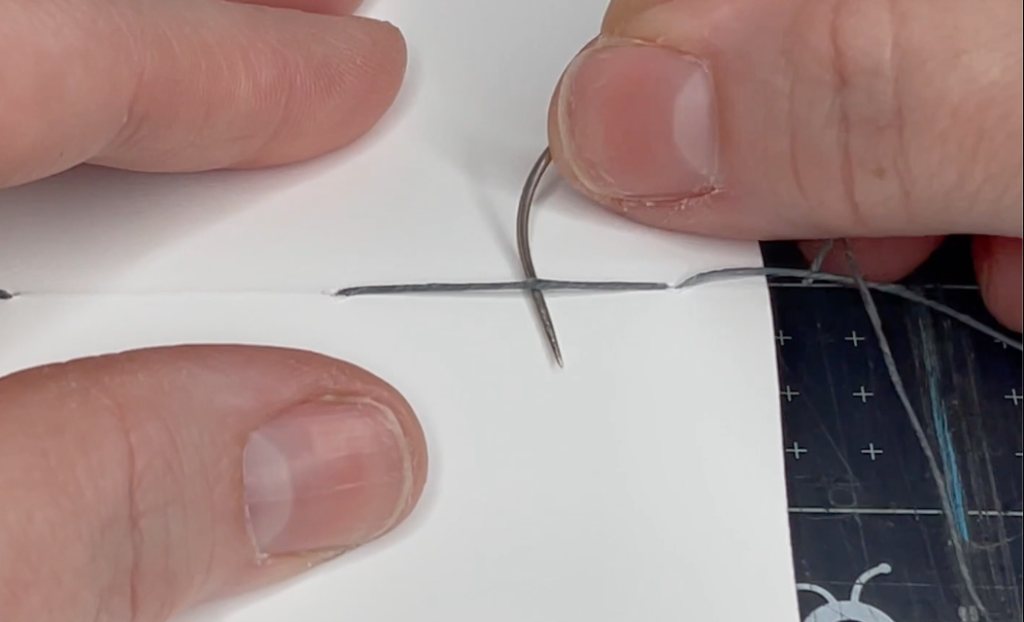
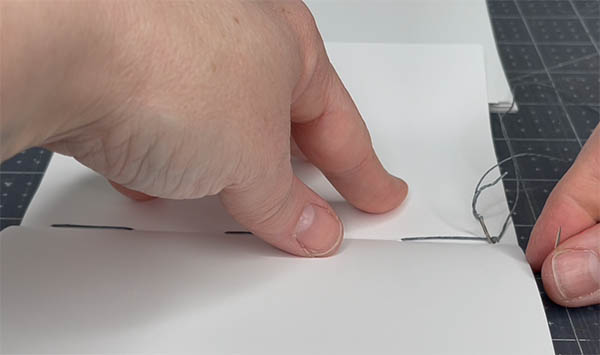
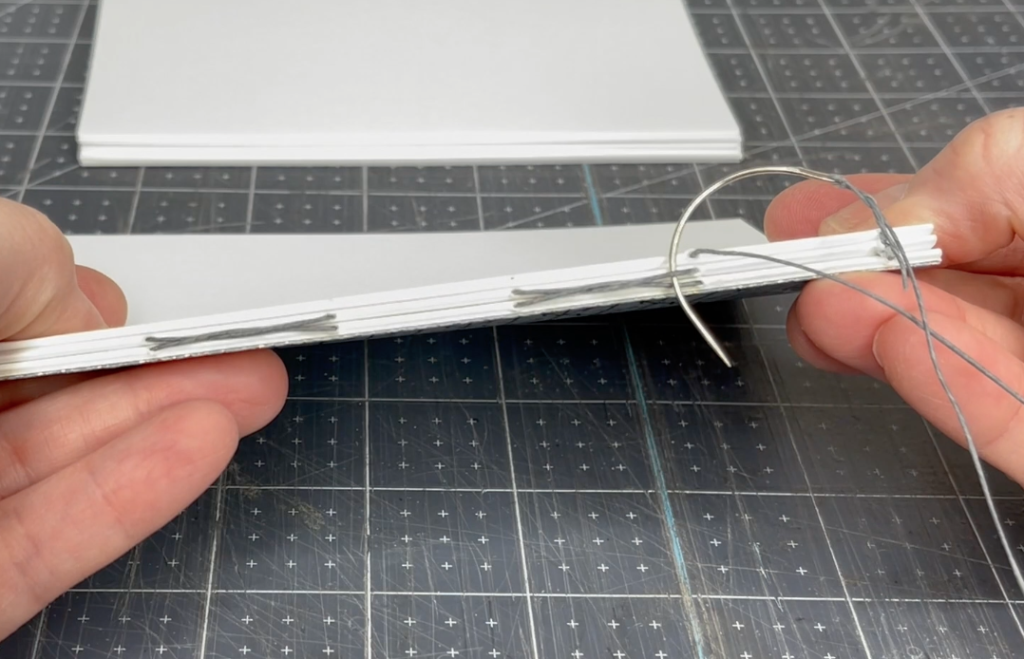
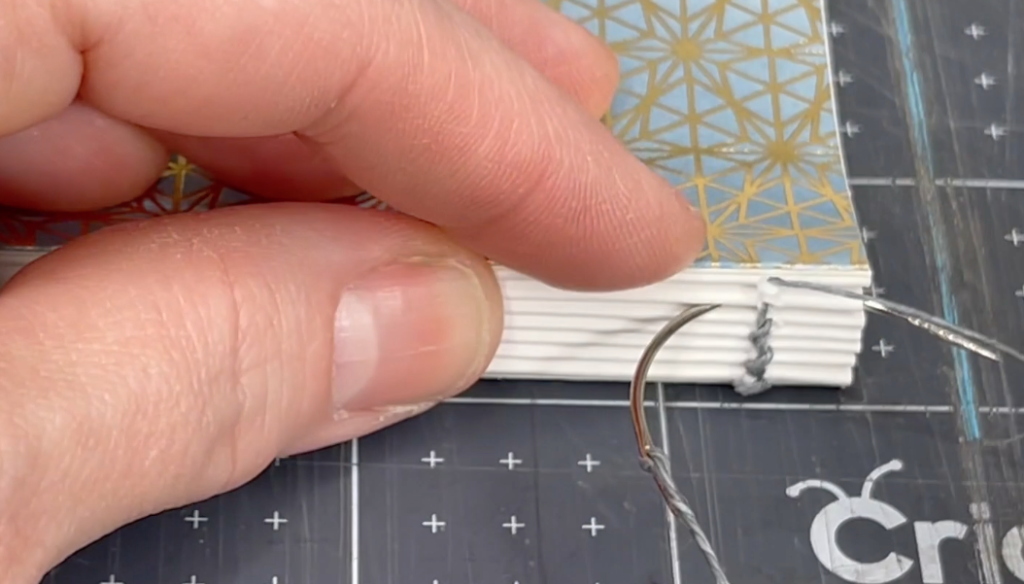
- To create the first French Link stitch, go ahead and slip the needle behind the thread directly below (see pictures), keeping the thread as close to the sewing station hole as you can
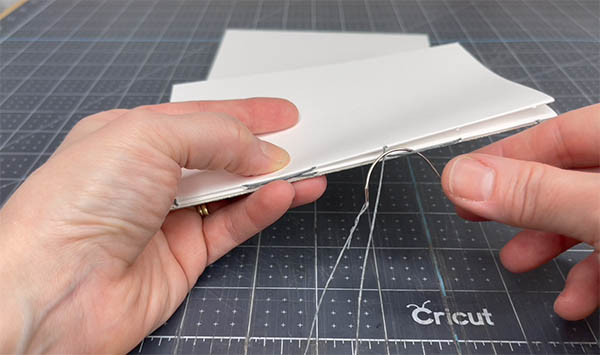
- Now return the needle into the next sewing station of the second signature, from outside to inside
- Once inside, pass the needle back out through the next sewing station down. As you pull the thread outside, you’ll notice the characteristic French Link Stitch (“x” pattern) start to form
- Repeat the process to form the next French Link
- Now return the needle into the next sewing station of the second signature
- Once inside, tug the thread to add tension
- Exit the signature through the next sewing station down, which should be the last sewing station


- Tie a simple knot to attach the needle thread to the tail you left behind at the beginning
- Pass the needle back into the signature through the same sewing station, using care not to accidentally pierce the knot you’ve just tied
- Once inside, tug until the knot pops through the hole and sits inside the crease of the signature
- Now move the needle back out the same hole and pull until all thread is outside the book. **Be careful not to pull the knot back outside!
- Once outside, trim away any excess tail and use your thumbnail to press any bulge back into the signature
Optional: if you’d like, you can add a second knot to the inside of the signature before returning the needle outside. Photos below.
- Add the third signature and pass the needle into the very last sewing station. Tug until the thread is inside the signature
- Move the needle from inside to outside the signature through the next sewing station up
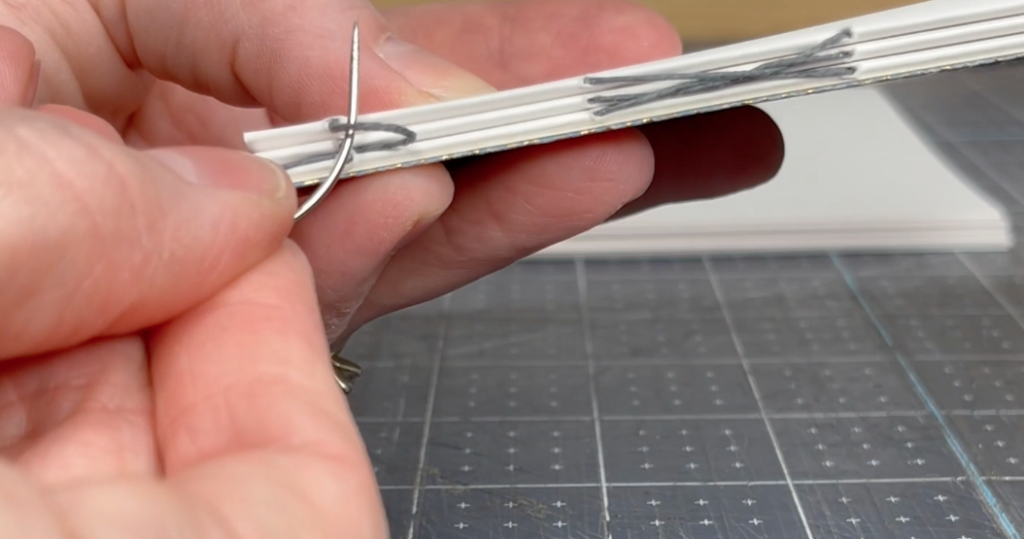
- Slide the needle behind the thread directly below. Make sure you only pass behind the most recent thread of the second signature, using care to stay close to the sewing station (see photos)
- Now re-enter the signature through the next sewing station up and tug until the thread is inside
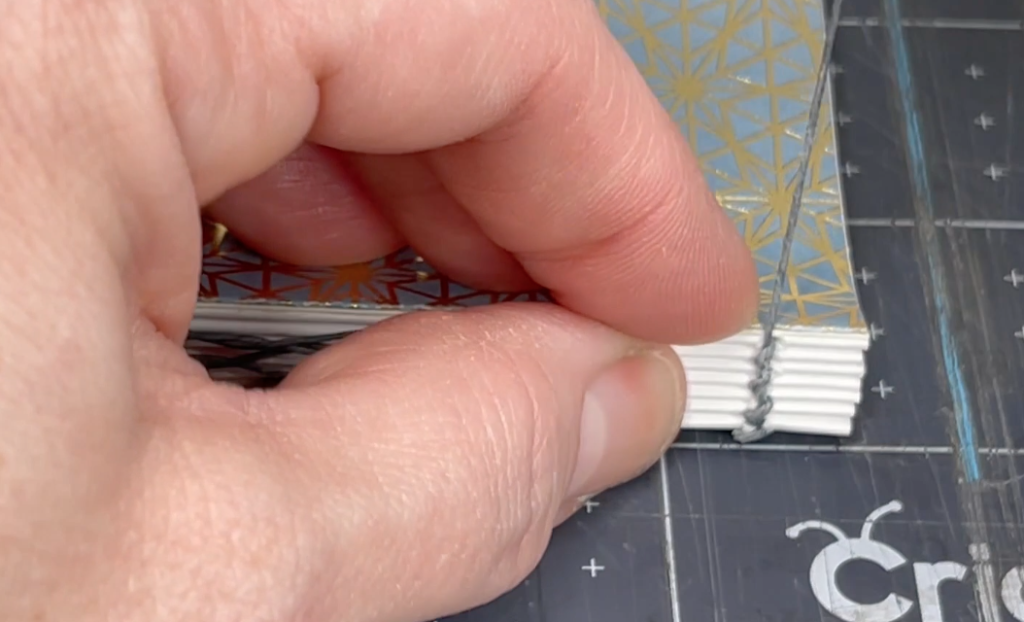
- Give the thread another small tug to tighten (you will see the X pattern tighten up along the spine)
- Exit the signature through the next sewing station and repeat the process for the X pattern
- Once you’ve reached the final sewing station, move the needle outside. It’s time to tie a Kettle stitch!


Sewing the Kettle stitch
The Kettle stitch is important in bookbinding. We use it at each end of the book, before a new signature is added, to ensure the signatures are held tightly together. It’s very easy to do!
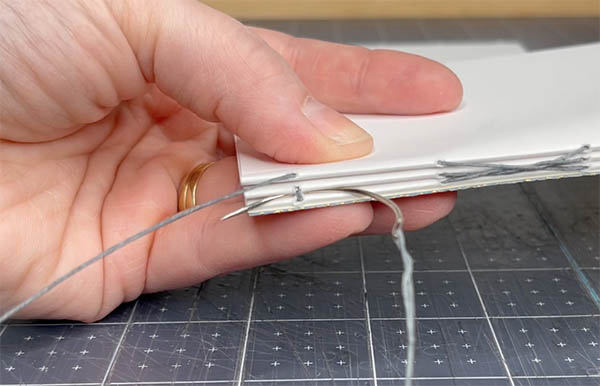
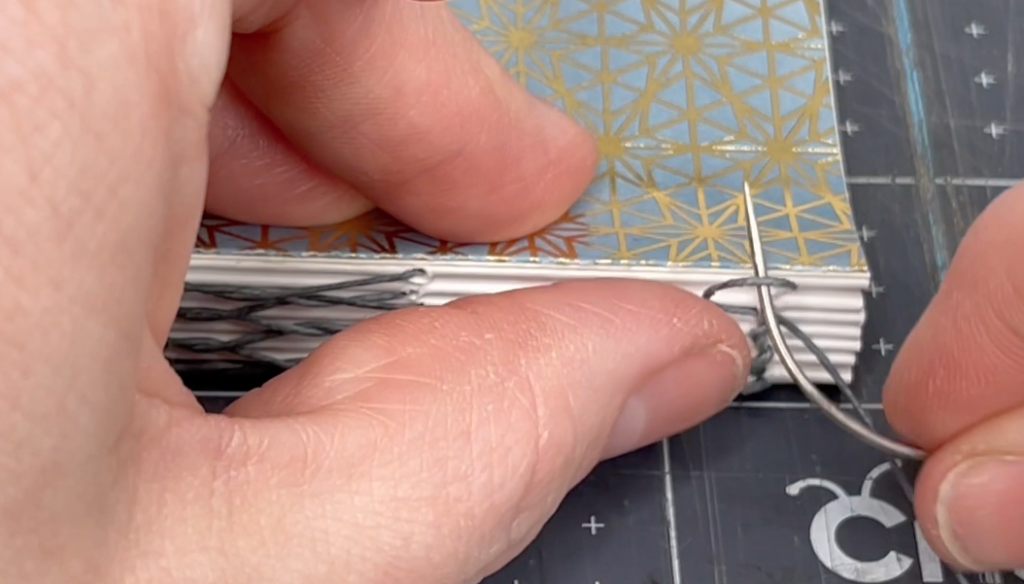
- Slide the needle behind the thread holding the previous two signatures together (see photos)
- Pull the thread until a small loop forms. Be careful not to pull the loop out
- Make sure the signatures are flush at the top, then move the needle through the loop and pull up to form a knot holding the signatures together. This is called a “Kettle stitch.”
- Once the Kettle stitch is in place, add the next signature on top and continue the sewing process
Continue sewing + remember your Kettle stitches!
Once you’ve reached the last sewing station at the end of each signature, remember to tie your Kettle stitches!


Completing the book
- Once you reach the last sewing station of the final signature, your needle will be outside
- Sew the final kettle stitch
- Now move the needle back into the signature through the same (last) sewing station. Be careful not to accidentally pierce the Kettle stitch knot you’ve just created
- Once inside, pull until all of the thread is also inside
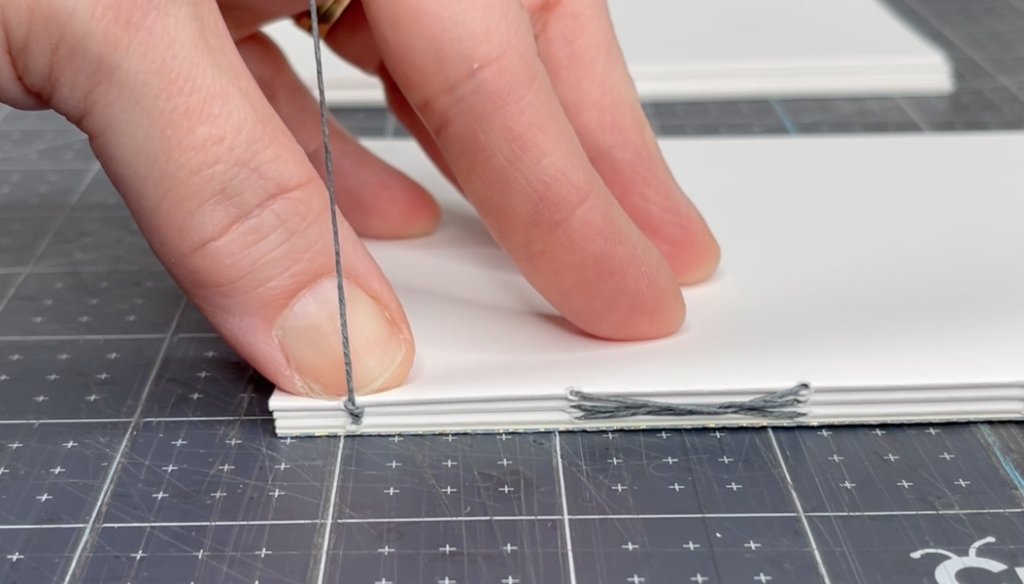
- Create the final knot. To do this, pass the needle behind the thread of the previous stitch (see photo)
- Pull the thread until a loop forms
- Move the needle through the loop and pull until a knot forms (photos below)
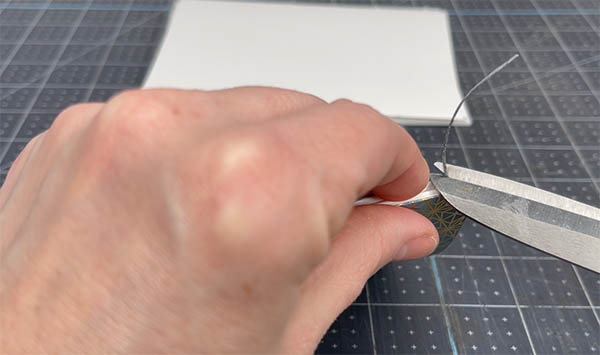
- Clip away excess thread, leaving about 8-10mm tail behind. Tuck the tail behind the thread of the previous stitch or, if preferred, cut the tail short enough so that it can lay inside the signature without sticking out the end of the book
- Close up the book and press under weight (overnight preferred, but several hours should do the trick)

Admire your new French Link stitch journal 🙂
Full Video: Bookbinding Tutorial | DIY Softcover A6 size French Link Stitch Journal
Watch the entire process from start to finish in this full length video with every step and more visuals.
I hope you enjoyed this tutorial!
Complete book materials kits
Each kit includes all the tools, supplies & materials to make one beautiful book.
More bookbinding goodness
✨ What tools do I need to get started bookbinding?
- Bookbinding Tools & Supplies Quick Start Guide – learn all about book making tools, which to buy first & where to go online
- Pick up my popular Complete Starter Bookbinding Tools Kit – all the bookbinding essentials in one spot
🌟 Looking for a simple way to start making books?
Try a Complete Book Materials Kit. Each one has everything you need (+ tutorials & videos) to make a beautiful book without all the fuss.
Thank you for taking me along on your book making journey!
Misty


