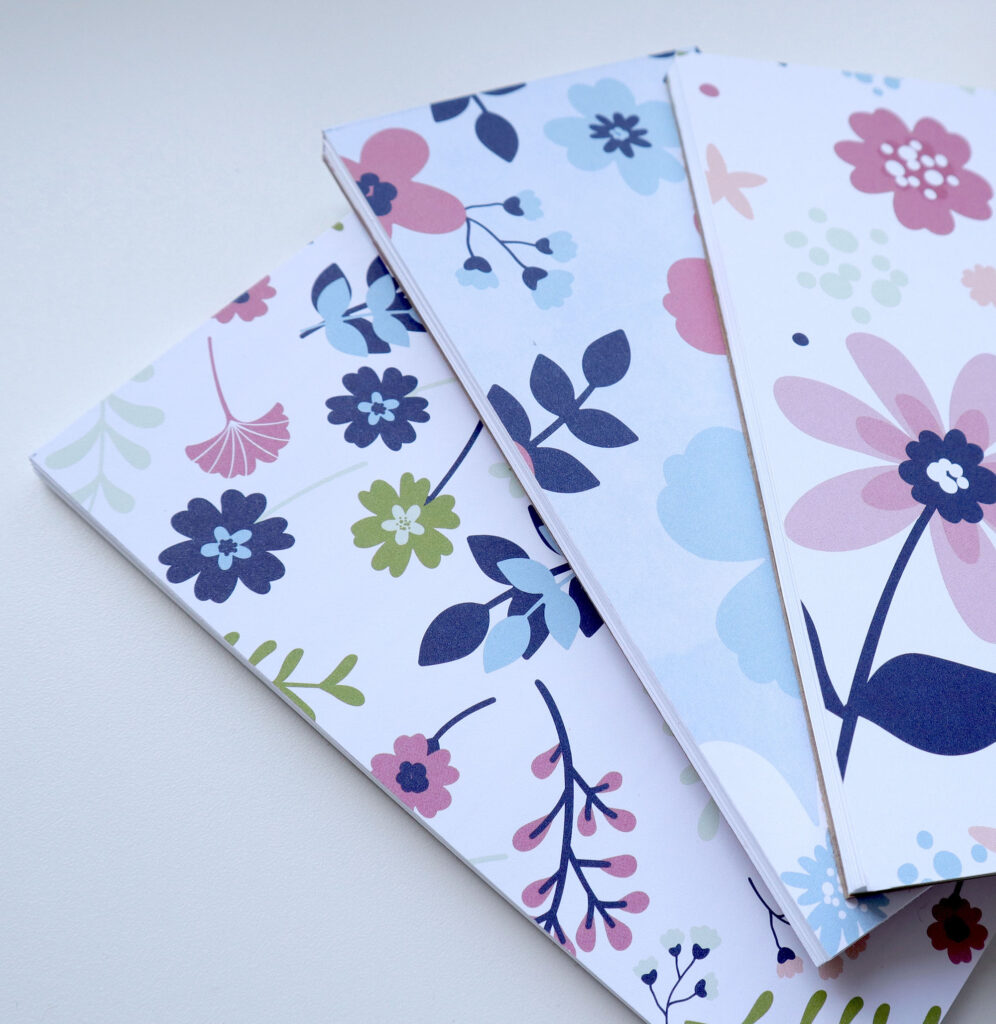
I’m a stationery freak, so this bookbinding tutorial for a notepad makes complete sense. At any given point in time, I have 4-5 notepads and notebooks in circulation for various tasks. To-do lists, reminders, quick quotes, tracking weekly allowances for my kids, etc. Thankfully, bookbinding provides me with a plethora of extra scraps of paper that need to be used up, so why not turn them into a gorgeous notepad?
To create this trio of notepads (you can make just one or go for all three – up to you!), I’m using the Perfect Binding method. This method is incredibly simple as it requires zero sewing and very few tools. I’ll be walking you through each step below, so don’t worry if you’re not yet familiar.
Oh! This bookbinding tutorial for a tear away notepad is also Earth-friendly. I recycled my old Canson sketch books to get the book board for the bases and used only extras or scraps of card stock and paper for the filling and cover. I encourage you to look around your craft room or home to see if there is anything you can recycle to make these even more special.
Bookbinding Tutorial: Tear away notepad
Measurements: 6-1/2″h x 3-3/8″w x 5/16″d
Cost Level: $
Skill Level: Beginner Bookbinder
Total Time: 45 minutes + dry time
Materials:
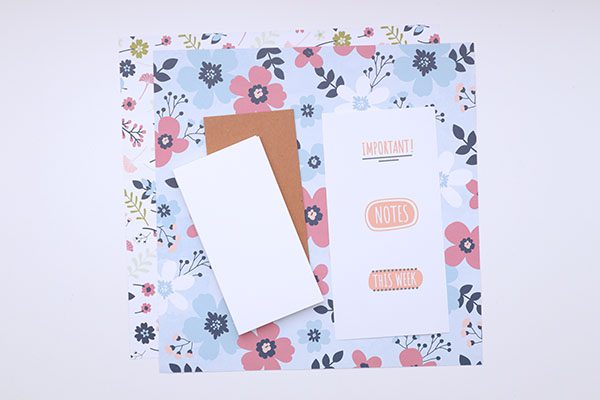
Paper
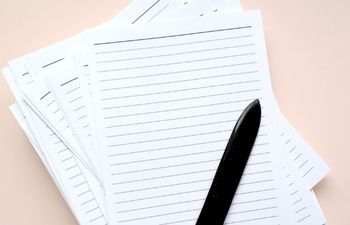
- 40 single sheets of 70 or 80lb text weight paper, cut to size 6-1/2″h x 3-3/8″w
- a sheet of card stock, any color or design, cut to size 6-1/2″h x 3-3/8″w
- a piece of 0.80 bookboard or thick card board, cut to size 6-1/2″h x 3-3/8″w (I recycled the back of a Canson sketch book and was able to make three of these notepads!)
- 1 longer sheet of card stock, any color or design, cut to size 8″h x 3-3/8″w
- 1 sheet of wax paper, cut to size 6-1/2″ x 3-3/8″
- 2 pieces of newsprint or scratch paper
- Optional: Decorative embellishments (die cuts, stickers, etc.)
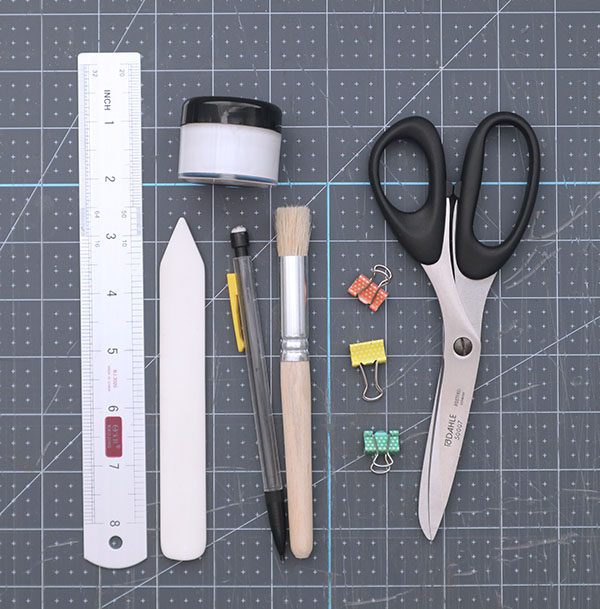
Tools
- 2-3 binder clips at least 1/2″ wide OR two easy grip clamps that won’t damage paper
- Bone folder or any tool that can be used to score a line without tearing paper
- 12″ ruler
- Elmer’s glue or PVA adhesive
- Paste brush OR use your fingers ?
- Heavy book or similar weight in a size larger than the notepad itself (this will press the notepad until dry)
- Scissors or paper trimmer
Steps:
Create the text block (notepad)
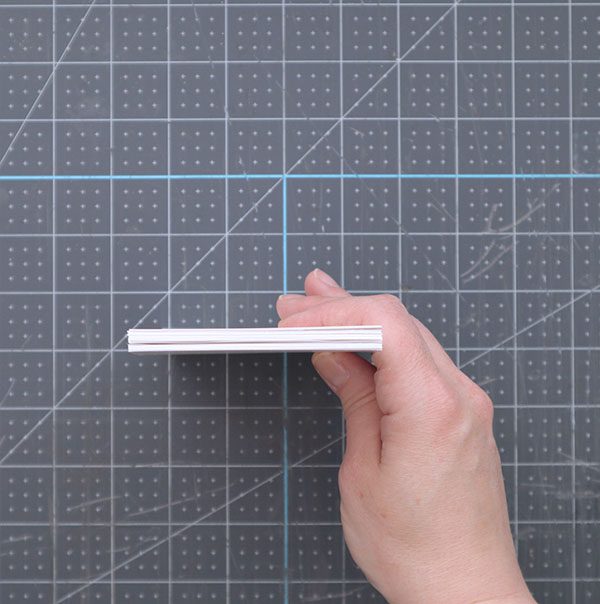
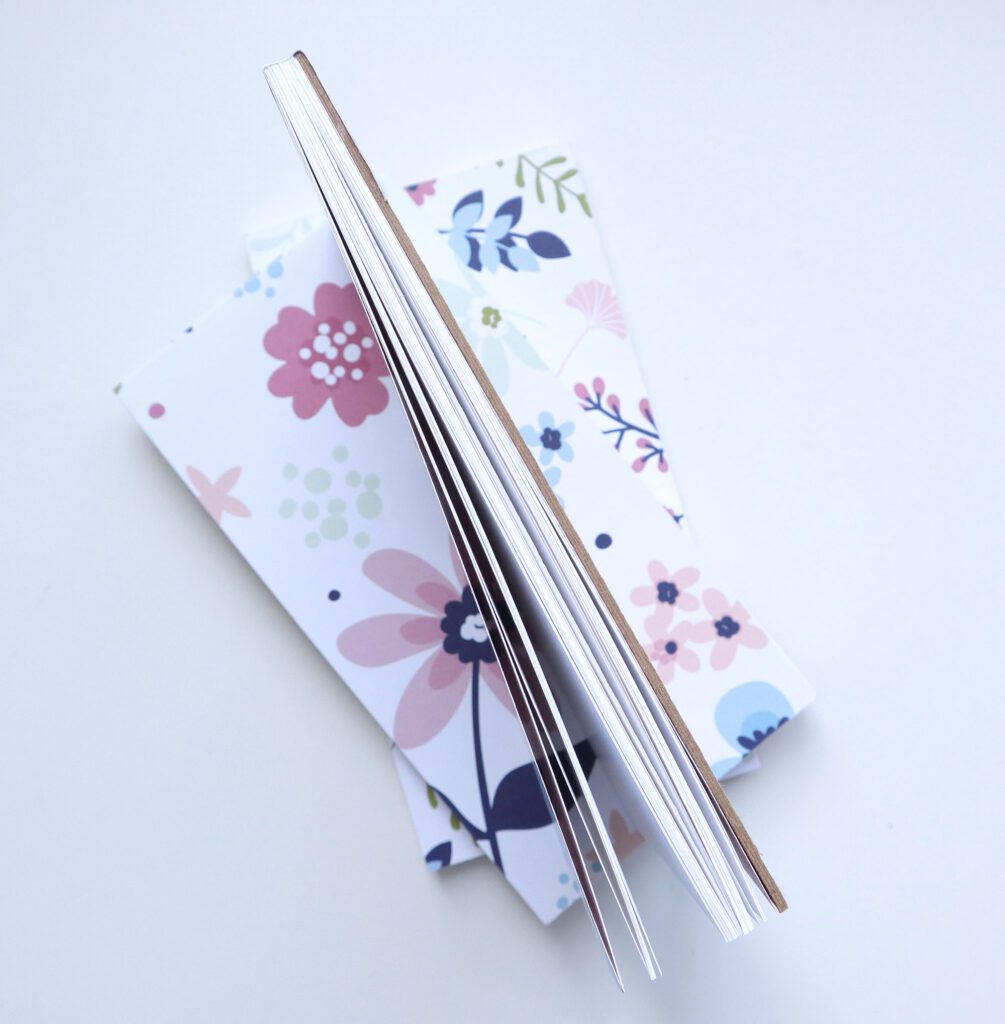
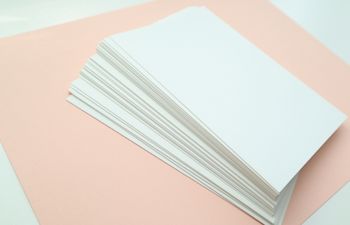
- Gather the loose sheets of paper into a block with the short sides parallel to the table. Tap the block until one side is completely flush. The “rough” side will have glue and become the spine (photo #1).
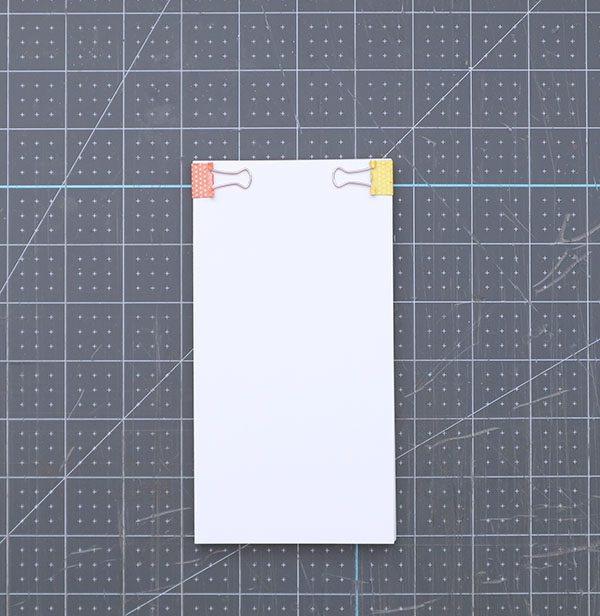
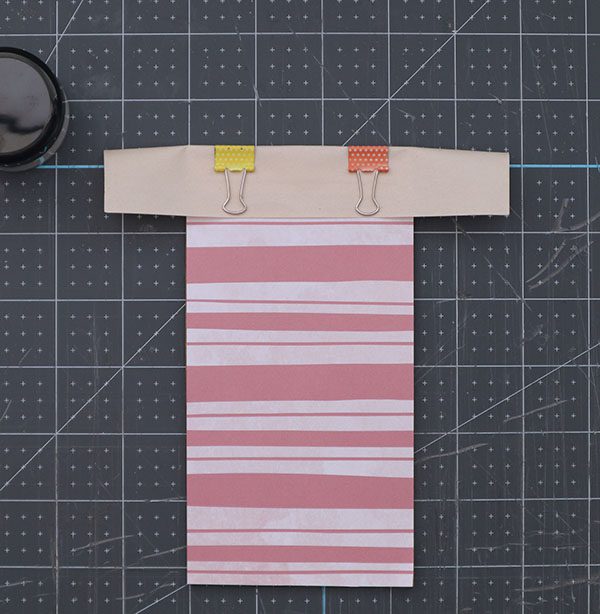
- Place binder clips or clamps on each side of the stack to hold the paper in position. The clamps should be as close as possible to the area where glue will be applied, save for 1-2mm (photo #2).
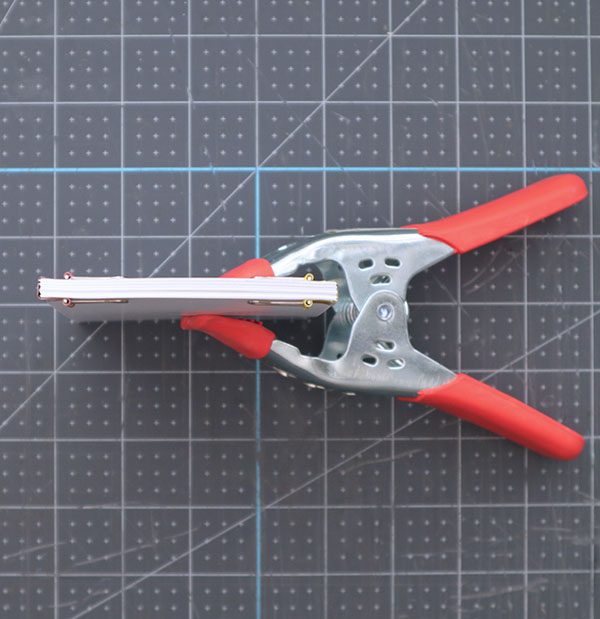
- If possible, stand the stack up using a clamp or your free hand (photo #3).
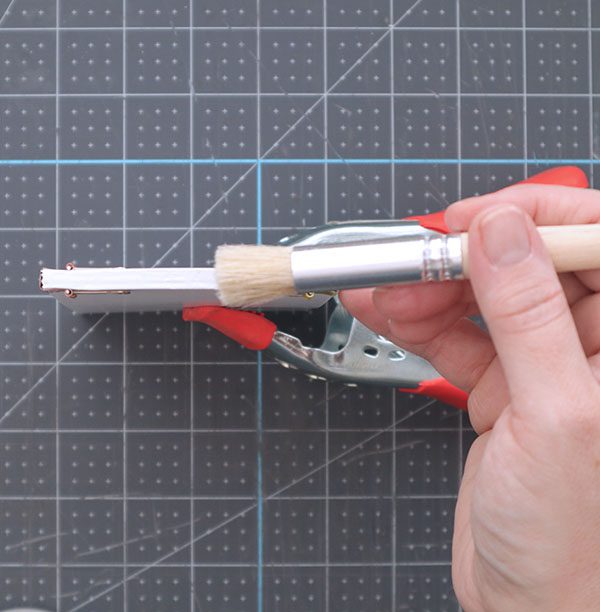
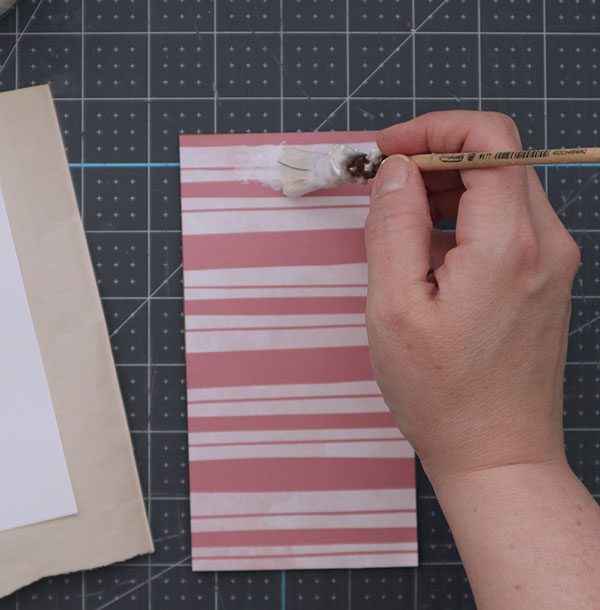
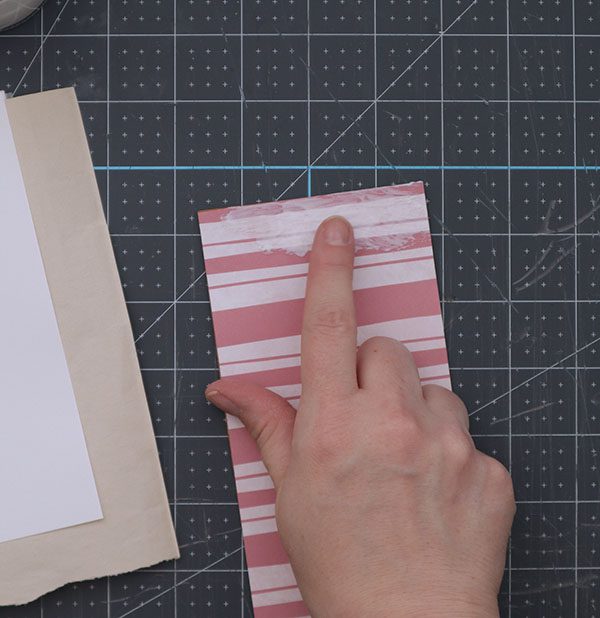
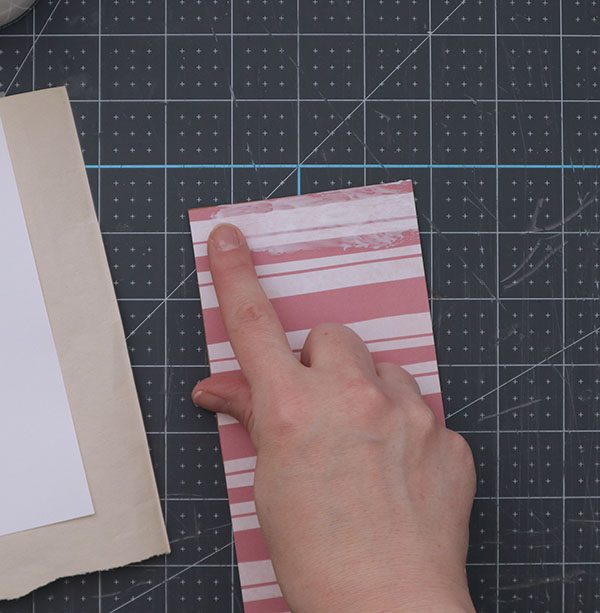
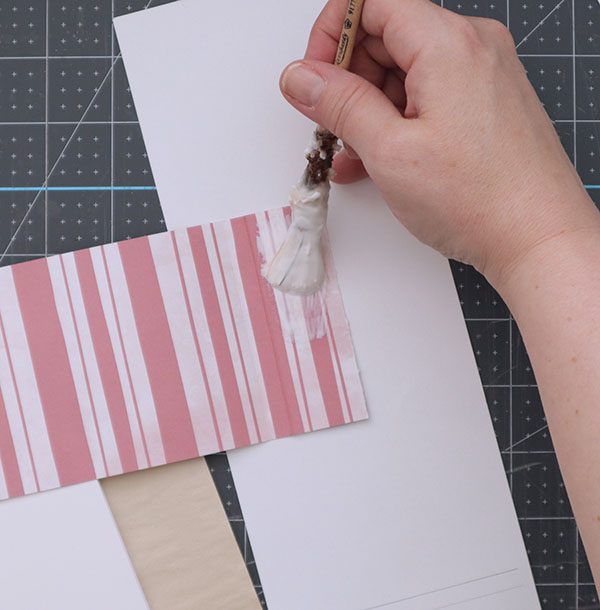
- Starting at the center of the rough short side, apply a layer of glue with your fingers or paste brush. Always work from the center to the outer edge on each side (photo #4). This is the book’s spine.
- Allow the glue to dry (usually around 2-5 minutes). Repeat this process for a second and third layer of glue, always allowing each application to dry before adding another.
The text block is complete!
Score the cover
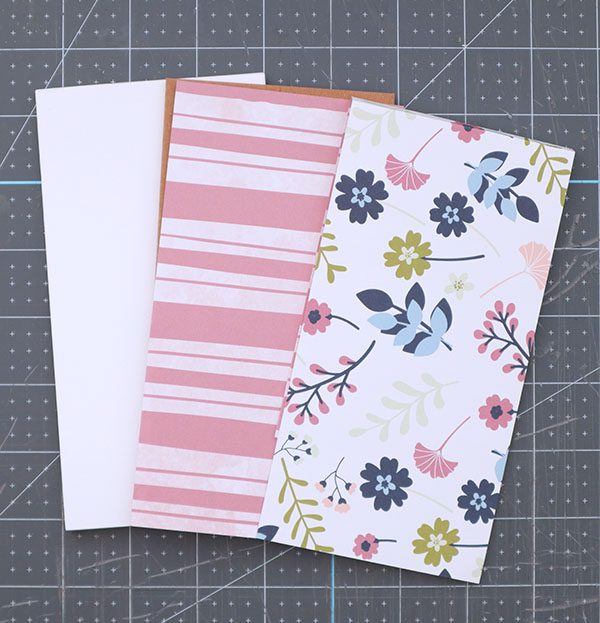
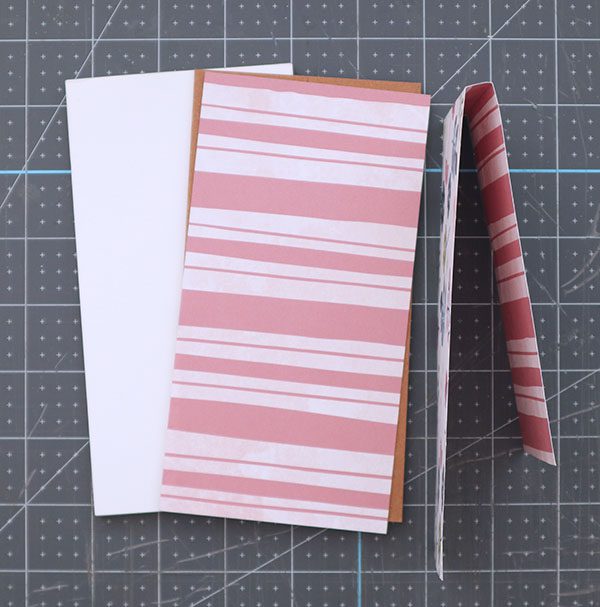
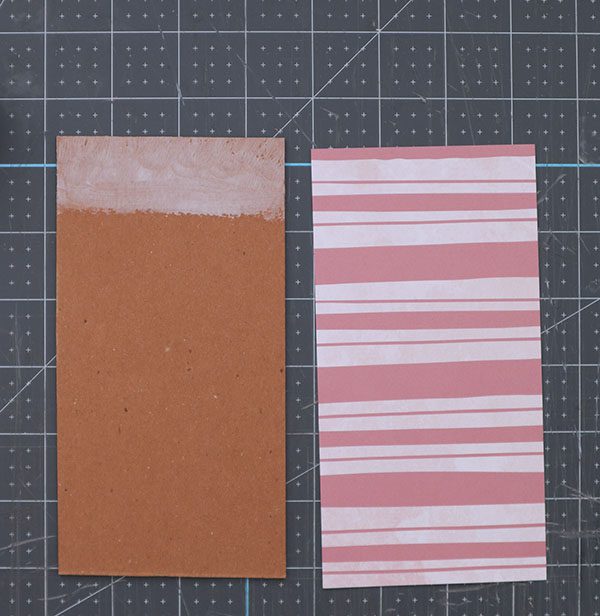
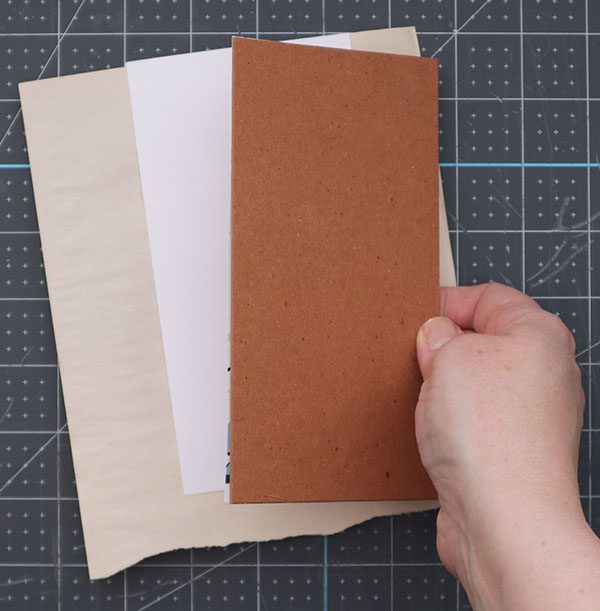
- Gather the now-dry text block, book board and two pieces of card stock (see photo #5).
- First, grab the text block and book board. Measure the thickness of the text block + the book board by stacking the text block and book board together. Secure them with a clip or clamp and measure the thickness with a ruler. Mine measured 5/16.”
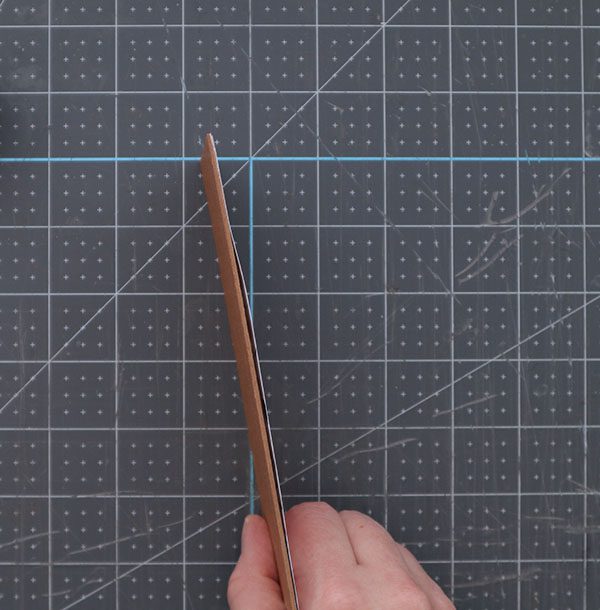
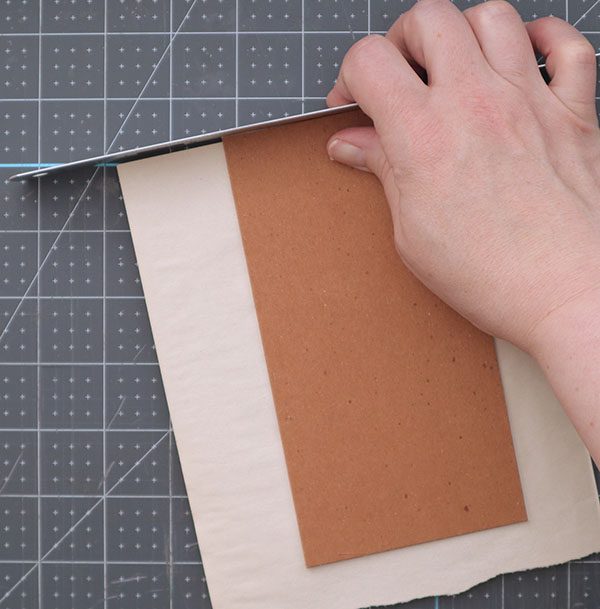
- Next, grab the long piece of card stock. Using a ruler and bone folder, create two score lines (photo #6):
- Score at 6-1/2″ (the height of the notepad)
- Add 6-1/2″ + the measurement you gathered in Step 2 to find the position of the second score line. Since my measurement from Step 2 was 5/16″, my second score line was made at 6-13/16.”
- After both lines are scored, there should be about 1 to 1-1/2 inches of extra card stock. This will be the back flap (see photo #19).
Create the decorative base
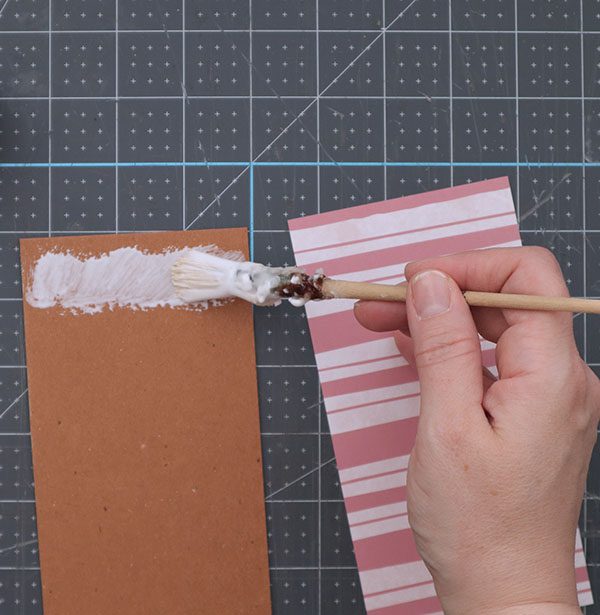
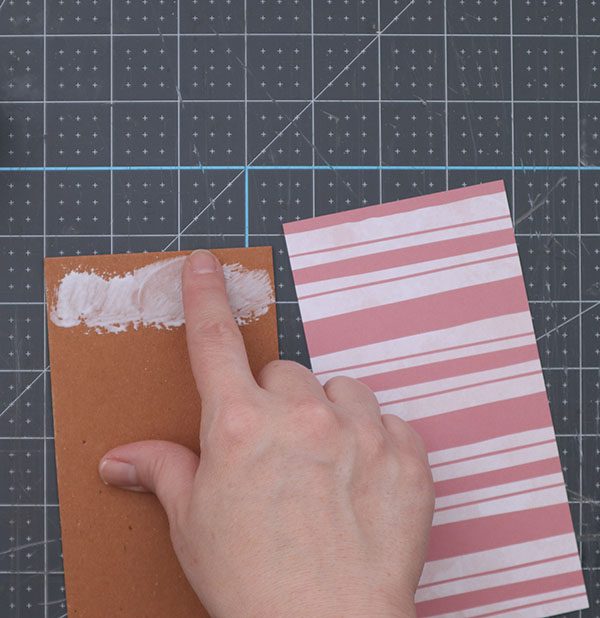
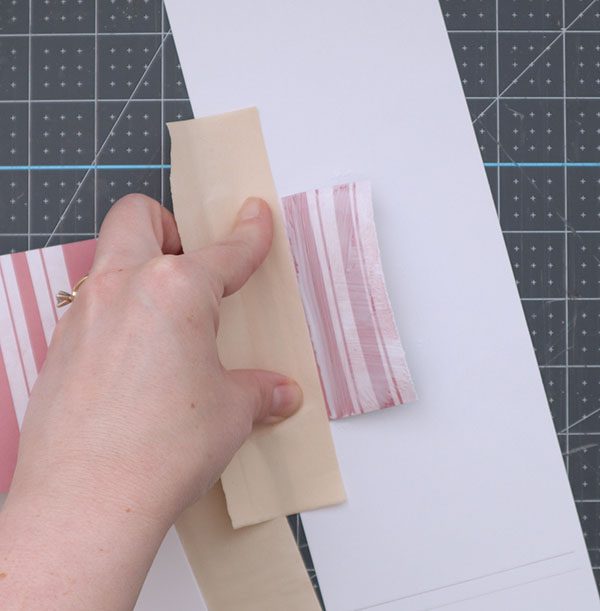
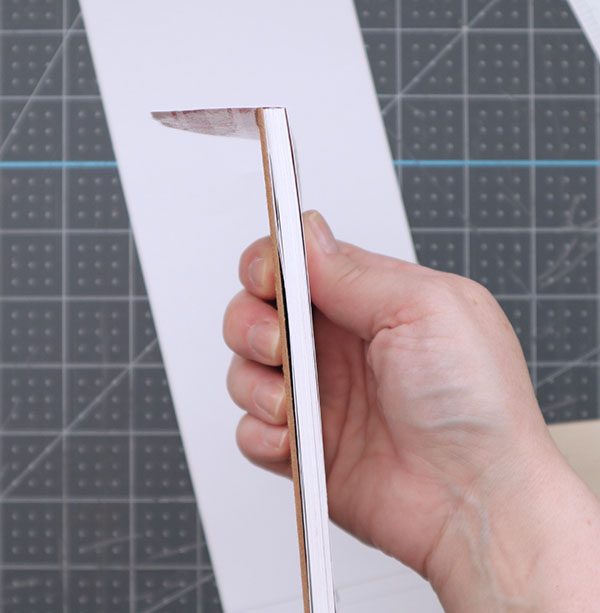
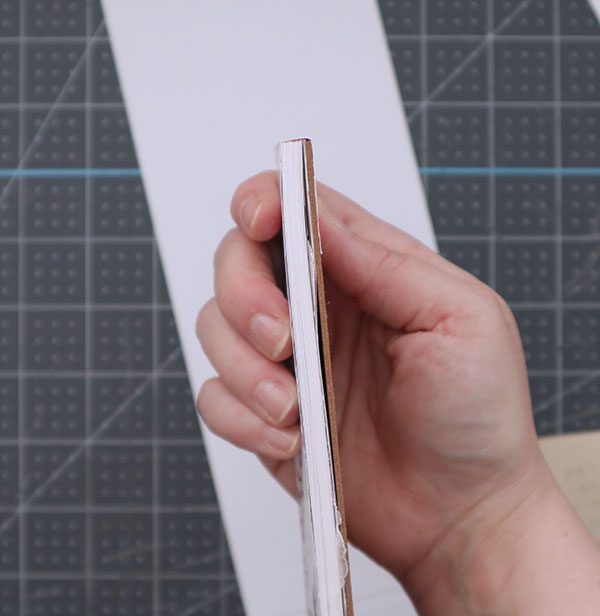
- Add a 3/4″ strip of glue to one end of the book board (photos #7, 8, 9). Using your finger, spread the glue around to create a thin, even layer.
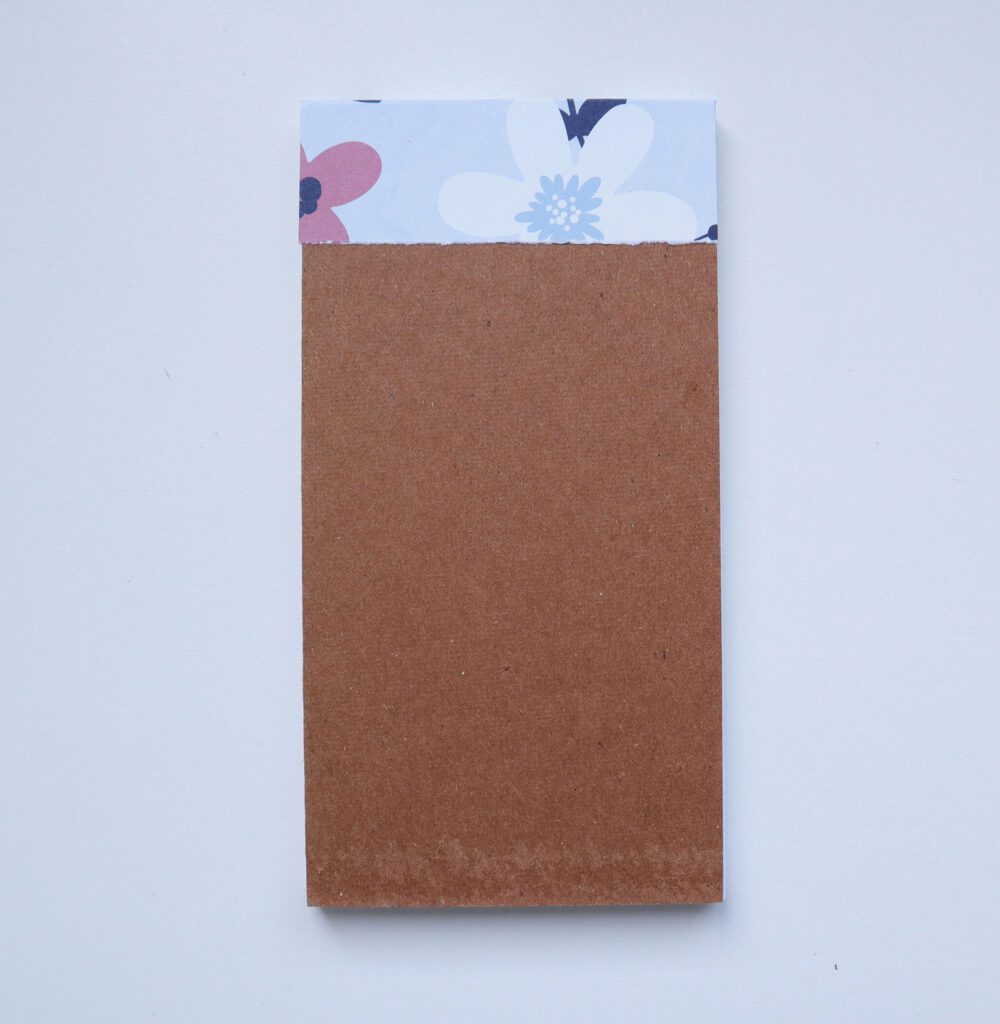
- Apply the short piece of cardstock (6-1/2″ x 3-3/8″) and press firmly at the top to adhere. Swipe away any excess glue (photo #10). This is the decorative base.
- Fold a 1-2 inch piece of scratch paper or newsprint over the glued area and secure with clips or clamps. Set aside to dry (photo #11).
The decorative base is complete!
Combine the text block + decorative base
- Once the decorative base dries, it’s time to join it with the text block. To do this, add a layer of glue to the top of the decorative base. Spread with your finger so it becomes a thin, even layer (photos #12, 13, 14).
- Press the decorative base onto the back of the text block. Since the text block is white on both sides, choose whichever side works best for you (photo #15).
- Using a ruler, press the decorative base and text block together so they’re flush at the top (photo #16). The order will look like this from top to bottom: white text block – decorative cardstock – book board.
- Place a sheet of wax paper and newsprint between the last sheet of paper and the rest of the text block. This will allow the last sheet of the notepad to adhere to the decorative base without the glue moisture seeping into the rest of the paper (you can see I’ve done this in photo #15).
- Apply clamps to hold the text block and decorative base together. Set aside to dry.
The text block has been joined with the decorative base, which means we’re almost done!
Complete the notepad
- Before beginning, be sure to fold the long piece of card stock on both score lines.
- Apply a layer of glue staring at the first score line out over the back flap (see photos #17, 18).
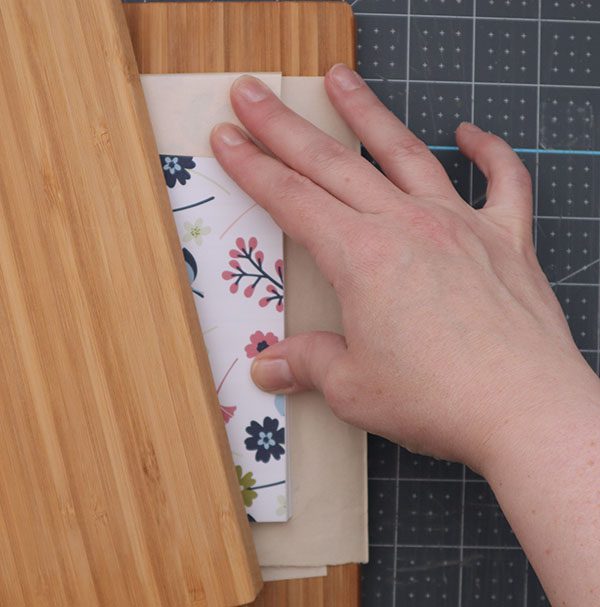
- Carefully lay the cover over the finished text block and base, pressing the cover onto the spine of the notepad (photo #19).
- Finally, fold down and press the back flap to the book board. Use a bone folder to smooth and remove any excess glue (photo #20).
- Lay the finished notepad (it will still have wax paper and newsprint inside the text block) onto a sheet of newsprint. Press under weight for at least 30 minutes. I recommend pressing over night if you can, just to be sure all the moisture is absorbed (photo #21).
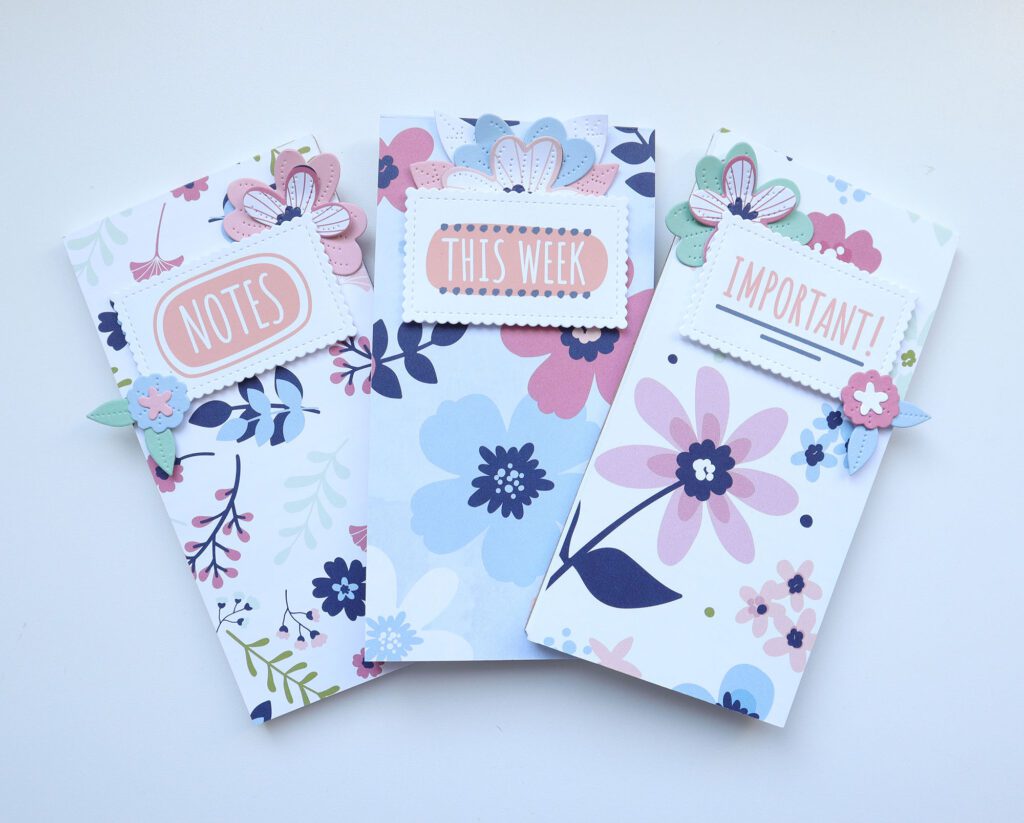
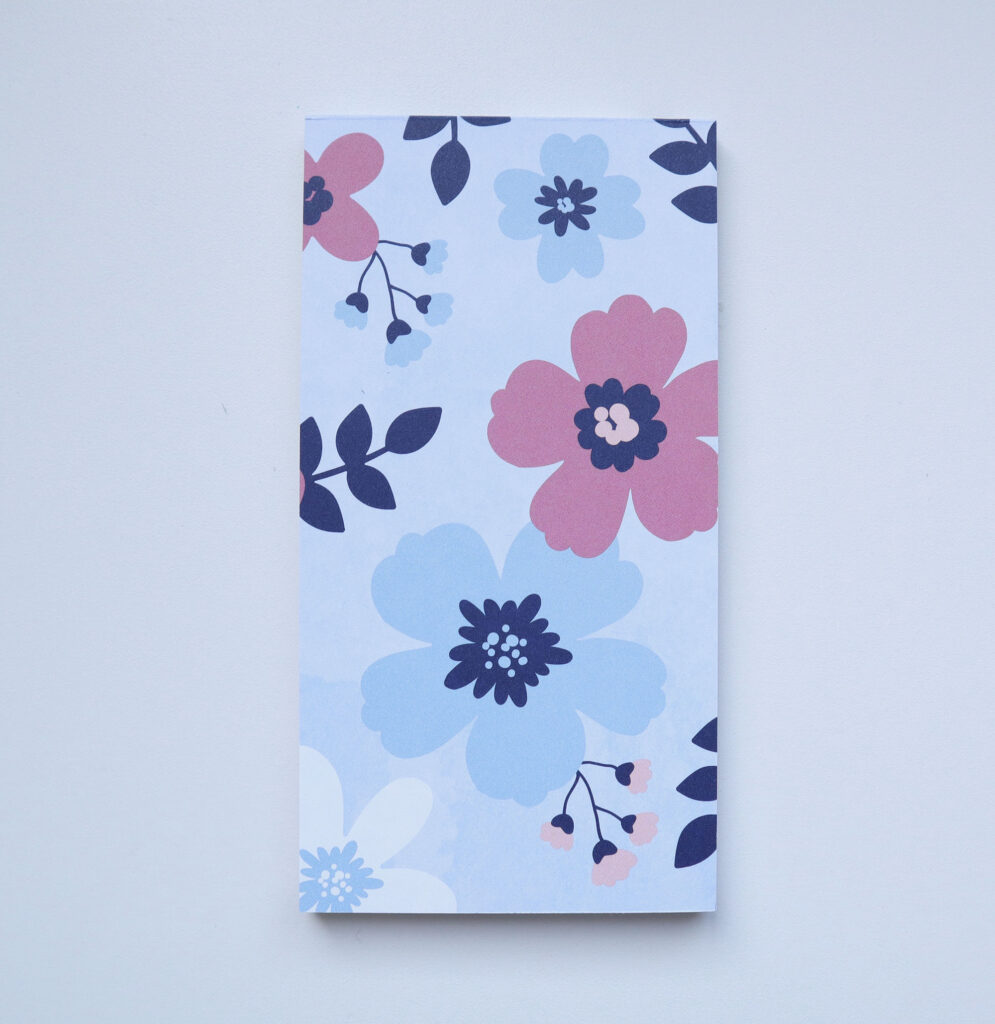
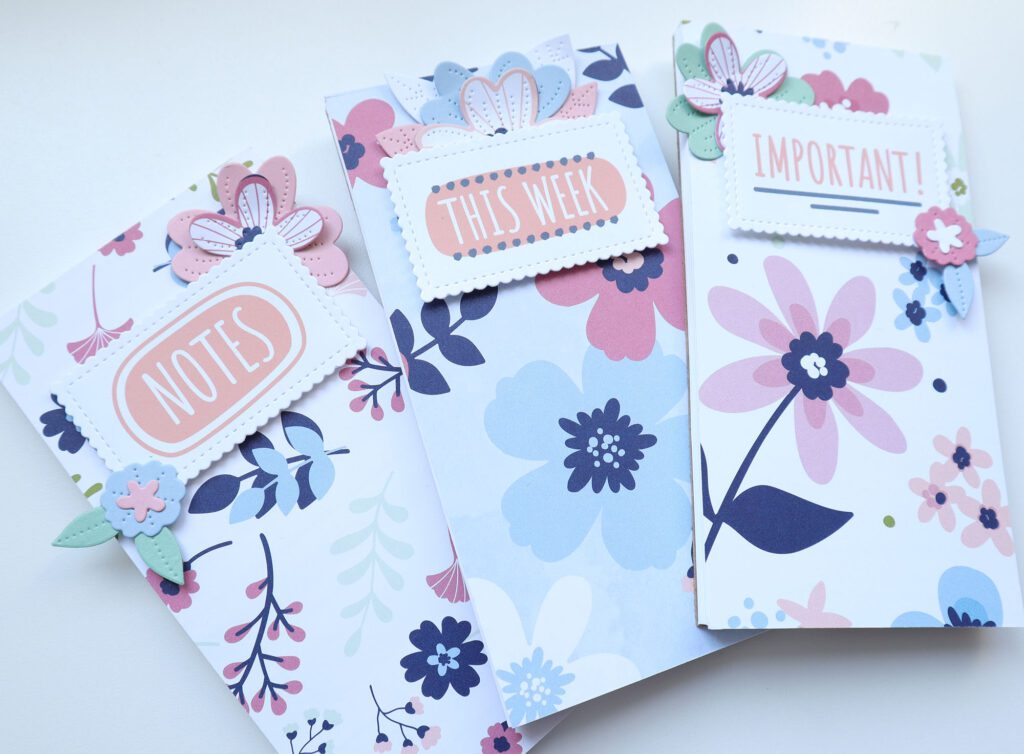
Your finished notepad should look something like this:
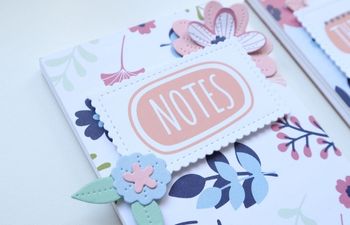
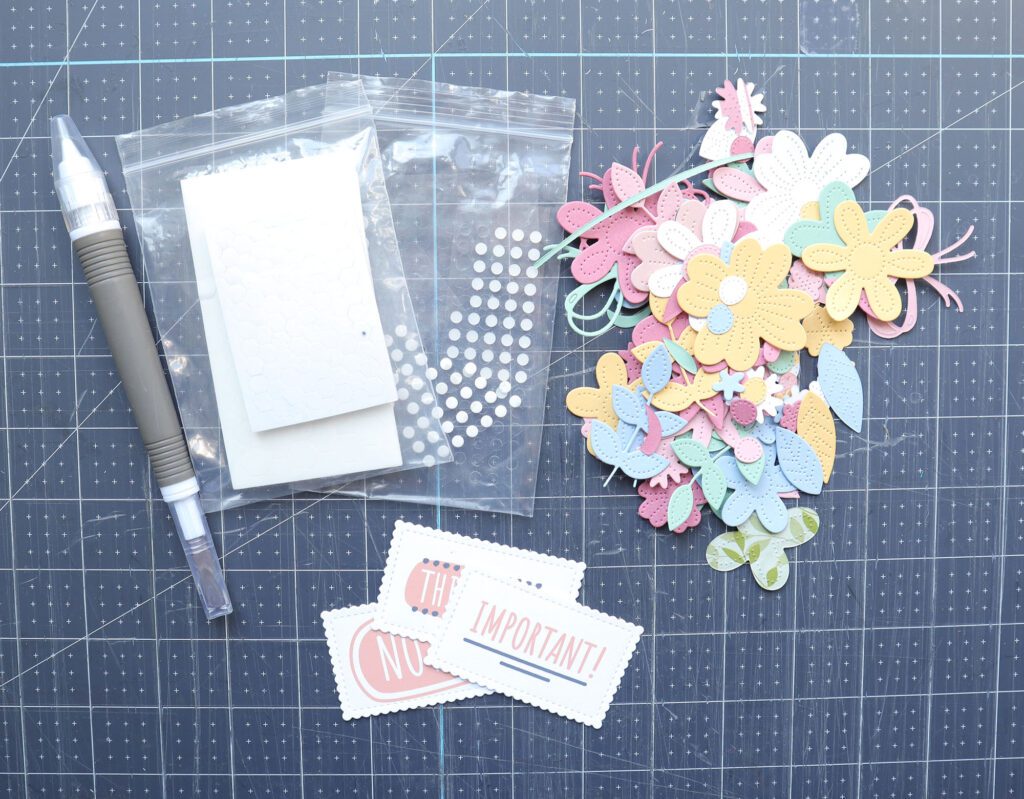
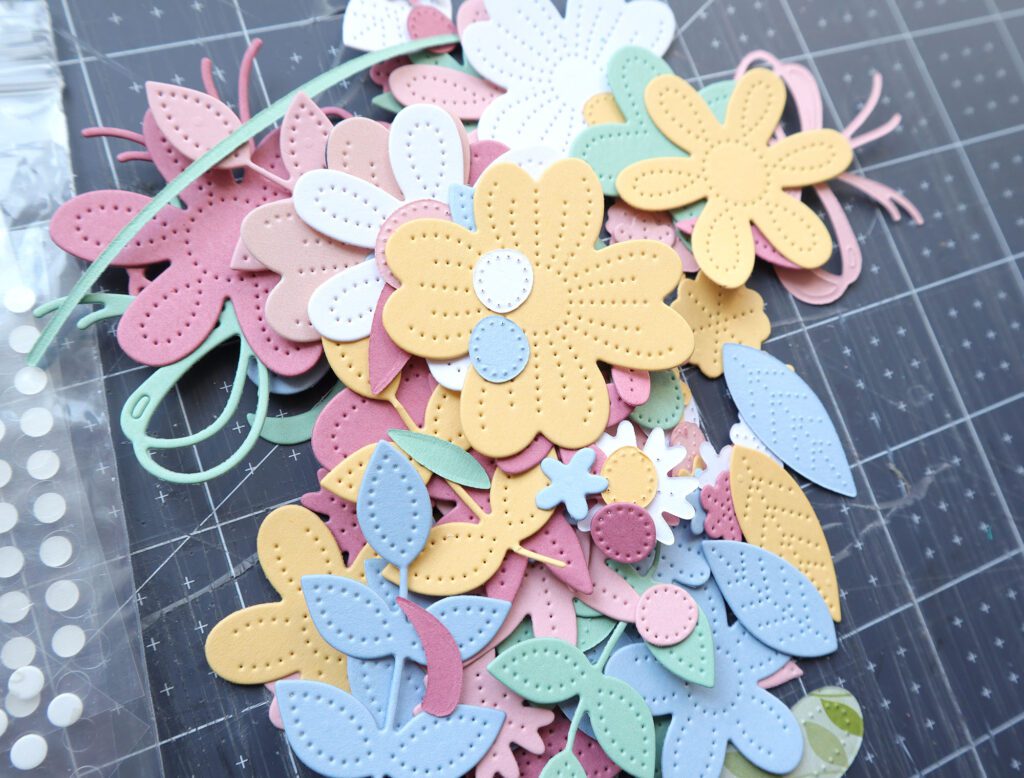
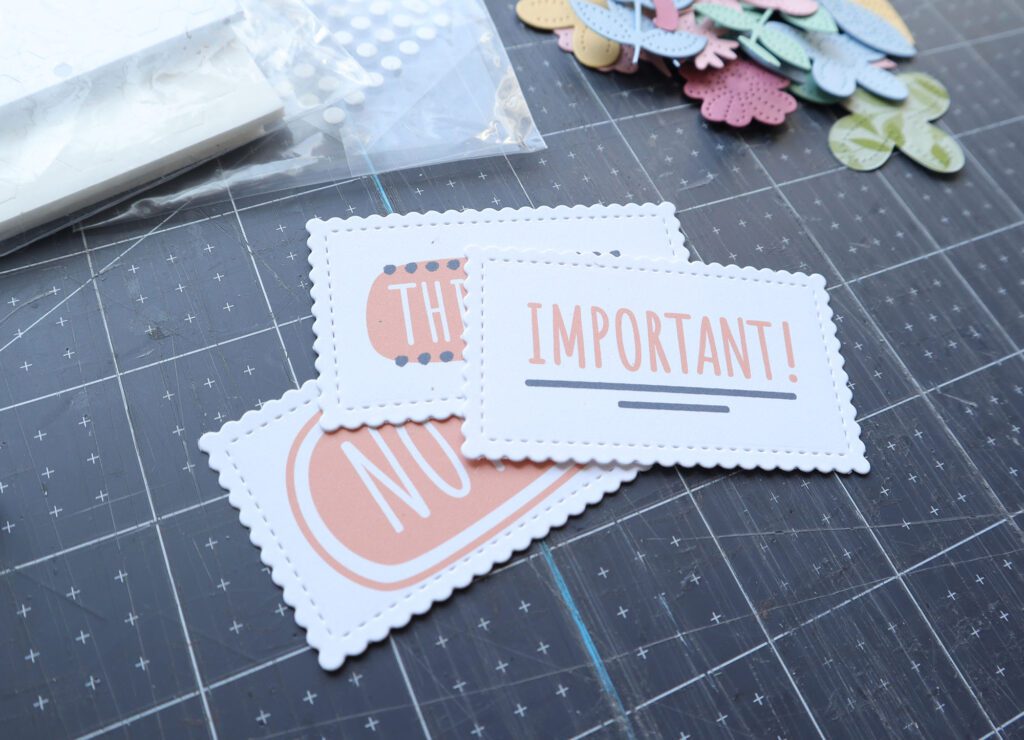
Optional: Decorate the notepad
Feel free to decorate the top of the notepad using whatever you like! I used my stamps and die cut machine to make some cute title cards and flowers in matching colors.
Quick tips & ideas
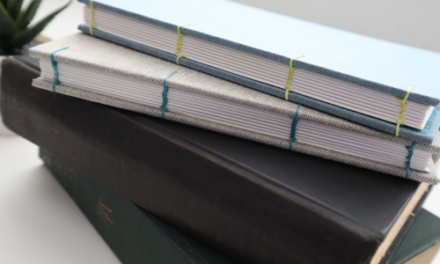
- Recycle old notebooks for an even more Earth-friendly notepad
- Add a magnet to the back of the notepad and stick it on the fridge for easy access
- Add a layer of double-sided sticky foam tape to the back and stick it wherever it makes sense for you – in the car, on the back of the cupboard in the kitchen or next to the front door
- As a nice touch, feel free to add an elastic band or other closure
- For a long-lasting gift that won’t warp, be sure to respect The Most Important Rule in Bookbinding | Grain Direction
Congratulations! You now have a beautiful tear away notepad to use as a gift, stocking stuffer or for yourself. Plant this baby on your desk, stick it on the refrigerator or keep it in your handbag, purse or satchel for quick scribbles while on-the-go.
More bookbinding goodness
✨ What tools do I need to get started bookbinding?
- Bookbinding Tools & Supplies Quick Start Guide – learn all about book making tools, which to buy first & where to go online
- Pick up my popular Complete Starter Bookbinding Tools Kit – all the bookbinding essentials in one spot
🌟 Looking for a simple way to start making books?
Try a Complete Book Materials Kit. Each one has everything you need (+ tutorials & videos) to make a beautiful book without all the fuss.
Thank you for taking me along on your book making journey!
Misty


