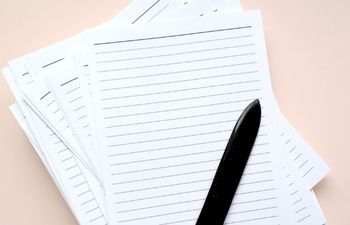
Today, I’m showing you how to make a lined paper template in size 12 ” x 18″ for bookbinding. If you’re thinking this size is odd, let me explain… It’s all about efficiency and economics!
Efficiency & economics
My journals are slightly larger than a standard A5, coming in at 8.5 x 5.75.” This means I need to find a sheet of paper at least 11″ wide by 16-1/2″ tall. A 12×18 sheet of long grain 80lb text weight paper allows me to get two full sections with very little waste. It also helps that 12×18 sheets are a common size & readily available.
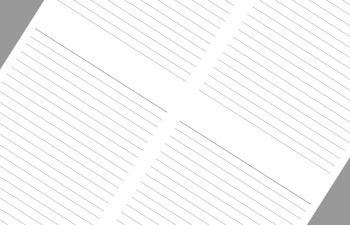
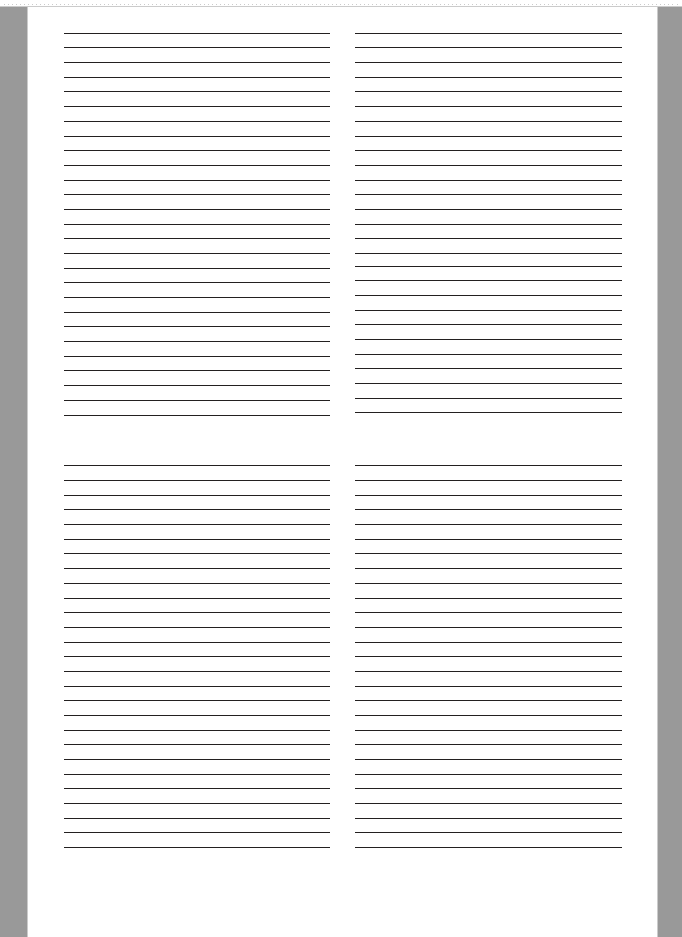
This is my template. I print on both sides, then fold the entire sheet in half vertically (along the grain) and make two cuts (each at 8.25″ high, the height of the signatures I need) and a final cut on the foredge at 5.625″ wide.
Instructions
I used Adobe InDesign to create the template because InDesign is used to organize text and other content for catalogs, books, portfolios and more. It’s very straight-forward and intended for this type of work.
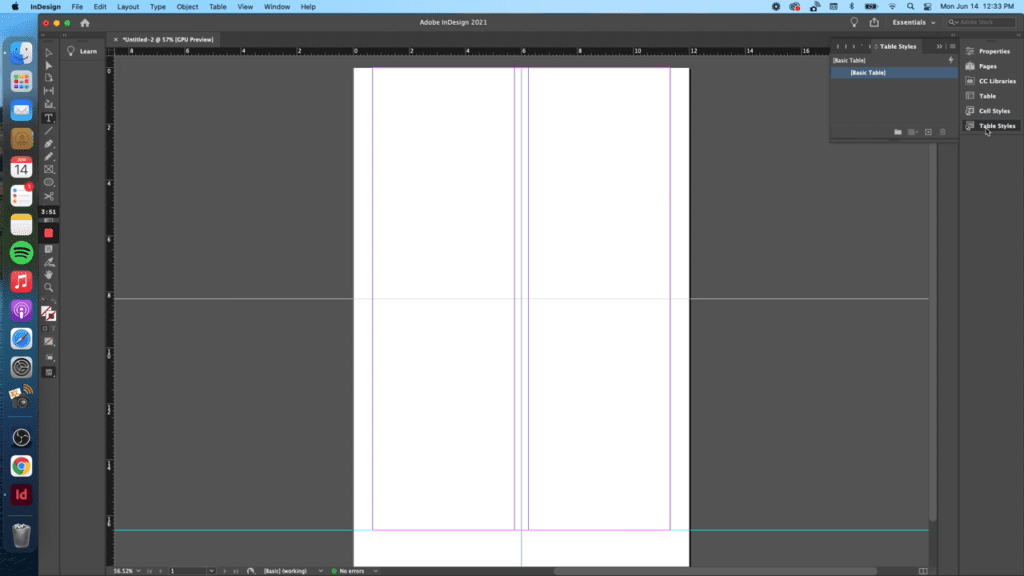
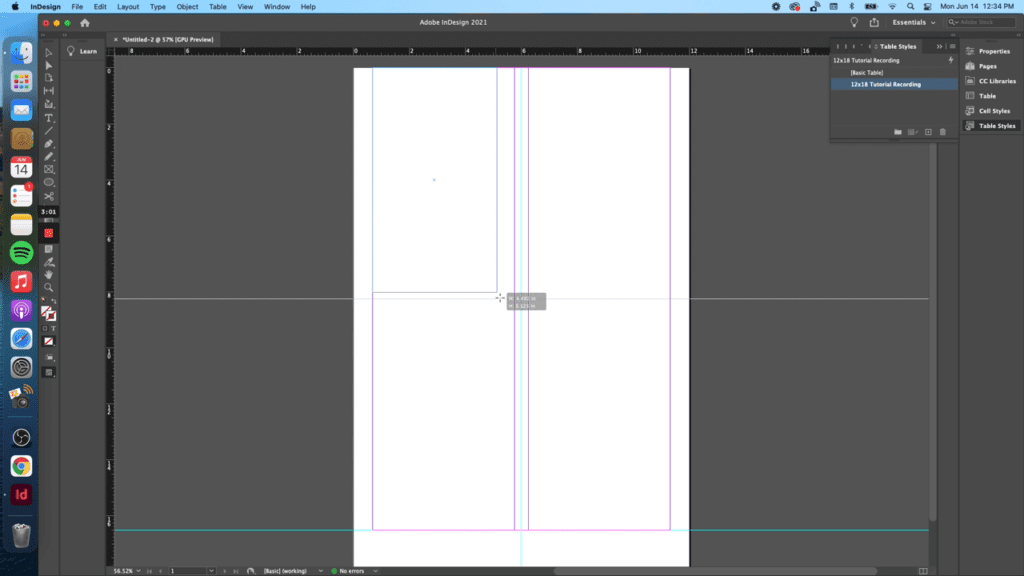
12×18 Page layout
Page height: 18.0”
Page width: 12.0”
12×18 Page settings (for two 8.25″ x 5.625″ signatures)
- Margin-top: 0”
- Margin-bottom: 1.5”
- Margin-inside: 0.688”
- Margin-outside: 0.688”
- Columns: 2 (each column is a page)
- Gutter: 0.5”
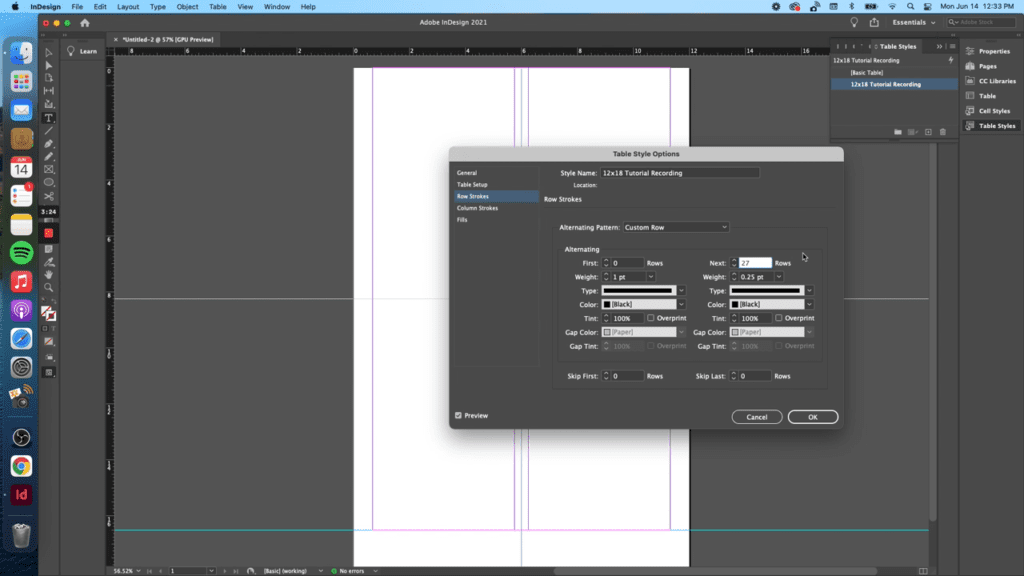
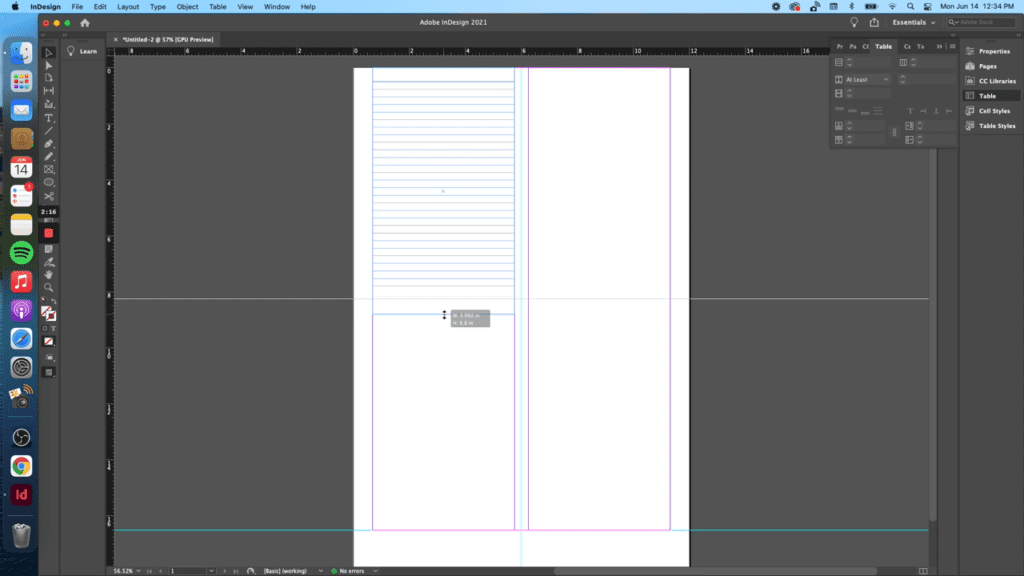
12×18 Table settings
- Table Setup:
- Border: 0pt (I’m removing any border around the entire table)
- Space before/after: 0
- Row Strokes:
- First Rows: 0 (the header is technically the first “row”, so I skip the program’s idea of a first row with a zero)
- Next: 27 rows / 0.25pt
- Skip: 0
Creating the lined pages
After creating the table style, it’s time to create the table itself. To do this, you’ll go to Table > Create table and enter the number of columns, rows, headers and footers necessary.
Each table just needs one column, one header and 27 rows. No footer.
Once the table is “drawn”, you’ll start to see the page coming together.
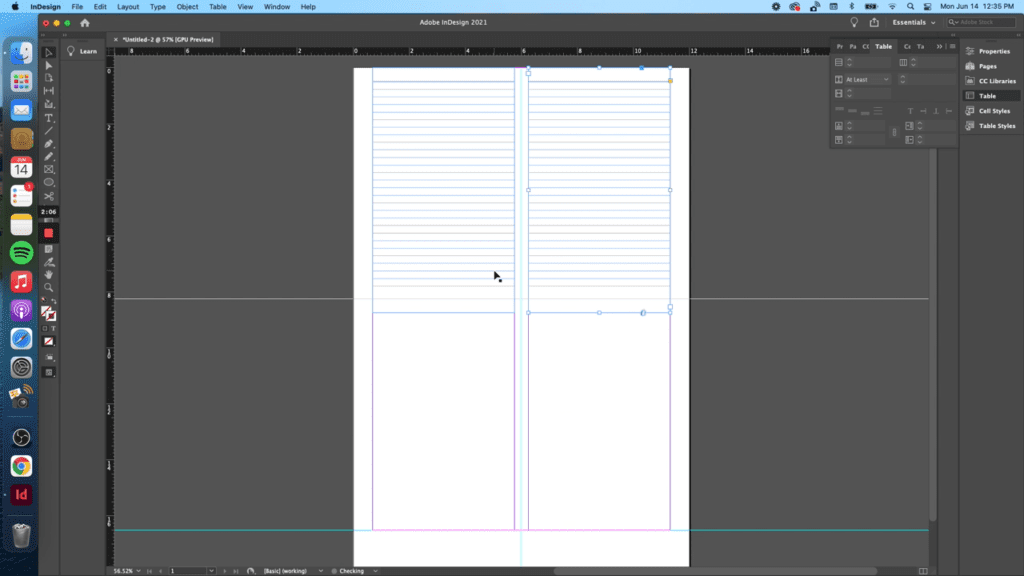
Creating the page title
Next, I set the height of the header row to be 1/2.” This gave the top of the page enough room for a date, entry title or anything else I might want to write before journaling. Since it’s a “header” row, the line is darker by default.
The main body of lines were set to a height equal to 0.27″ each. It took some trial and error to figure this out, because I wanted enough room to write in cursive, print or another language. A little more than 1/4″ was perfect.
Finally, I gave the last row of the table the same 1/2″ line height to add balance.
Rinse and repeat
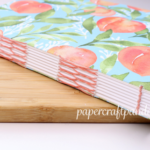
Once the first table is created, it’s as simple as copy/paste! I copied the table four times – top left, top right, bottom left and bottom right.
Printing
This can be easily printed at home, but If you don’t have a printer, export your template as a PDF, load it on a thumb drive and take it to any big box office supply store (Office Max, Office Depot, Staples, etc.). Just be aware – most of these places charge anywhere from 25 to 39 cents per sheet for double-sided printing.
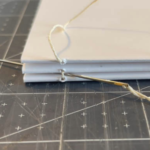
If you’re printing at home, turn the sheet over and run it through again to print on the other side. This makes one signature with 4 total pages. If you have a printer with double-sided print capability, this won’t be an issue (lucky you!!).
My preferred paper & printer
I print my lined paper on a Canon Pixma Pro-100 Inkjet printer using some of my preferred paper. I choose paper that is 100% recycled, environmentally-friendly and compatible with nearly all printers.
Hope you found this helpful!
More bookbinding goodness
✨ What tools do I need to get started bookbinding?
- Bookbinding Tools & Supplies Quick Start Guide – learn all about book making tools, which to buy first & where to go online
- Pick up my popular Complete Starter Bookbinding Tools Kit – all the bookbinding essentials in one spot
🌟 Looking for a simple way to start making books?
Try a Complete Book Materials Kit. Each one has everything you need (+ tutorials & videos) to make a beautiful book without all the fuss.
Thank you for taking me along on your book making journey!
Misty


