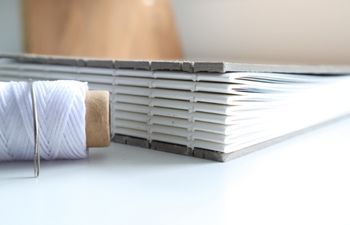
The casebinding method improves upon the original vellum bindings, enabling books to survive hundreds (even thousands) of years. While the steps to create one are not complicated, there are several. Since I’m also making my holiday collection of books right now, I thought it might be fun to bring you along and show you how each one is created. To simplify the process, I’ve broken this casebinding tutorial into three main parts:
- Creating the Text Block (Part I) <– you are here
- Creating the Case (Part II)
- Casing in the Text Block (Part III)
Bookbinding Tutorial: Casebinding (Part I)
Measurements: 6-3/4″h x 5.25″w x 1/2″d
Cost Level: $$
Skill Level: Intermediate
Total Time: (Part I) 90+ minutes
Casebinding Tutorial Materials:
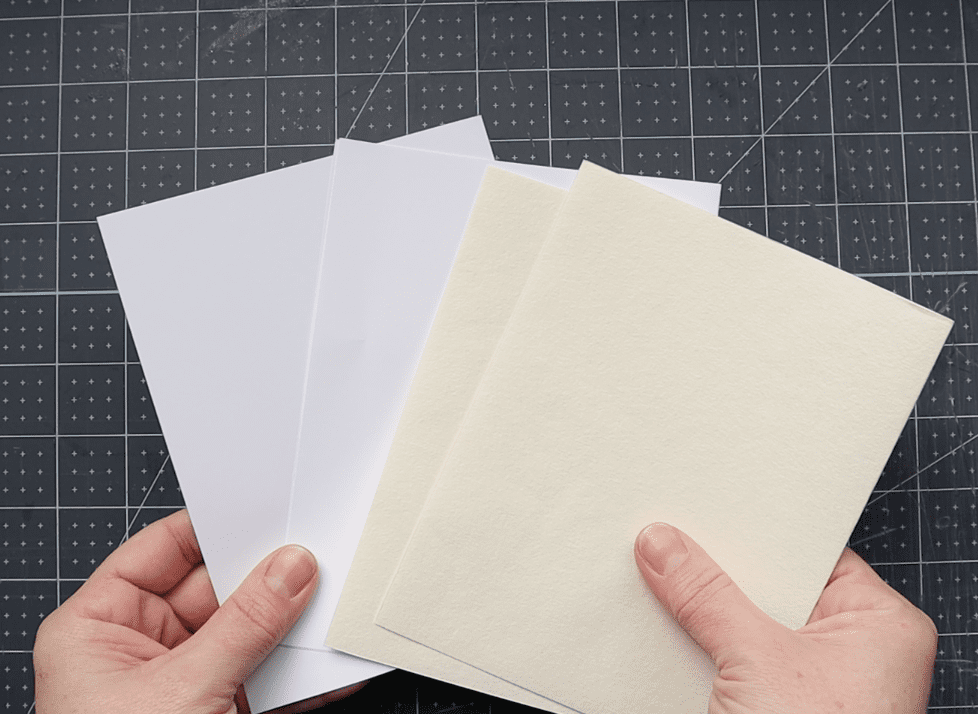
Paper
- 27 single sheets of 70lb text weight paper, cut to size 6-1/2″h x 10-1/2″w
- 2 sheets of 140-160 g/sm for endpapers (90-100lb), any color or design, cut to size 6-1/2″h x 10-1/2″w
- 2 pieces of manufactured end bands, any color or design, cut 1/2″ wide
- 1 string of waxed linen thread, 4-5x the height of the book (can also use unwaxed)
- 1 piece of mull (can use linen cloth, strong tissue paper, Tyvek, Unryu, or other), cut to 6″h x 2-1/2″w
- PVA adhesive
- Optional: beeswax, if your thread is unwaxed at start
Tools
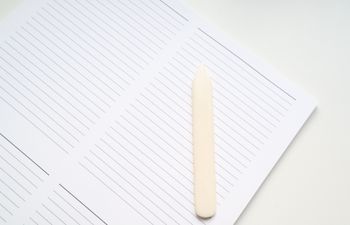
- Bone folder
- Tapered awl
- Paste brush (foam, bristle or use your fingertip)
- Binding needle (with an eye opening at least 1 size bigger than your thread)
- Olfa knife
- Ruler
- Scissors
- Pencil
Bookbinding Terms to Know
We’ll be using some bookbinding words and phrases throughout this tutorial, so I’m calling them out here for added clarity. You may already know what these mean, so feel free to skip over this and start the tutorial.
If you’re brand new to book making, be sure to check out my Bookbinding Tools & Supplies Quick Start Guide, which includes a more robust list of bookbinding terms and definitions that might be helpful for this casebinding tutorial.
- Awl – a tool used in bookbinding to pierce paper, creating an opening through which thread can be sewn. For most books, a light-duty tapered awl works well.
- Endpapers – in casebindings, these are papers at the start and end of the book, usually decorative, which are pasted down into the case (cover) in order to hold the text block in place while allowing it to open.
- Endsheets – in casebindings, these are the papers at the start and end of the book which provide a pause or introduction before the text begins. They are never glued to the cover (those are called endpapers). Artistic book makers like to think of these as the “curtains that rise” before the real show begins.
- End bands – elements placed at the head and tail of a book, usually to reinforce the spine. Today, end bands may be hand-sewn or manufactured and serve more of a decorative purpose.
- Mull – material used to cover the spine, providing added reinforcement. A mull is typically made of starched linen material.
- PVA – a water-based adhesive (poly vinyl acetate) that is non-toxic, acid-free, dries clear and remains flexible.
- Sewing station – a specific place on the spine of a signature where a hole is pierced, enabling the needle and thread to pass through during the sewing process.
- Text block – also called a book block, these are pages of a book that have been sewn or glued together into a single unit. Later, this text block is adhered to the exterior case via the end sheets.
Steps:
Part 1 – Prepare the Text Block
Fold the paper
- First, determine grain direction.
- Once grain direction is determined, create the signatures. Use 5 sheets per signature, 25 total.
- Fold the remaining two pieces of paper individually. These will serve as the intro and outro sheets.
- Next, fold each of the end papers in half, using a bone folder to crease each fold.
- Stack the signatures, intro/outro sheets and end papers together. Place all under a heavy book for at least 20 minutes to force out excess air. Obtain better results by leaving the signatures under weight for a day or more (I do this, but you can skip if this is your first time).

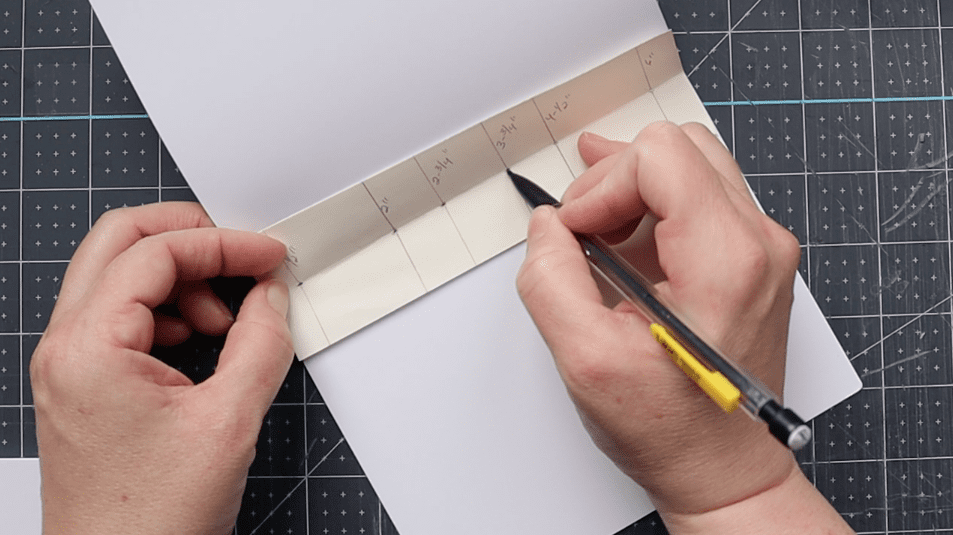
Pierce the sewing stations
- Remove the signatures from under weight.
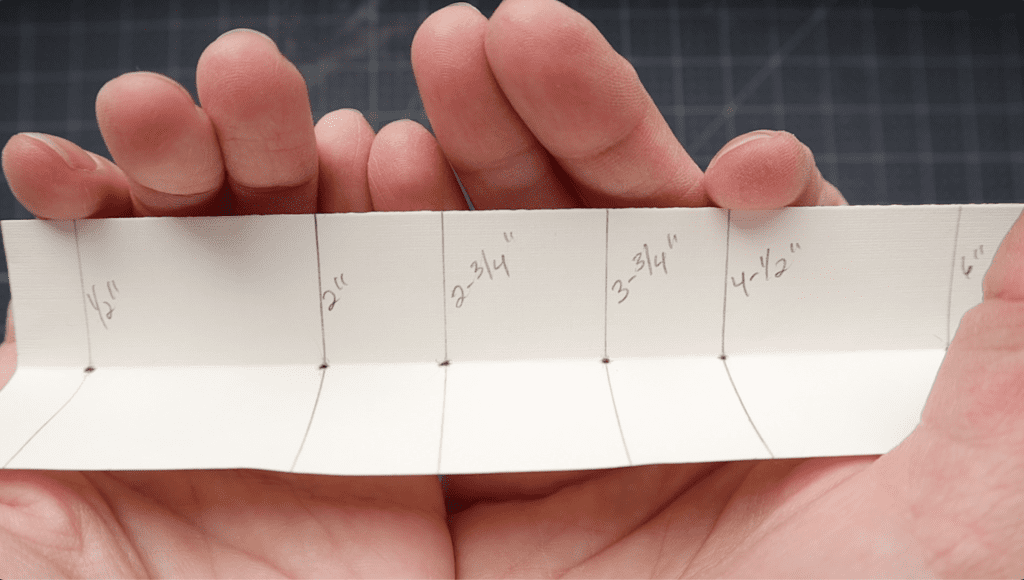
- Open each signature and, using a ruler, measure out each sewing station on the fold from left to right at the following distances (each number equals the sewing station number):
- 1/2″
- 2″
- 2-3/4″
- 3-3/4″
- 4-1/2″
- 6″
- Tip: create a template like mine to easily mark sewing stations on each signature.
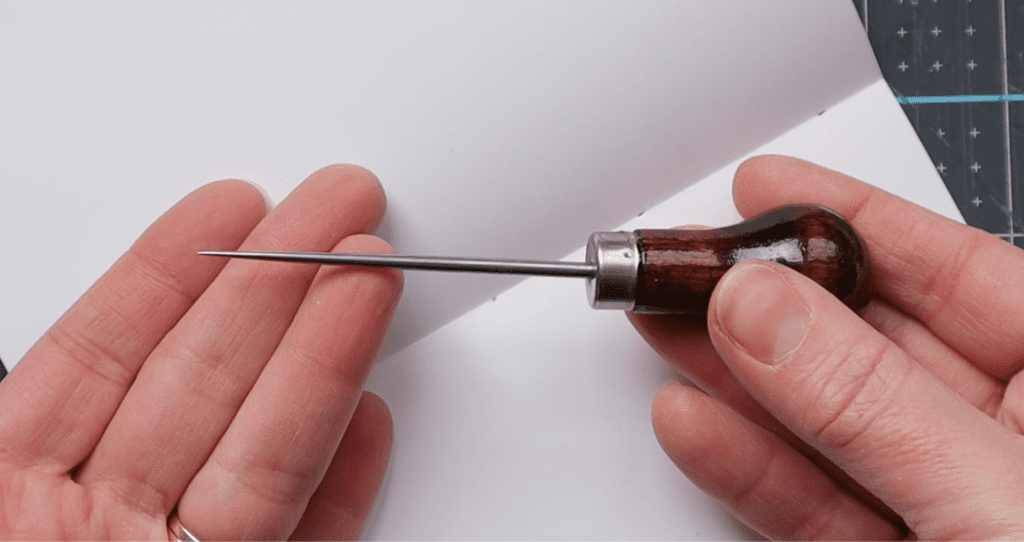
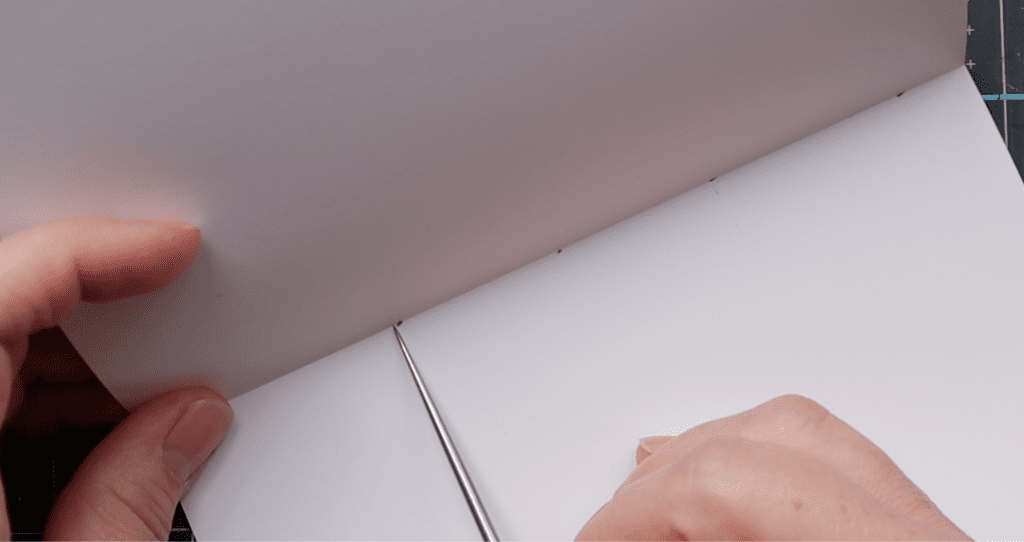
- Using a tapered light-duty awl, gently pierce each sewing station from inside the signature to the outside.
- Repeat for each signature.
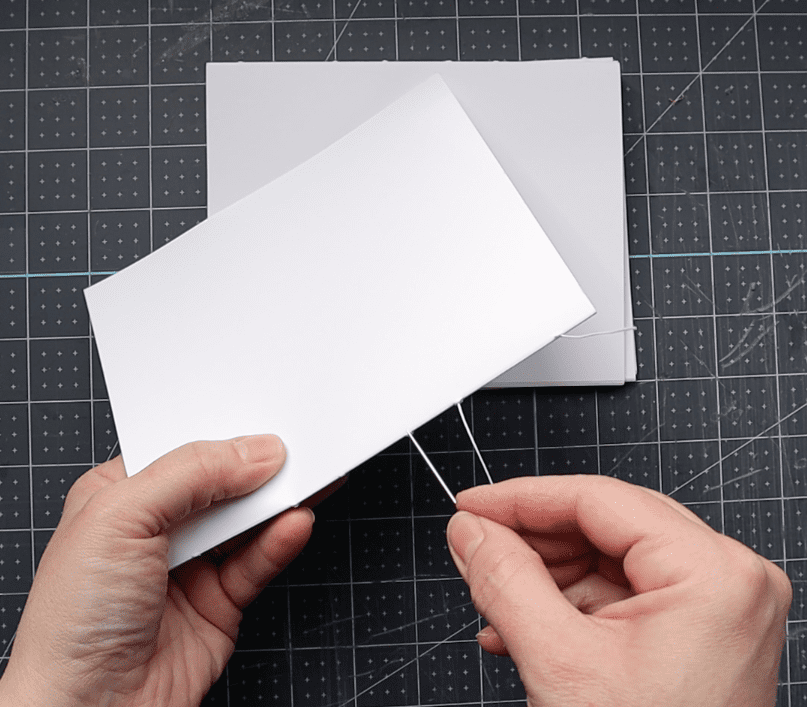
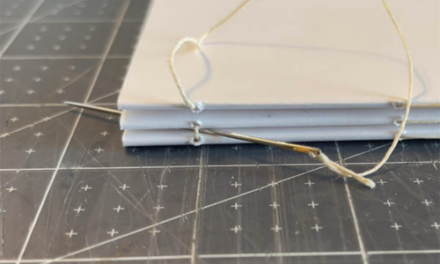
Sew the signatures together
- Cut a length of waxed linen thread approximately 4-5 times the height of the book (e.g: since our book is 6-1/2″ high, we will need between 26 and 32 inches of thread). If you’re using linen thread like me, you’ll need to wax it before moving on.
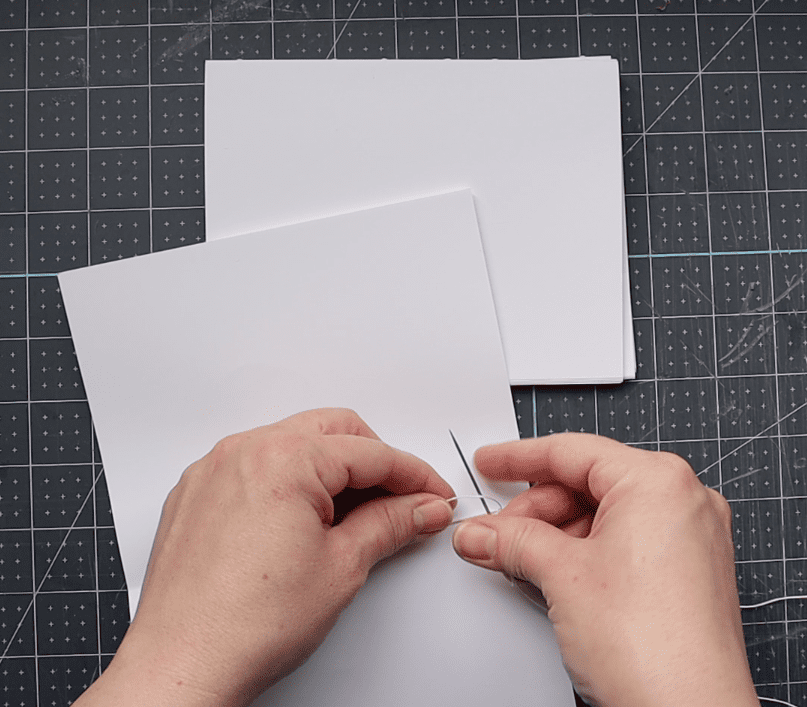
- Thread the needle:
- Move one end of the thread through the eye of the binding needle.
- Pull the thread until it can reach the tip of the needle, then poke the needle through the middle of the thread.
- Move the thread back down the shaft of the needle.
- Once it reaches the eye, pull the long section of thread until a knot forms at the base of the eye of the needle. You’re ready to sew.
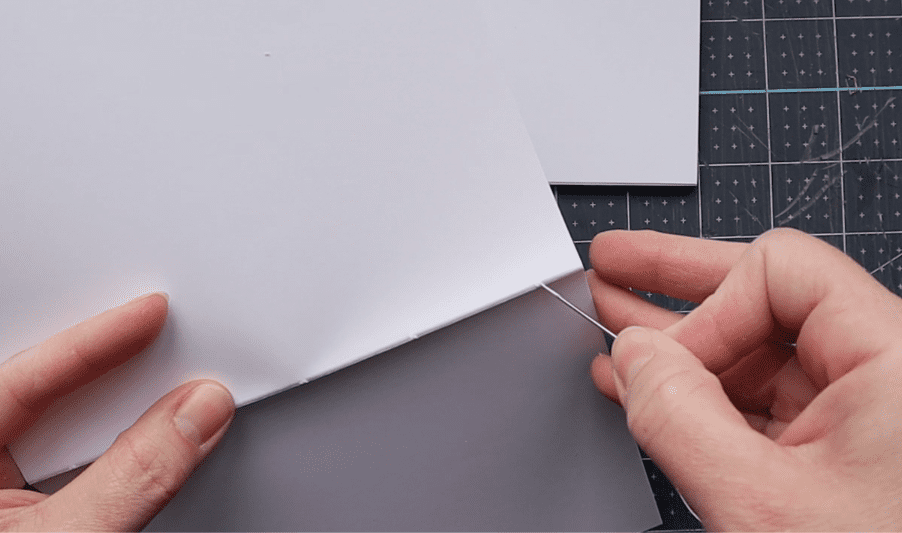
- Stack the signatures so all of the spines face the same direction, holes lined up.
- Start with the top signature. We will call this signature #1.
- Pass the needle into station #6 from outside to inside, leaving about 2″ of thread outside the signature. We’ll tie this off later.
- Next, move inside the signature to station #5. Pass the needle through station #5. You are now outside the signature.
- Continue on to station #4, moving the needle from outside to inside this time.
- Repeat this process with the 3rd, 2nd and 1st sewing stations.
- Once the final station is reached (station #1), you will be outside the signature.
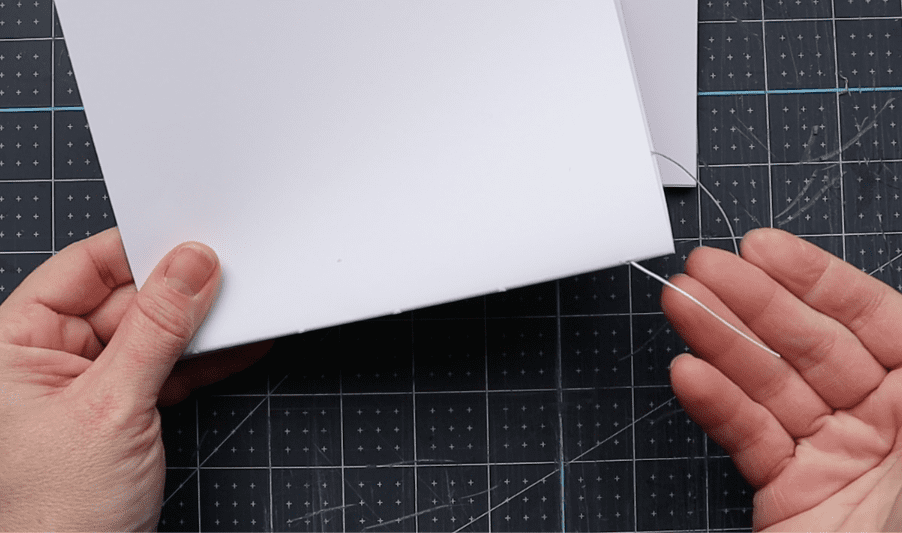
- Move the needle into station #2 from outside to inside. You’ll notice the gap between the two stations has been filled on both the inside and outside of the signature. This is exactly what we’re trying to do.
- Continue to the right, moving in and out of sewing stations until you reach the final station (#6). You will be outside the signature.
- Move the needle into station #6. You are now inside the signature.
- Once inside, loop the needle through the thread next to station #6 and tie a knot.
- Remember that excess 2″ of thread sitting outside the signature? Pull on that to help tighten the knot inside.
- Return the needle through station #6 from inside to outside. Gently pull until the knot pops through the hole.
- Grab the next signature and stack it on top of the one you’ve just sewn through, lining up the edges so they’re square.
- Move the needle through station #6 of the second signature, from outside to inside.
- Move the needle through station #5 from inside to outside this time.
Video Technique: how the first signature is started:
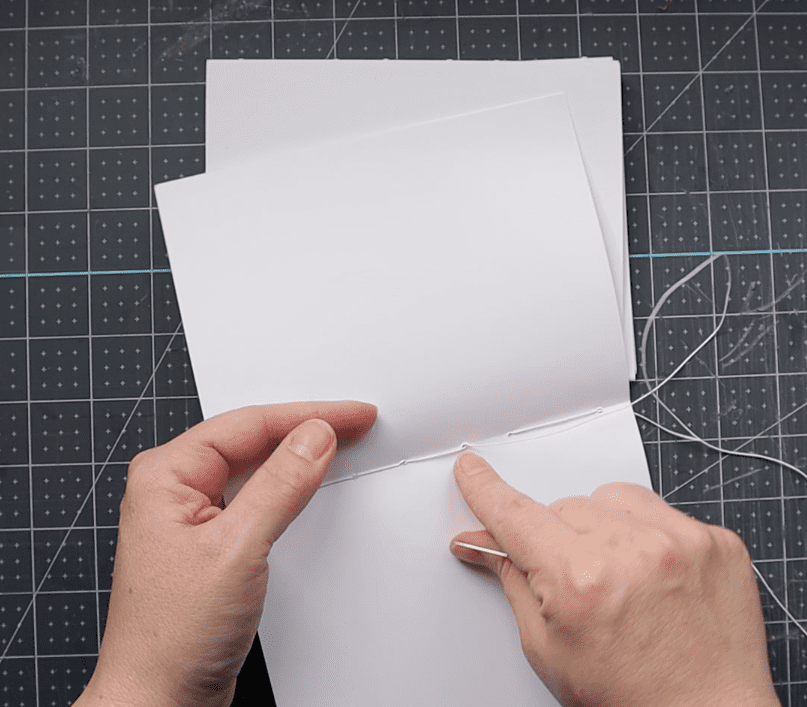
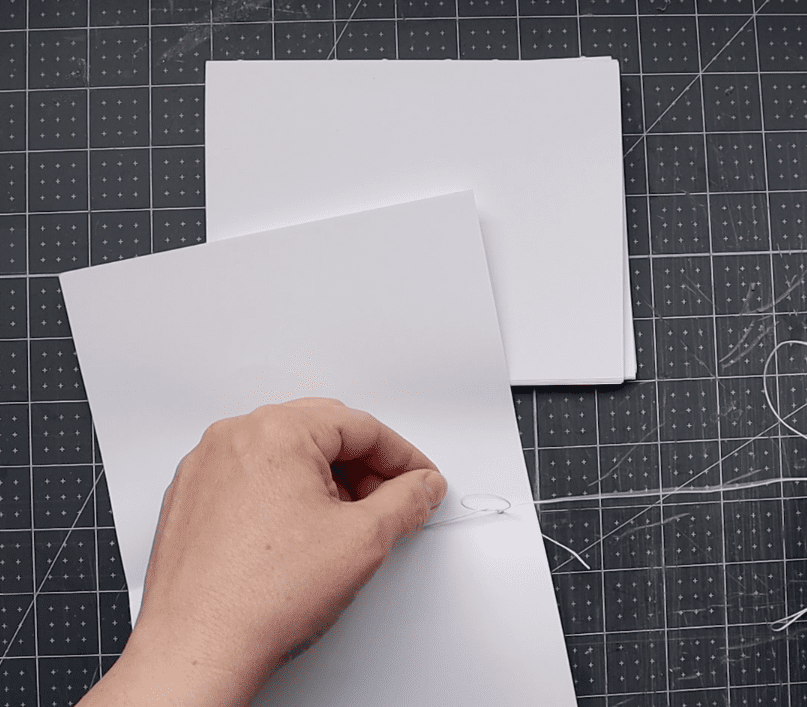
Pull the knot until it pops outside the signature. Be gentle so it does not unwind.
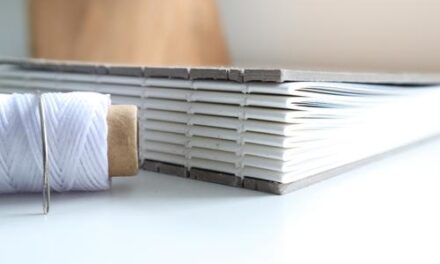
Create the Kettle stitch
- Once outside, loop the needle around the thread of station #5 of the first signature.
- Now, re-enter station #5 of the second signature from outside to inside.
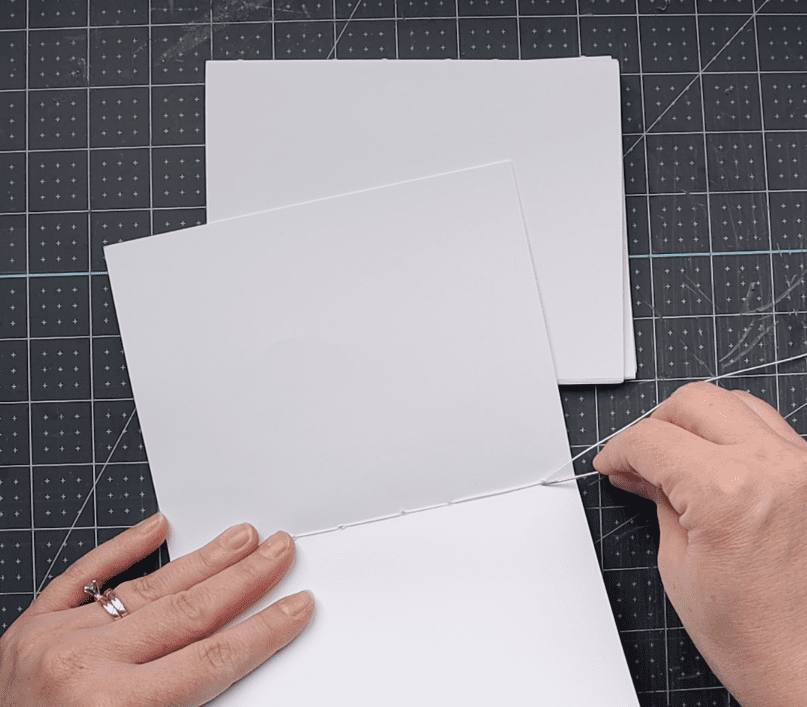
- Once inside, move the needle through station #4 from inside to outside.
- Once outside, repeat step #1. This time, you’ll be looping the needle below and around station #4 of the previous signature.
- Repeat this process until you’ve reached the end.
- Add a third signature.
- Drop back across the spine. Take the needle behind the threads connecting the two previous signatures.
- Now, enter station #1 of the third signature from outside to inside.
- Once inside, pass the needle through station #2.
- Now outside, pass the needle behind the threads connecting the two previous signatures.
- Re-enter station #2.
- Repeat the process until you reach the end. At the end, you should be outside the signature.
- Drop back across the spine. Take the needle behind the threads connecting the two previous signatures.
- Now, enter station #1 of the fourth signature from outside to inside.
- Repeat this process until all signatures are sewn.
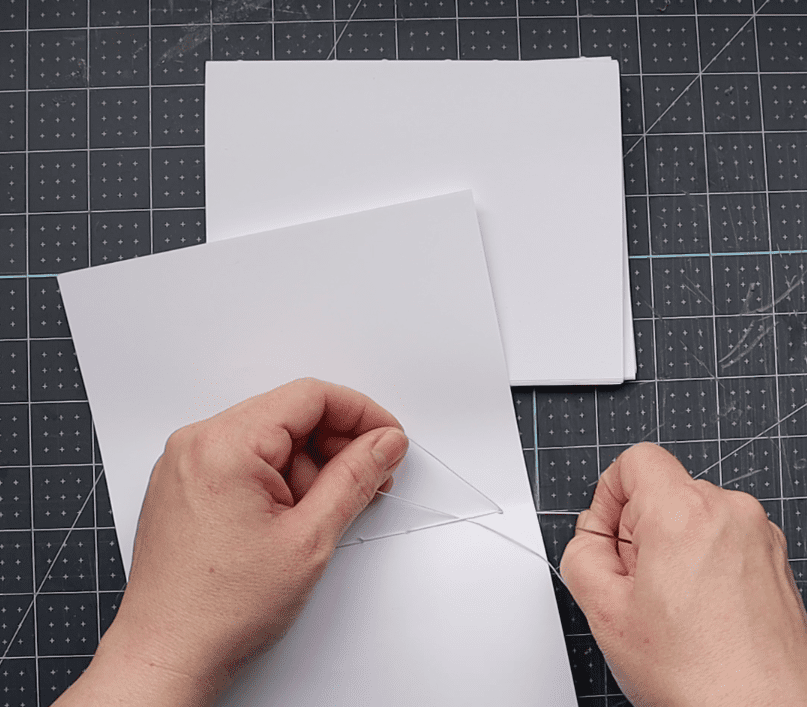
- Once you’ve reached the final sewing station on the final signature, create another kettle stitch to secure the second to last signature to the one below it.
- Now, add one final kettle stitch by slipping the needle between the fourth and final signatures. Pass the needle through the loop to create a knot. Pull tightly to secure.
- Clip the two external strings so there is only about 1/4″ left of each.
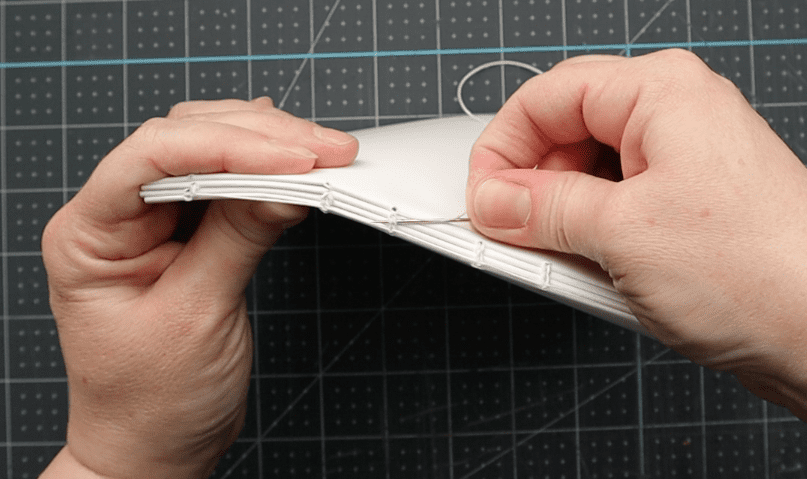
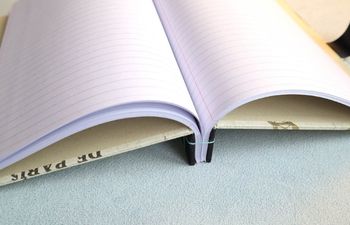
At this point, you’ve created the first stage of the text block. Congrats!
Next, we’ll add the end papers and end sheets, then apply glue to the entire spine. Finally, we’ll add the endbands and mull before letting the text block rest for several hours to fully cure.
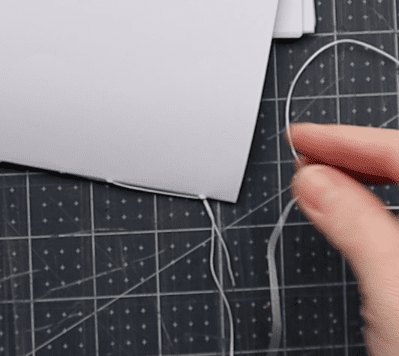
Video Technique: how the first and second signatures are secured together
Video Technique: how the third signature is added
Secure each signature to the previous by looping the needle behind the previous signature’s threads, then back through the current signature’s sewing station.
Video Technique: how to secure each signature to the previous
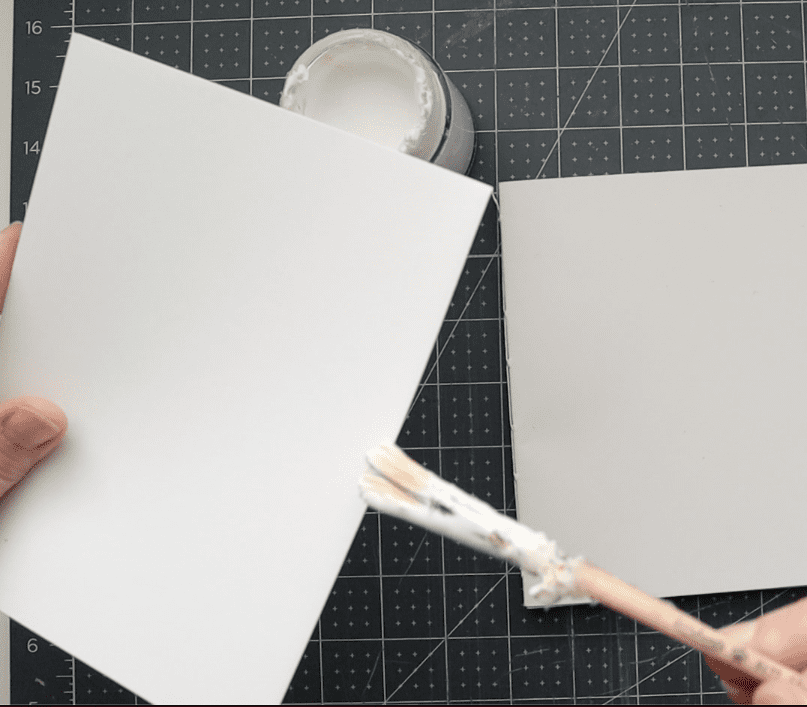
Tip in the end papers
- Apply plain white endsheets first. To do this, apply a small amount of glue along the crease on one side of each sheet, no more than 1/8″ wide.
- Turn the sheet over so the glue side is facing down, and then apply the endsheet to the text block. Use care to line up the crease of the endsheet to the spine, pressing gently to allow the glue to adhere.
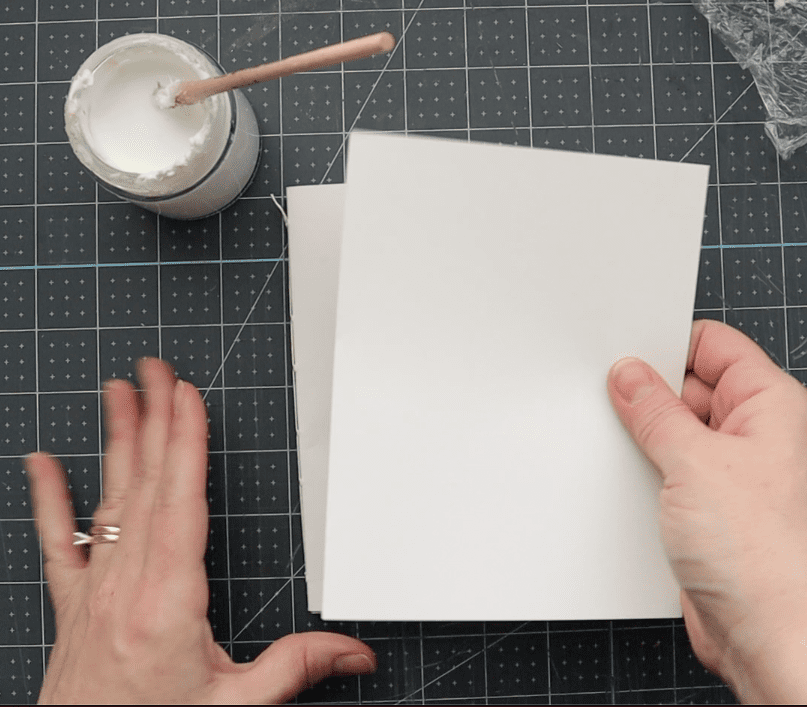
- Repeat this with the other plain white end sheet, but do so on the reverse of the text block.
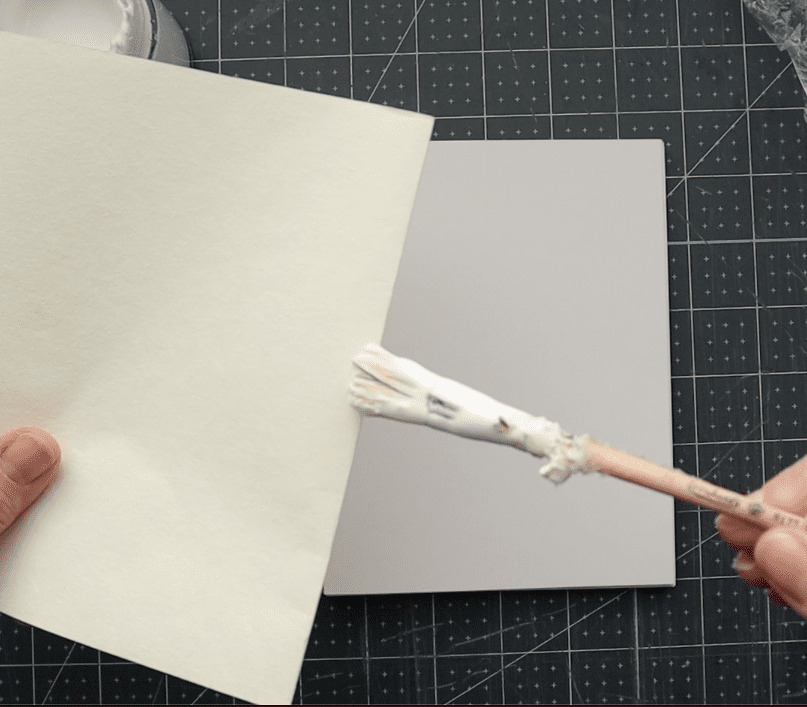
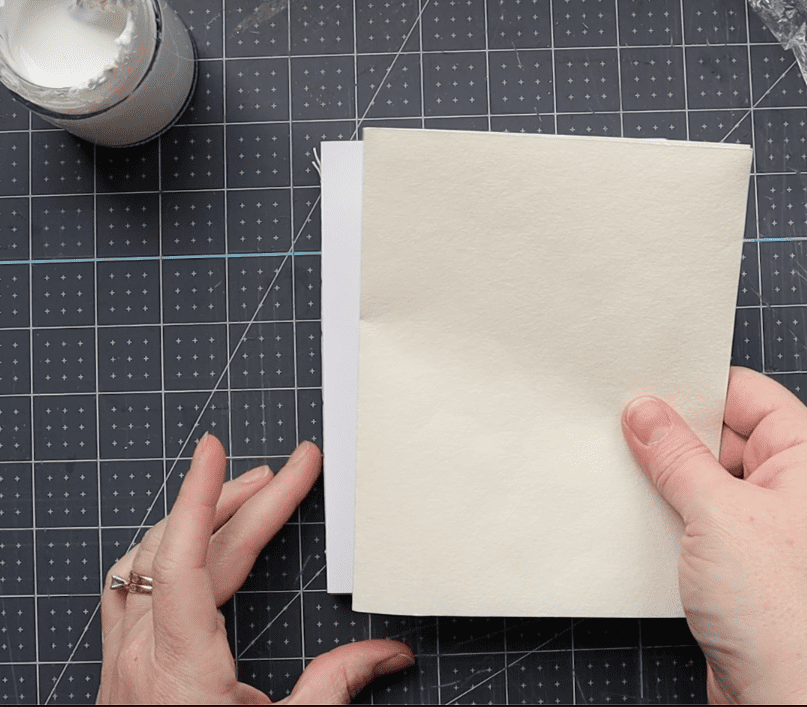
- Repeat this again with the endpapers, applying one to each side of the text block. These will lay on top of the plain white end papers.
- The order should look like this when moving from left to right:
- decorative endpaper #1 >> plain white endsheet #1 >> sewn signatures >> plain white endsheet #2 >> decorative endpaper #2
Reinforce the spine
Now that the end papers and sheets are in place, it’s time to apply glue to the entire spine. To do this, lay the book on its side with the spine slightly over the edge of a work table. Lay a weight of some kind on top to hold the block in place, careful not to cover up the spine area.
- Using a paste brush, apply a layer of PVA to the entire spine. Allow to dry for 15 minutes.
- Apply another layer of PVA and allow to dry 15-25 minutes.
Add the endbands
- If possible, stand the text block up. You can do this with clamps or, if you’re feeling fancy, a laying press.
- For pre-made endbands, measure the material against the spine to gauge width.
- Adhere one of the 1/2″ end bands to each end of the text block.
- Allow to dry for 15-20 minutes.
Add the mull
- Grab a piece of mull 6″h by 2-1/2″ wide.
- Apply one more layer of fresh PVA over 6″ of the spine (in about 1/4″ from each end). It’s okay to put PVA over the end band material.
- Position the mull so it is 1/4″ in on each end, sitting square in the center of the spine. 1 inch of mull should drape over on each side of the spine.
- Press down on the spine with your fingertips, working the mull into the layer of PVA.
- Tip: use a firm bristle paste brush to stipple the mull down into each crevice of the spine. This ensures a tight seal and fit.
- Allow the entire block to dry overnight.
Video Technique: reinforcing the spine with PVA, endbands and mull
Casebinding Tutorial Part I: COMPLETE
Congratulations, you’ve created the text block! This is the most important part of our book, because it holds the text or words we plan to write. It’s the “working” side of a casebinding, the piece that should have the most flexibility and support.
Since we’re making a small book, I chose not to worry you about additional spine reinforcements like linen tapes or twine, even though I use linen tapes in my books. You can work your way up to these in the future.
Ready to move forward?
Go to the next step: Casebinding Tutorial Part II: Creating the Case
More bookbinding goodness
✨ What tools do I need to get started bookbinding?
- Bookbinding Tools & Supplies Quick Start Guide – learn all about book making tools, which to buy first & where to go online
- Pick up my popular Complete Starter Bookbinding Tools Kit – all the bookbinding essentials in one spot
🌟 Looking for a simple way to start making books?
Try a Complete Book Materials Kit. Each one has everything you need (+ tutorials & videos) to make a beautiful book without all the fuss.
Thank you for taking me along on your book making journey!
Misty


