If you’re looking for some handmade gift ideas, I’ve got one you might like. You see, few things in life are more helpful than a notepad. This is true for everyone, even tech savvy folks like me. While phones and digital note taking software are nice to have, there are times when you just need a to write a quick note or list. This handmade notepad is just for these occasions.
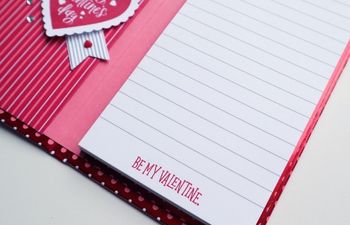
Imagine your gift recipient’s face when you give them this adorable tear away notepad with matching protective cover. Even if they don’t usually write notes, I’m guessing they’ll love the heck out of it because you made it with your own two hands. Handmade gifts = lots of love.
While I’m creating this as a valentines day gift, feel free to use any theme you want. Get creative!
Note: There is no sewing in this tutorial, but it assumes you know how to make a notepad using the perfect binding method.
Bookbinding Tutorial: Handmade Love Notes Pad with Cover
Measurements: Case (closed: 8-3/4″h x 3-1/2″w, open: 8-3/4″h x 7-1/2″), Notepad (8-1/4″h x 3-1/4″w)
Cost Level: $
Skill Level: Intermediate
Total Time: 90 minutes + drying time
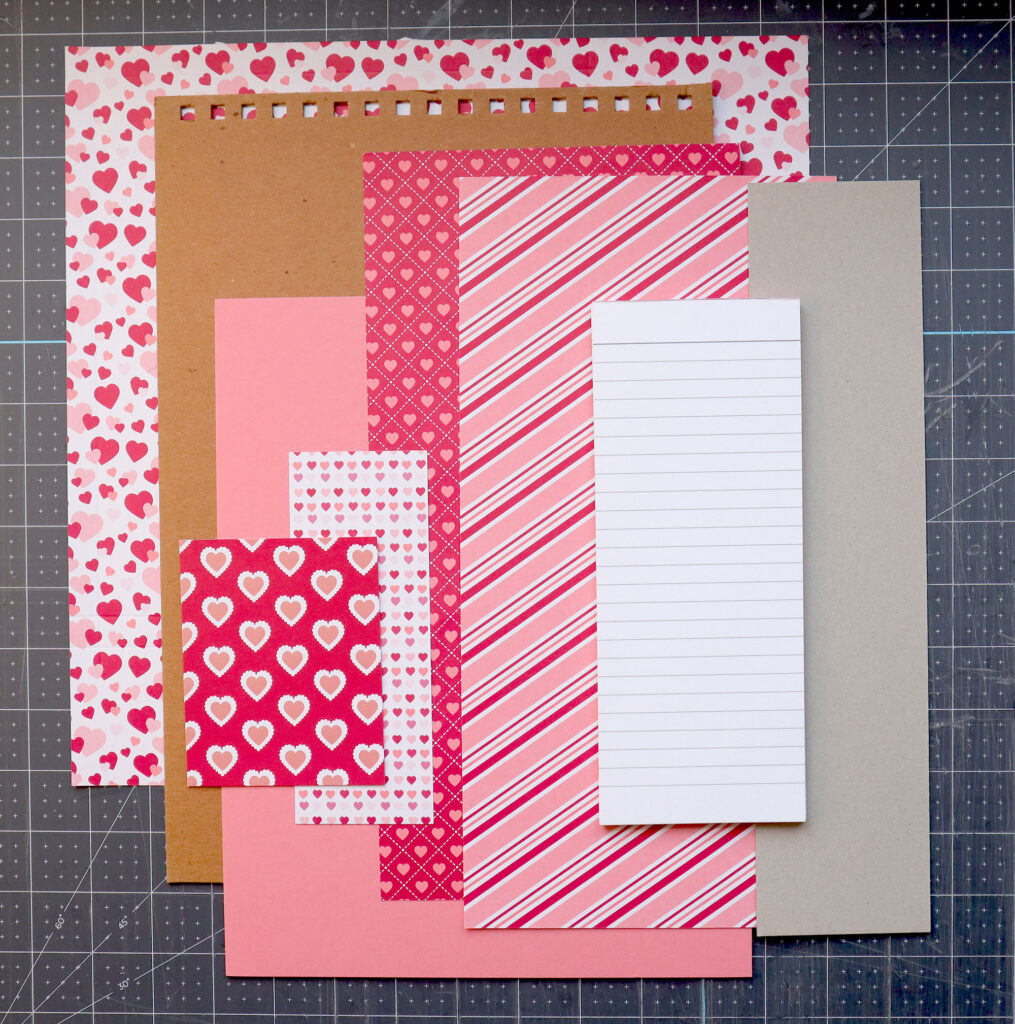
Handmade Love Notes Pad with Cover Materials:
- One cover sheet for the outside of the cover, cut to 9.75”h x 8.5”w
- Two pieces bookboard or cardboard at least 1/16″ thick, cut to 8.75”h x 3.5”w
- One inner cover sheet of cardstock or construction paper in any color, cut to 8.5”h x 7-3/8”w
- a single piece of cardboard for notepad backing at least 1/16″ thick, cut to 8.25”h x 3.25”w
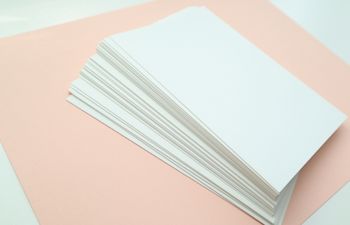
- One stack of paper 3/16” thick, perfect bound (~35 sheets of 70lb text weight paper), cut to 8-1/4″h x 3-1/4″w
- a piece of paper to secure the backing to the notepad, cut to 3.25”w x 2.25”h
- one tall pocket sheet cut to 6.75”h x 3.5”w
- one short pocket sheet cut to 4.75”h x 3-3/8”w
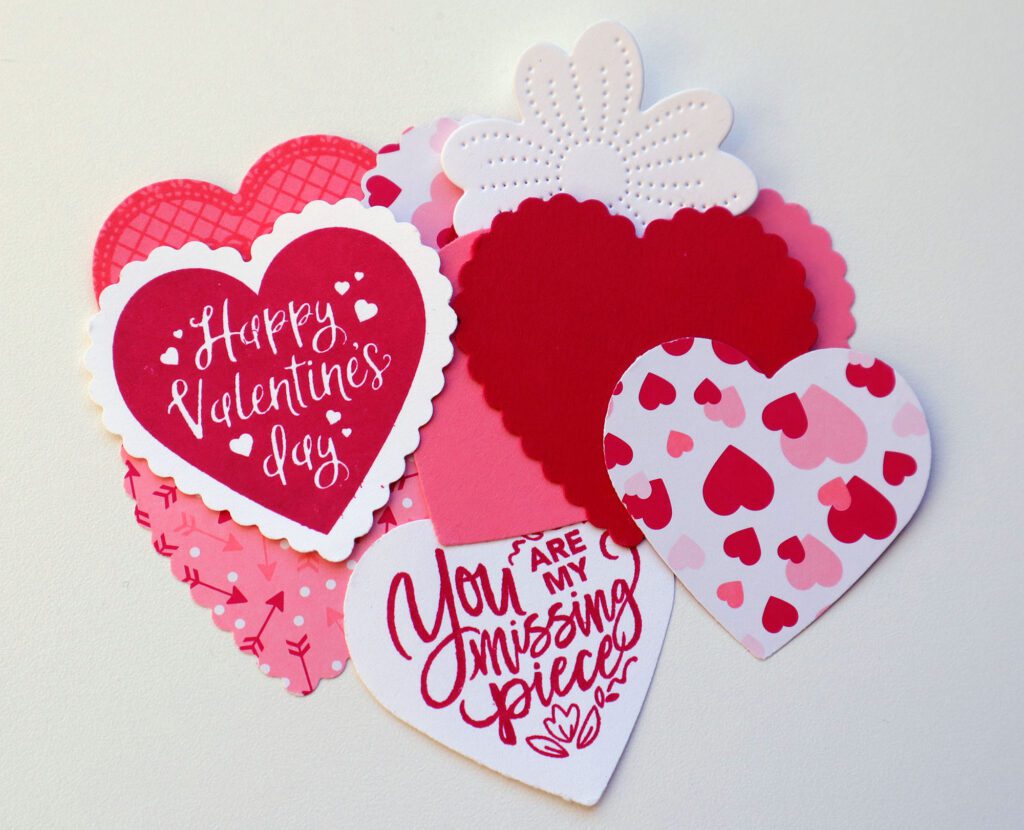
- Extras to decorate the front, inside, etc.
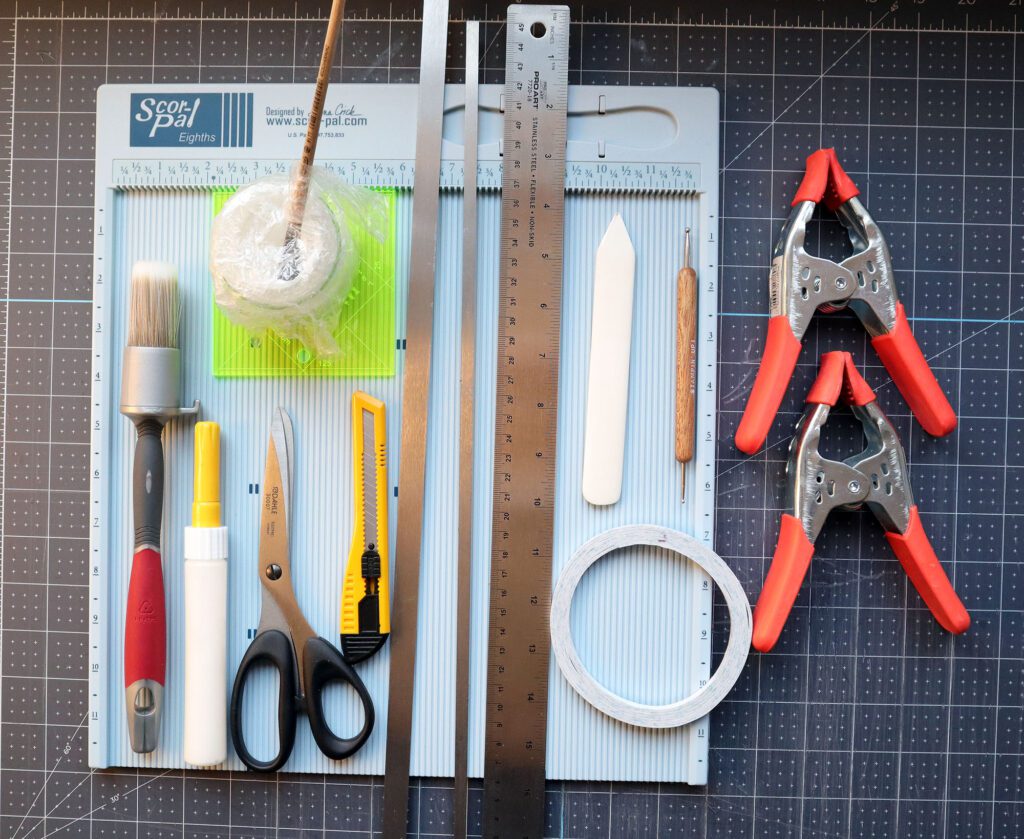
Tools & Supplies:
Needed:
- Bone folder
- Olfa knife
- Scissors
- 12” ruler
- 1-3/8″ round paste brush or similar
- 1/2″ to 3/4″ small paste brush or similar
- PVA or Elmer’s glue
- Clamps or two 1/2″ to 3/4″ binder clips
- Strong double sided adhesive tape
Nice to Have:
- Score board (I use a Scor-Pal)
- Scoring tool (can also use a bone folder)
- Corner guide or jig
- 1/4” and 1/2” steel rules or spacers
Steps:
*These steps assume everything has been cut to size according to the materials list above.
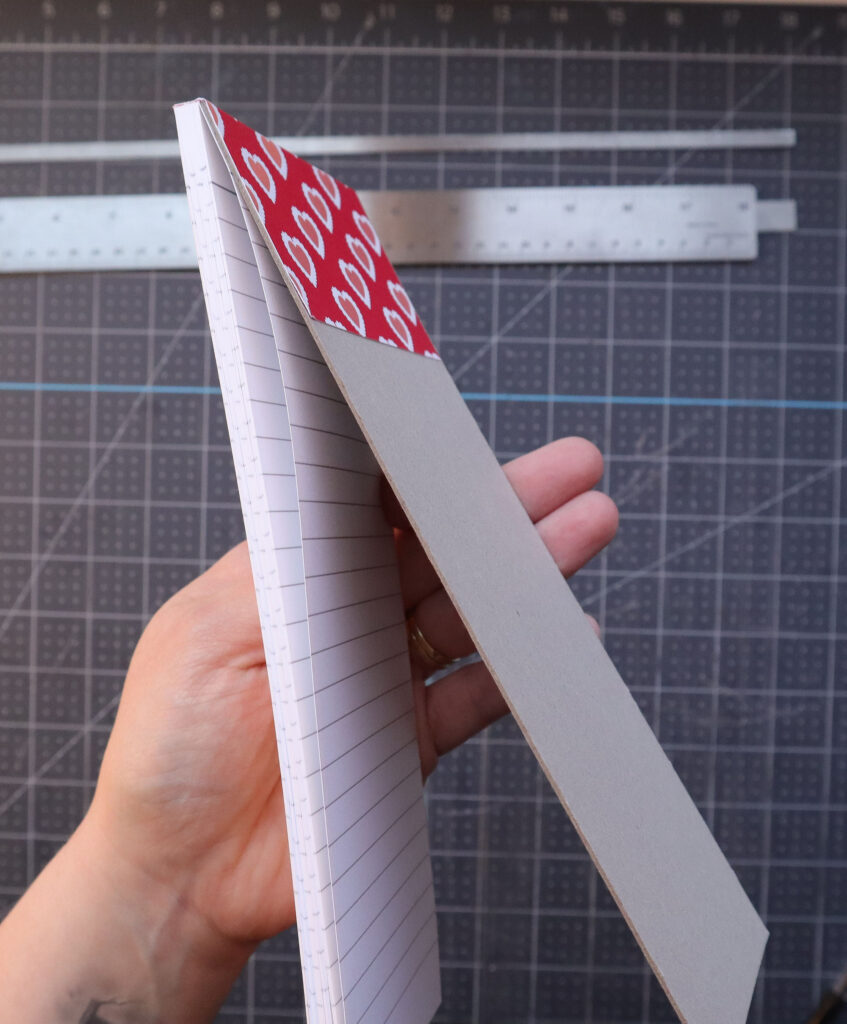
Create the notepad
- Create the notepad for this project using the Perfect Binding method.
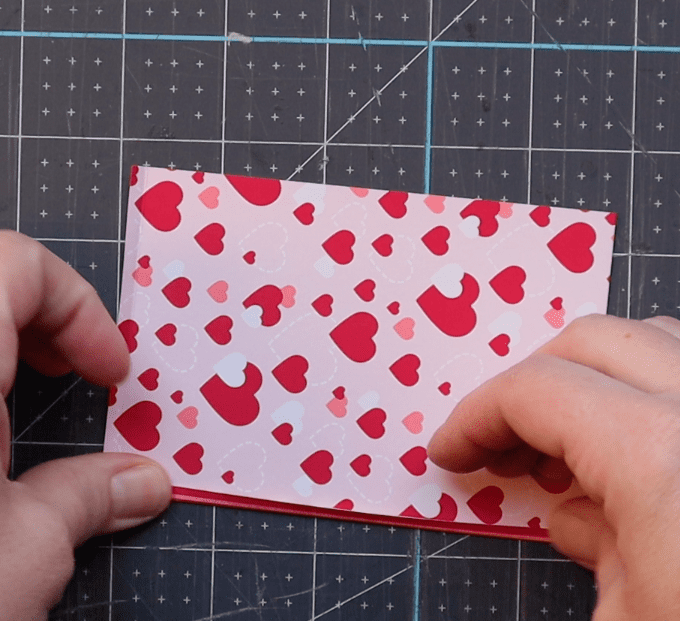
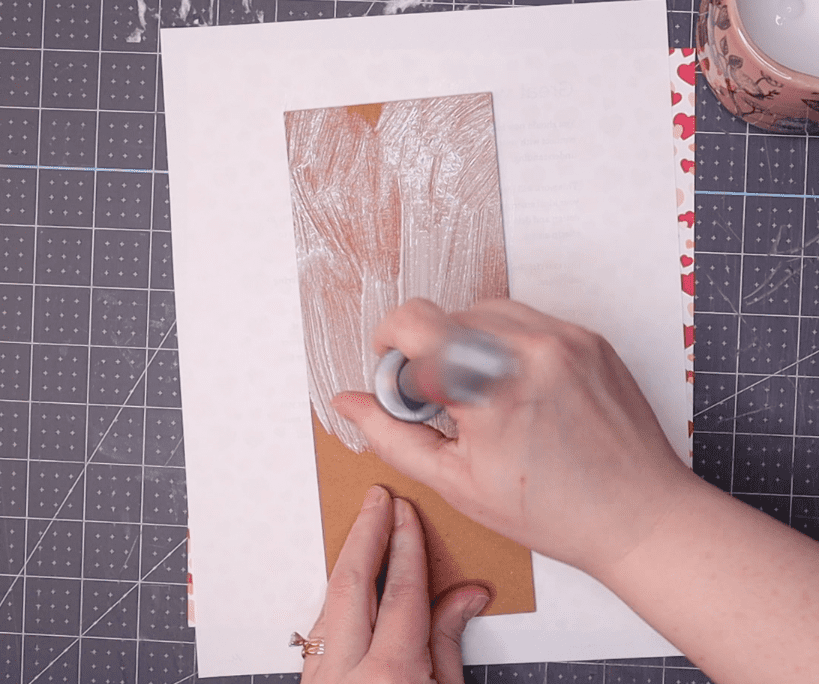
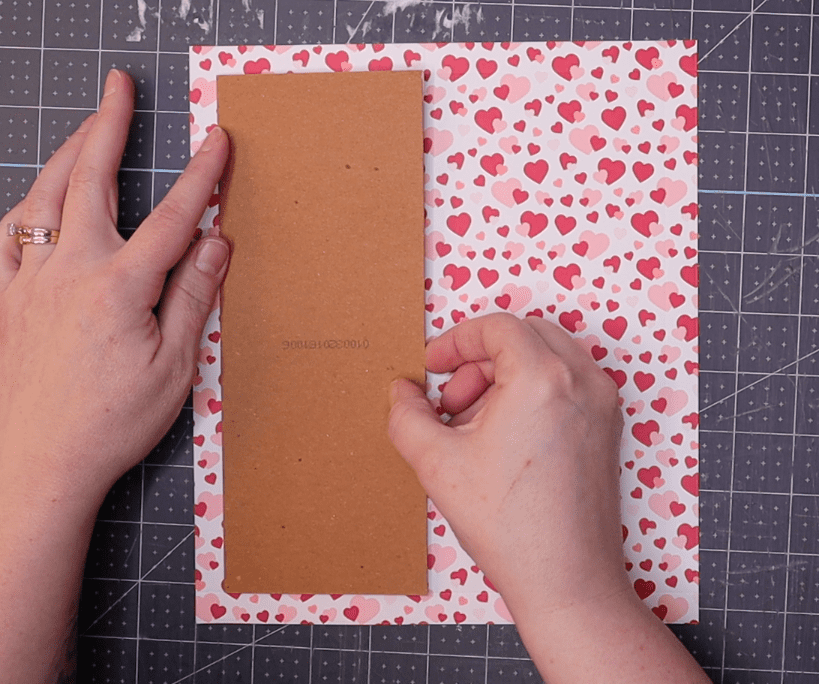
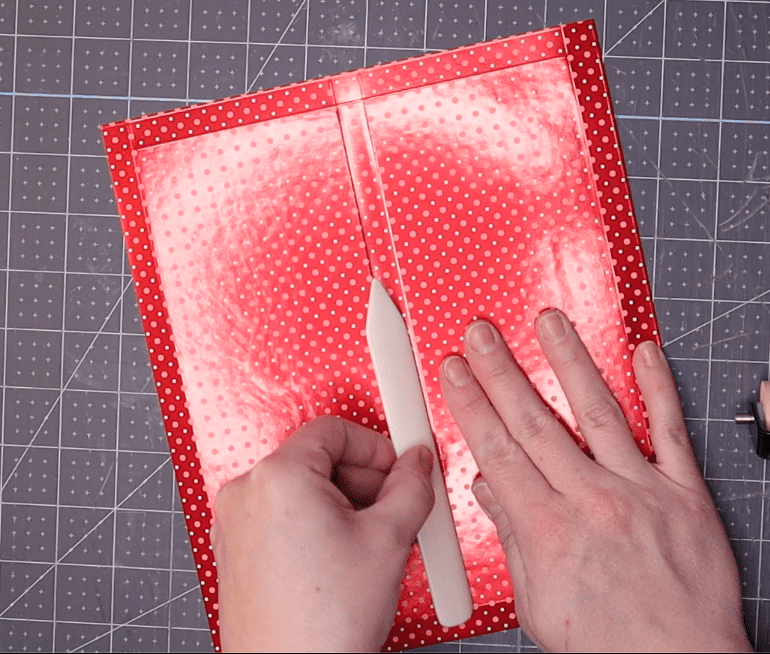
- Use the small piece of decorative paper to adhere the paper of your notepad to the cardboard backing.
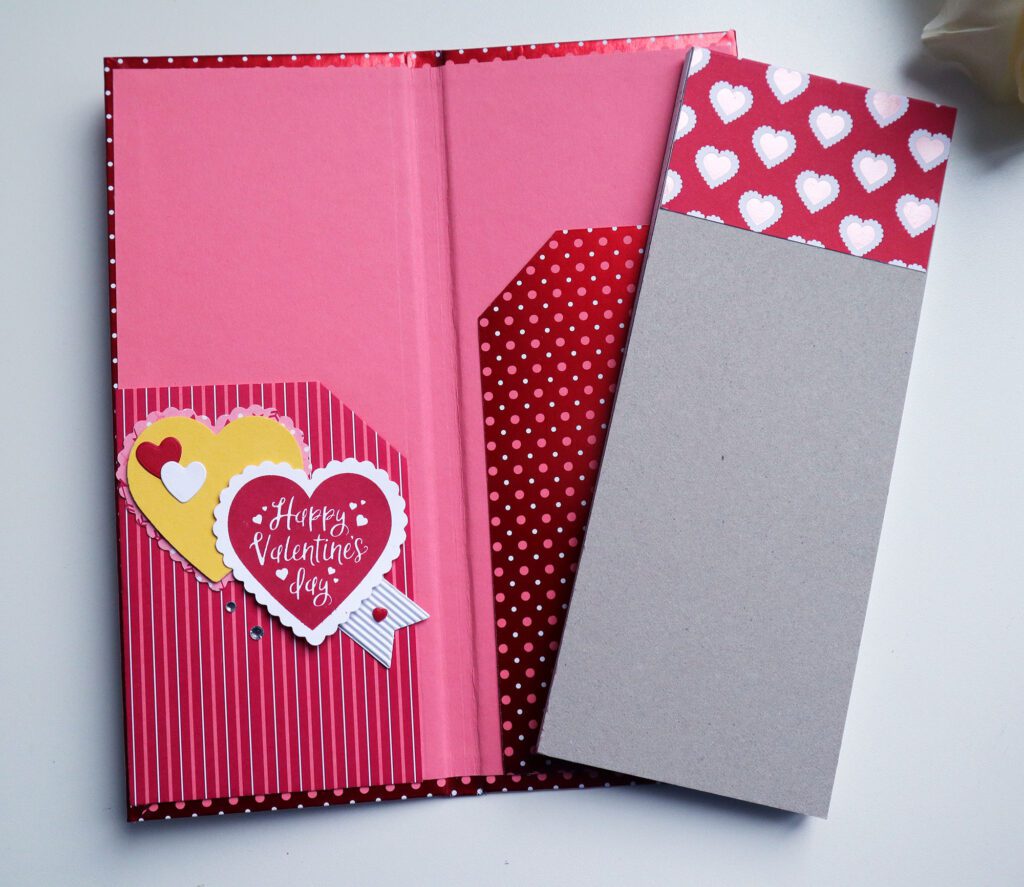
Here is what mine looks like:

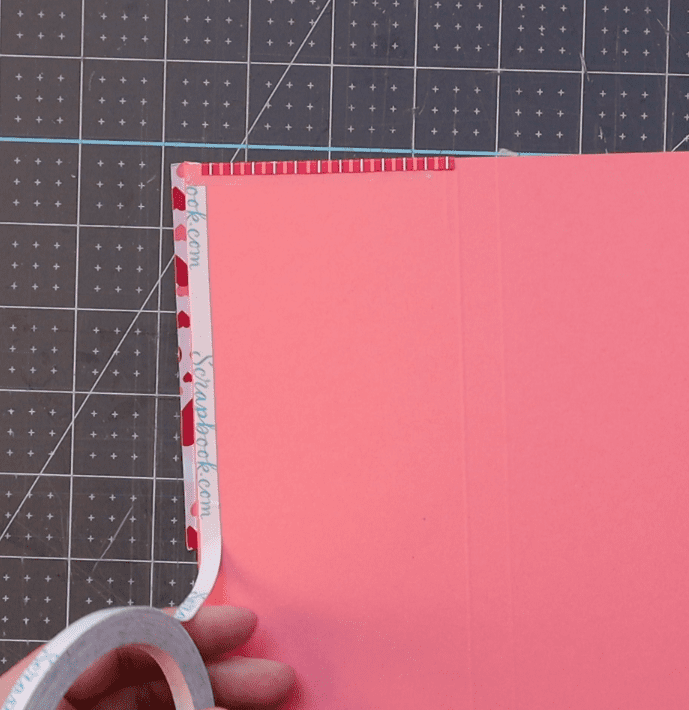
Prepare the tall pocket
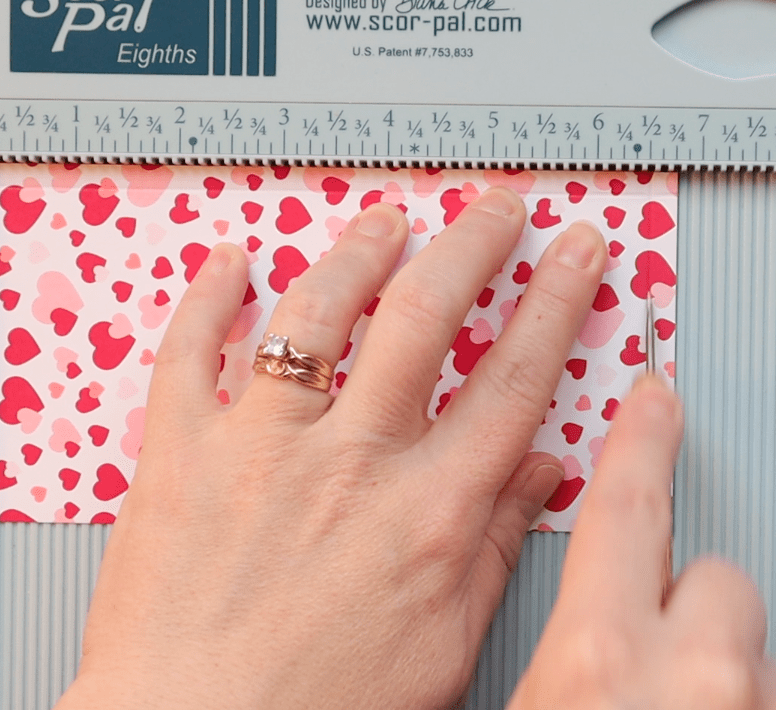
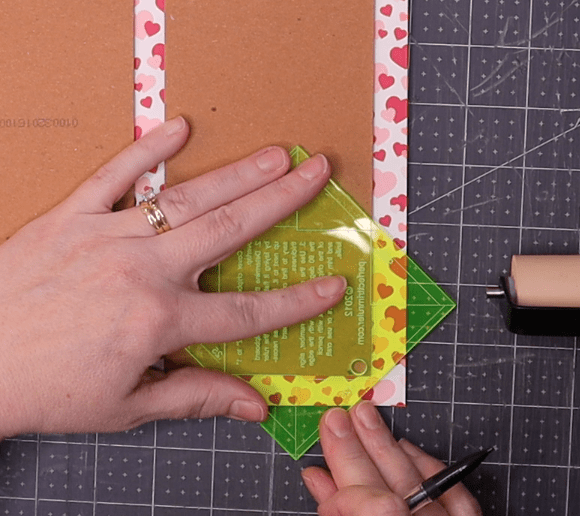
- Hold the tall pocket piece of paper so it is vertical.
- Score a line 1/4″ wide on the right and bottom sides.
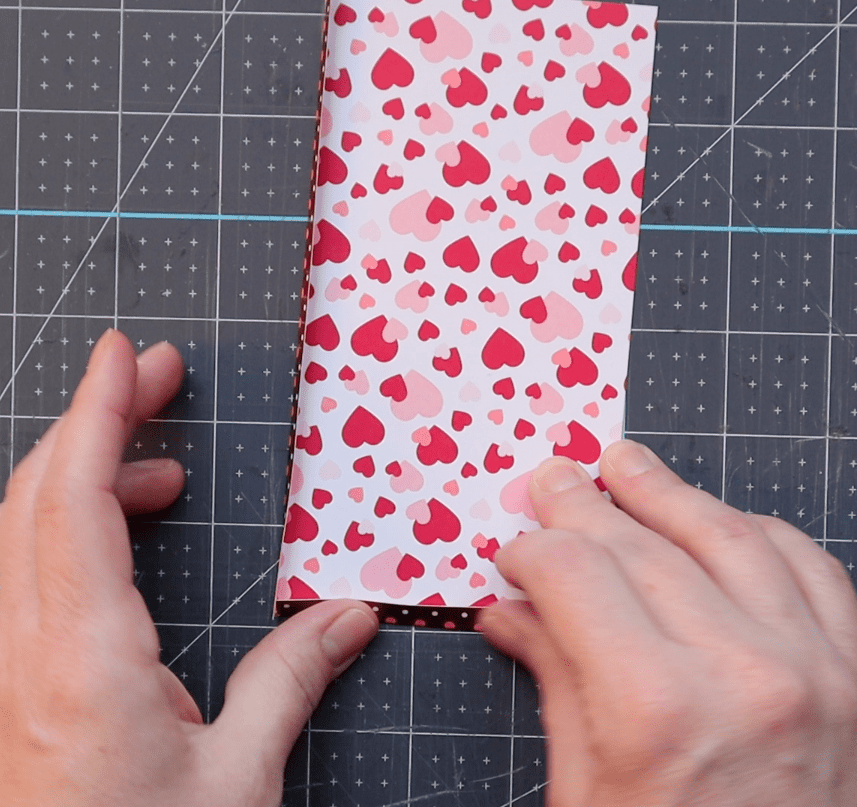
- Gently pre-fold these lines until a small square appears in the bottom right corner.
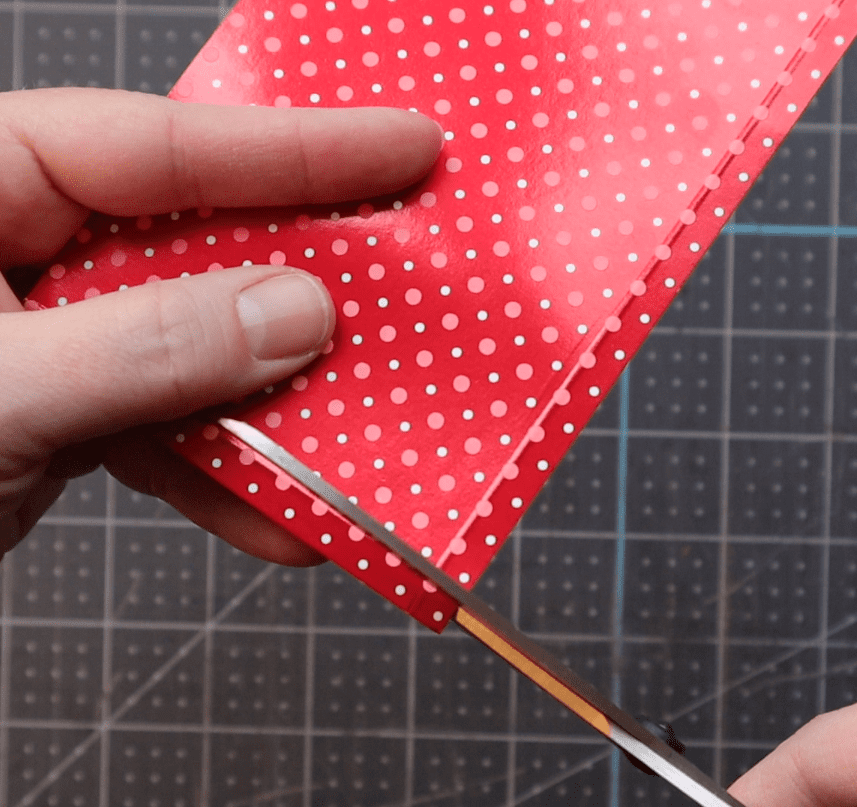
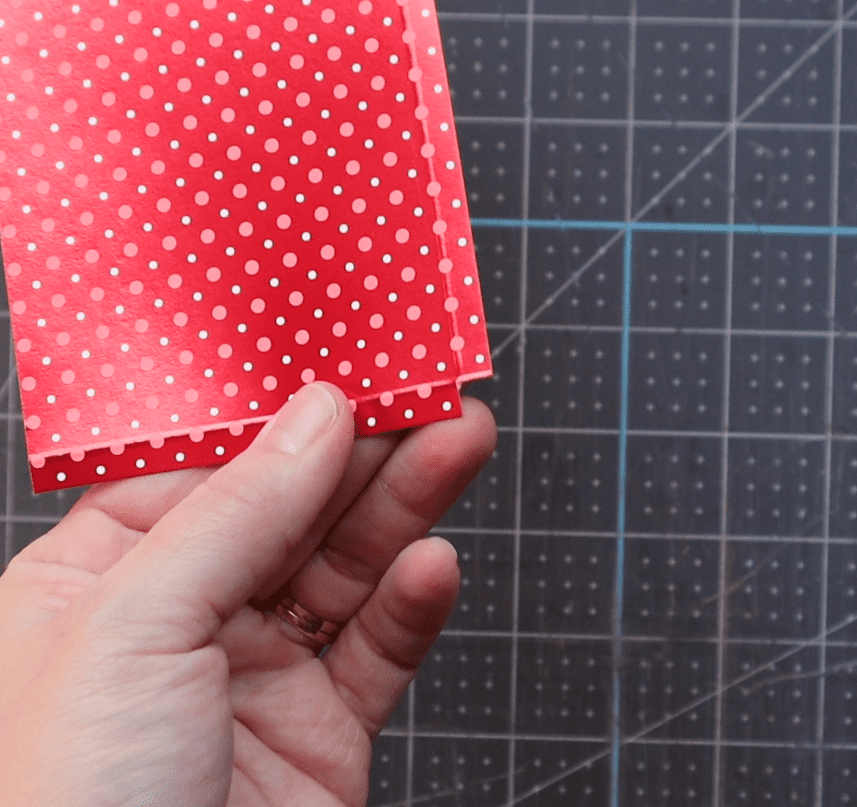
- Using scissors, cut away this small square.
- Optional: Fold the top left corner into a triangle-shaped flap. Use double sided tape to hold the flap closed.


Prepare the short pocket
- Hold the short pocket piece of paper so it is vertical.
- Score a line 1/8″ wide on the left and bottom sides.
- Gently pre-fold these lines until a small square appears in the bottom right corner.
- Using scissors, cut away this small square.
- Optional: Fold the top right corner into a triangle-shaped flap. Use double sided tape to hold the flap closed.
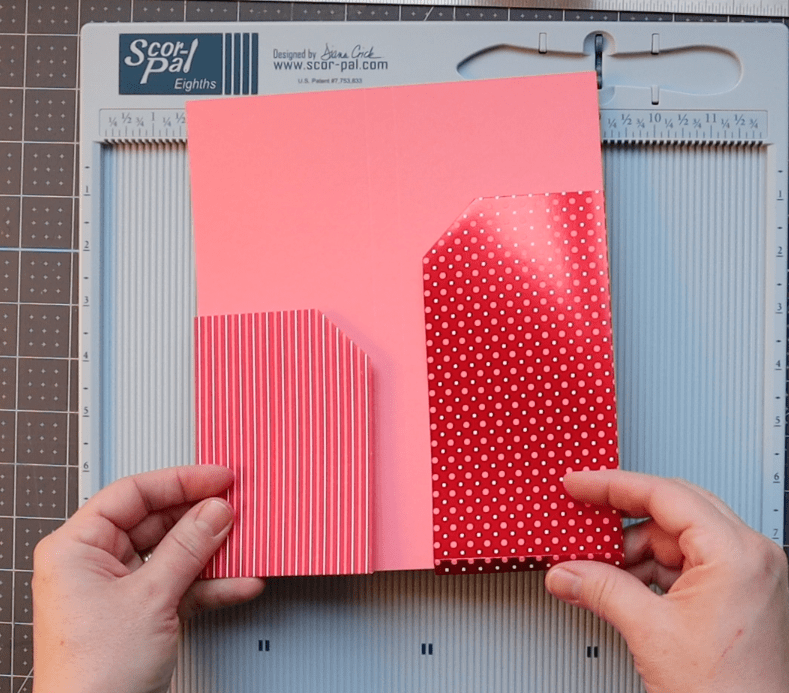
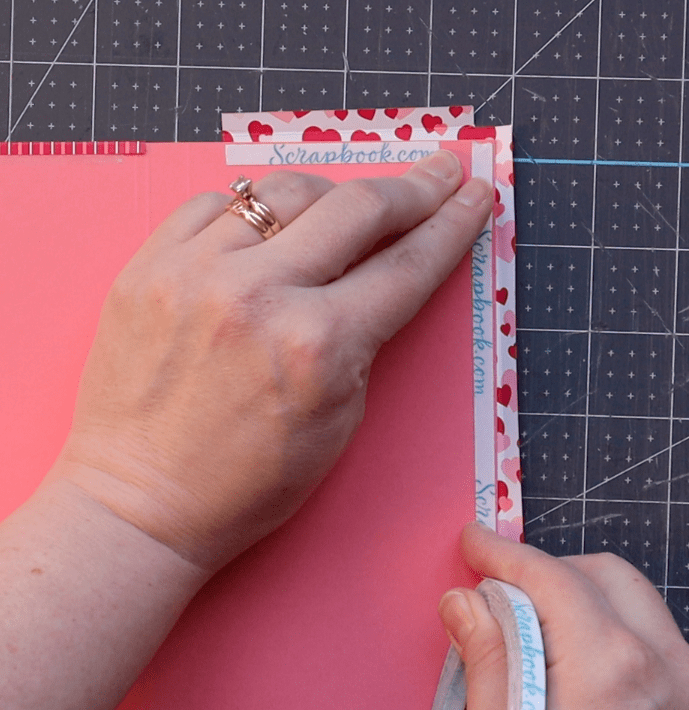
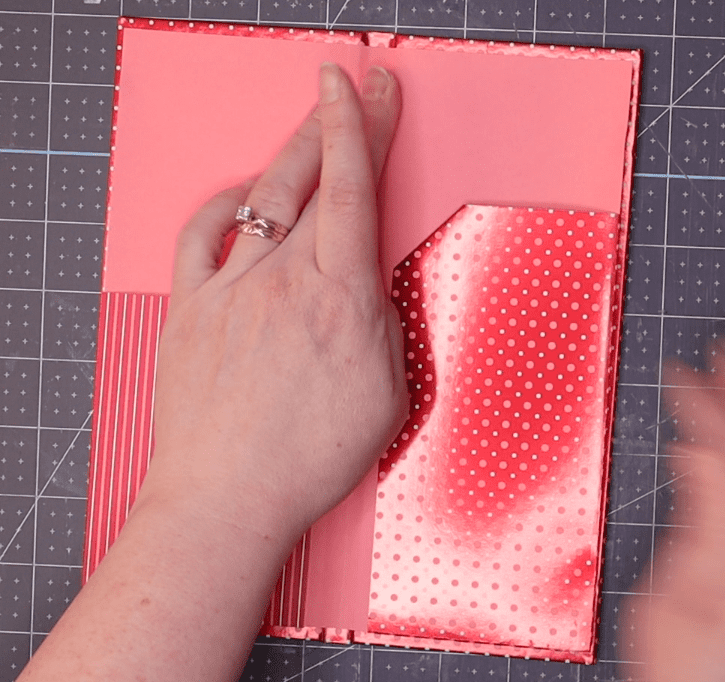
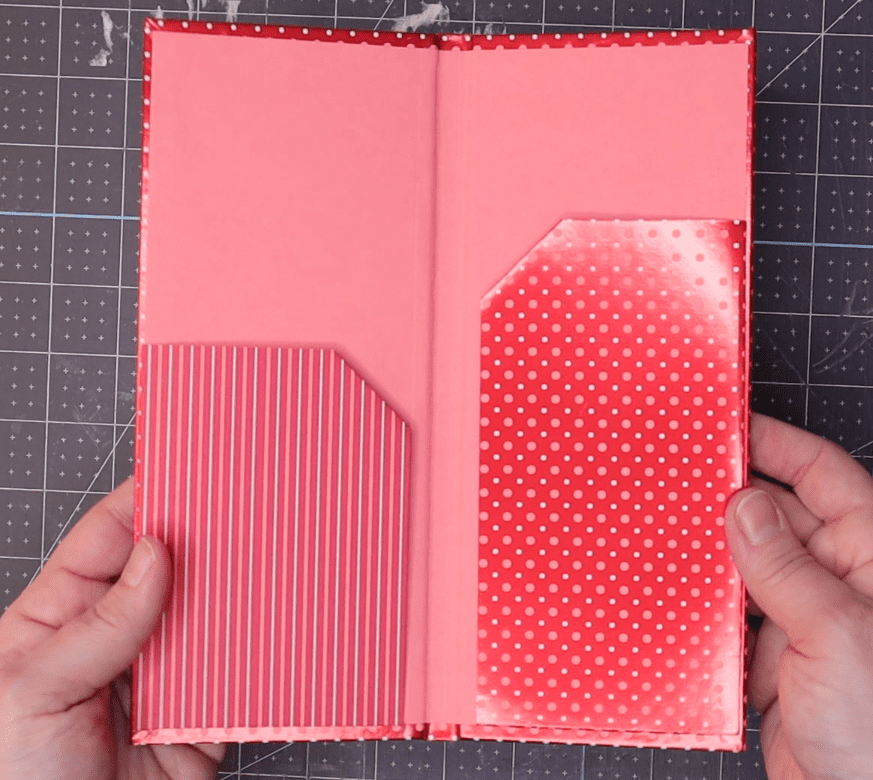
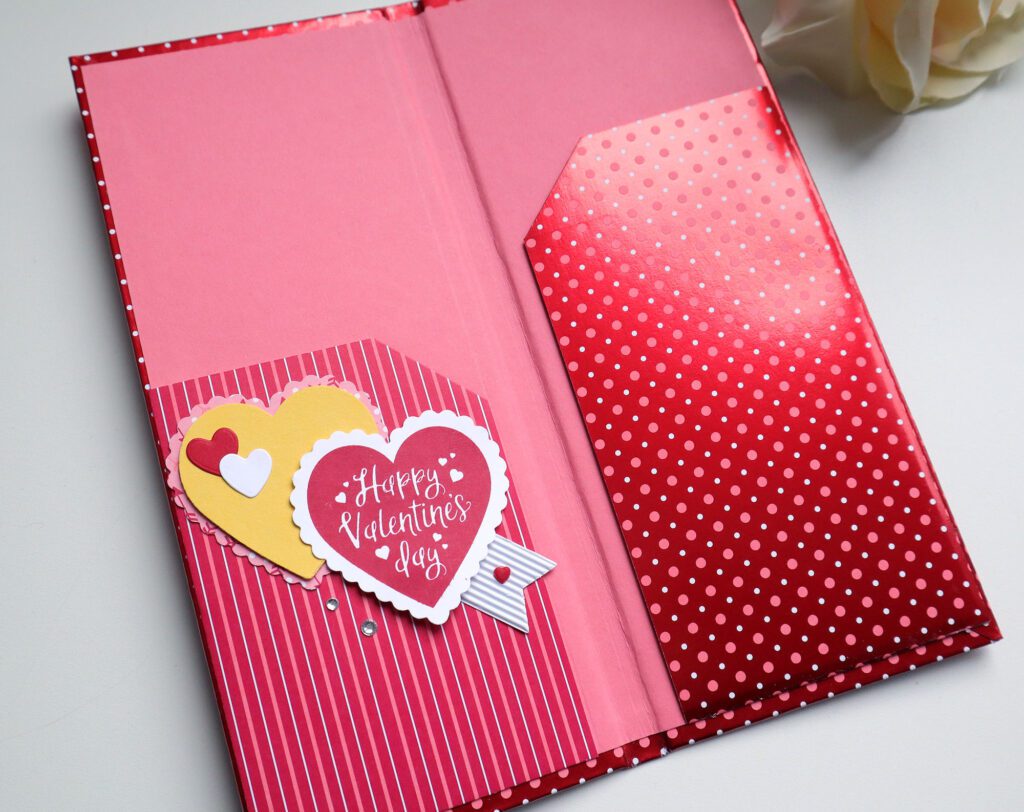
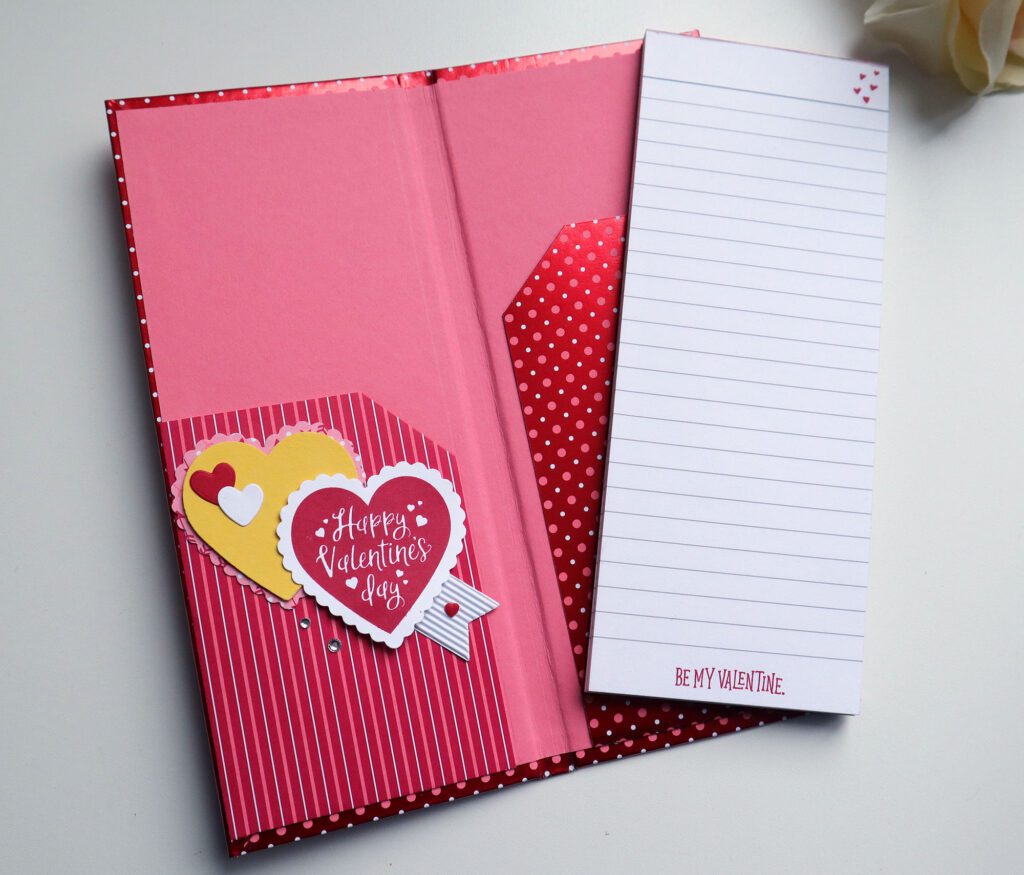
Attach the pockets to the inner cover sheet
Here’s how we want this to end up (front view on the left, back view on the right):
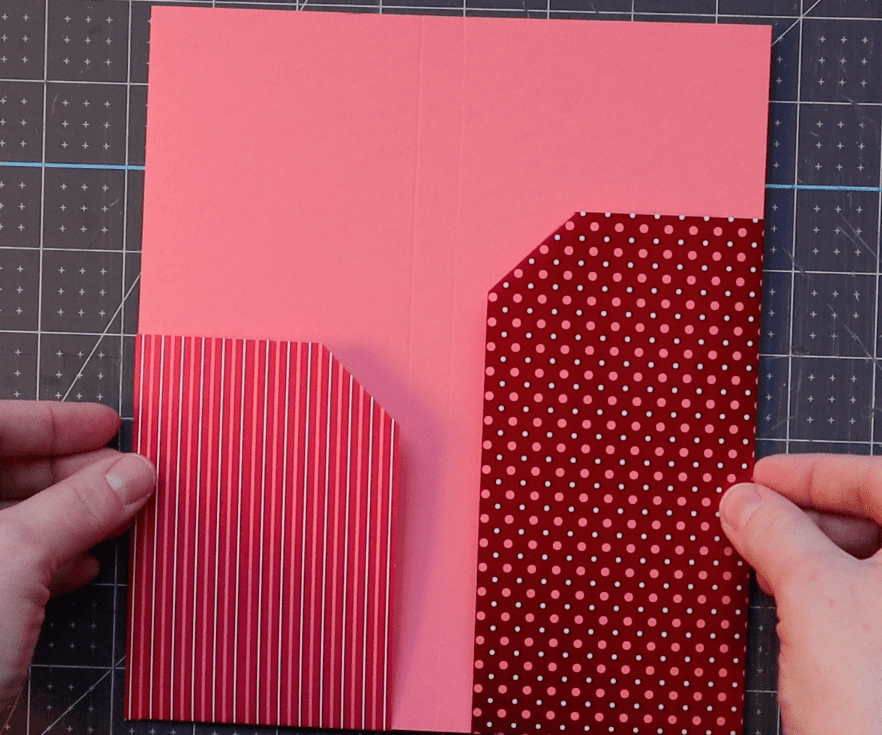

To create the above, follow these steps:
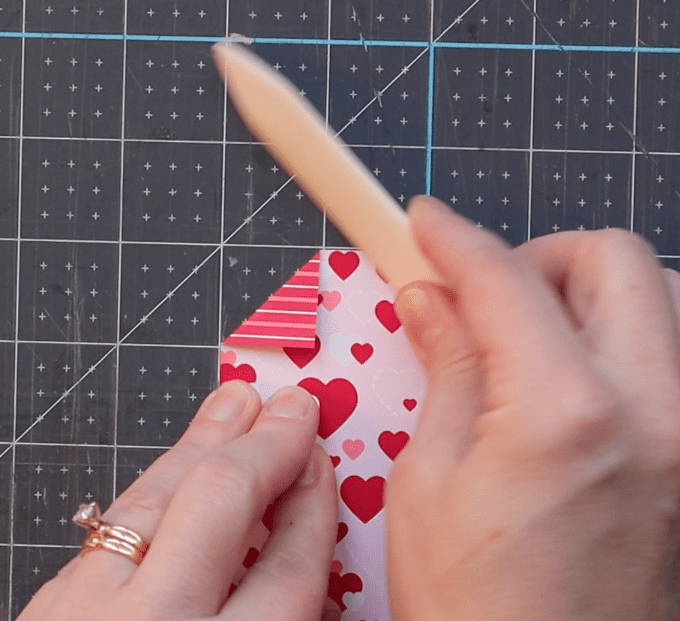
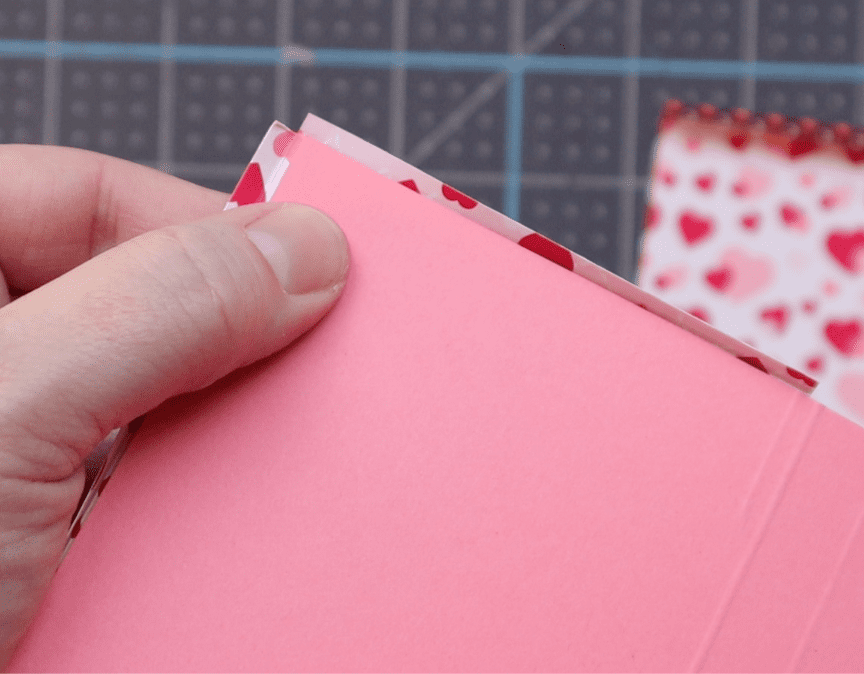
- Slide the short pocket onto the bottom left of the inner cover sheet and wrap the folded lines around the corner.
- Slide the tall pocket onto the bottom right of the inner cover sheet and wrap the folded lines around the corner.
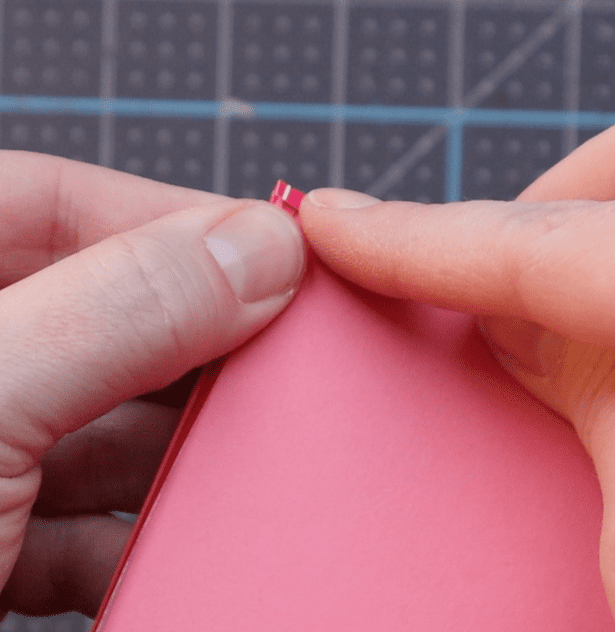
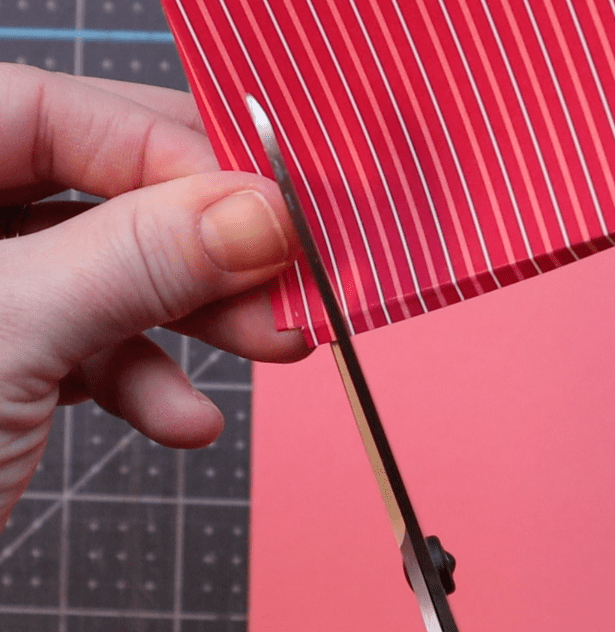
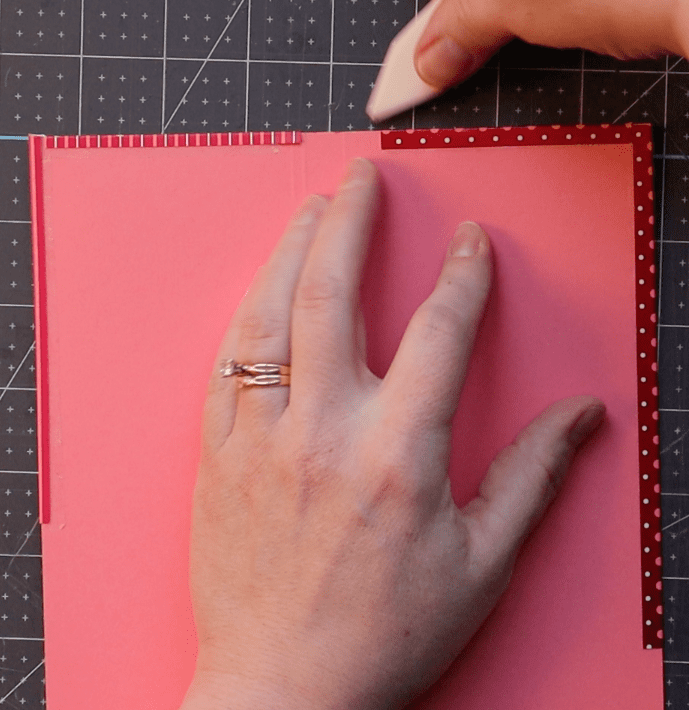
- Flip the inner cover sheet over so the back is facing up.
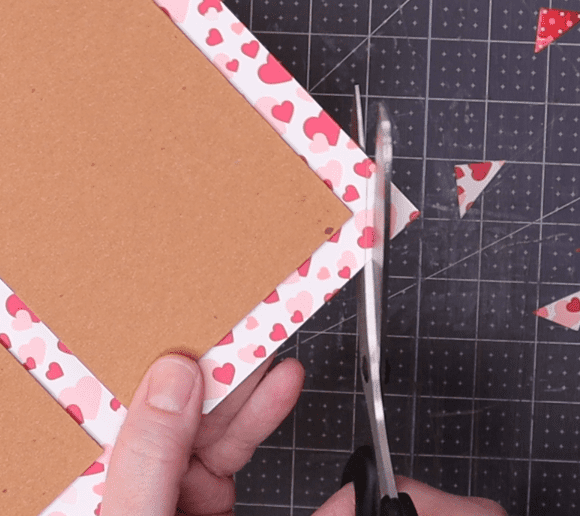
- Notice the short pocket edges are overlapping with one another. Using a scissor, trim away the small bit that overlaps. This is optional, but recommended.
- Repeat this process with the tall pocket on the right. Trim away the small bit that overlaps.
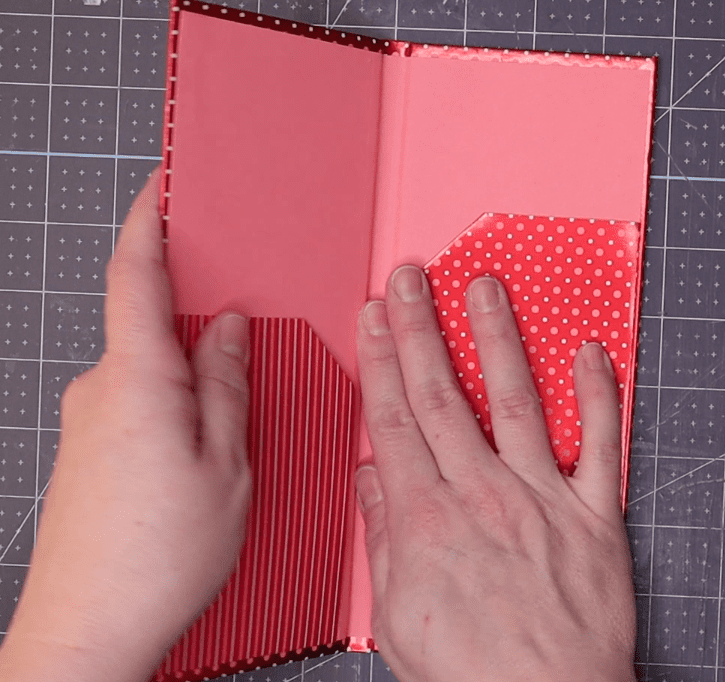
- Using double sided tape, adhere the short pocket folds to the inner cover sheet.
- Repeat this process with the tall pocket folds.
- At this point, both pockets should be adhered to the inner cover sheet. Set aside.
Prepare the cover
**If you have any trouble or need to learn how to do these steps, check out Tutorial | How to Create a Casebinding (Part II). It includes full instructions on how to glue down the boards, measure and cut corners and glue the flaps.
Part I
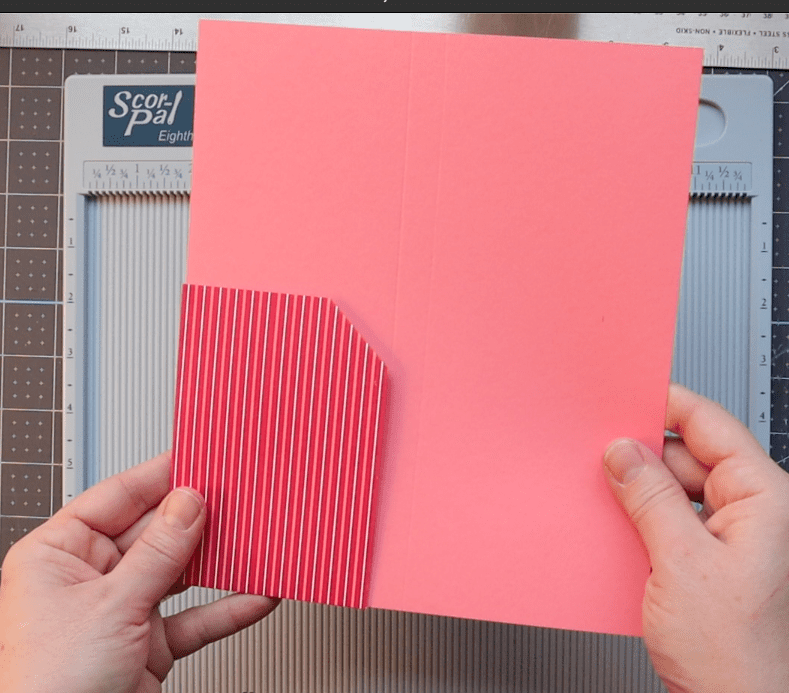
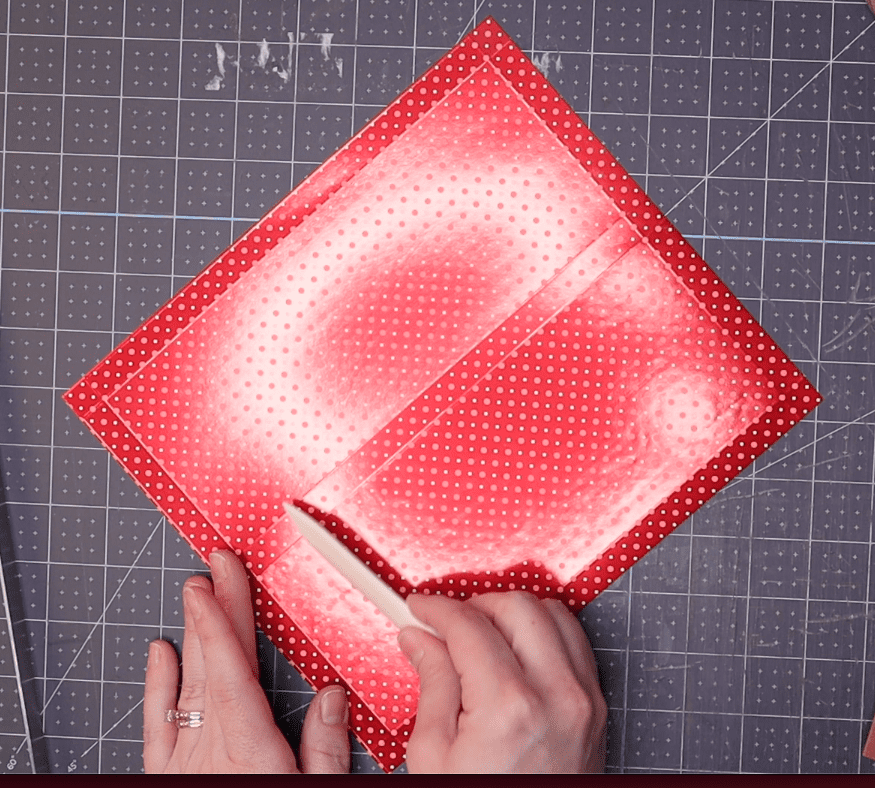
- Score a line 1/2″ in from each side (left, right, top and bottom).
- Score a line 4″ in from the left. This starts the spine area.
- Score a line 4-1/2″ in from the left. This ends the spine area. The spine should be 1/2″ wide and sit between the two boards.
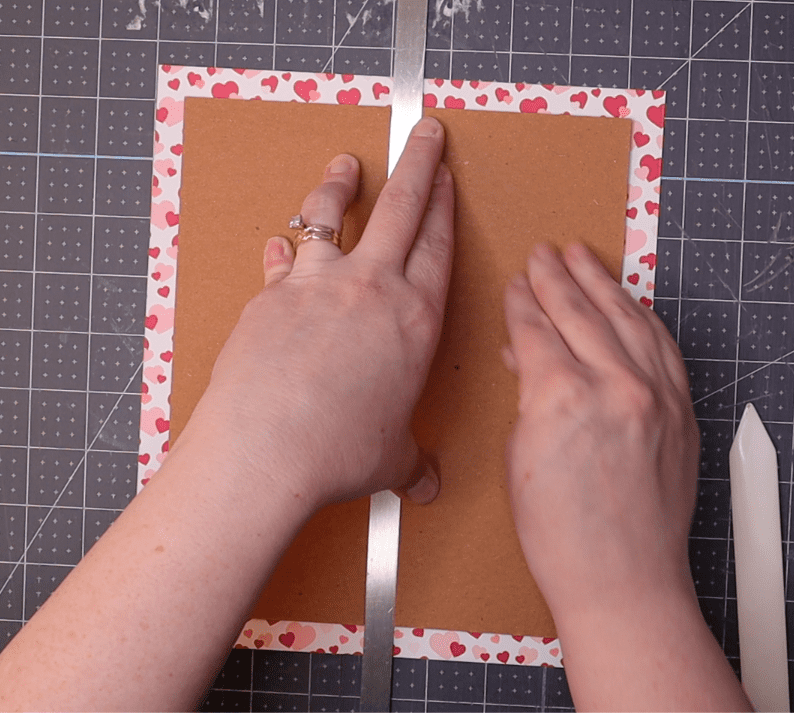
- Lay the book boards in their respective places, which should be easy to see now that you’ve scored these lines:

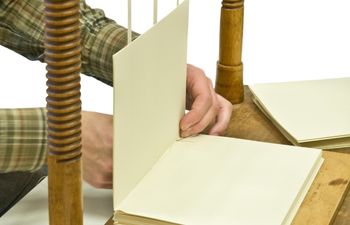
Part II
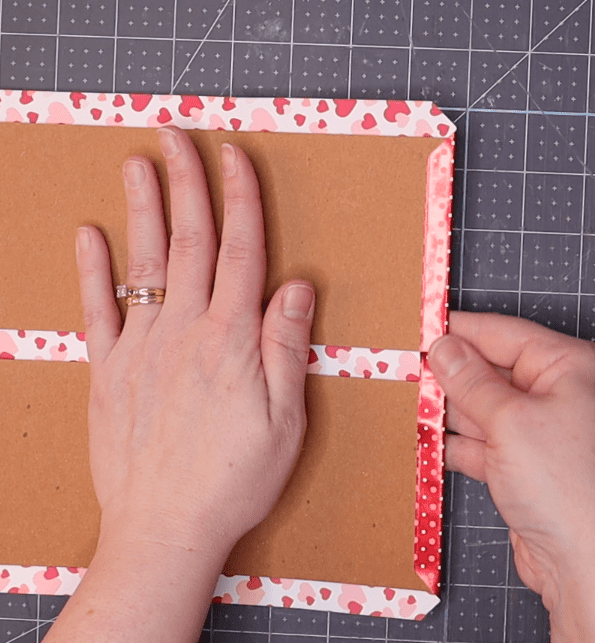
- Using PVA, glue the boards into place one at a time. Be sure to press firmly and use a bone folder to smooth out any air bubbles on each side.
- Once the boards are glued into place, mark and cut the four corners.
- Glue the top and bottom flaps first, using care to smooth each flap with a bone folder. This removes air and excess PVA.
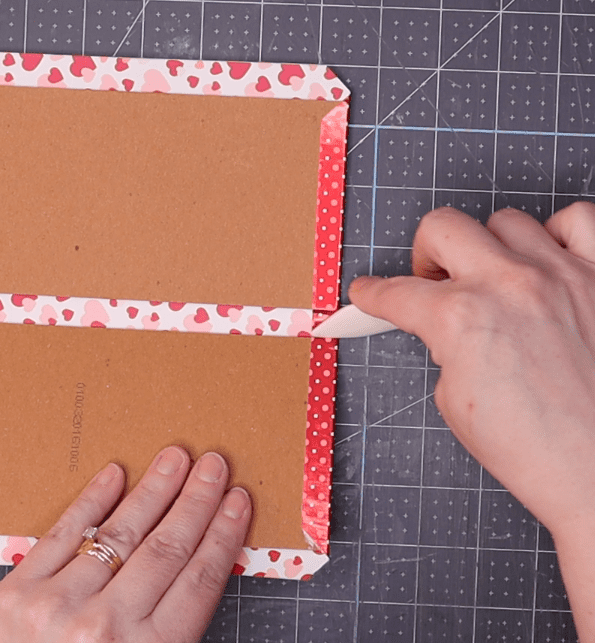
- Use the rounded edge of a bone folder to gently define the spine hinges. Be careful not to tear the paper while it’s wet.
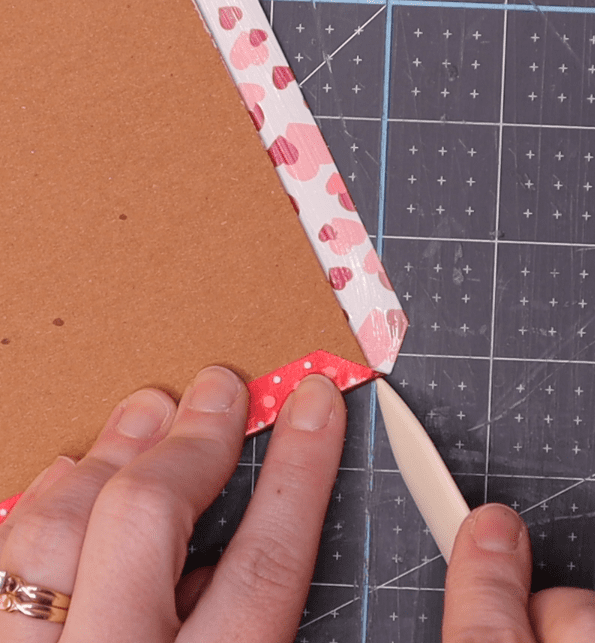
- Glue the right and left flaps next, repeating the smoothing process as you go along. Use care to turn in each corner with the pointed end of your bone folder.
- Once all flaps are turned in, press the case under several large books for 15-20 minutes. Be sure to sandwich the case between two sheets of waste paper (regular printer paper works here), which will absorb extra moisture.


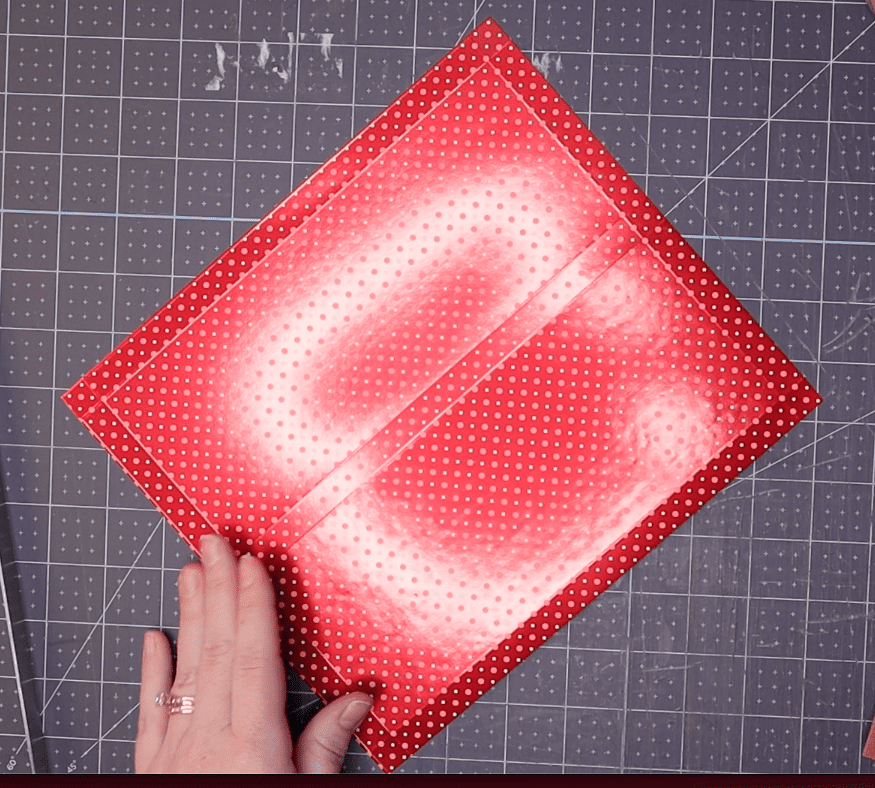
Add the inner cover sheet (completed with pockets in place) to the completed cover
- Lay the cover down so the side with visible boards is facing up.
- Before adding any glue, be sure to lay the inner cover sheet over the boards to confirm it will fit properly.
- Once you’re comfortable with the final placement, set the cover aside and turn the inner sheet over so the pockets are face down on a waste paper sheet spread over the work area.
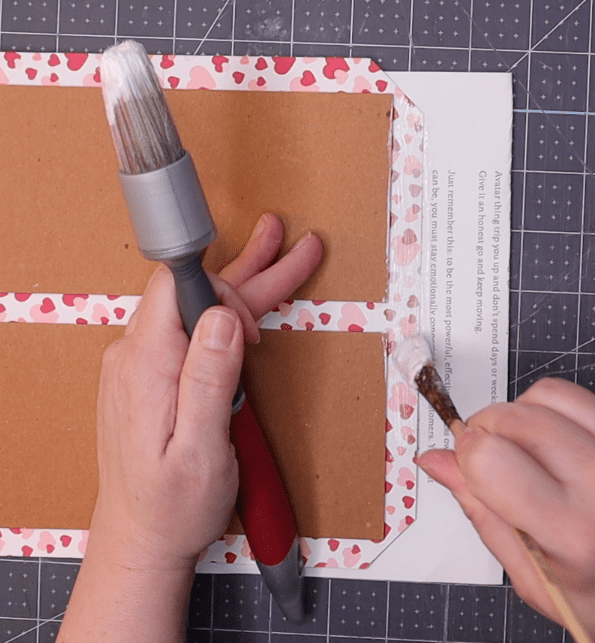
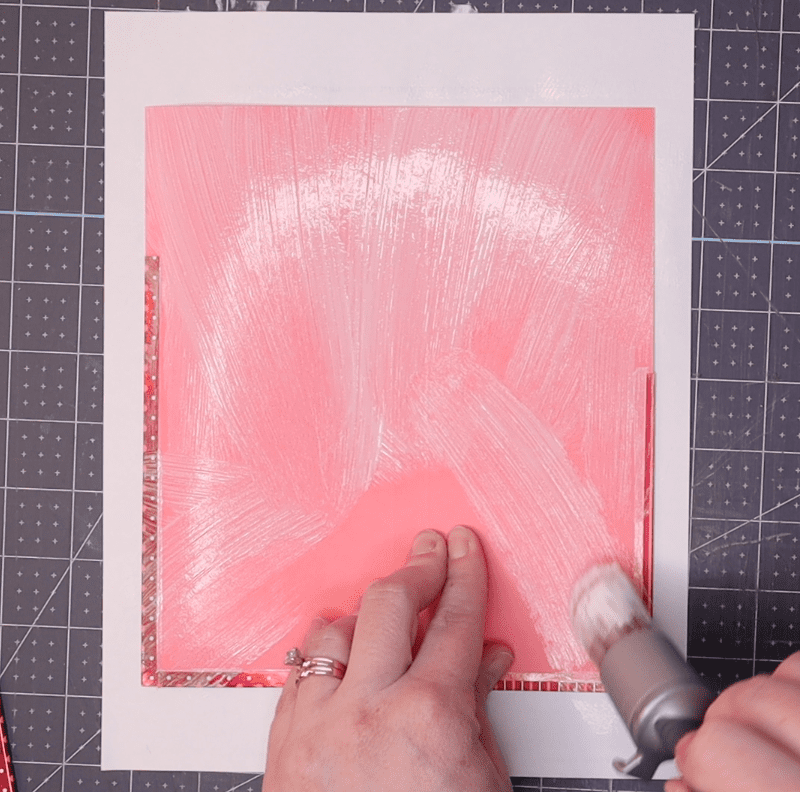
- Using a large brush, apply a thin layer of PVA to the back of the inner cover sheet starting from the center and working your way outward. *Note: PVA mixed with Methyl Cellulose will make this step much easier, but it is not required.
- Lay the inner cover sheet glue-side down onto the cover in the position you determined in step #2.
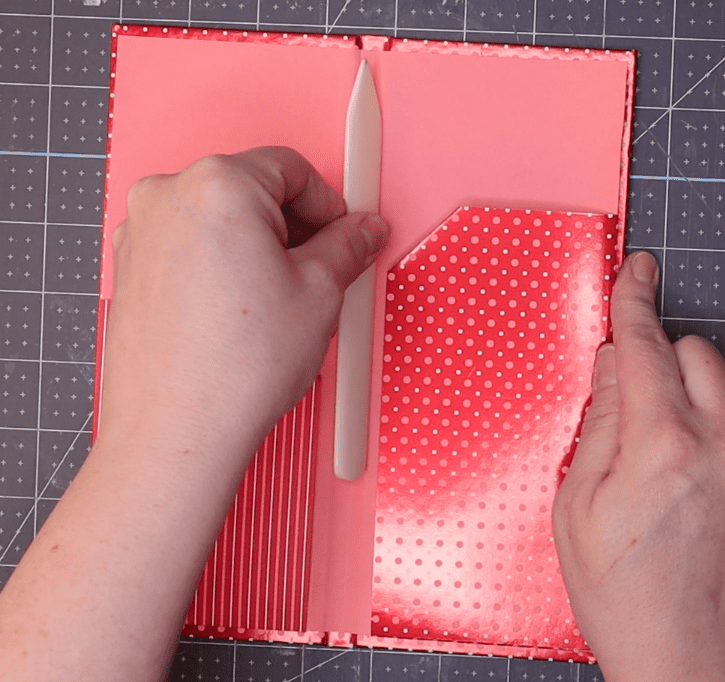
- Before smoothing anything, be sure to press the inner cover into the spine using the pad of your finger(s). This is the easiest way to be sure the spine has fluid movement before the rest of the sheet fully adheres.
- Carefully turn up the front and back cover while working to define the hinges.
- Using a bone folder, smooth out the rest of the inner sheet and pockets to remove bubbles and extra air.
- Slide a sheet of waste paper under the cover and another sheet between the inner cover and pockets.
- Place 2-3 large books on top of the cover and let it rest for up to 24 hours (longer is better).


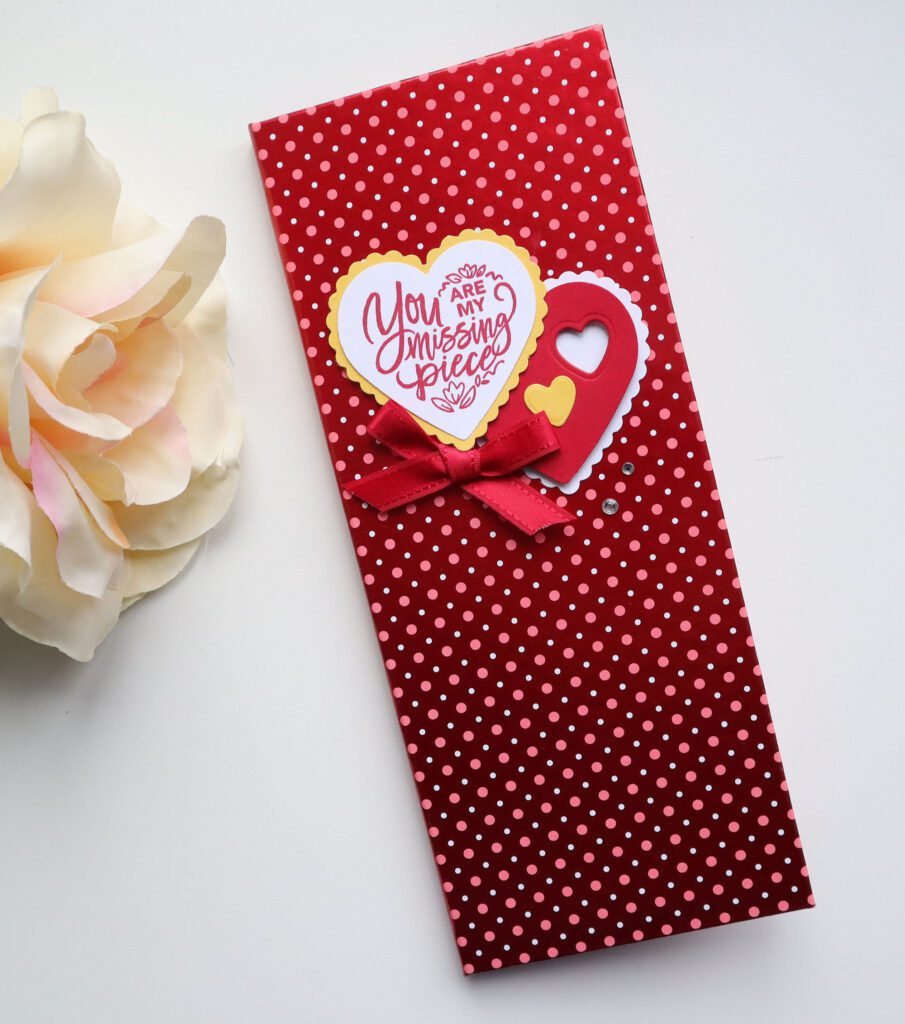
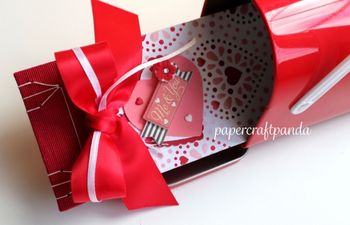
Decorate your new notepad + cover!
I chose a Valentine’s Day theme for this book, but when it comes to handmade gift ideas, this little notepad + cover duo offers some powerful customization options. For example, use Holiday themed paper to make a stocking stuffer, or beautiful florals to impress a gardening friend. Whatever you need, this book can be. I think that’s why I love it so much!
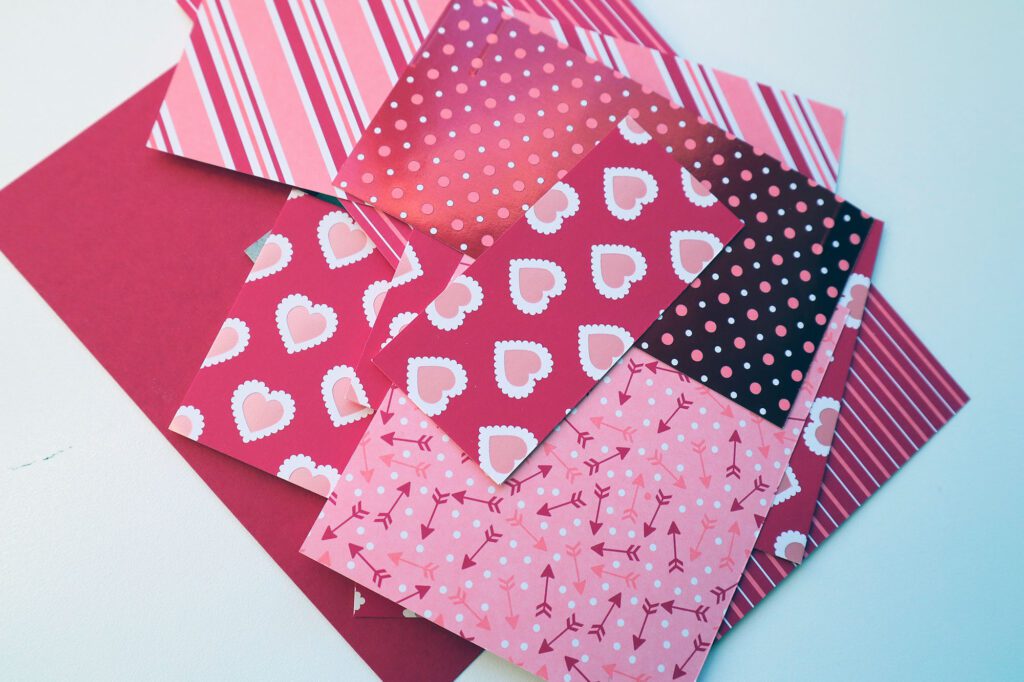
Use up that craft fodder!
I had this big ol’ stack of scraps from last year’s Valentine’s Day card making marathon, so I put it to good use here. If you have a bin of extras to use up, this might just be the perfect time to do so!
Video: How to Make a Cute Love Notes Pad with Matching Reusable Cover
Thanks for checking out this fun tutorial. I hope it gave you some inspiration for your own handmade gift ideas.
More bookbinding goodness
✨ What tools do I need to get started bookbinding?
- Bookbinding Tools & Supplies Quick Start Guide – learn all about book making tools, which to buy first & where to go online
- Pick up my popular Complete Starter Bookbinding Tools Kit – all the bookbinding essentials in one spot
🌟 Looking for a simple way to start making books?
Try a Complete Book Materials Kit. Each one has everything you need (+ tutorials & videos) to make a beautiful book without all the fuss.
Thank you for taking me along on your book making journey!
Misty


