If you’ve been on the hunt for a bookbinding chain stitch tutorial, look no further! Just in time for fall, I’ve created a 6-hole pamphlet using the beautiful chain link stitch. What I love most is how the chain look really adds to the spooky feel of this pamphlet, which is precisely what I was going for. The steps are so easy, I went on to make two more of these. For the purpose of this tutorial, though, I’ll stick with the first one.
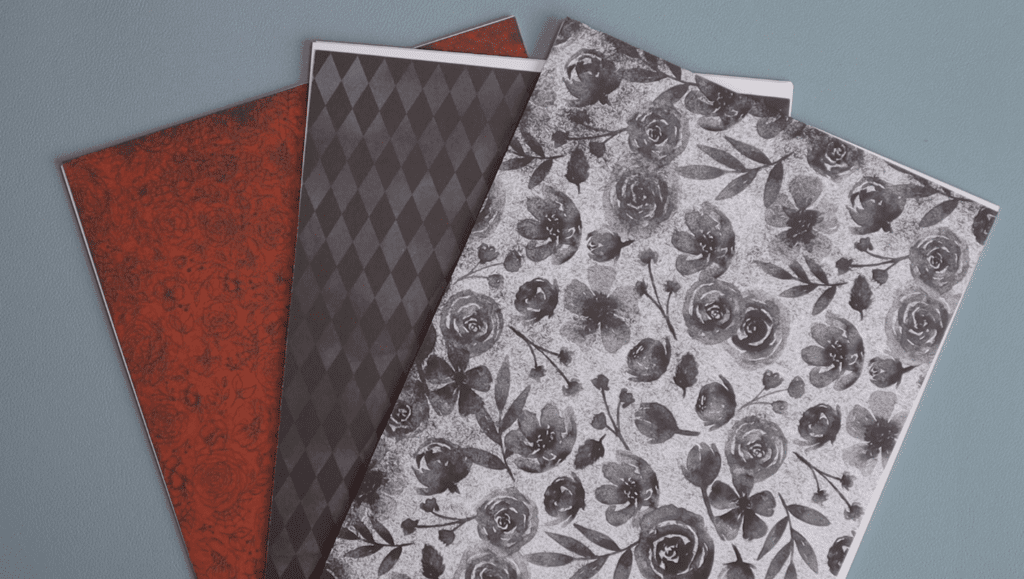
To begin, I chose some of my favorite Stampin’ Up DSP (designer series paper) called Magic in this Night. I bought it last year and never had a chance to use it, so I was excited to finally unwrap the package. After thumbing through each design, I settled on this pretty white and black rose pattern.
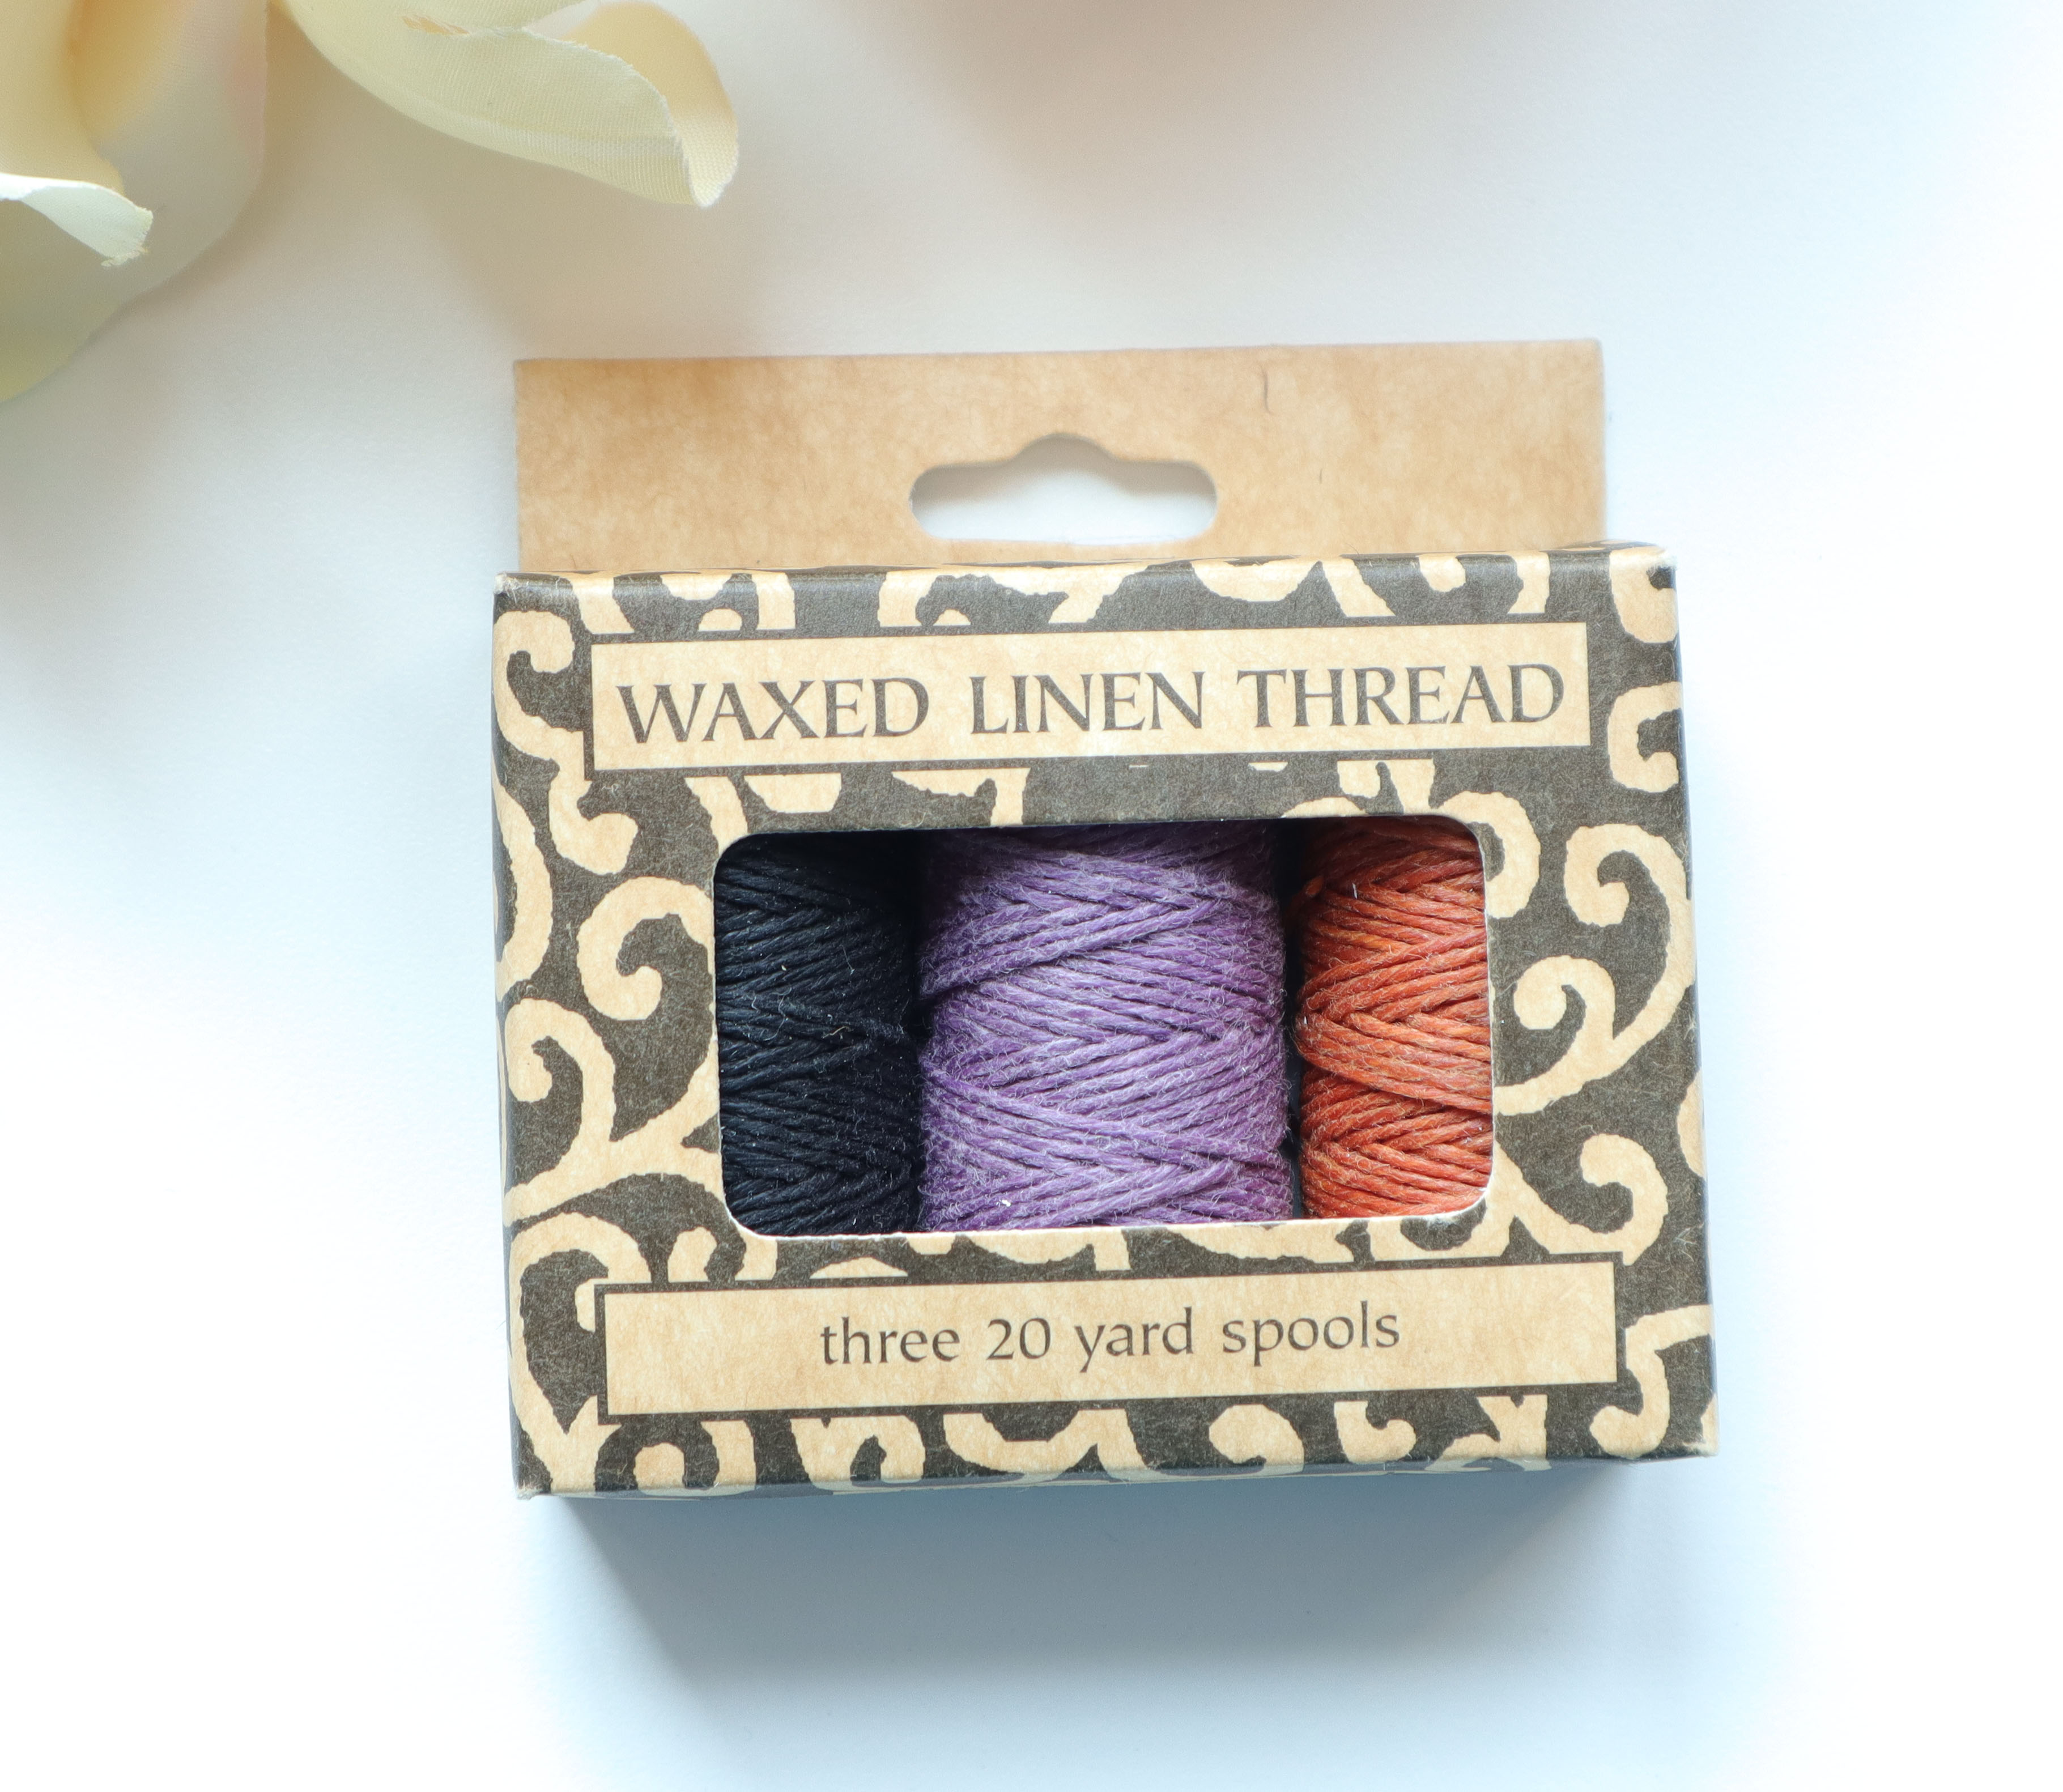
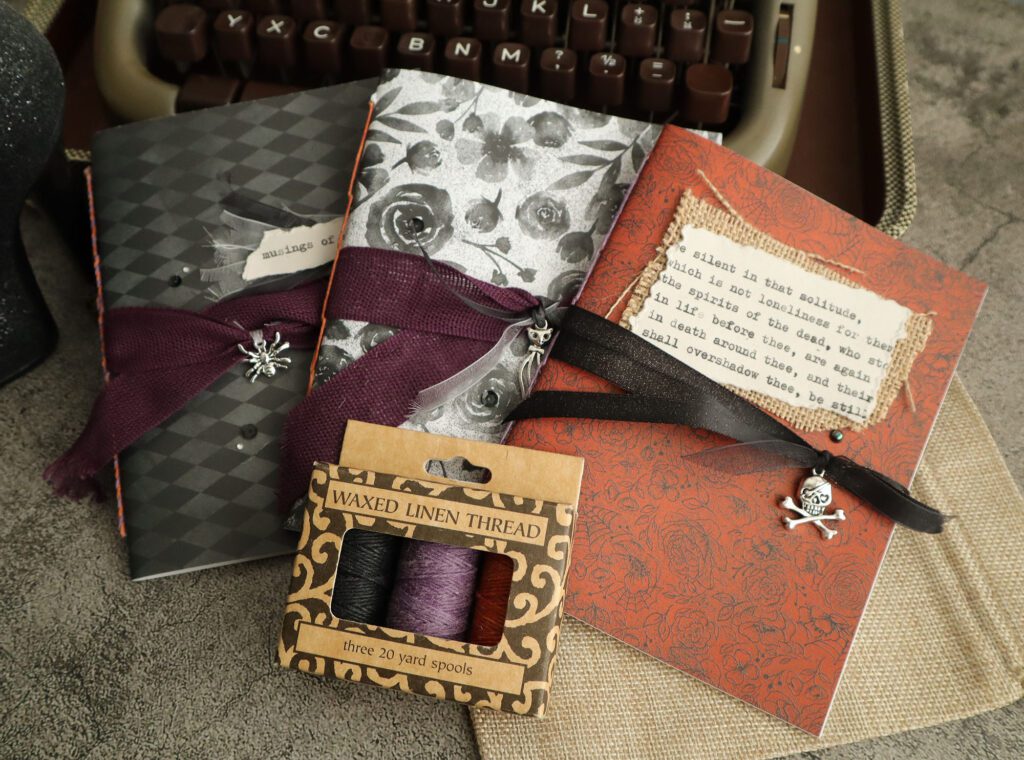
To offset the strong contrast, I decided to use a chunky 5-ply waxed thread by Lineco. Of the three colors, I was torn between purple and burnt orange. To get the “pop” I wanted, I decided to go with the brighter orange. I’m so glad I did!
Okay, I’ll let you get started. After reading through the instructions, check out the high speed tutorial I created to put a visual to each step. I hope it’s helpful! Don’t forget to pop over to Instagram and share the books you make! I want to see!
Bookbinding Tutorial: Chain Link Stitch
Measurements: 6-1/2″h x 5.25″w x 1/4″d
Cost Level: $
Skill Level: Beginner
Total Time: 45 minutes
Materials:
Paper
- 12 single sheets of 70 or 80lb text weight paper, cut to size 6-1/2″h x 10-1/2″w
- a single sheet of 90-100lb card stock, any color or design, cut to size 6-1/2″h x 10-1/2″w
- 1 sheet of waste paper, cut to size 6-1/2″h x 2″w (to create a template)
- 1 string of waxed thread, 4x the height of the book
- Optional: Decorative embellishments (die cuts, stickers, etc.) and adhesives, if needed
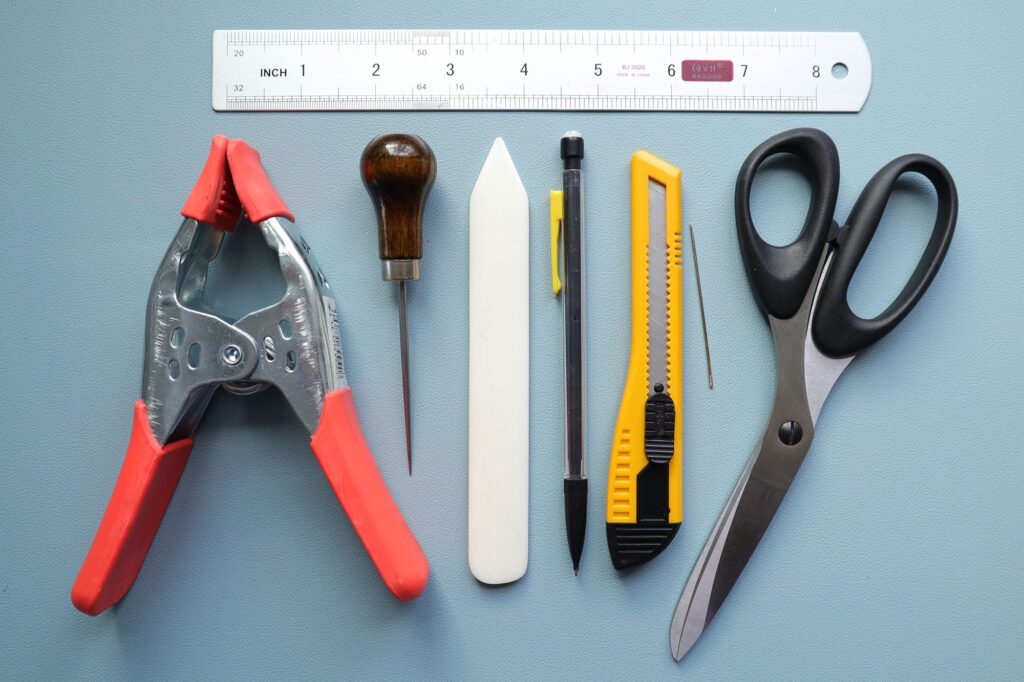
Tools
- 2 binder clips at least 1/2″ wide OR clothes pins, paper clips, etc.
- 2 strips of paper, 1/2″ wide by 1 or 2 inches tall (to protect the paper under the clip)
- Bone folder
- Tapered awl
- Binding needle (with an eye opening at least 1 size bigger than your thread)
- Olfa knife
- Ruler (cork backed or non-slip is preferred)
- Scissors
- Pencil
- (Optional: metal clamp to hold paper in position while cutting)
Steps:
Fold the paper
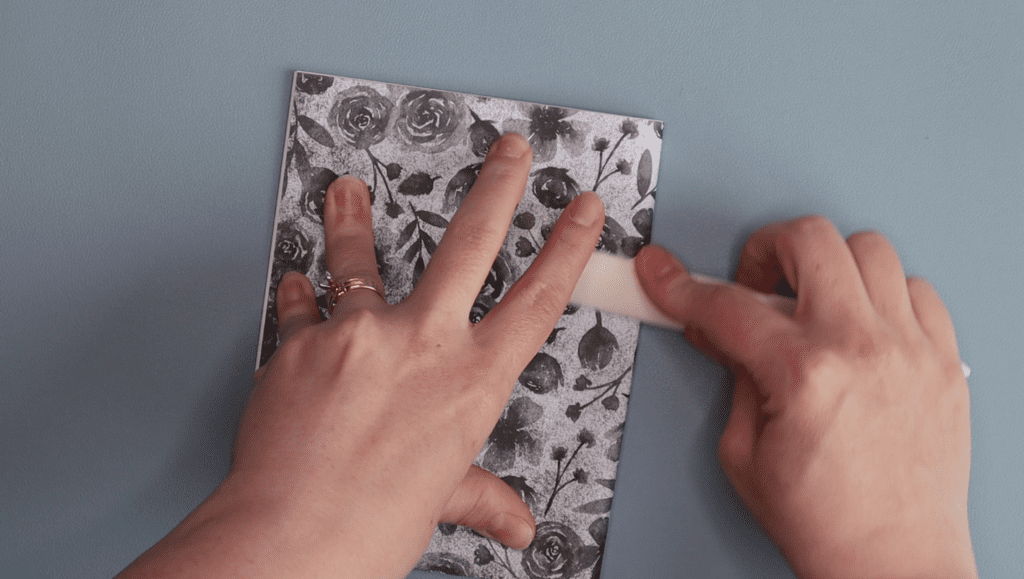
- Gather all sheets of paper together with decorative cardstock on top
- Fold in half and crease with your bone folder to create a pamphlet
- Place a 1/2″ strip of paper + a binder clip on each side of the spine to hold the paper and cover securely in place
Create a template
- Fold the strip of paper (sized 2″w x 6-1/2″h) in half, crease with bone folder
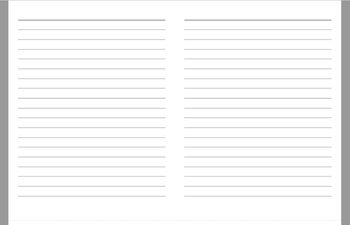
- Open flat and use a ruler to mark six sewing station positions, evenly spaced, with the first and last holes placed at 0.25″ and 6.25″ respectively
- Using an awl, pierce each sewing station with a small hole large enough to fit the tip of your pencil
Prepare the pamphlet for sewing
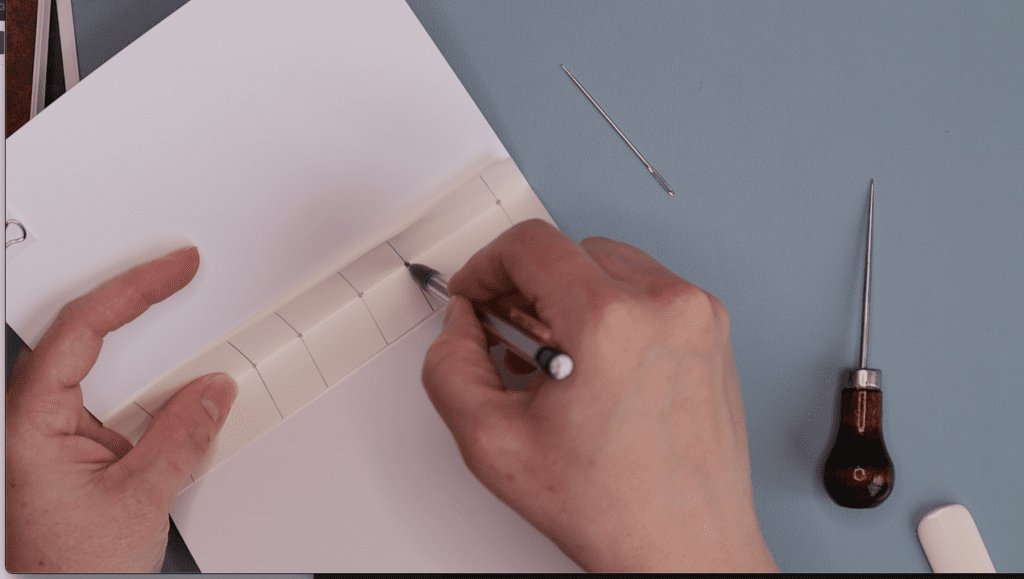
- Open the pamphlet and lay the template inside the crease
- Use your pencil to mark the hole locations onto the crease of your pamphlet
- Remove the template and set aside
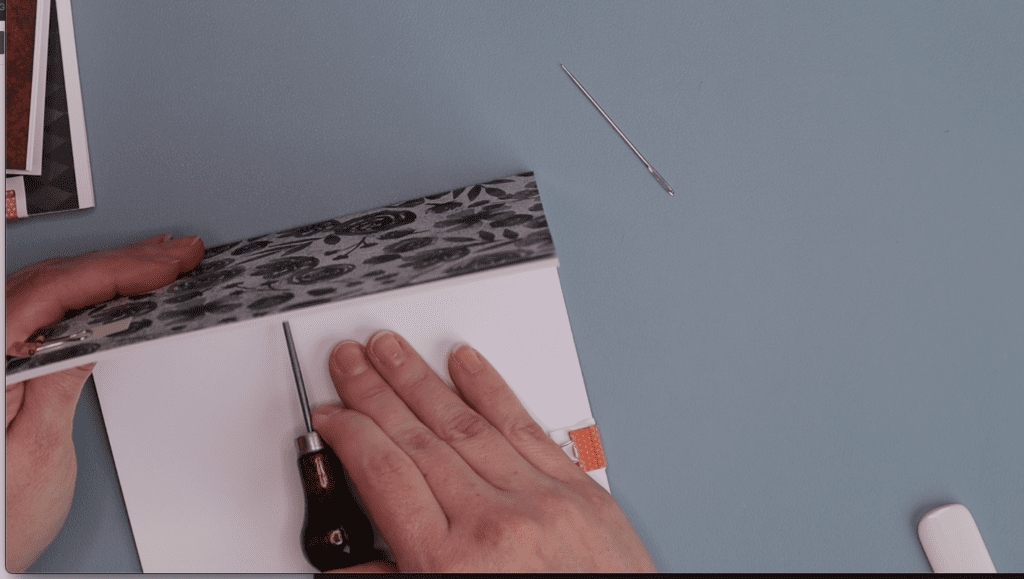
- Using your awl, pierce through each marking on the pamphlet. The awl should make a hole that is one size larger than the thickness of your needle
- Once all holes are pierced, set the awl aside and pick up the waxed thread
- Measure out enough thread for 4x the height of the book (if you’re making the book 6-1/2″ tall like me, you would need 4 x 6.5 = 26 inches of thread)
- Thread the binding needle
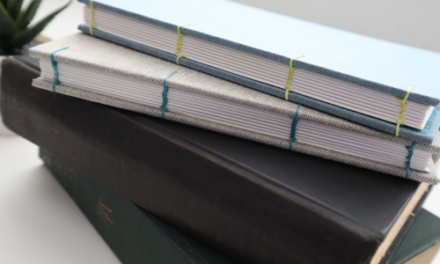
Sew the pamphlet using the chain link stitch
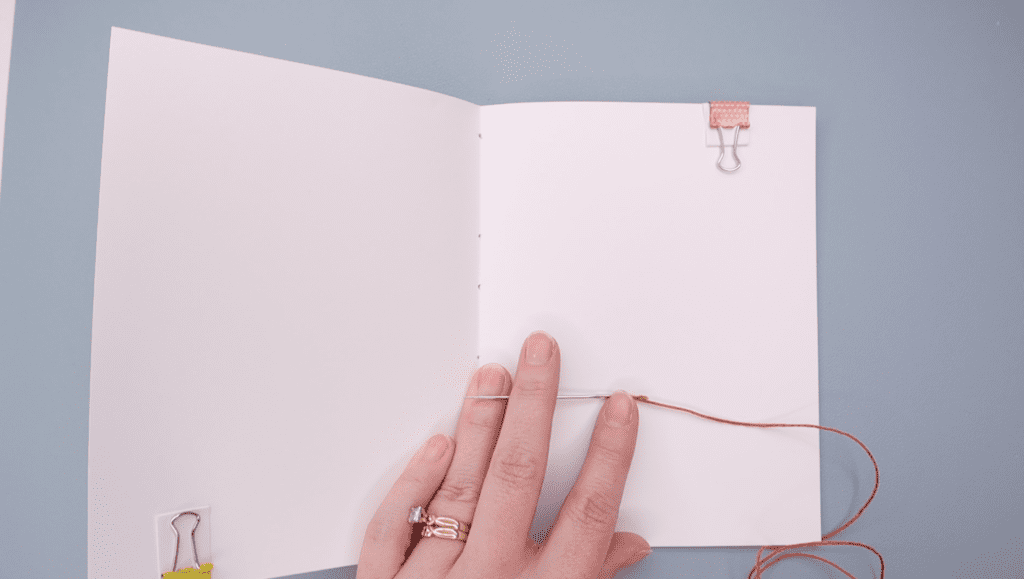
- Pass the needle through the top hole from inside to outside, leaving about 2″ of thread inside the pamphlet
- Move the needle back through the same hole from outside to inside this time, creating a loop of thread around 1/2″ tall on the outside of the pamphlet
- Pass the needle through the second hole from inside to outside, pulling taught but not too tight (we don’t want the loop we’ve created to come undone)
- Once outside, pass the needle through the loop. Do not pull tight. Instead, lay the needle to the side
- Back inside the pamphlet, use the 2″ of remaining thread to tie a knot. Pull tight so the loop on the outside disappears, tightening around the thread we passed through it a moment ago. Tie a second knot if you’d like to be more secure
- With the knot in place, take up the needle again
- Pass the needle back through the second hole from the outside to the inside and pull taught
- Pass the needle through the third hole from the inside to the outside, pulling tight
- Now loop the needle behind the thread that sits between the first and second holes. This will create the first “link” in the chain link stitch
- Once through, pass the needle back through the third hole from the outside to the inside of the pamphlet
- Repeat this process until you reach the last hole. From the inside, create a knot using the last bit of thread. Double tie the knot to keep it secure
- Using a scissors, clip away all but 1/4″ of thread on the top and bottom of the book
Trim the foredge
- Lay the book, closed, on a cutting surface and square up the tail and spine to create a 90 degree angle
- If you have a heavy duty clamp, use it to clamp the book to the cutting surface so it will not move. If you don’t have a clamp, that’s okay – move on to step #3
- Line up the ruler with the edge of the cover and press it down with one hand, pinning the book between the ruler and the cutting surface for stability
- Using your dominant hand, begin cutting away the foredge by pulling the Olfa knife along the foredge down the length of the ruler. The ruler will keep the blade straight while you cut. Use slow, firm motions. Be sure to move away any cut pieces before cutting the next
- Continue this process until the foredge has been trimmed away
High Speed Video Tutorial
(Optional) Decorate the pamphlet
Feel free to decorate the pamphlet however you’d like! Use die cuts, stickers, embellishments, junk journal supplies – etc! Anything you can think of will work here.
Since I wanted to create a spooky notebook, I decided to use an orange 5-ply thread by Lineco. This thread thickness is rather large, so I did have to pierce bigger holes to accommodate. It was worth it because this thread created rope-like chain link stitches that look lovely against the white, gray and black rose design on my cardstock.
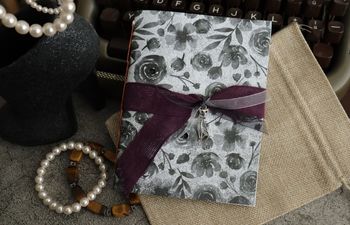
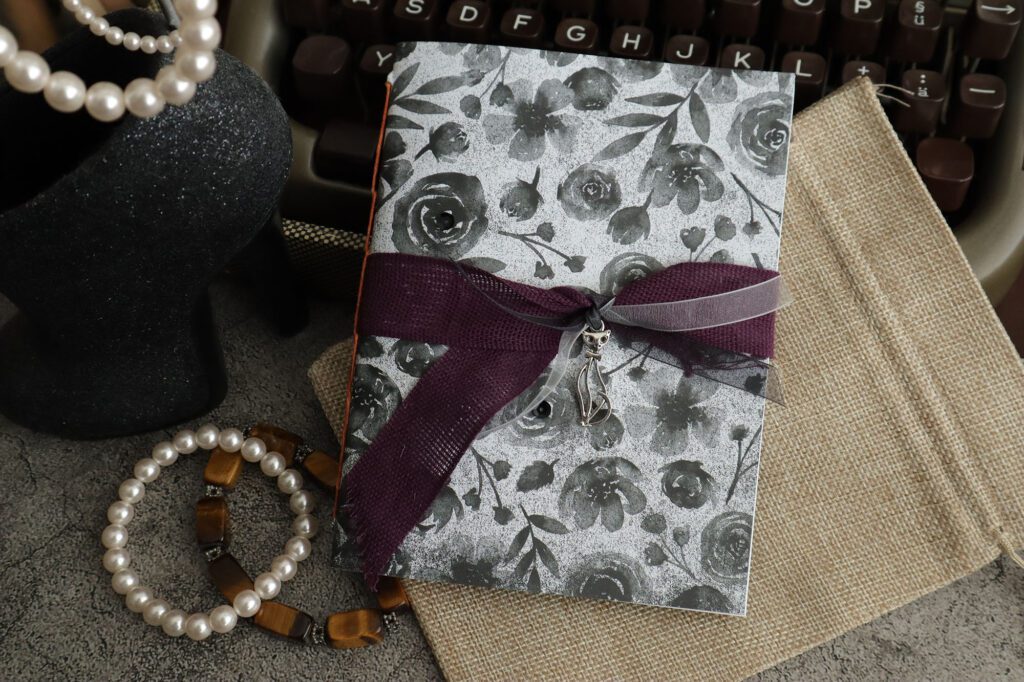
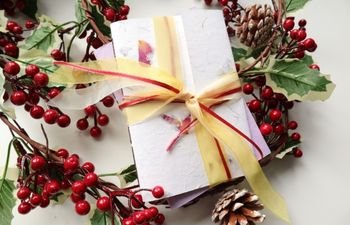
To compliment, I looped a purple burlap ribbon through the middle chain link stitch and fastened it to the front cover using a tiny button brad. I then wrapped the remaining burlap around the back of the book to the front, where it was tied in place using black and silver gauze ribbon with a skeleton cat charm attached. For added eye candy, I tossed on a few black sequins here and there.
I really like how it turned out. Simple, but slightly spooky!
I went on to create two more pamphlets using this method. I’m a bit of a typewriter nerd, so I absolutely used some cotton rag in the 1958 Optima Elite to bang out some of my favorite Edgar Allan Poe works. Of course, I later tore it up a bit to give it that halloween vibe.
How did your 6 hole pamphlet with chain link stitch turn out?
If you made it this far, I hope you have a beautiful book to show for it! Tell me, how did your 6 hole pamphlet with chain link stitch turn out?
Since these books have 6 sewing stations, they’re very secure and can be used on frequently accessed books. Think journals like wine and whiskey tasting, travel, journalist notes, and many more. I’m excited to see what you come up with!
More bookbinding goodness
✨ What tools do I need to get started bookbinding?
- Bookbinding Tools & Supplies Quick Start Guide – learn all about book making tools, which to buy first & where to go online
- Pick up my popular Complete Starter Bookbinding Tools Kit – all the bookbinding essentials in one spot
🌟 Looking for a simple way to start making books?
Try a Complete Book Materials Kit. Each one has everything you need (+ tutorials & videos) to make a beautiful book without all the fuss.
Thank you for taking me along on your book making journey!
Misty


