Welcome to How to Create a Casebinding (Part III)! If you’re here, that means you’ve already completed Part I and Part II. If not, head back and complete the text block and case before starting this tutorial. Both are necessary before we can move forward with the casing in process.
To simplify the end-to-end process, I’ve broken this casebinding tutorial into three main parts:
- Creating the Text Block (Part I)
- Creating the Case (Part II)
- Casing in the Text Block (Part III) <– you are here.
Bookbinding Tutorial: Casebinding (Part III)
Measurements: Case (6-3/4″h x 11″w), Final Book (6-3/4″h x 5″w x 1/2″d)
Cost Level: $$
Skill Level: Intermediate
Total Time: (Part III) 30+ minutes
It’s time to finish your book ?
All the work you’ve done so far is about to pay off! In this final tutorial, we’re bringing the finished text block and case together. This process is called “casing in.” Casing in a text block can be nerve wracking, but don’t worry. I’ve included a video to demonstrate how this is done. Please read through all the instructions and watch the videos before diving in yourself.
Before we start, I just want to say one thing: it’s okay if your book isn’t perfect. I’ve rarely seen a handmade casebinding with 100% perfect endpapers unless it was a fine binding completed by a very experienced bookbinder. Remember, our imperfect books are what make them perfect ❤️
Okay, let’s get started!
Casebinding Tutorial Materials:
- a finished text block
- a finished case (measured to fit the text block)
- a sheet of wax paper, cut into two pieces size 9″h x 6″w
- a piece of newsprint or lightweight paper to absorb moisture, cut into two pieces size 9″h x 6″w
- Several pieces of waste paper
- PVA adhesive
Tools
- Book press or 2-3 heavy books (roughly 9×6 in size or larger)
- a manual clamp, if possible
- Bone folder
- Paste brush
- Olfa knife
- Ruler
- Scissors
- Pencil
Bookbinding Terms to Know
We’ll be using some bookbinding words and phrases throughout this tutorial, so I’m calling them out here for added clarity. You may already know what these mean, so feel free to skip over this and start the tutorial.
If you’re brand new to book making, be sure to check out my Bookbinding Tools & Supplies Quick Start Guide, which includes a more robust list of bookbinding terms and definitions that might be helpful for this casebinding tutorial.
- Casing in – the process of covering a finished text block with a hard cover case by pasting the text block’s endpapers into the front and back covers of the case.
- Head – the top edge of a book.
- Tail – the bottom edge of a book.
- Foredge – the outer vertical edge of the pages of a book.
- Methyl Cellulose – a chemical compound derived from cellulose. It dissolves in cold water, forming a clear viscous solution or gel. In bookbinding, we add this to our PVA adhesive to increase drying time. A longer drying time gives you more room to reposition pieces before they solidify.
Steps:
Part III – Case in the text block
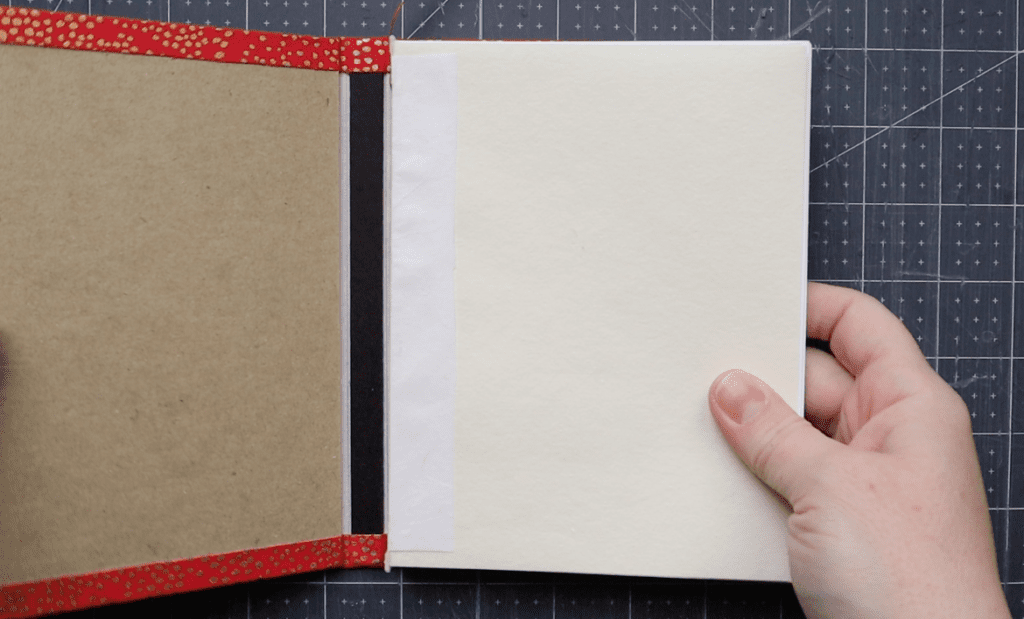
Fit the text block to the case
- Place the text block inside the case to simulate what it will look like when complete. Fit the block so it is roughly 1/8″ from the head and tail of the case.
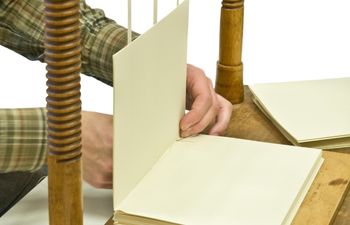
- You’ll likely notice the text block’s foredge either meets or slightly exceeds the foredge of the case. We’ll need to trim this back. Lay the book on the table, using care to keep the text block in the same place.
- Carefully open the cover. Try not to move the text block.
- In general, we want slightly more room on the foredge than we do on the head and tail. If we have 1/8″ space between the head/tail of the text block and the head/tail of the case, then 1/8-1/4″ is sufficient on the foredge. With the book open, use a ruler to measure roughly 1/4″ in from the edge of the case. I’ve included a few photos to show you how I do this with a 1/4″ straight rule.
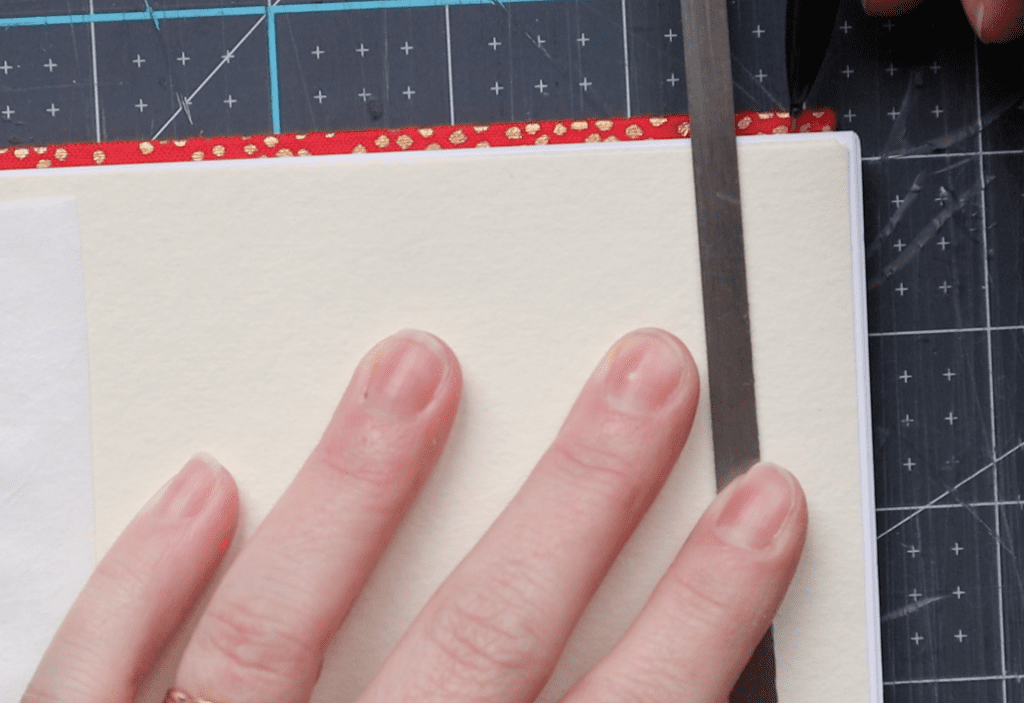
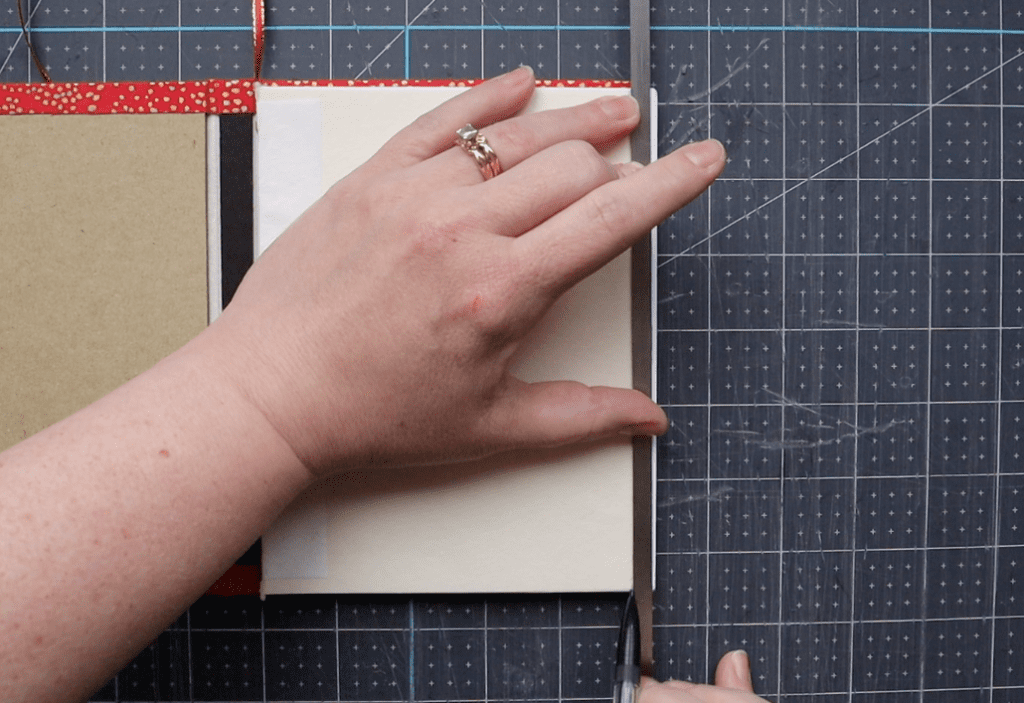
Trim the foredge
- With the cut line in place, remove the text block from the case. Set the case aside.
- Lay the text block on a self healing mat and square up the edges.
- If you have a manual clamp, clamp the book in place near the spine so it will not move while cutting.
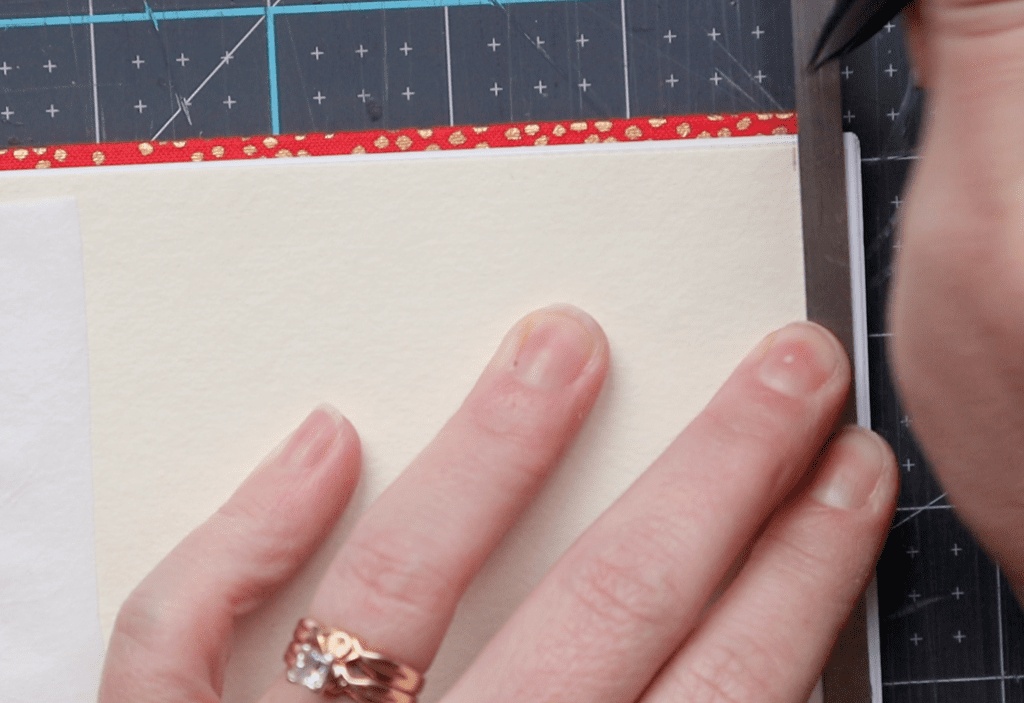
- Using a ruler (preferrably with a non-skid backing such as cork) and Olfa knife, slowly cut away the excess foredge from head to tail. Do not move too quickly, as the blade may mark the paper.
- After each stroke, remove the extra paper and resume cutting.
Video technique: trimming the foredge
In this video, I’m trimming the foredge of a simple pamphlet, but the technique is exactly the same when working with a larger text block.
Case in the text block
Note: You might notice I’m working with two different books in this tutorial. My camera ran out of battery on the first go-round, so I had to film the casing in process using a second similar book. Both books are the exact same size, so there is no difference in approach or technique.
- With the foredge trimmed, it’s time for the final step: casing in the text block! Place the text block inside the case, positioning so there is roughly 1/8″ from head and tail and 1/8-1/4″ from the foredge (depending on how much was trimmed).
- Lay the book on the table and open the cover, careful not to move the text block.
- Gather two sheets of wax paper, newsprint and waste paper. Set the newsprint and wax paper aside. Bring forward the waste paper.
- Open the endpaper and place a sheet of waste paper inside, snug up against the spine.
- If you have a clamp, use it to hold the waste paper sheet and text block in place. If not, use care not to move either while gluing.
- Using a paste brush, apply glue under the mull first. Lay the mull down onto the glue and add more glue on top.
- Apply glue to the rest of the surface, but be careful not to add too much. You want a nice, even layer.
- The endpaper will begin absorbing glue, curling at the edges. Move quickly, but use care not to tear the paper.
- With the glue applied, remove the clamp and waste paper.
- Place your dominant hand under the wet endpaper, allowing it to lay across the back of your hand. Press down to hold the book in place.
- Using your other hand, bring the cover up. Align the cover spine to the text block spine, pressing down at the hinge location.
- Carefully lay the cover down on top of the wet endpaper and press lightly.
- Quickly turn the book over and open it up to the now-glued endpaper. If the endpaper is slightly off, this is the time to correct it. Carefully lift the paper away and reposition. Your ability to do this will depend on 1) the endpaper thickness. Thinner endpapers may tear, so use caution, and 2) the type of PVA. Standard PVA will dry quickly, while Jade 403 PVA is thicker with more wiggle room. Tip: Adding Methyl Cellulose to your PVA will add more drying time, giving you room to move the sheet around.
- Once the endpaper is in place, use your finger tips and/or a bone folder to smooth out air bubbles and wrinkles. Place a sheet of wax paper between the bone folder and endpaper to further protect the paper from tears while smoothing.
- Insert a sheet of newsprint.
- Insert a sheet of wax paper between the text block and the newsprint. This is very important as it will prevent moisture from absorbing into the rest of the text.
- Before flipping the book over, hold it in your hands and gently squeeze along the spine. This helps to press out air bubbles and adhere the mull to the cover, creating a stronger bond.
- Lay the book on the table and open the final side. A clamp is no longer necessary, as the other side is already held in place with PVA.
- Insert your sheet of waste paper and repeat the gluing process.
- Once the cover is down on this side, squeeze the spine once more from top to bottom.
- Insert the wax paper and newsprint.
- Lay the book on a solid surface and place heavy books over top to press. Leave the book under weight overnight.
Video technique: gluing the first endpaper into place
Casebinding Tutorial Part III: COMPLETE
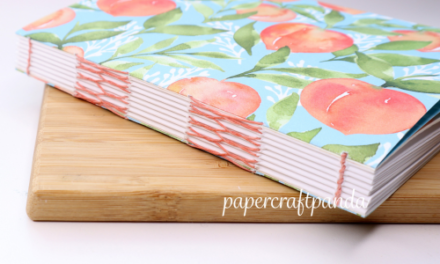
Congratulations, you’ve created a beautiful book using the casebinding bookbinding method! Now that you know the steps, it’s important to take them and make them your own. You’ve seen how I do it, but what does it look like for you? What feels most comfortable? I encourage you to make another – and maybe another – until you’re feeling good about the process!
Good luck to you!
More bookbinding goodness
✨ What tools do I need to get started bookbinding?
- Bookbinding Tools & Supplies Quick Start Guide – learn all about book making tools, which to buy first & where to go online
- Pick up my popular Complete Starter Bookbinding Tools Kit – all the bookbinding essentials in one spot
🌟 Looking for a simple way to start making books?
Try a Complete Book Materials Kit. Each one has everything you need (+ tutorials & videos) to make a beautiful book without all the fuss.
Thank you for taking me along on your book making journey!
Misty


