If you’re looking for a holiday craft activity for the kids (or a cute thing to do while drinking wine), look no further! I’m about to walk you through a really simple tutorial teaching you how to DIY your own cute mini holiday book ornaments. The best part? It takes less than 15 minutes per tiny book!
Tip: If you’re making these with kids, go ahead and pull out ALL the embellishments, stickers, ephemera, ribbon and markers that you have. Giving kids every option for decorating leads to gorgeous ornaments that will last a lifetime.
Okay, let’s get started!
Bookbinding Tutorial: Mini Chain Stitch Pamphlet Holiday Book Ornaments
Measurements: Final size: 2-1/2″h x 2″w (not including hanger)
Cost Level: $
Skill Level: Beginner
Total Time: 15 minutes
Mini Holiday Book Ornaments Tutorial Materials:
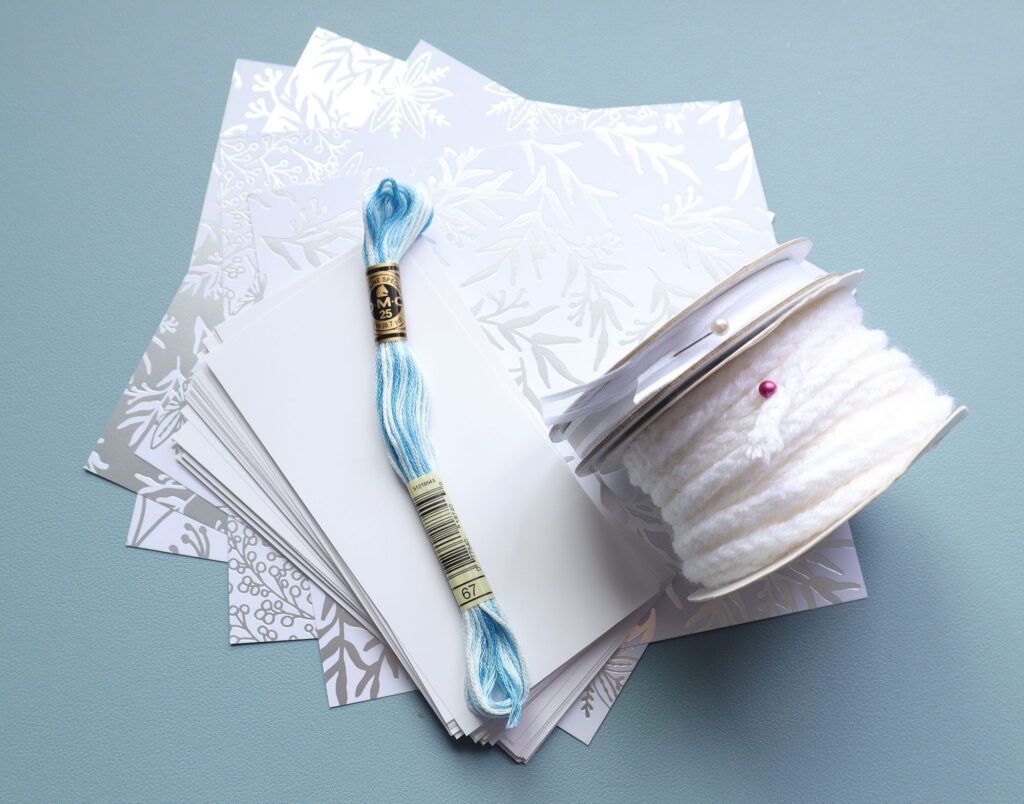
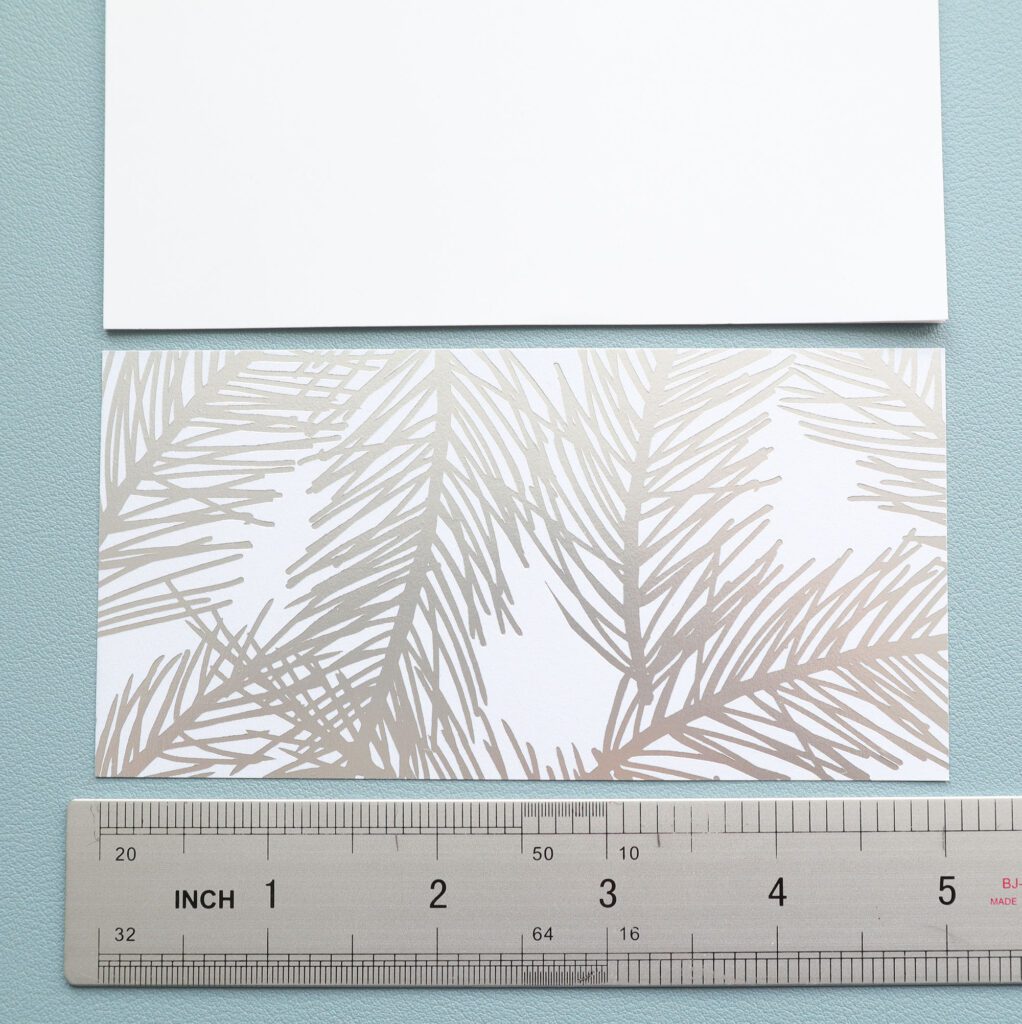
- 11 sheets of your favorite paper cut to size 5″w x 2-1/2″h (I used 70# text paper)
- 1 sheet decorative card stock cut to size 5″w x 2-1/2″h
- 13″ waxed thread of choice to compliment card stock
- 7″ ribbon, string, twine or other of your choice (for the ornament hanger)
- (Optional) Embellishments such as enamels, sequins, stickers, ribbon, stamps, etc. to decorate
Tools
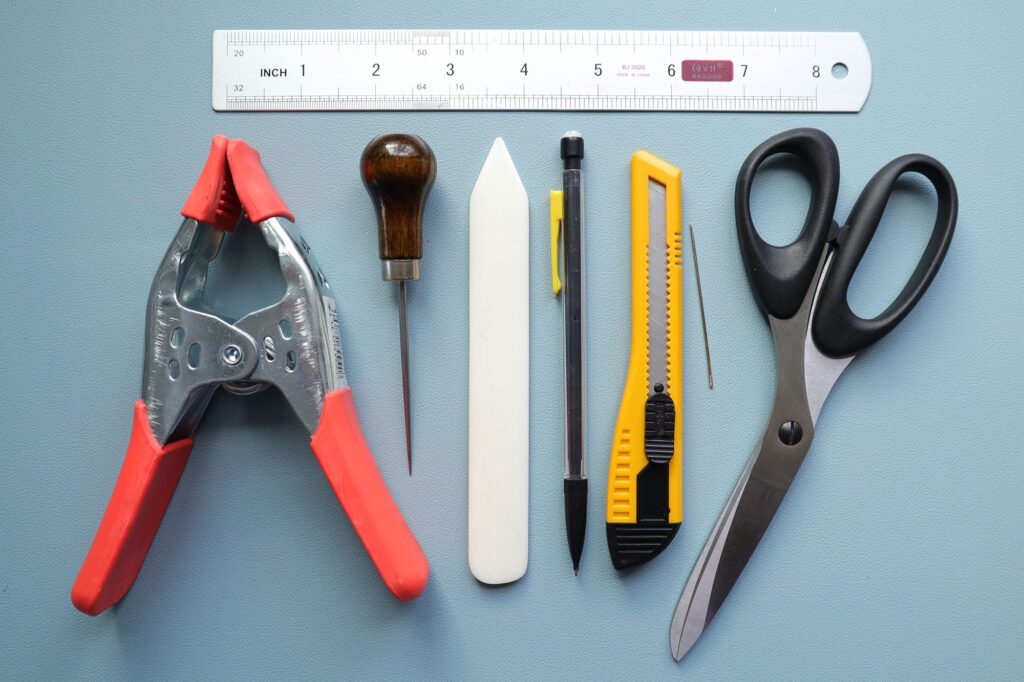
- Awl, 6″ tapered
- Binding needle
- Clamp
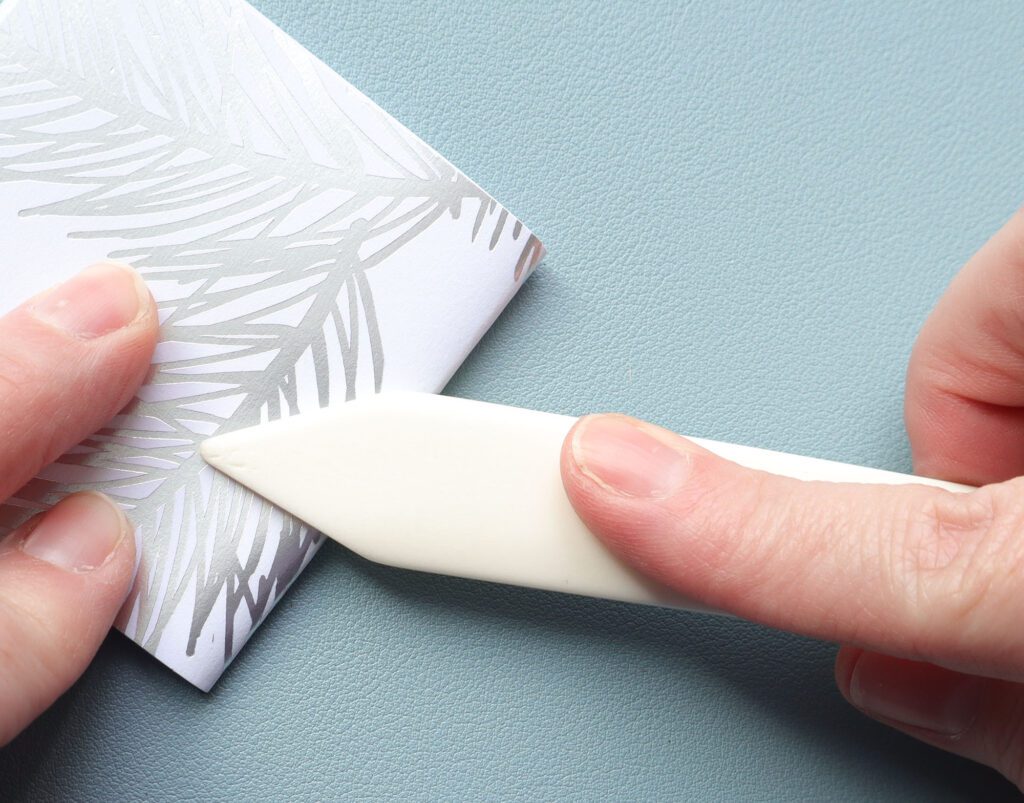
- Bone folder
- Olfa knife
- Ruler
- Scissors
- Pencil
Steps:
Prepare the paper
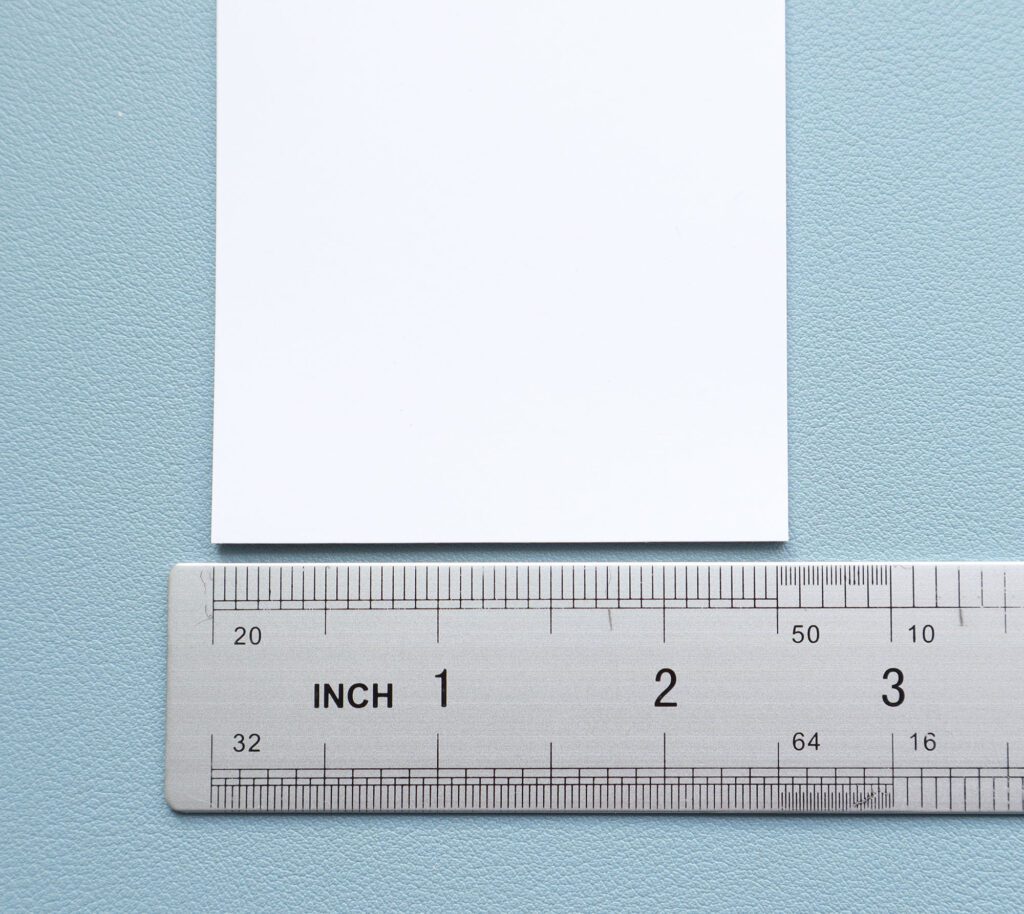
- Cut the papers to 5″ wide by 2-1/2″ high
- Set aside
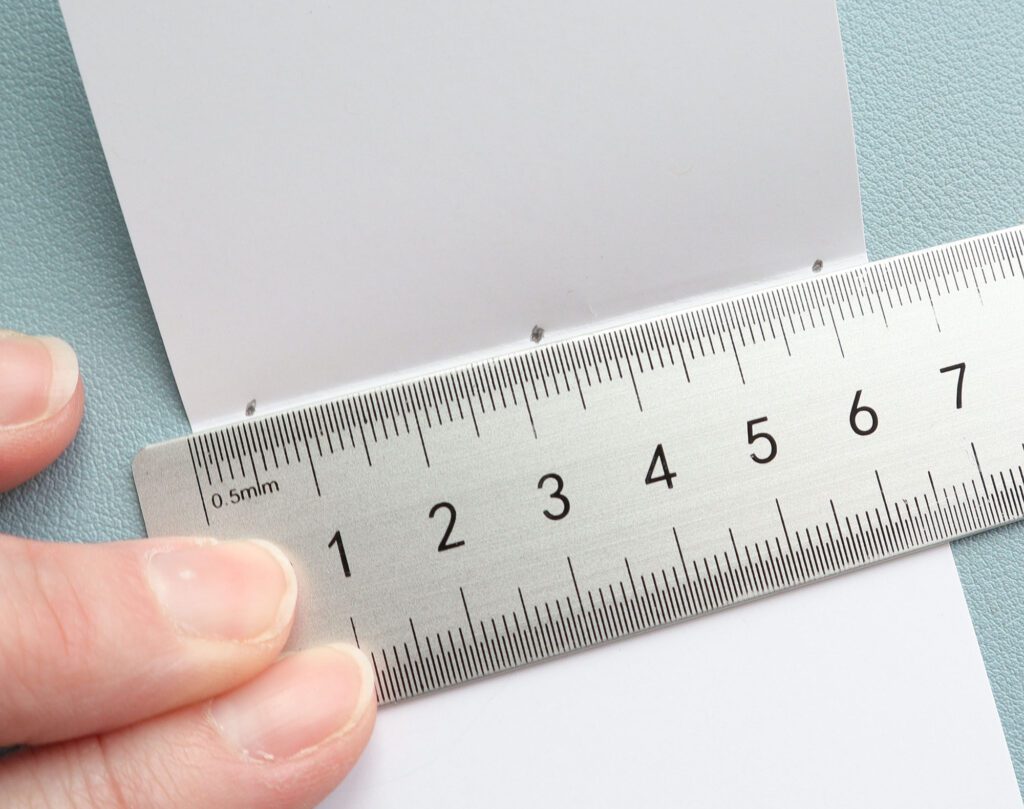
Create a sewing template
- Take 1 sheet of your preferred paper and fold it in half
- Open and mark 3 sewing station positions at 1/4″, 1-1/4″ and 2-1/4″ on the inner crease
- Using your awl, pierce each sewing station
- Set aside
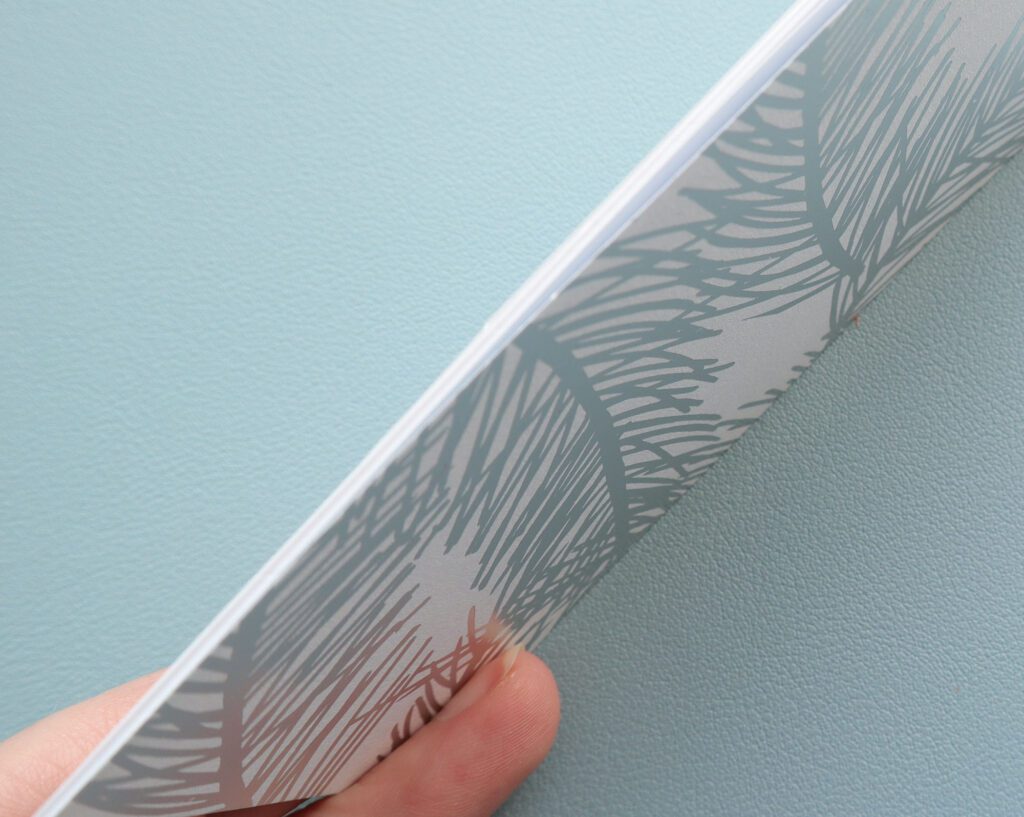
Prep the pamphlet
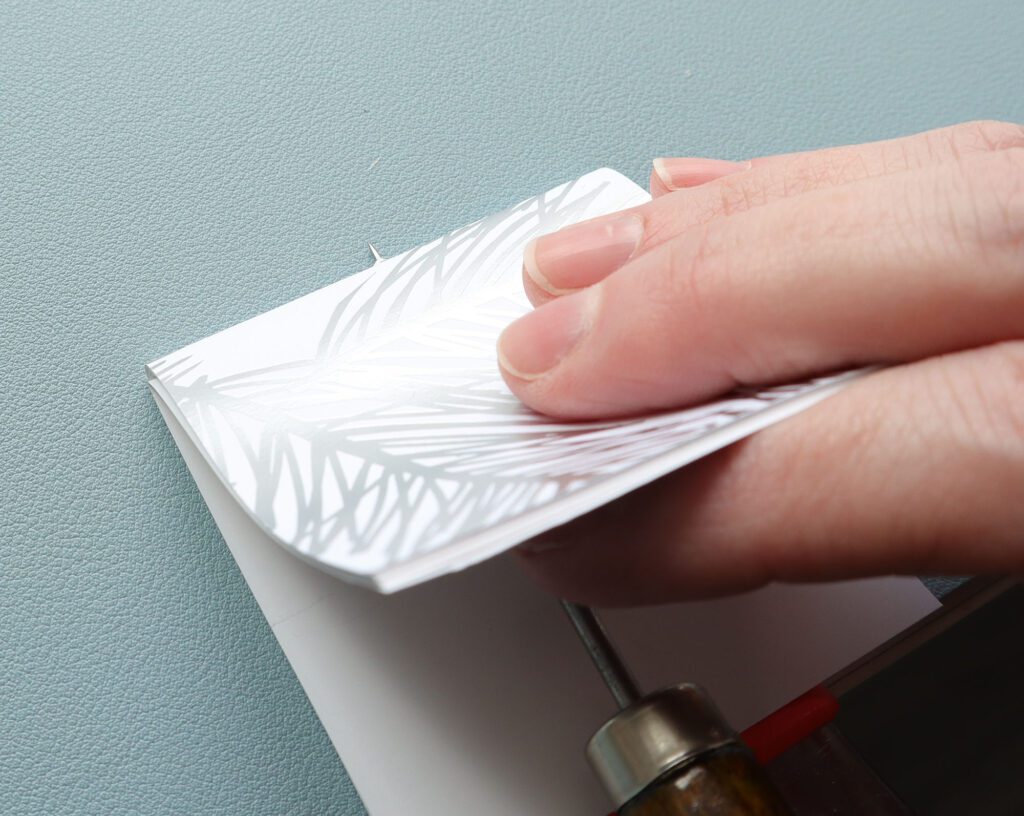
- Stack the card stock and remaining 10 sheets of paper with card stock on top
- Using the fold down method, fold the stack in half and crease with a bone folder
- Slide the template into the crease and transfer each hole position with a pencil
- Take up the awl one last time and slowly pierce each of the three sewing stations
- Set aside


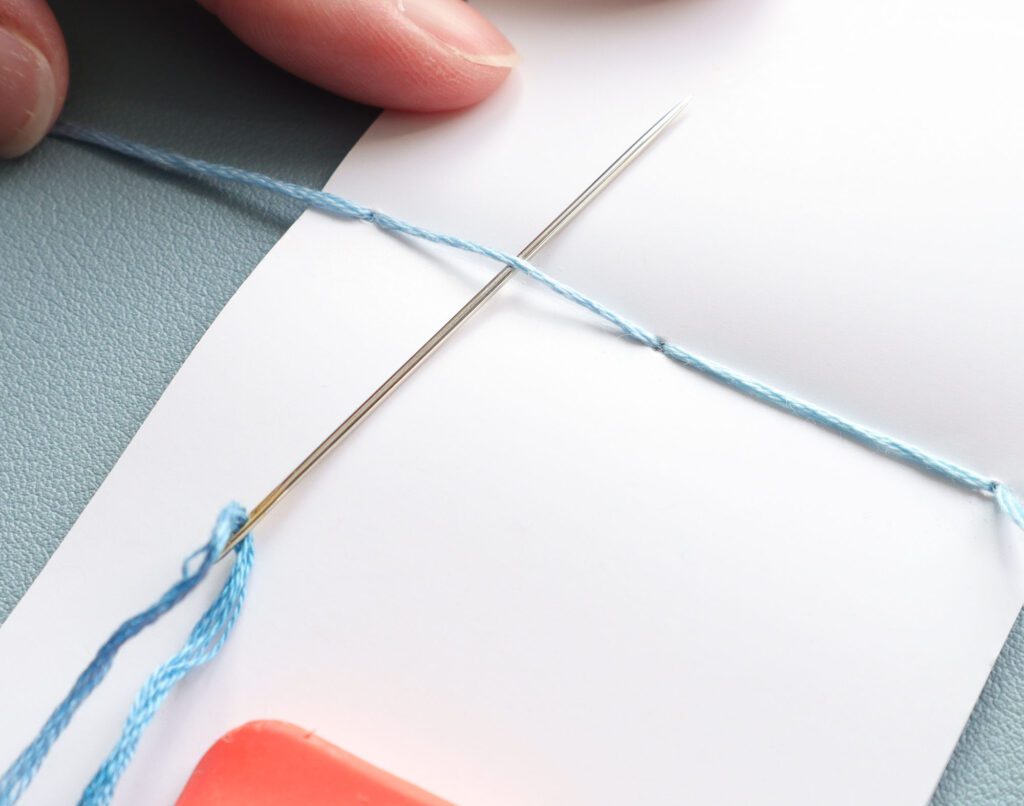
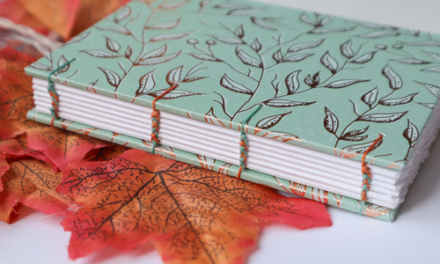
Sew the pamphlet using a chain link stitch
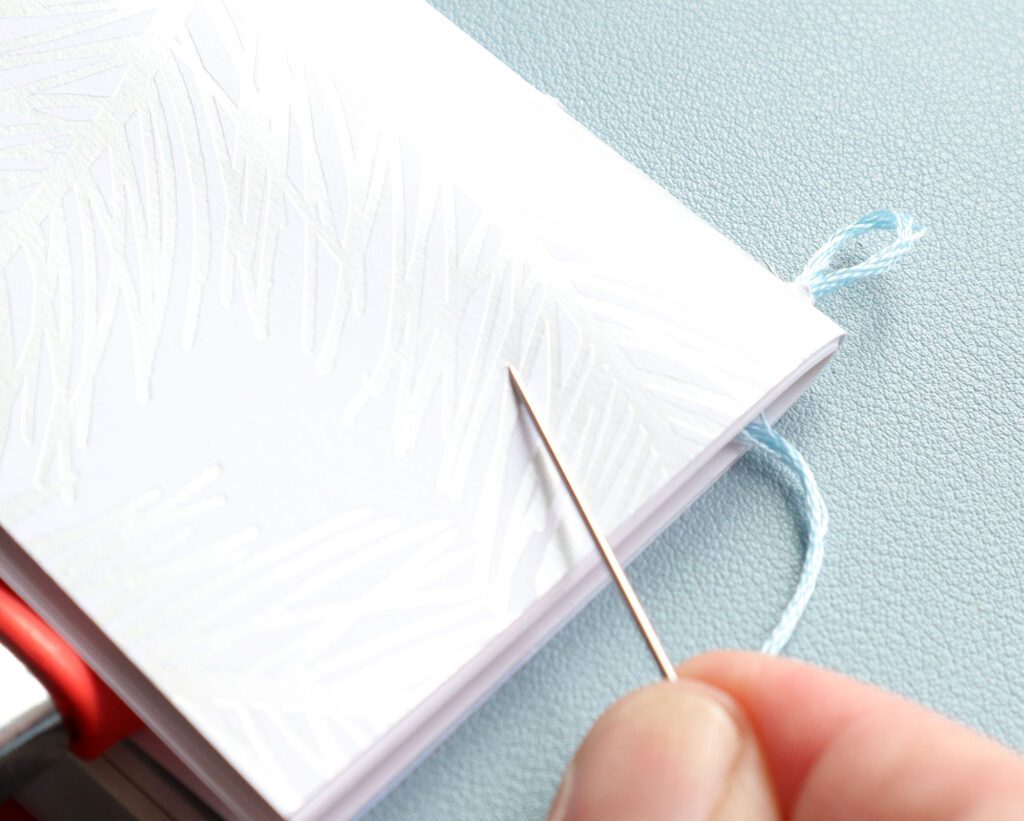
- Load up the binding needle with your waxed thread
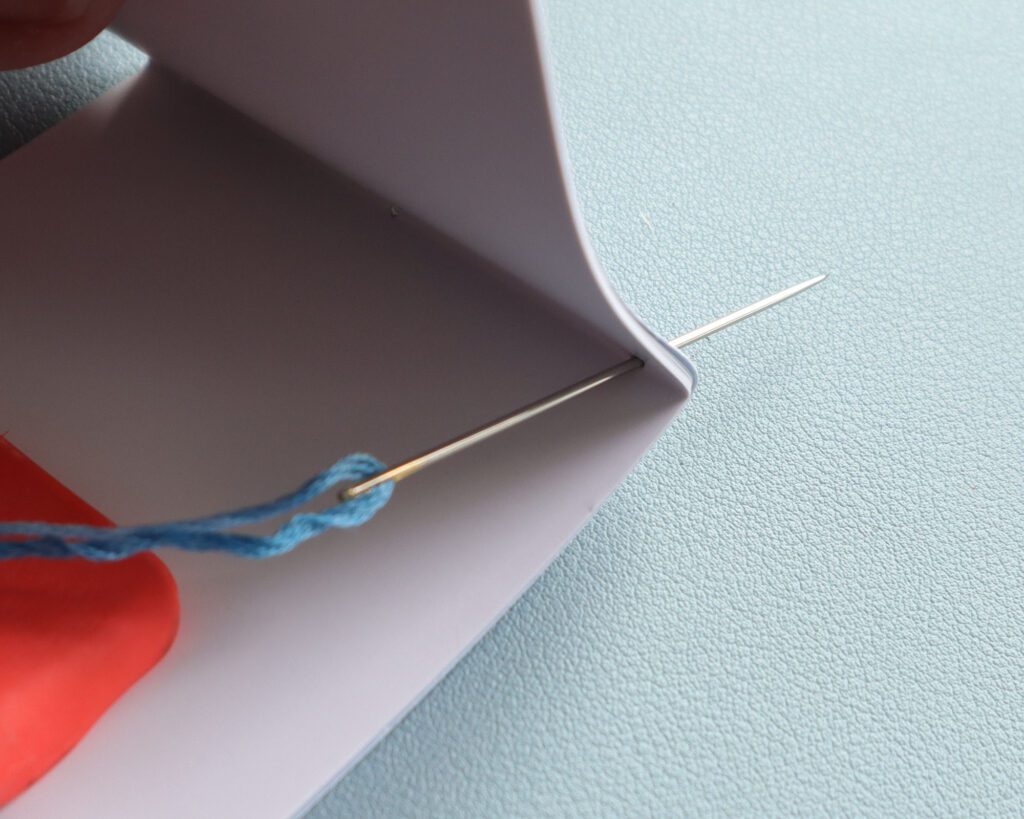
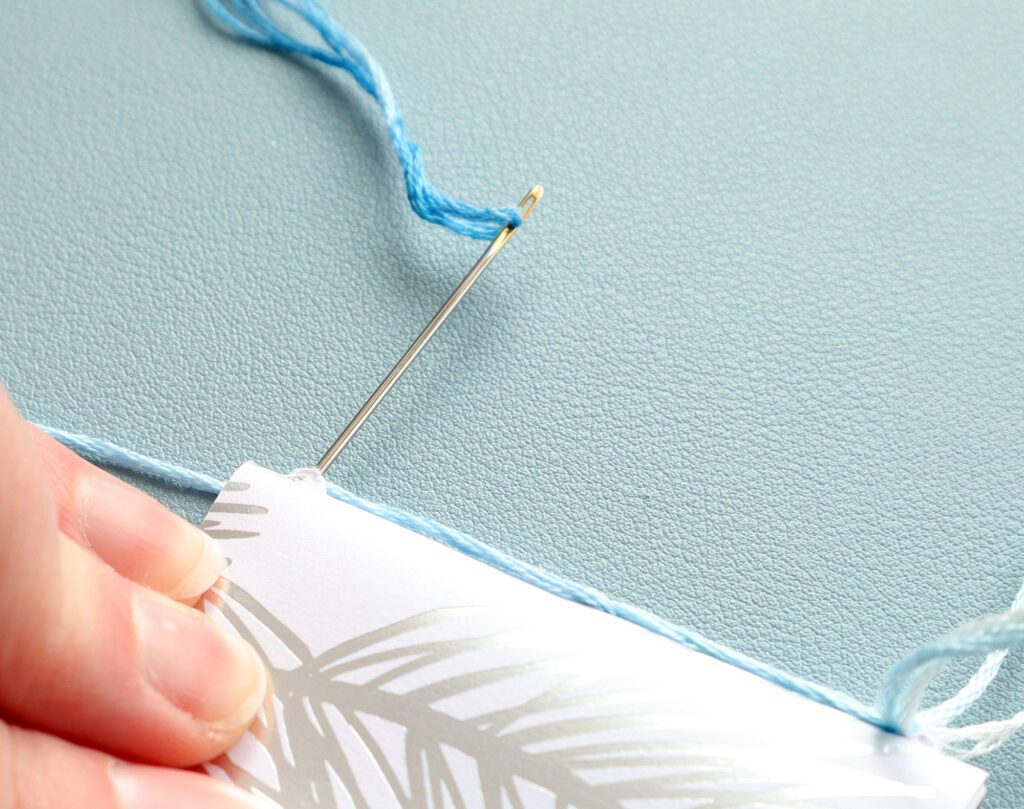
- Pass your needle through the top hole from the inside to the outside of the booklet, leaving about 1-1/2″ of thread inside
- Slide the needle back through the first hole from outside to inside this time, leaving a small loop on the outside (be careful not to pull the loop through!)
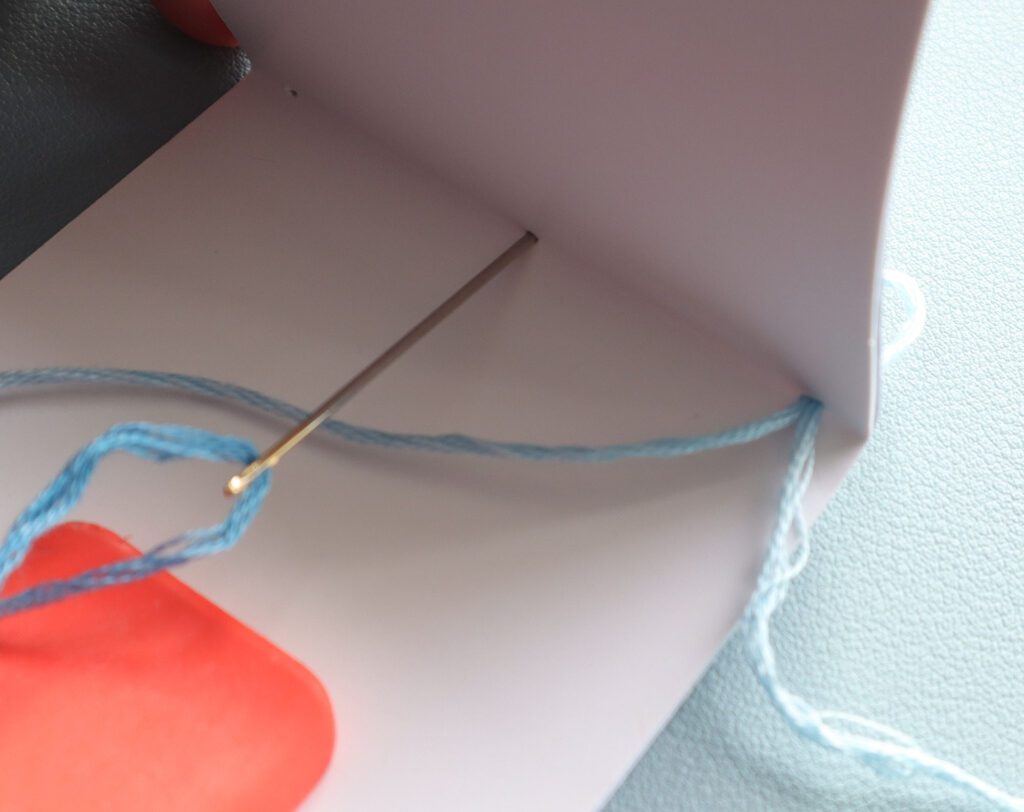
- Move the needle through the middle sewing station from inside to outside, tugging gently (remember, don’t pull that loop through!)
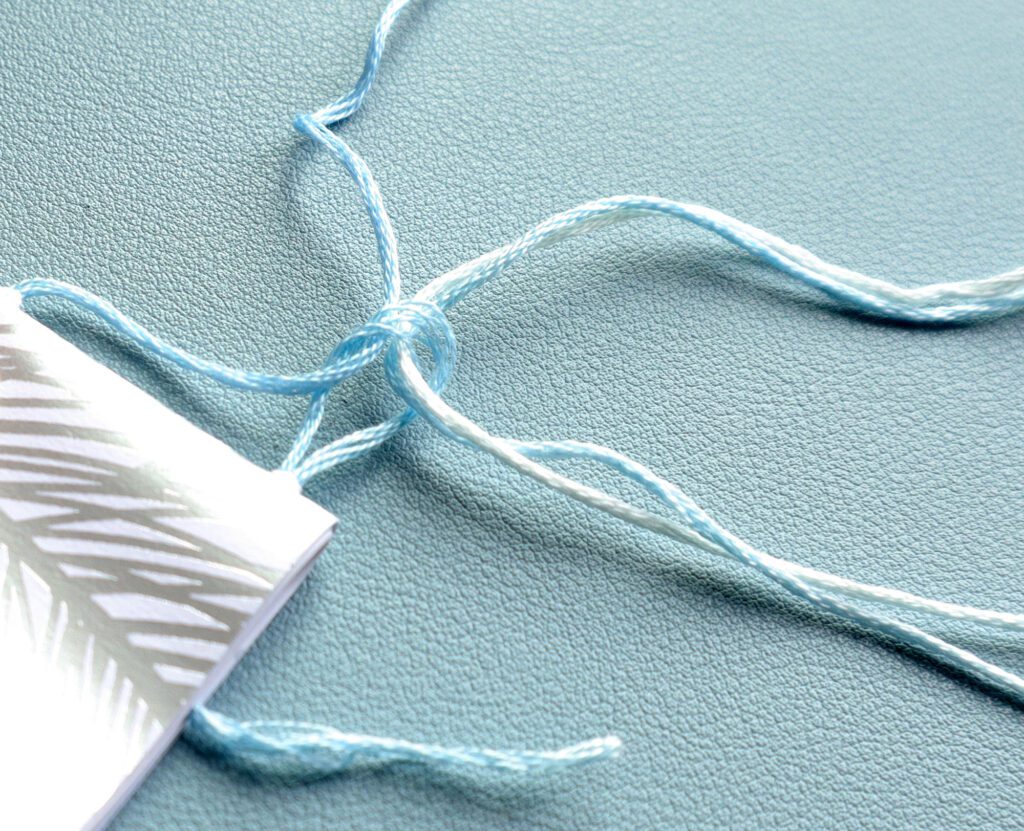
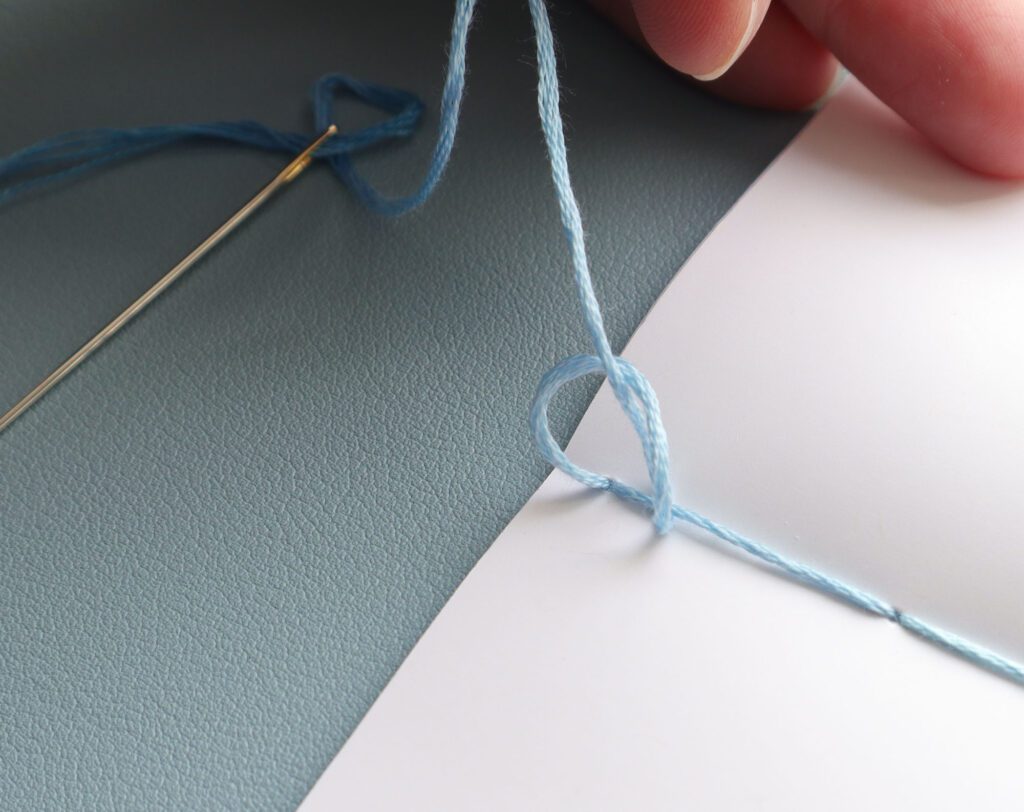
- Once outside, pass the needle through the loop and set aside
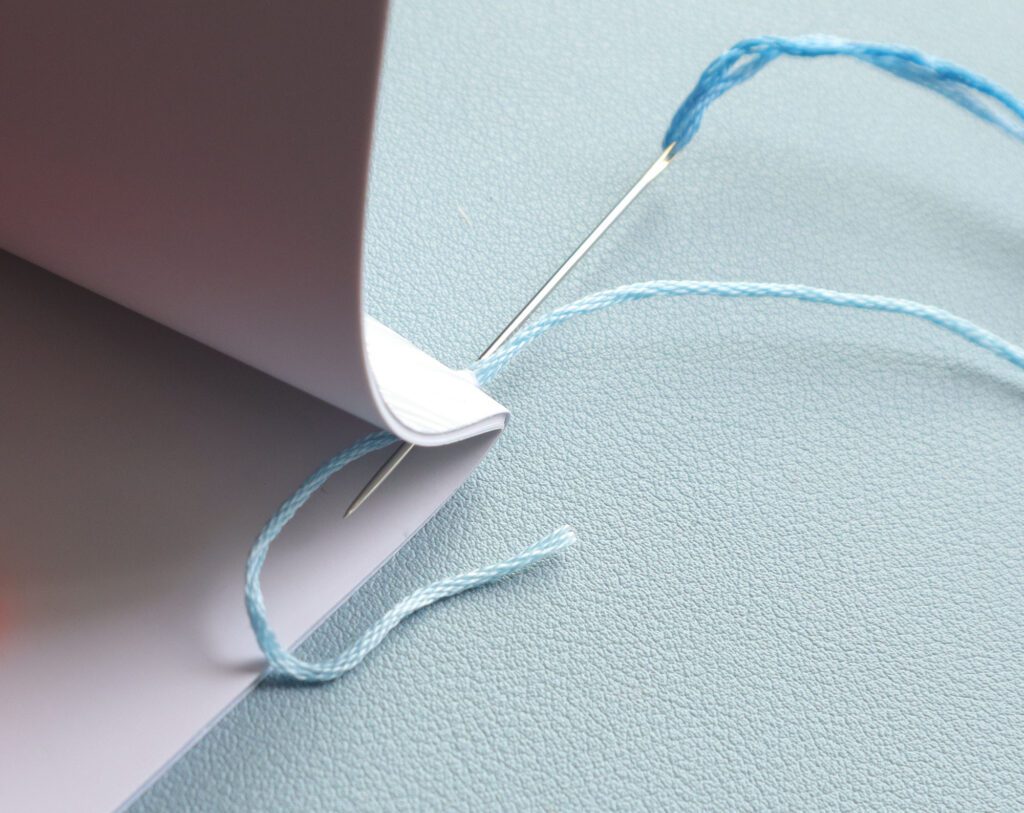
- Pick up your hanger material and pass it through the loop. Tie the hanger off
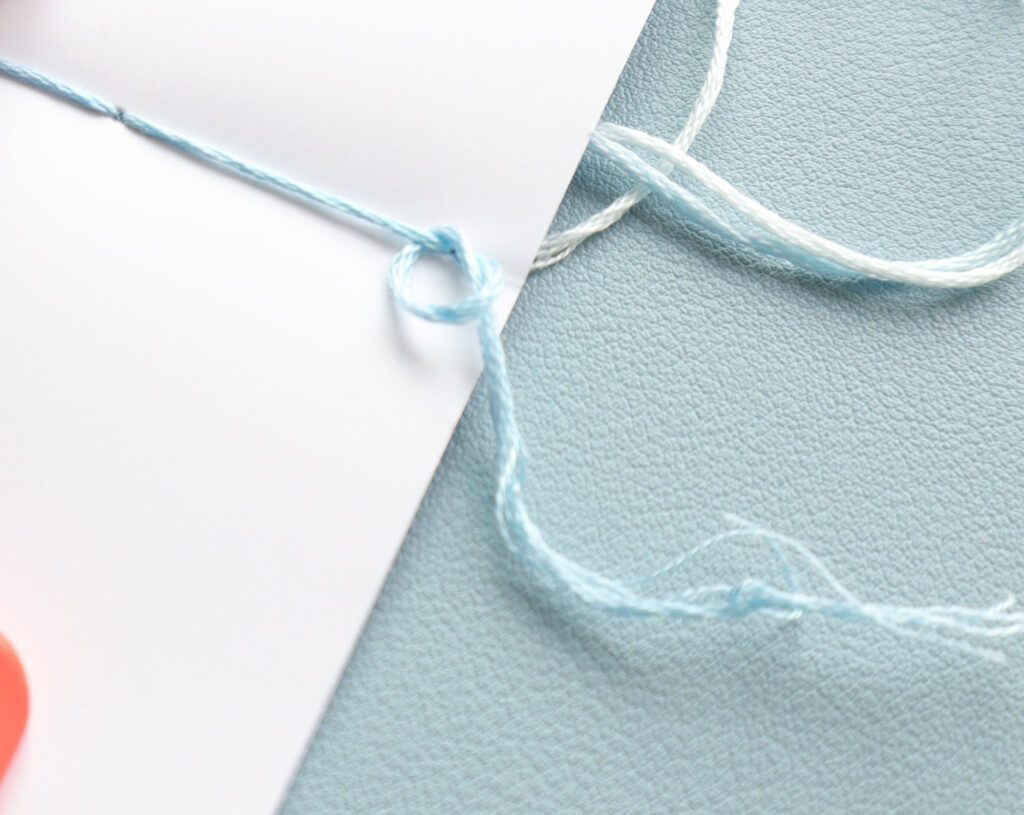
- Take up the thread connected to the needle in one hand while holding the 1.5″ of tail from inside the pamphlet in the other hand. Pull in opposite directions, which will tighten the loop down around the hanger material (holding it in place)
- Once tightened, open the pamphlet and tie off the inside tail
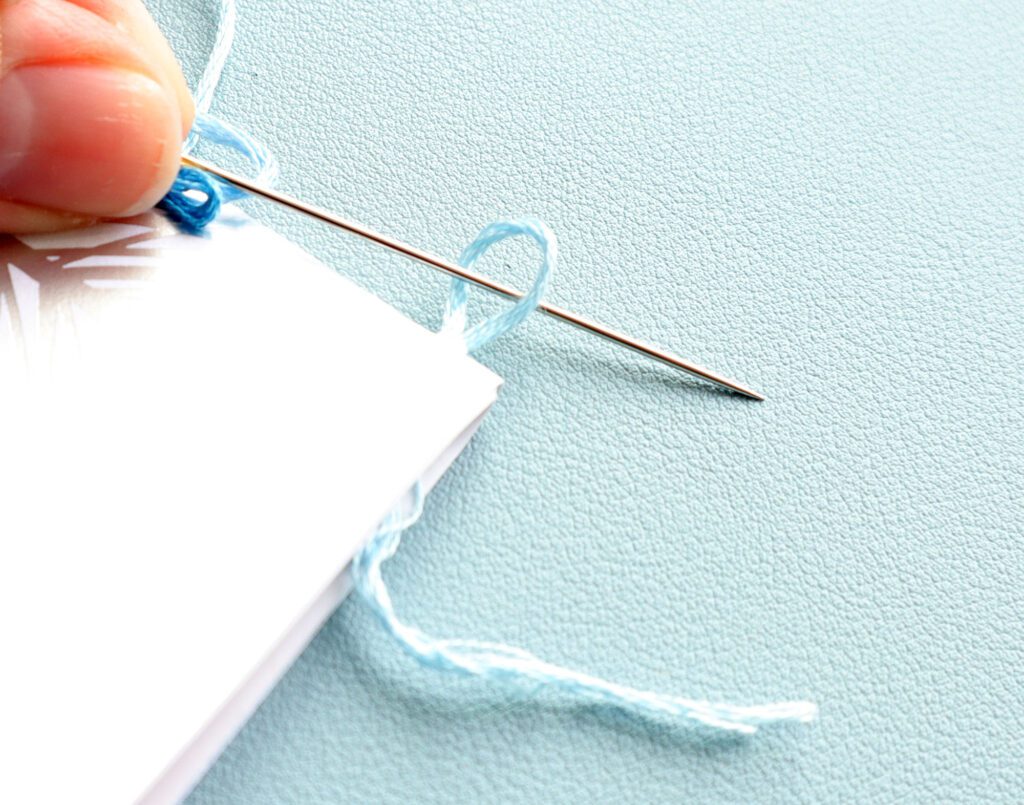
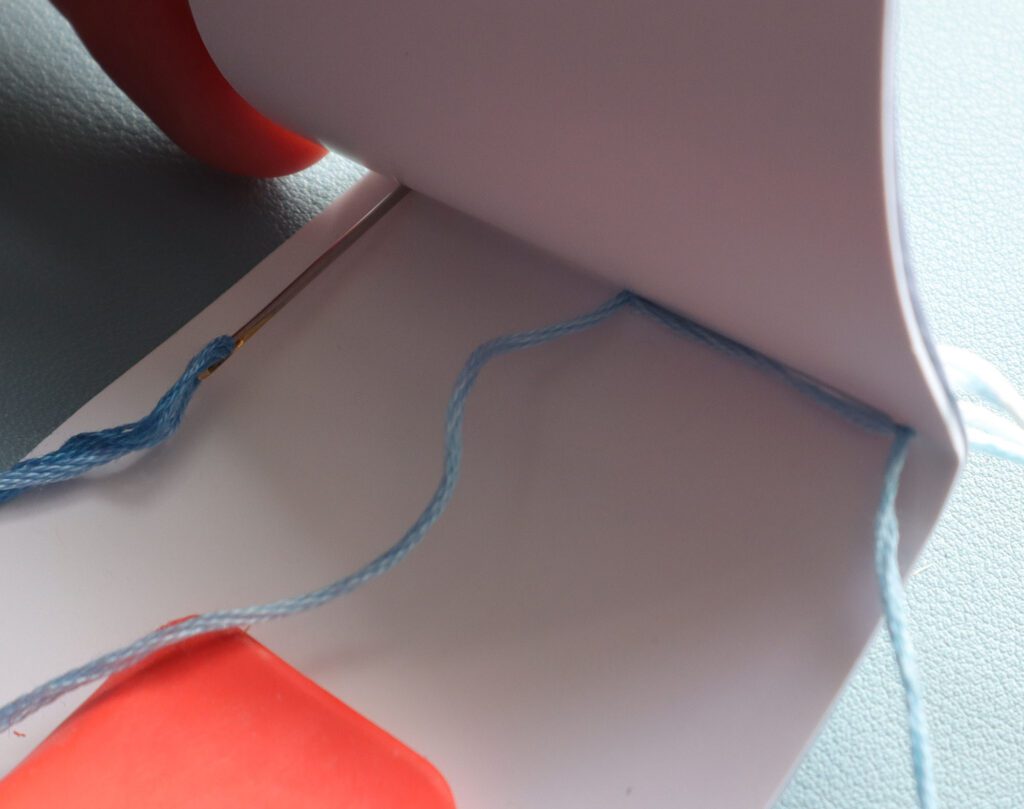
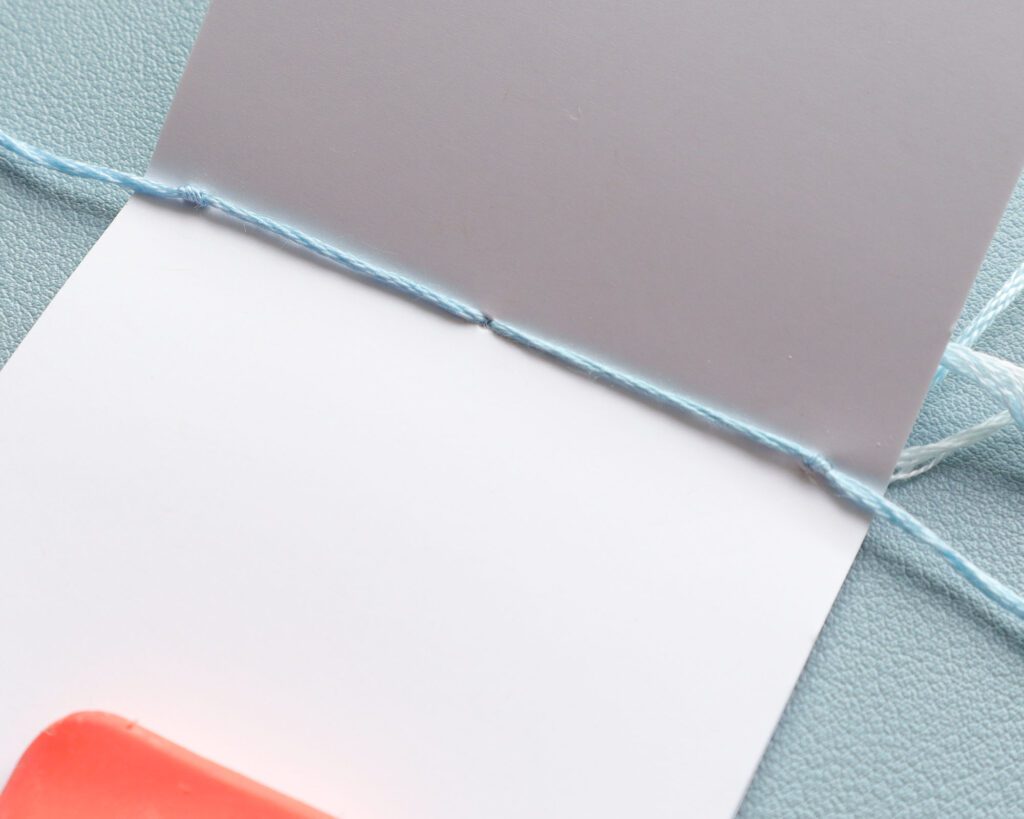
- Pick up the needle again and pass it through the middle hole from outside to inside the book
- Once inside, tug tightly and then pass the needle through the bottom hole from inside to outside
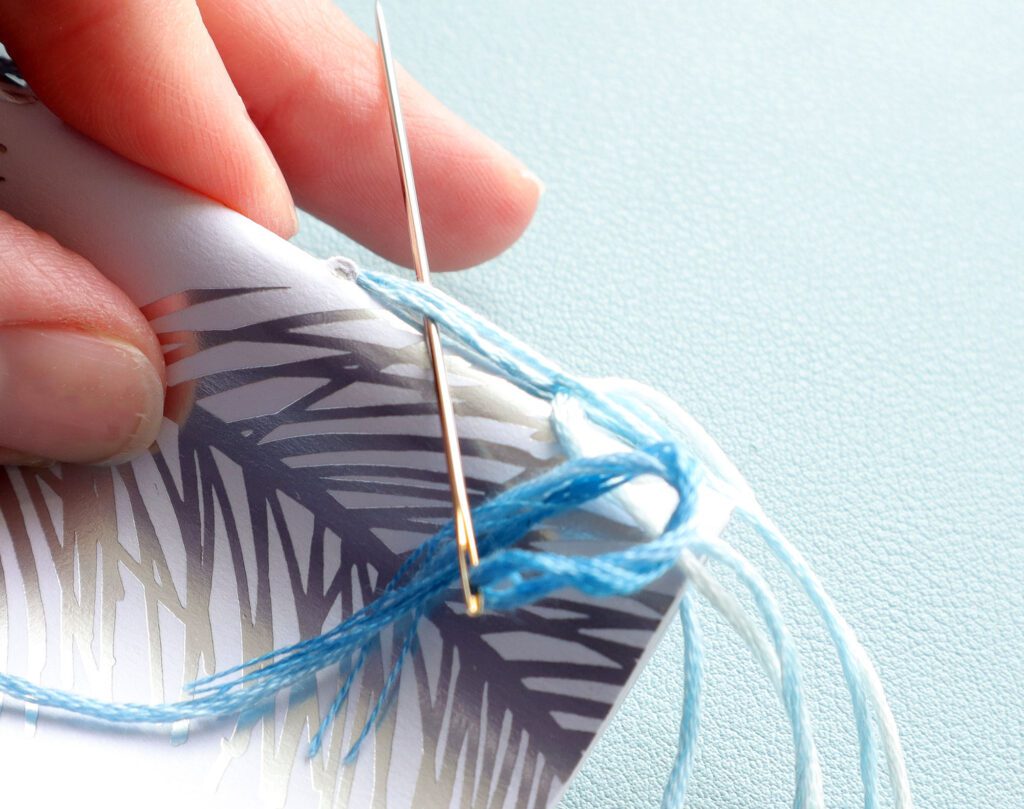
- Once outside, loop the needle behind the thread of the middle sewing station and tug tightly
- Move the needle back through the bottom sewing station, creating the chain link
- Once inside the pamphlet, tug tightly and then tie off the thread
- Using a scissor, trim away any excess thread at the top and bottom of the book
- Sewing complete!


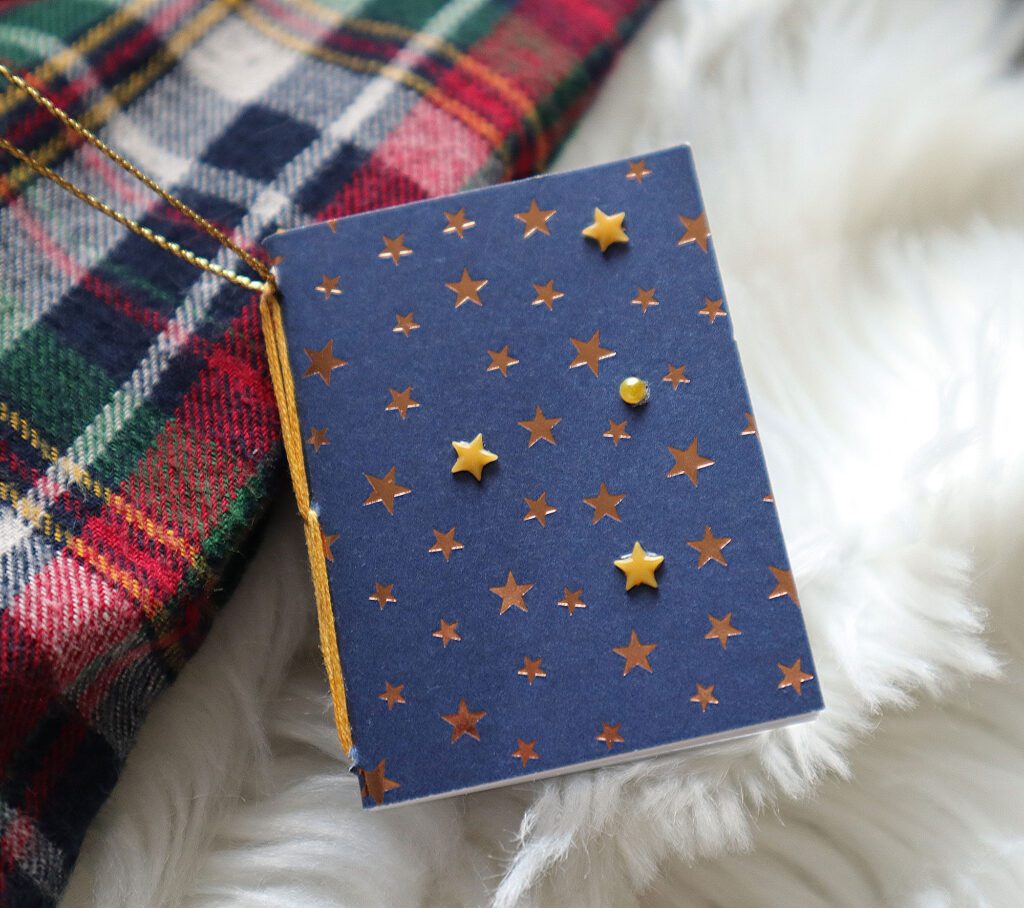
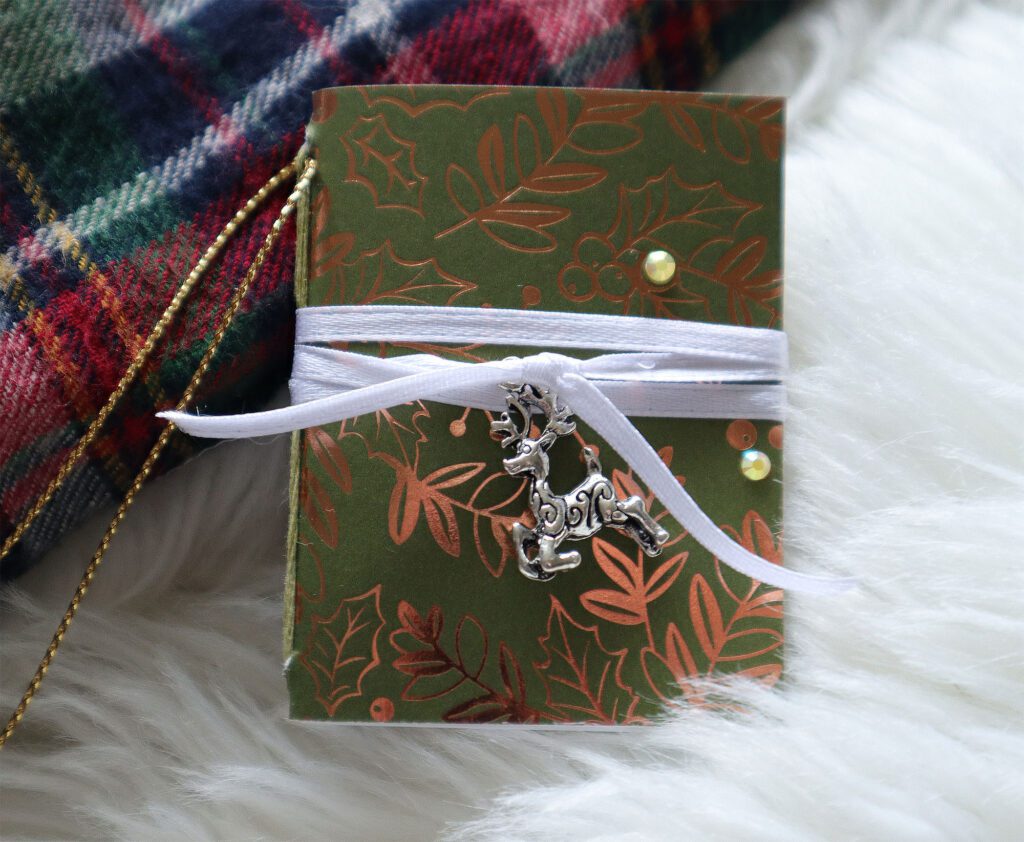
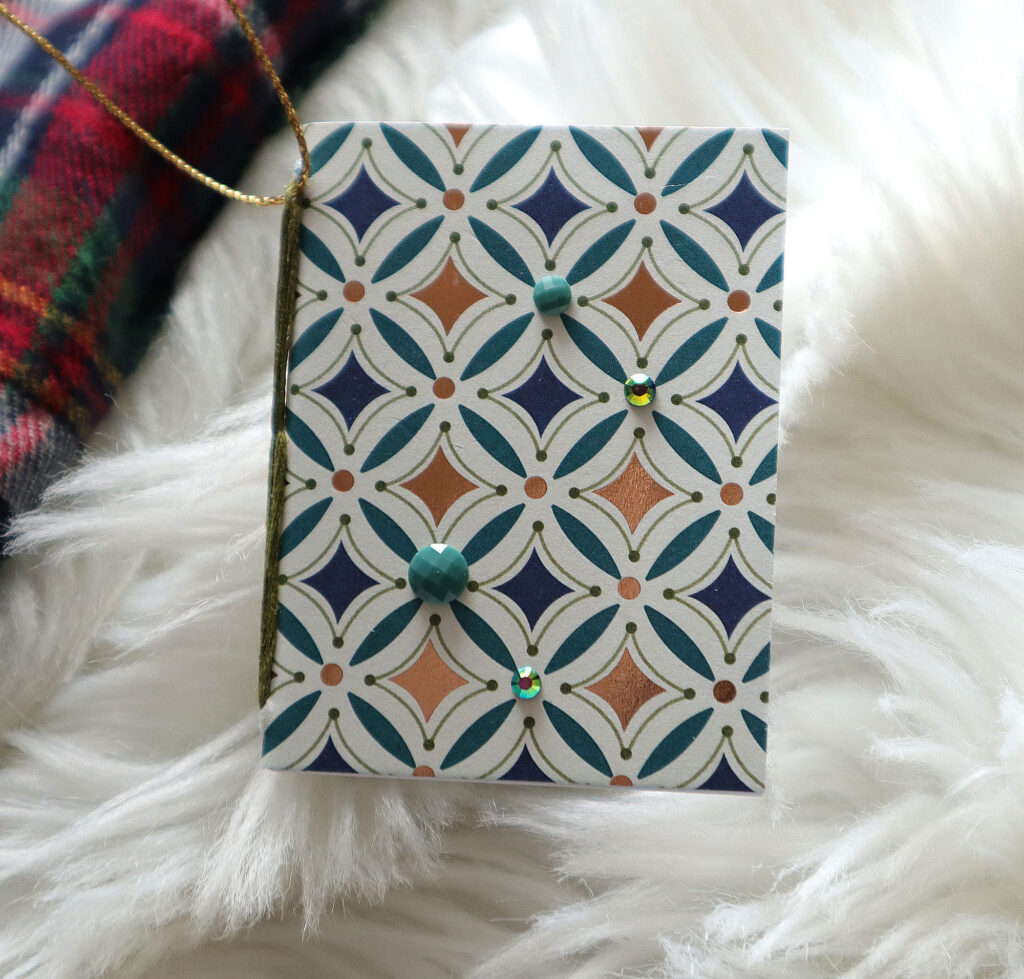
Decorate, decorate, decorate!!
It’s time for the fun part! Decorate the cover, back and spine of the mini holiday book ornaments using embellishments, bits of ribbon, stamps, sequins, etc! The North Pole is the limit here (see what I did there?).
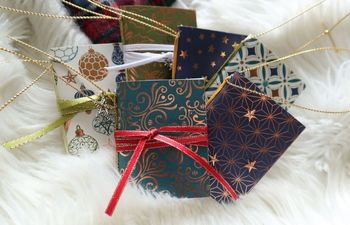
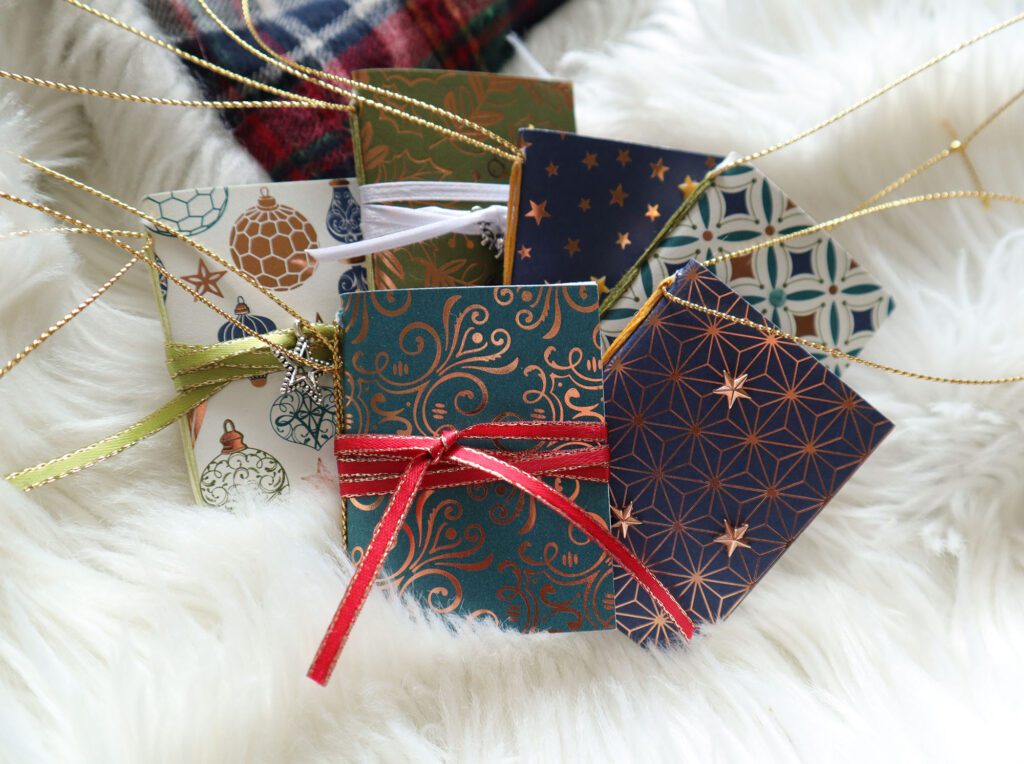
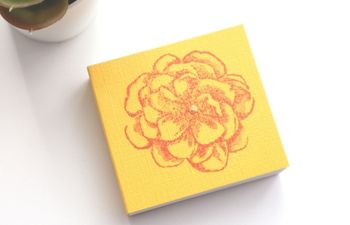
Here are a few of mine:
Use up leftovers & Recycle
I had some extra 6″ x 6″ pieces of decorative card stock from a paper exchange last year, so I put it to good use with these ornaments. The sheets are all part of a single set, so they matched (bonus!). The inner pages are scraps from a book I created last month. I still have extra sheets to use up – so I might just make some more of these cuties for Valentine’s Day or – how fun would this be – Easter! Can you see cute bunnies on these? I can totally see it…
Video: Make DIY Mini Pamphlet Holiday Book Ornaments
Thanks for checking out this fun holiday-themed bookbinding tutorial.
More bookbinding goodness
✨ What tools do I need to get started bookbinding?
- Bookbinding Tools & Supplies Quick Start Guide – learn all about book making tools, which to buy first & where to go online
- Pick up my popular Complete Starter Bookbinding Tools Kit – all the bookbinding essentials in one spot
🌟 Looking for a simple way to start making books?
Try a Complete Book Materials Kit. Each one has everything you need (+ tutorials & videos) to make a beautiful book without all the fuss.
Thank you for taking me along on your book making journey!
Misty


