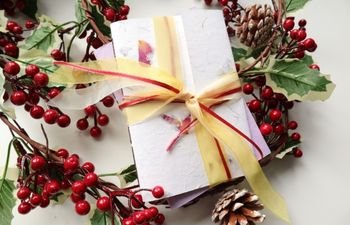
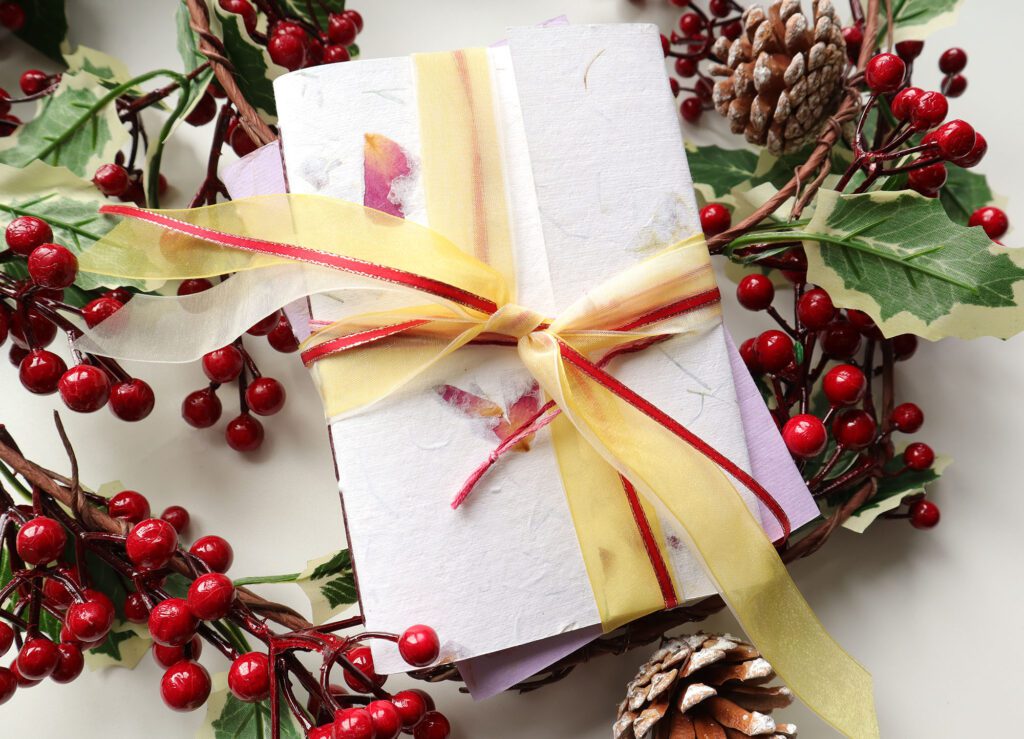
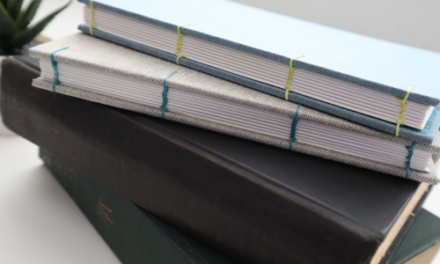
I’m really excited to share this tutorial with you, because these wrapped pamphlets are excellent handmade book gifts with a ton of creative potential. Their versatility makes them perfect as birthday presents, business gifts for a team or stocking stuffers for your family. The key ingredient is handmade paper with petal inclusions (but you can use any handmade paper you’d like) and gorgeous closures.
Bookbinding Tutorial: Wrapped Pamphlets using Handmade Paper
Measurements: 6.5″h x 4-1/2″w
Cost Level: $
Skill Level: Beginner
Total Time: 30 minutes
Wrapped Pamphlet Tutorial Materials:
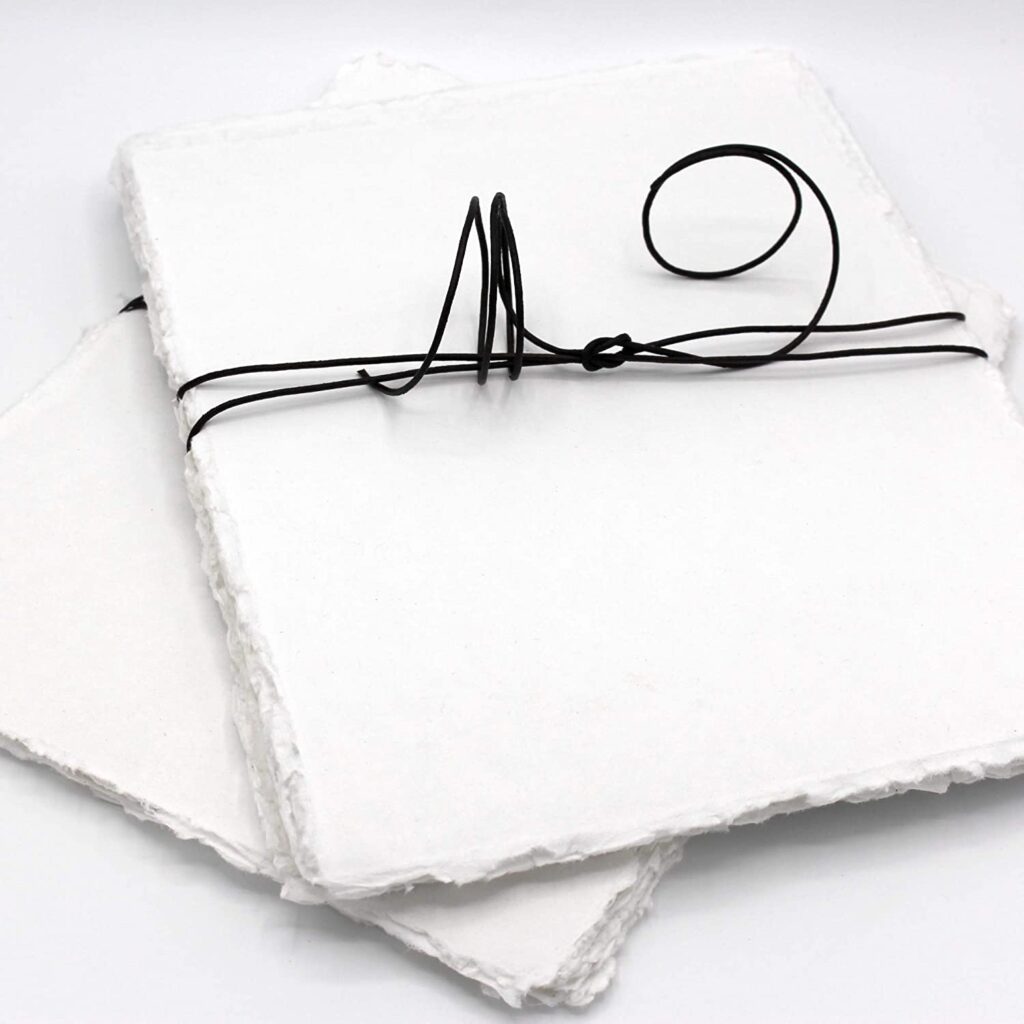
- 10 sheets of your favorite paper cut to size 9”x 6.5”; folded size 4.5“x 6.5” (I recommend cotton rag if you have it)
- 1 sheet 8-1/2×11″ handmade paper
- 1 strip of scrap paper 6.5″h x 2″w, folded in half and creased
- Waxed thread of choice, 3x book height
- Embroidery thread, ribbon or other material to use as a closure
- (Optional) Brads or other embellishments to assist with the closure
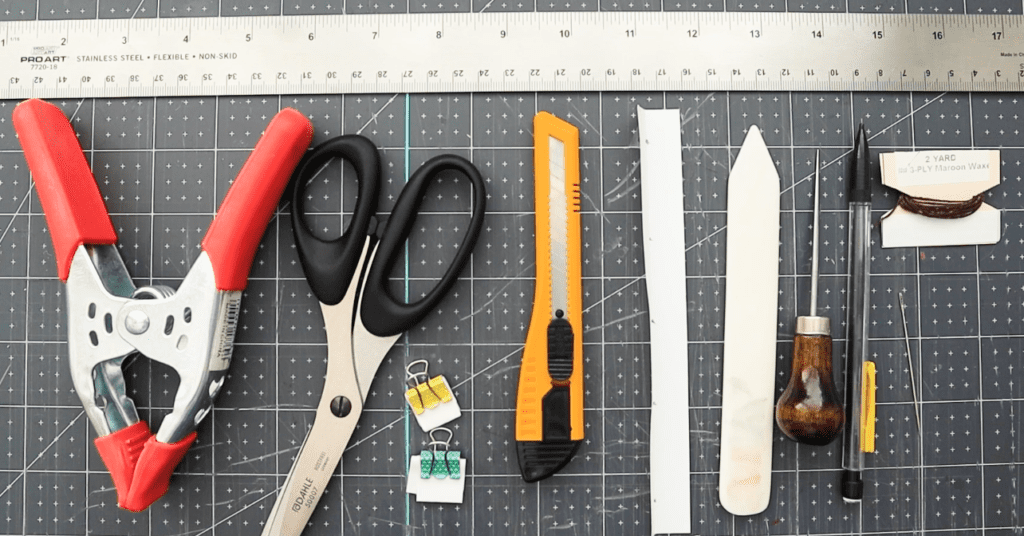
Tools
- Awl, 6″ tapered
- Binding needle
- Binder clips
- Bone folder
- Olfa knife
- Ruler
- Scissors
- Pencil
Tips:
Before we jump into the tutorial steps, I want to give you a few creative tips to make these the best handmade book gifts possible!
- For the inner paper, I recommend using 100% cotton rag. It’s easy to deckle and has a luxurious texture!
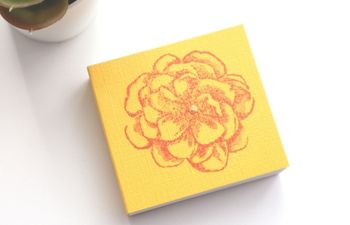
- Use a handmade paper with some type of inclusion to add character (confetti, glitter, dried flowers, etc)
- Kick it up a notch with a hand-dyed 100% silk ribbon closure
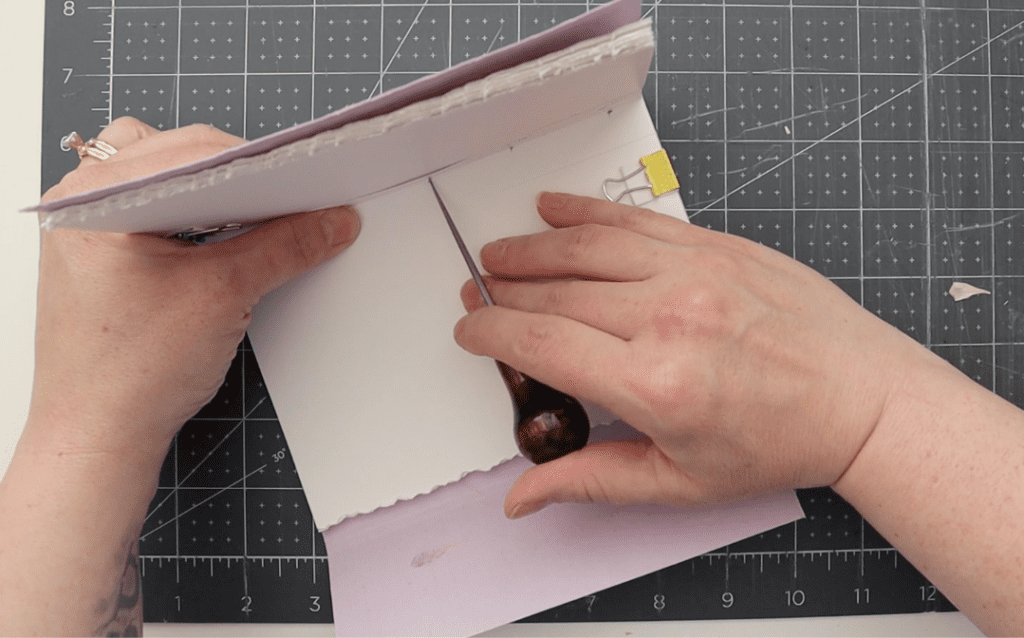
- Deckle the edges of your inner paper using a tear bar
- Create your own handmade paper at home and recycle those useless holiday brochures and magazines at the same time!
Now that you’ve got some fun ideas, lets dive into the steps!
Steps:
Prep the pamphlet papers
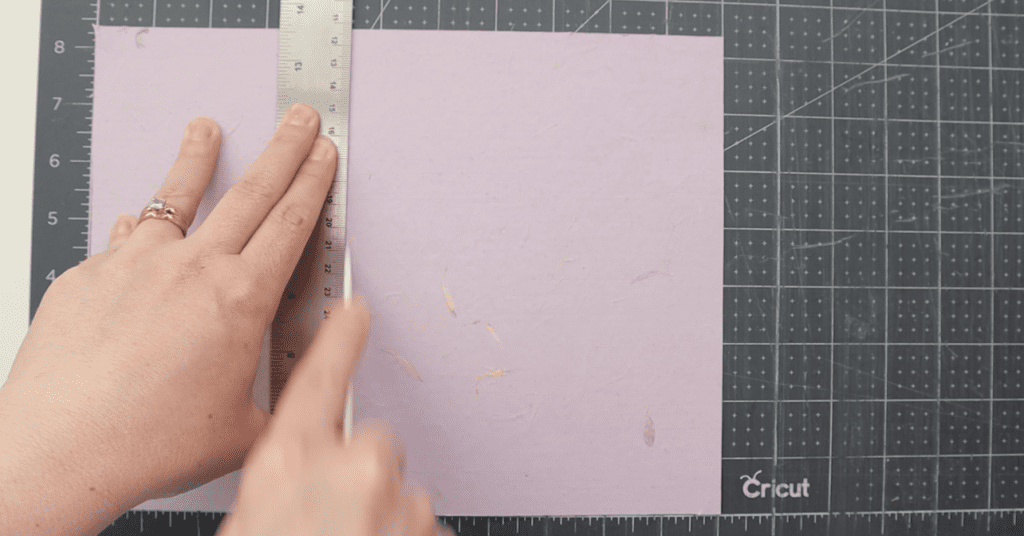
- Count out 10 sheets of your preferred paper and cut them down to 9″ wide
- Create a score line at the 4.5″
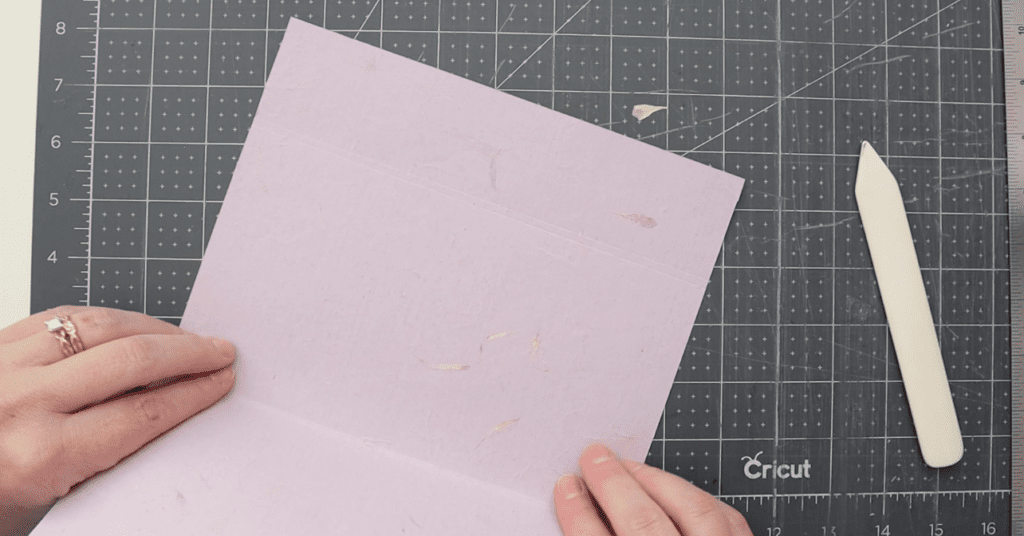
- Fold the paper along the score line and crease using a bone folder
Create a template
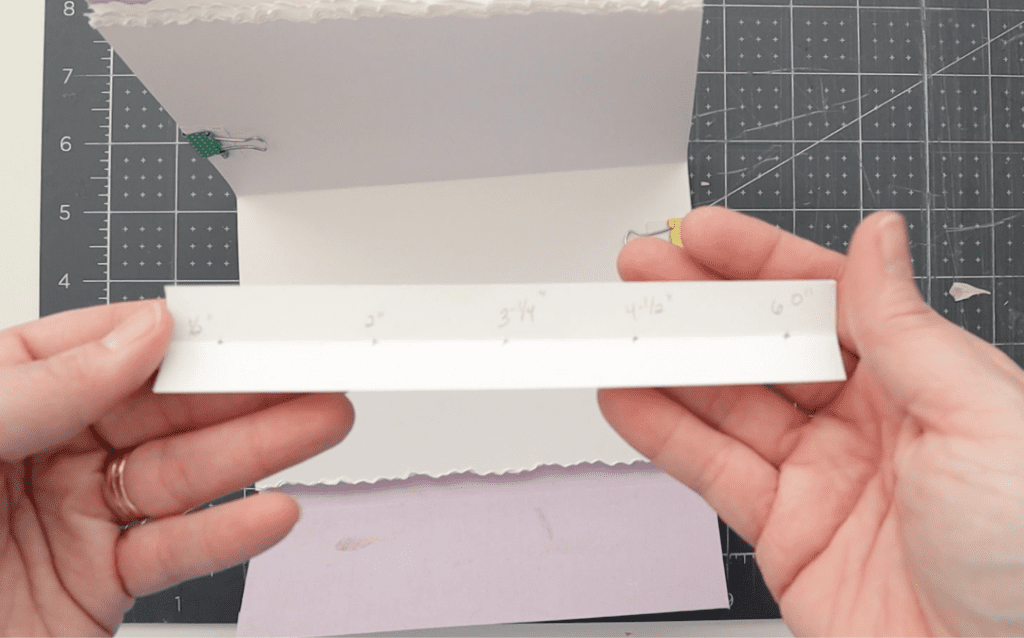
- Fold the strip of paper (sized 2″w x 6-1/2″h) in half, crease with bone folder
- Open flat and use a ruler to mark five sewing station positions, evenly spaced, with the first and last holes placed at 0.5″ and 6.0″ respectively (I marked mine at 0.5″, 2″, 3.25″, 4.5″ and 6″)
- Using an awl, pierce each sewing station with a small hole large enough to fit the tip of your pencil
- These holes are now your sewing stations from left to right (example: the hole at 0.5″ is station #1, the hole at 2″ is station #2 and so on)
- Set aside
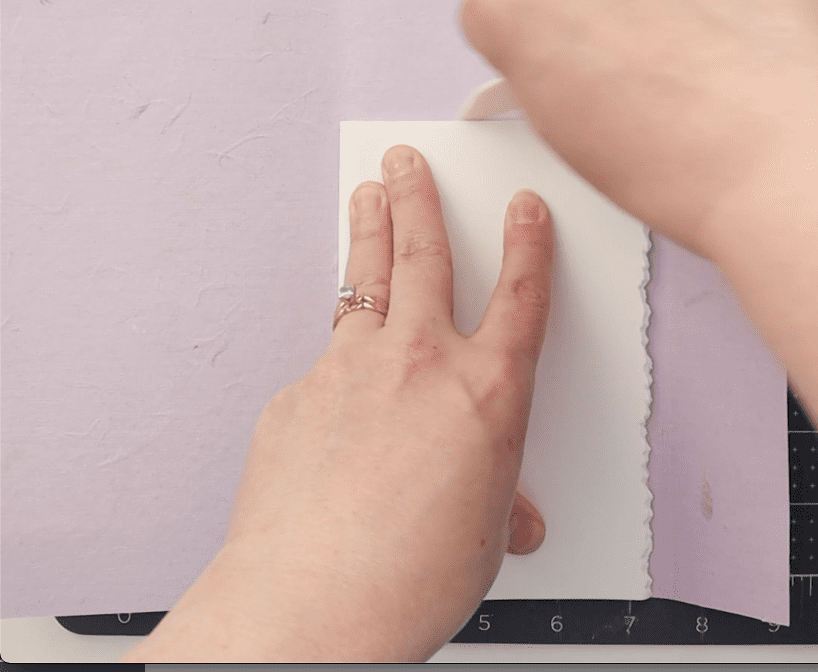
Prep the cover
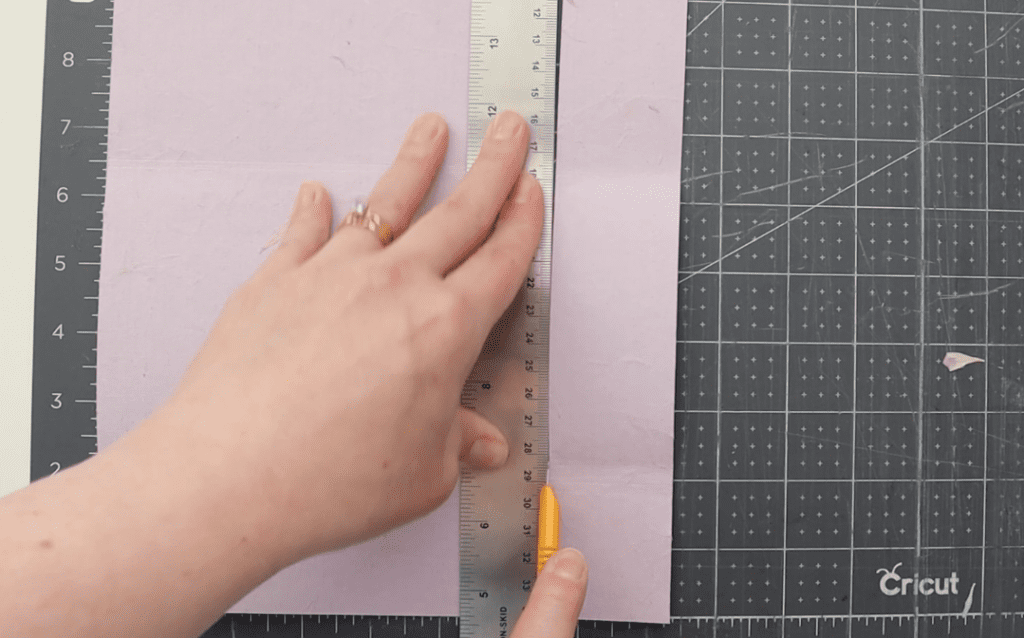
- Lay out your handmade sheet of paper lengthwise on a safe cutting surface
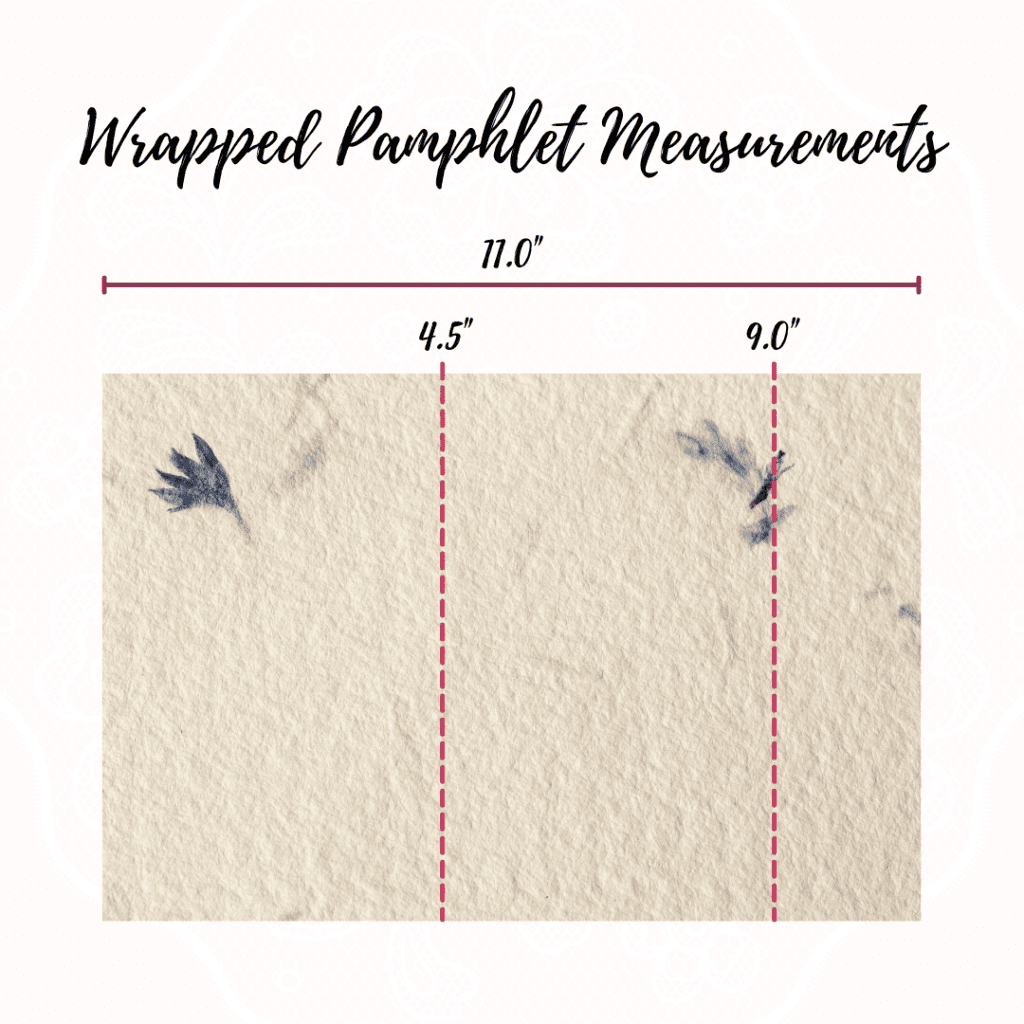
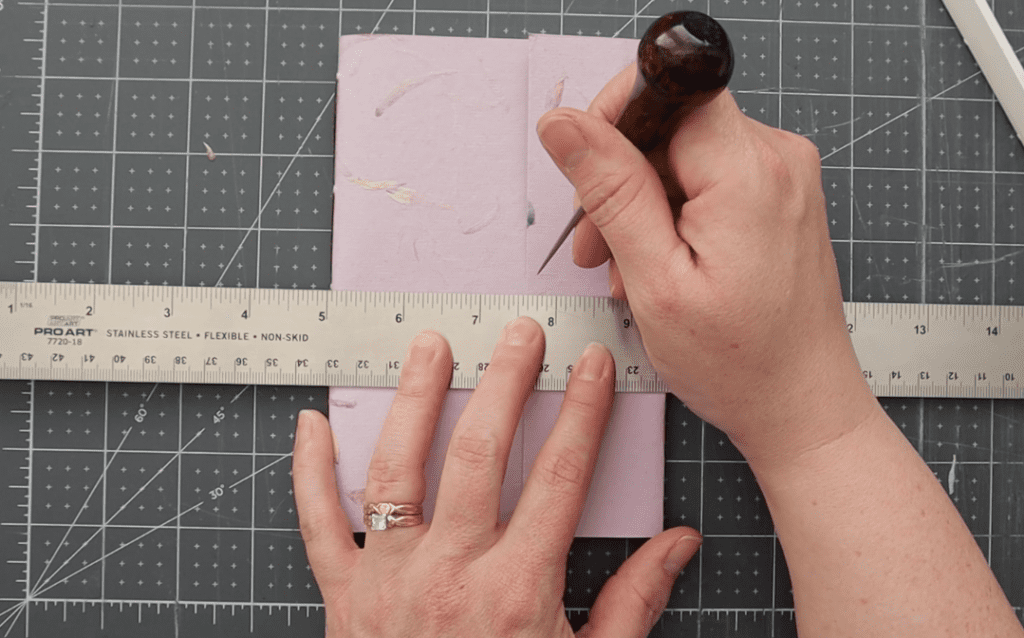
- Using a ruler, score a vertical line at 4.5″ and another at 6.0″
- Fold the paper at each score line, but DO NOT CREASE. We want a very soft fold for each so they’ll wrap around the pamphlet papers
- Fit the pamphlet papers inside the cover, using care to line up the spine of the papers with the first soft fold of the cover. The cover will be taller than the pamphlet papers by about 1.5″
- Using a bone folder, score a line on the cover using the top of the pamphlet papers as reference
- Move the pamphlet papers aside and turn the cover 90 degrees so the longest side is now vertical on your cutting surface
- Line the edge of your ruler up with the fresh score line and cut away the excess cover material. The cover should now fit the height of the pamphlet papers perfectly
Prepare the pamphlet for sewing
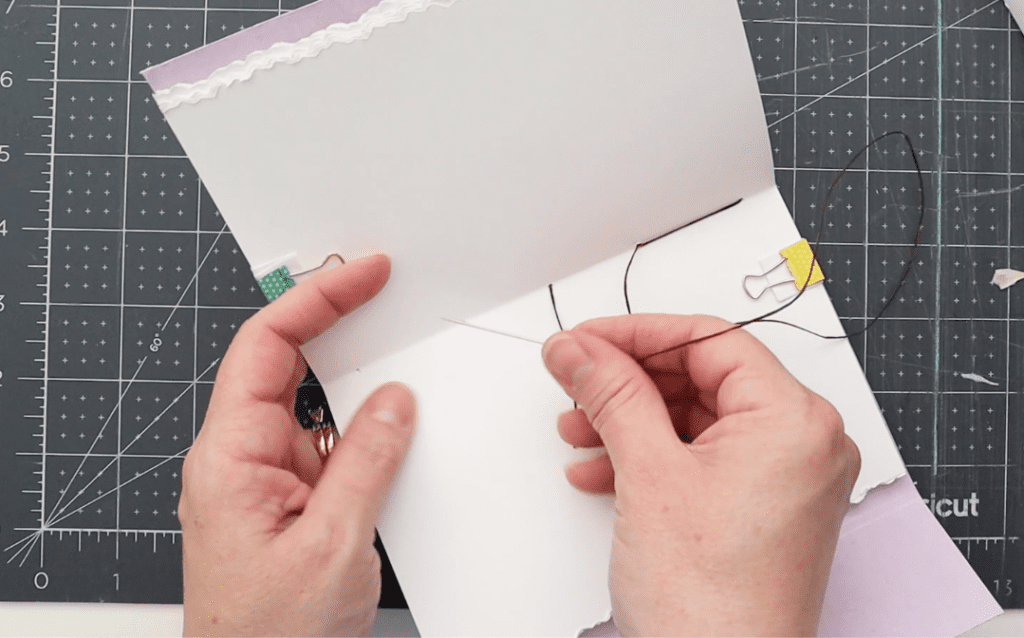
- Combine the cover and pamphlet, using care to line up the spine of your pamphlet with the first fold of the cover
- Use binder clips to hold the pamphlet and cover together (I recommend placing one at the top on the right side and bottom on the left side)
- Open the pamphlet and lay the template inside the crease
- Use your pencil to mark the hole locations onto the crease of your pamphlet
- Remove the template and set aside
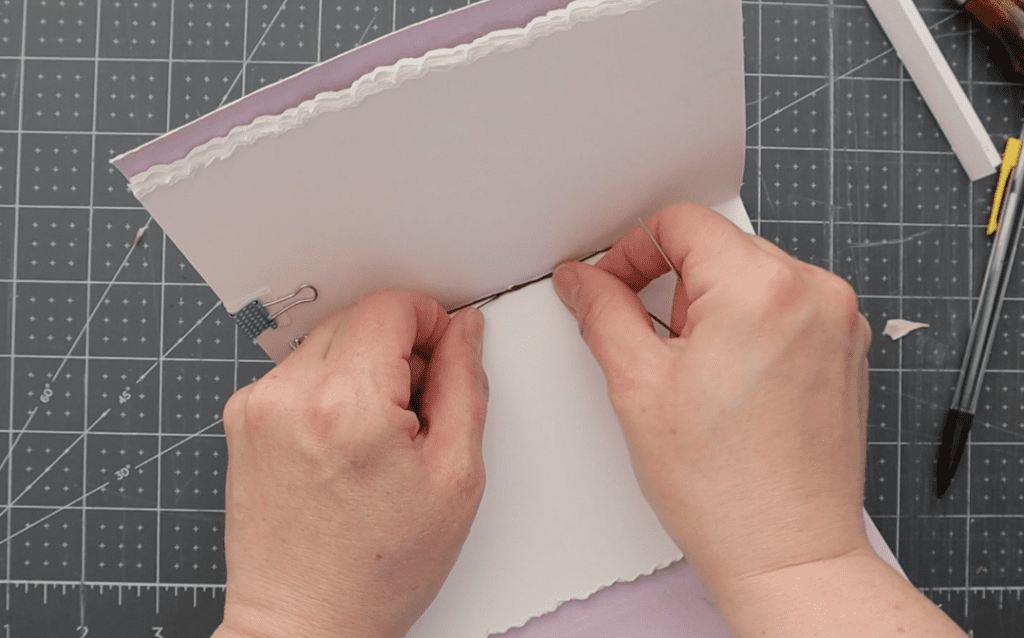
- Using your awl, pierce through each marking on the pamphlet. The awl should make a hole that is one size larger than the thickness of your needle
- Once all holes are pierced, set the awl aside and pick up the waxed thread
- Measure out enough thread for 3x the height of the book (if you’re making the book 6-1/2″ tall like me, you would need 3 x 6.5 = 26 inches of thread)
- Thread the binding needle
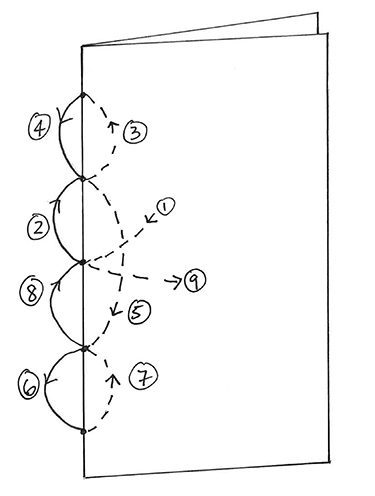
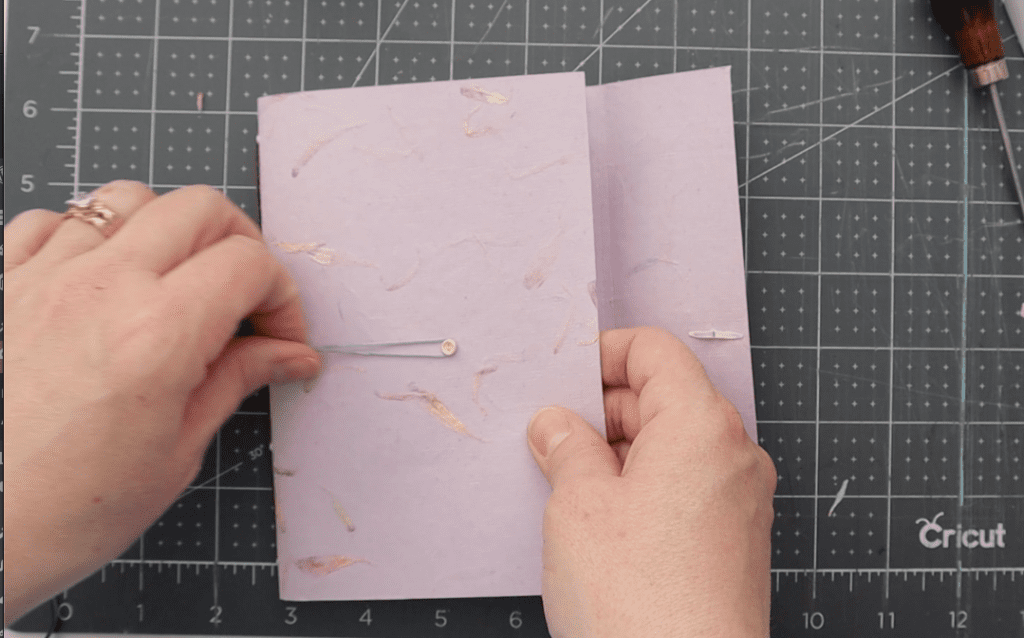
Sew the pamphlet to the cover using the 5-hole binding method
- Start inside the pamphlet
- Move the needle through the 3rd sewing station (middle hole) and pull the thread until about 2″ is left inside the pamphlet
- Pass the needle back into the pamphlet from outside to inside at station #4
- Move the needle through station #5 from inside to outside
- Once outside, pass the needle back into the pamphlet through station #4. You’ll start to see how this is closing “gaps” between the stations
- From the inside, skip over the third station (middle hole) and move the needle through station #2 from inside to outside
- Once outside, pass the needle back into the pamphlet through station #1
- Move the needle through station #2 from inside to outside
- At this point, you should be outside the pamphlet. Pass the needle into the pamphlet through station #3 (middle hole)
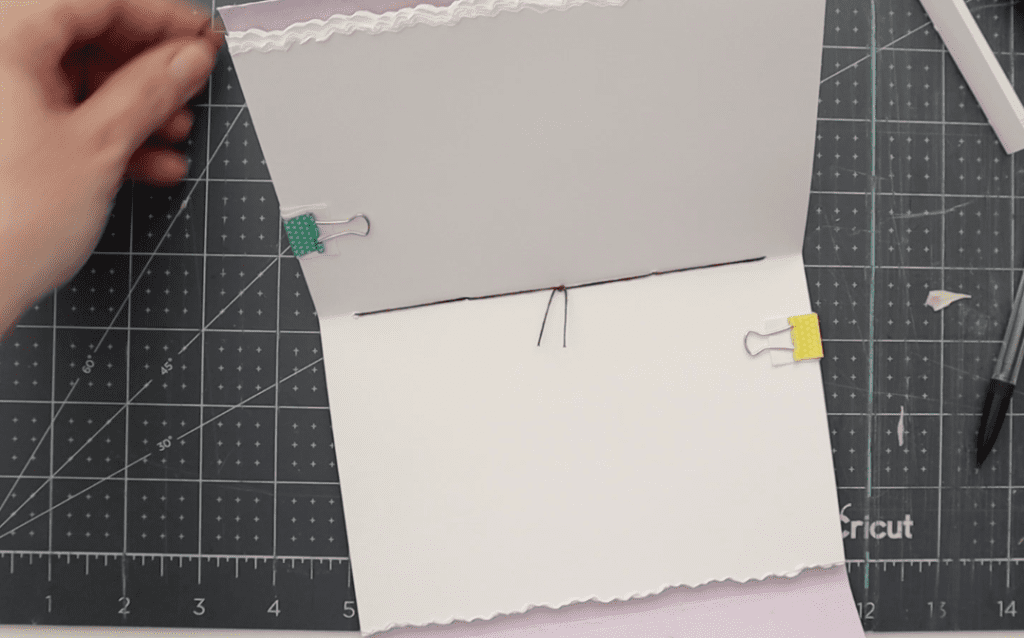
- Remove the thread from the needle and tie a knot with the 2″ of thread we kept inside the pamphlet from step #1
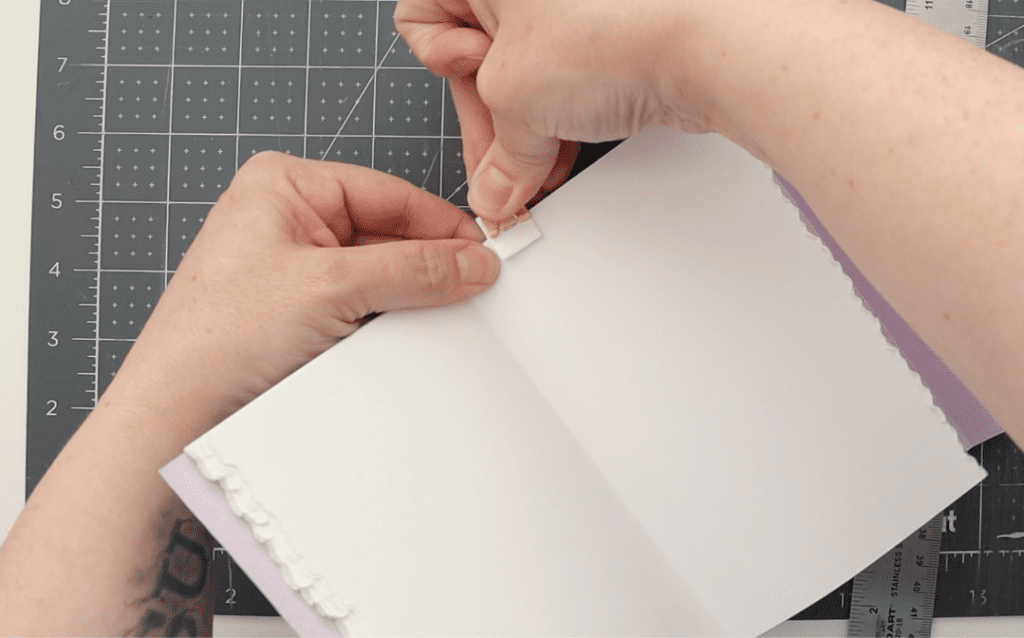
- Using a scissors, clip away all but 1/2″ of thread
That’s it! All of the sewing is complete and your pamphlet papers should be secured to the cover. Now it’s time to create the closure!
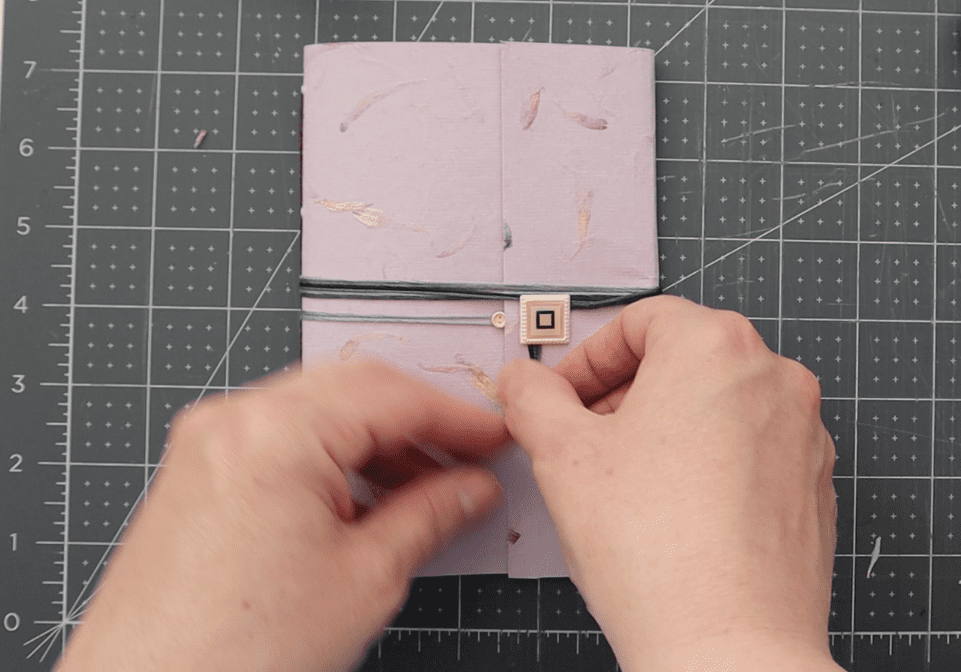
Create the closure
There are no rules or steps here! The creative potential here is what makes these pamphlets so perfect as handmade book gifts. Go ahead and create the closure however you see fit. This could be simply wrapping the pamphlet in ribbon with no other fasteners, or it could mean using one or two brads or eyelets to secure materials in place. Do whatever works best for you and your creative style!
I chose to use embroidery thread and two brads (my daughter chose a button and a colorful square). We secured the thread to the pamphlet cover using a button brad, then wrapped the thread around the square placed on the flap. This worked really well for my daughter, but you can do whatever you want!
Bulk creation is where it’s at!
If you’re looking to make a bunch of handmade book gifts, bulk prep is where it’s at! Create a dozen of these in a single evening by cutting multiple covers and inner paper pamphlets at once. Use your piercing template to quickly mark and punch holes in each pamphlet, then sew them all up using the 5-hole technique outlined above.
Mix up the closures with various styles of ribbon, leather, thread or whatever you can think up. Get crafty and creative, because anything goes with these cute booklets!
Have fun and enjoy the crafting process!
Video: Create a Wrapped Pamphlet with Handmade Paper to use as Stocking Stuffers
More bookbinding goodness
✨ What tools do I need to get started bookbinding?
- Bookbinding Tools & Supplies Quick Start Guide – learn all about book making tools, which to buy first & where to go online
- Pick up my popular Complete Starter Bookbinding Tools Kit – all the bookbinding essentials in one spot
🌟 Looking for a simple way to start making books?
Try a Complete Book Materials Kit. Each one has everything you need (+ tutorials & videos) to make a beautiful book without all the fuss.
Thank you for taking me along on your book making journey!
Misty


