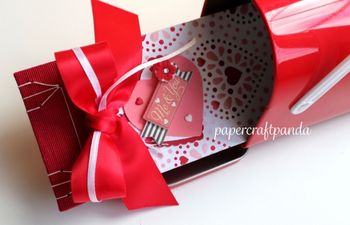
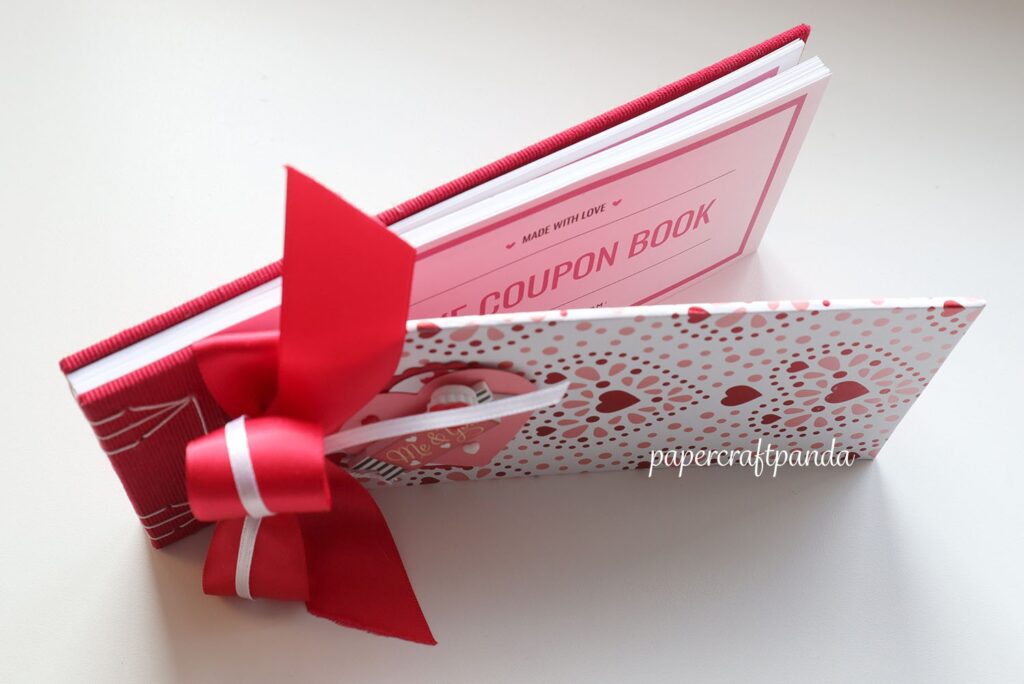
Need a lovey-dovey gift idea for your partner? I might have what you need… The other day, I found a set of cute printable coupons on Etsy. The coupons are modern, each with a different redeemable gift for your partner. We’re talking everything from a Spa Day to a hilarious Automatic Victory (in a debate, this would be handy…). I just HAD to turn these into an adorable handcrafted coupon book for couples!
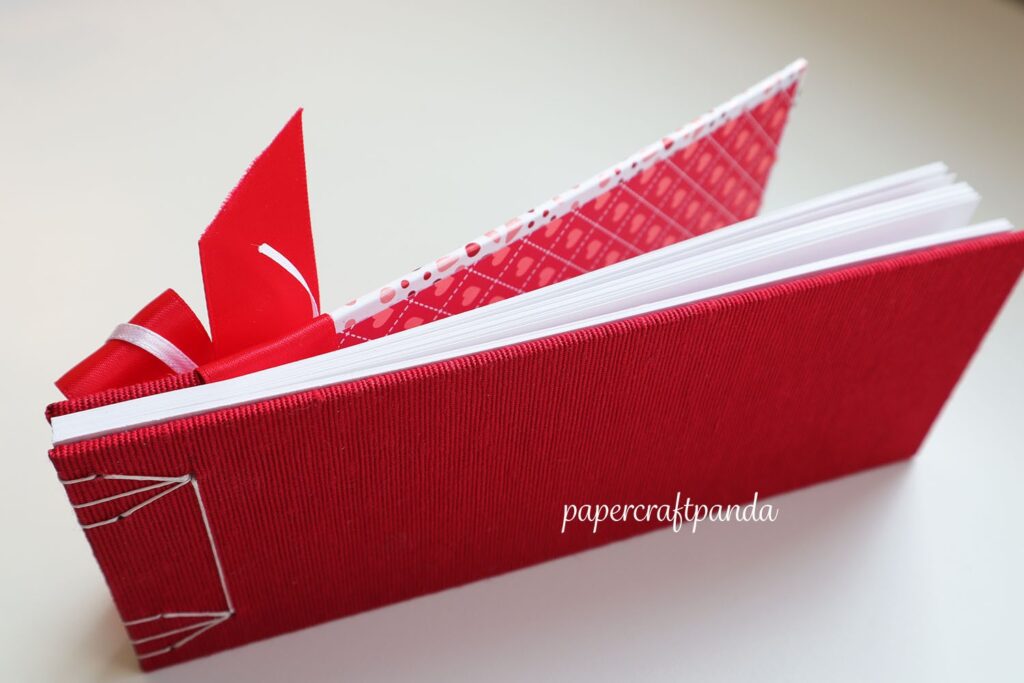
I decided to use the Japanese Stab Binding method. It’s prefect for landscape books with single sheets where drawings, images and other viewable content are on display.
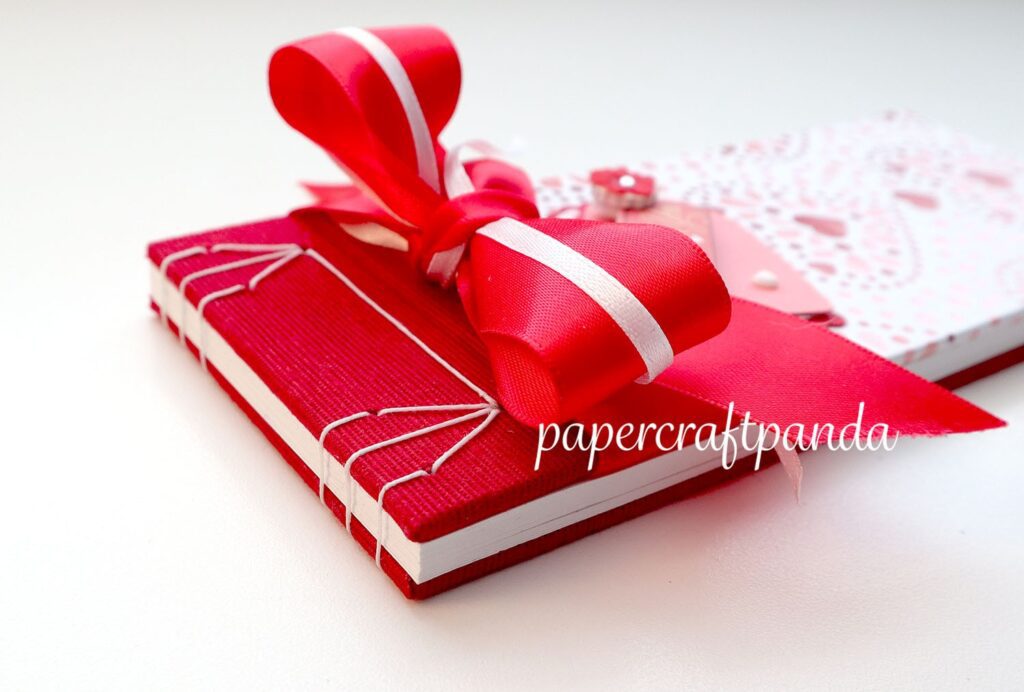
To exercise my artistic skills, I chose the Tortoise Shell stitch pattern. I mean, it sorta looks like a heart…can you see it??
If you’d like to make one of these for a special couple (or yourself…you gotta love YOU, am I right?), you’re in the right place. All you need are a few materials and a couple hours of craft time. If you’re new to the Tortoise Shell pattern, don’t worry. I made a full video to help you along the way (below). Enjoy!
Bookbinding Tutorial: Adorable Coupon Book for Couples
Measurements: 7-5/8″w x 3″h
Cost Level: $$
Skill Level: Intermediate
Total Time: 2-3 hours + drying time (depending on experience)
- 1 sheet of covering material for the front and back covers (I’m using Japanese book cloth), 11″w x 4″h
- One piece of decorative card stock for the front cover, 6-1/2″w x 4″h
- 3 pieces of book board or heavy card stock in the following sizes:
- 3″h x 1″w
- 3″h x 6-3/4″w
- 3″h x 7-5/8″w
- 2 pieces of decorative card stock or fine paper, each 7-3/8″w x 2-3/4″h
- 25 individual couples coupons, 7-1/2″w x 3″h (I got my coupons from Etsy)
- 24″ waxed 3-ply thread
- PVA adhesive, Elmer’s glue or double-sided tape
- Ribbon, stickers, enamel dots, etc. to decorate the cover

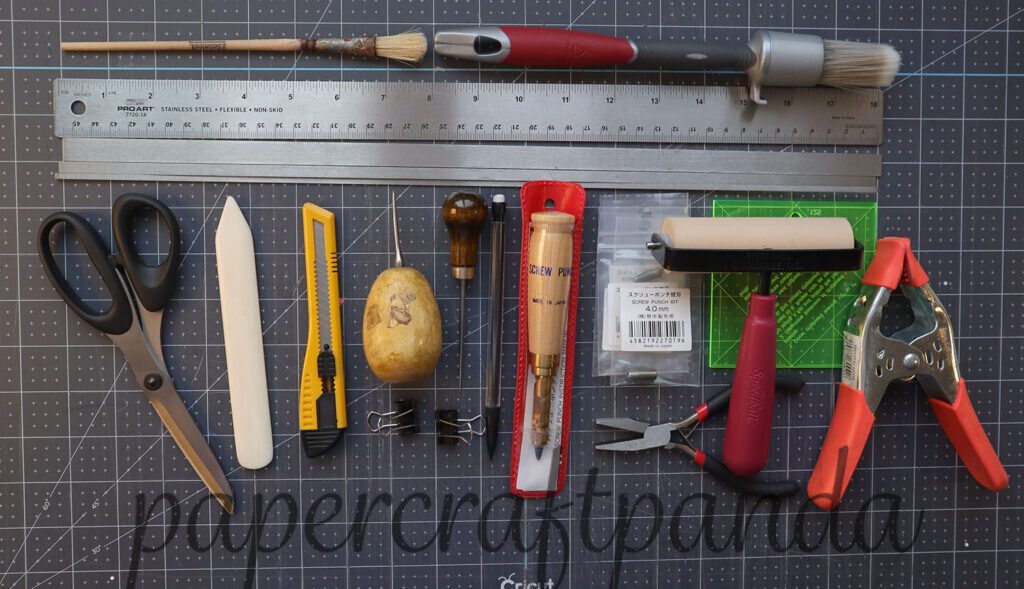
Needed:
- Bone folder
- Olfa knife
- Japanese Screw Punch with 2 or 3mm tip (hole punches work well, too!)
- Heavy duty awl (if piercing book board)
- 6″ light duty tapered awl
- Scissors
- 12” ruler
- 1-3/8″ round paste brush or similar
- 1/2″ to 3/4″ small paste brush or similar
- Clamps or two 1/2″ to 3/4″ binder clips
- Binder’s Needle
- Several sheets of waste paper
- Pencil
Nice to Have:
- Corner guide or jig
- 1/2”, 1/4” and 1/8″ steel rules or spacers
- Rubber brayer
- Pliers (handy if your needle is a tight fit)
- Pick tool
Steps*:
*These steps assume everything has been cut to size per the materials list above.
Part 1: Create the front & back covers
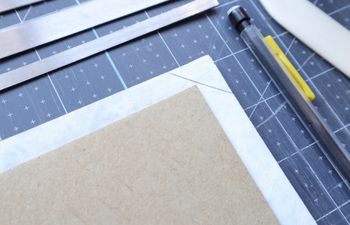
- Take the sheet of covering material sized 11″w x 4″h. Cut it down into two smaller pieces & set aside:
- First: 4″h x 2-1/4″w
- Second: 8-3/4″w x 4″h
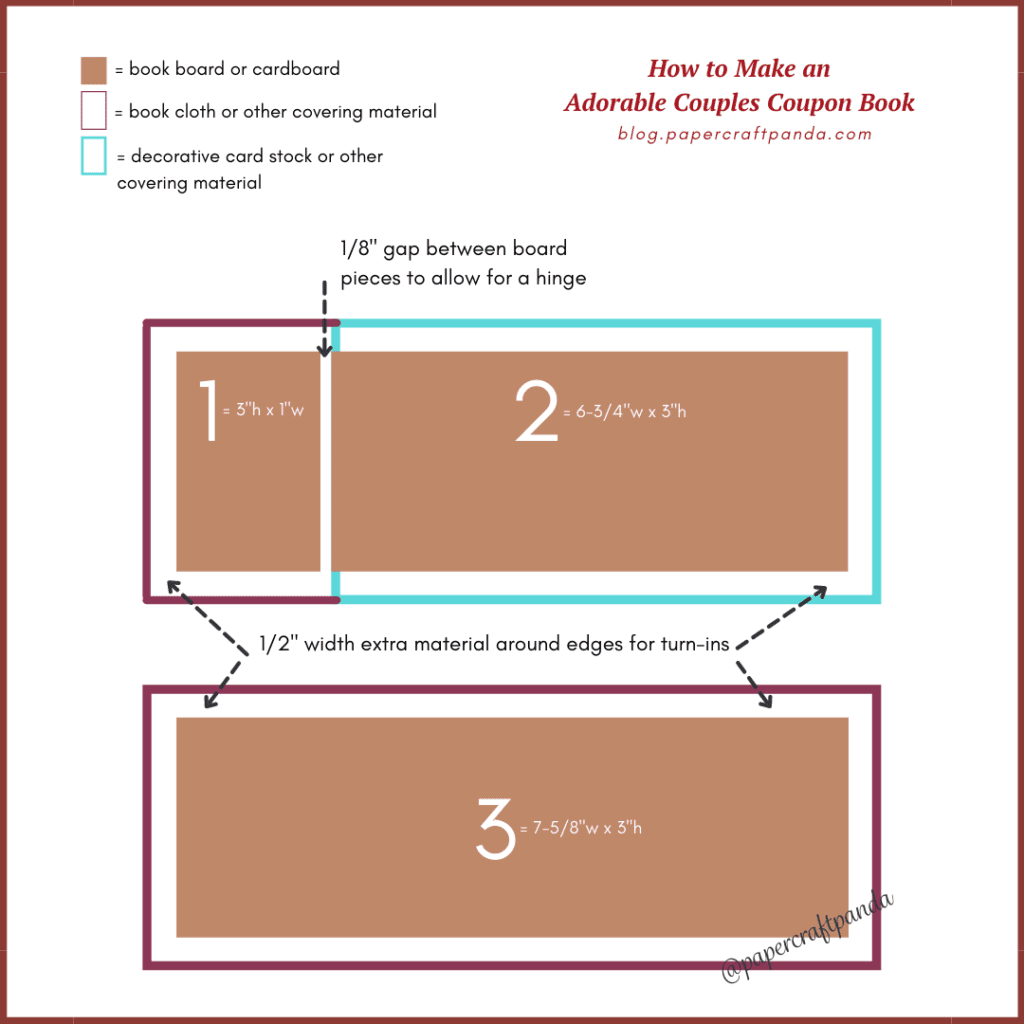
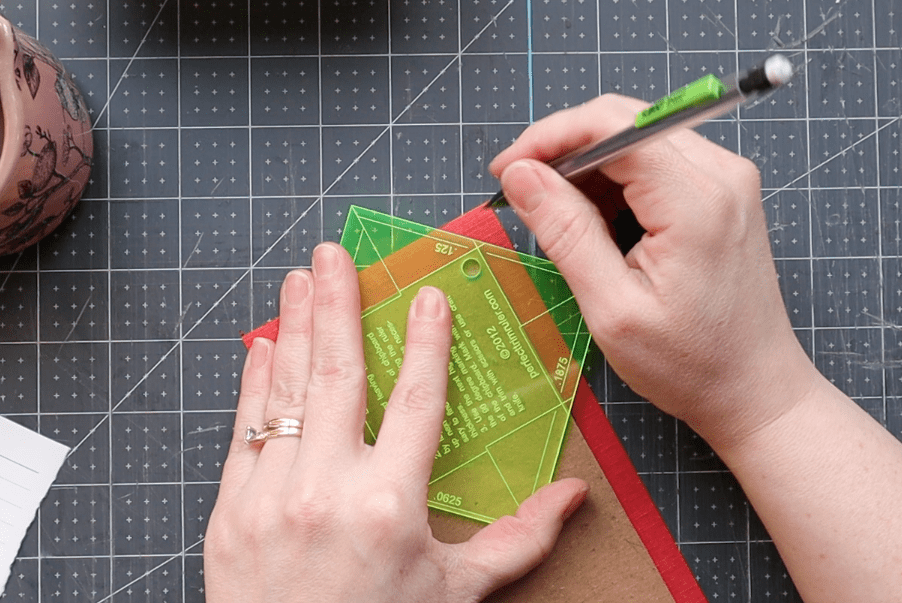
- Take the large piece of book board sized 8-3/8″w x 3″h. Cut it down into three smaller pieces & set aside:
- Small: 3″h x 1″w
- Medium: 3″h x 6-3/4″w
- Large: 3″h x 7-5/8″w
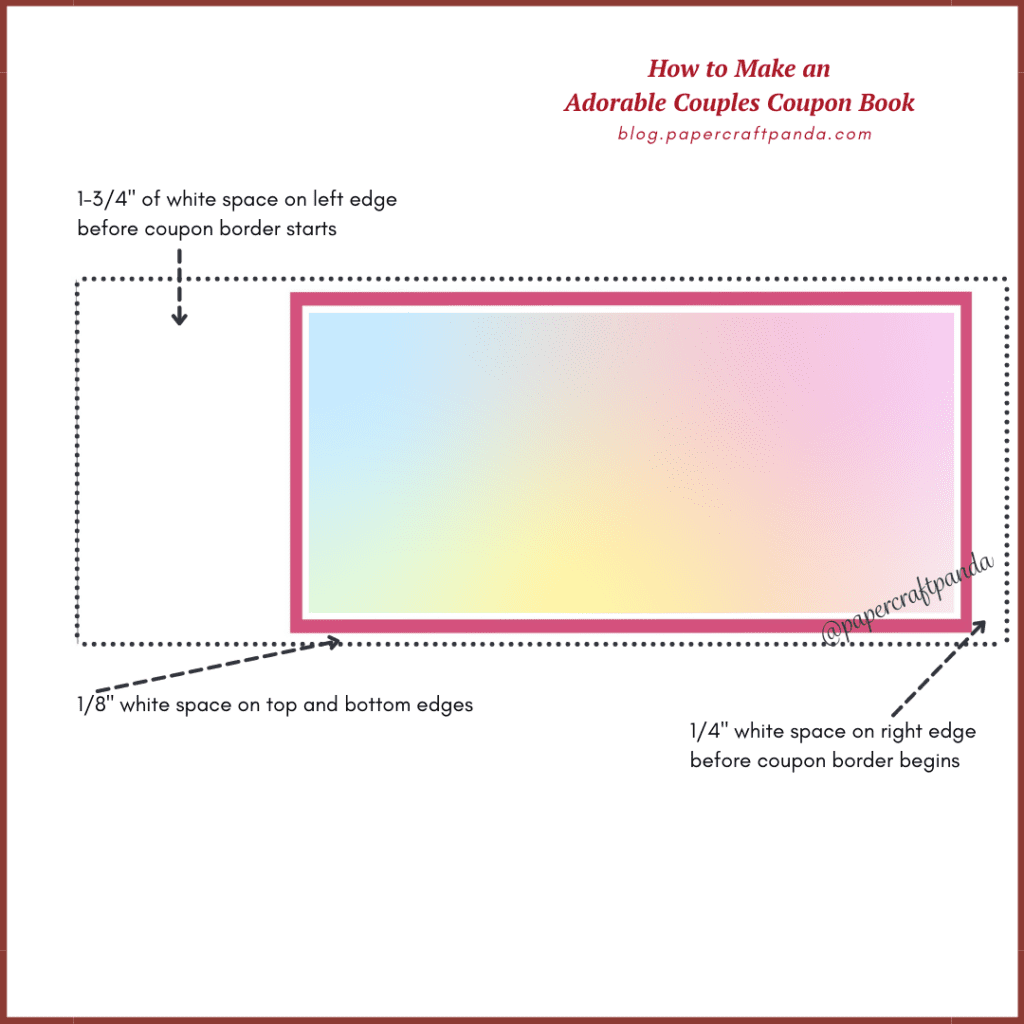
The below is a visual illustration of what I’m describing in text:
Front cover
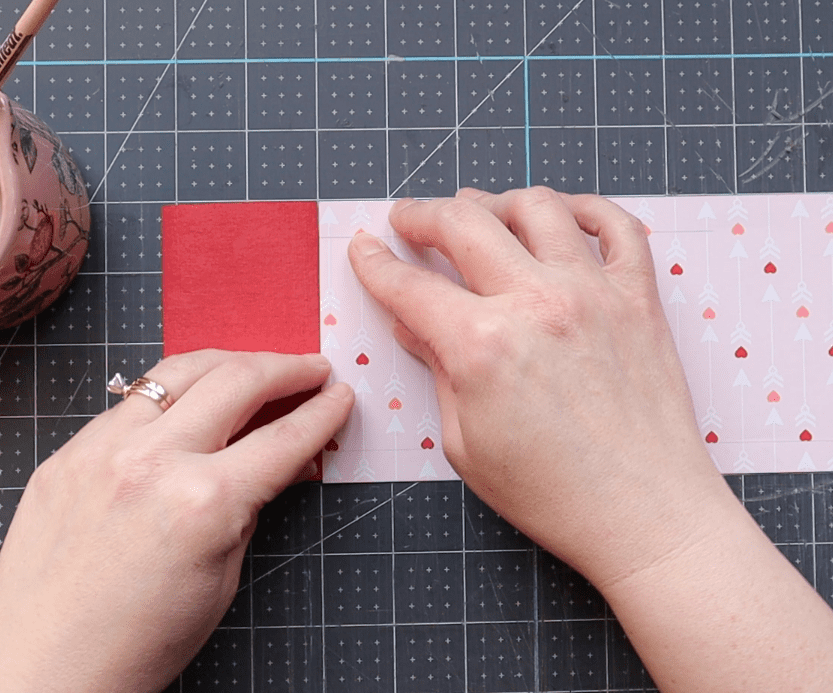
- Lay the first piece of covering material (4″h x 2-1/4″w) face down on a clean surface.
- Overlap the decorative card stock and covering material by 1/8″. We’ll glue these two pieces together at the seam.
- Place a sheet of waste paper beneath the seam to protect the surface.
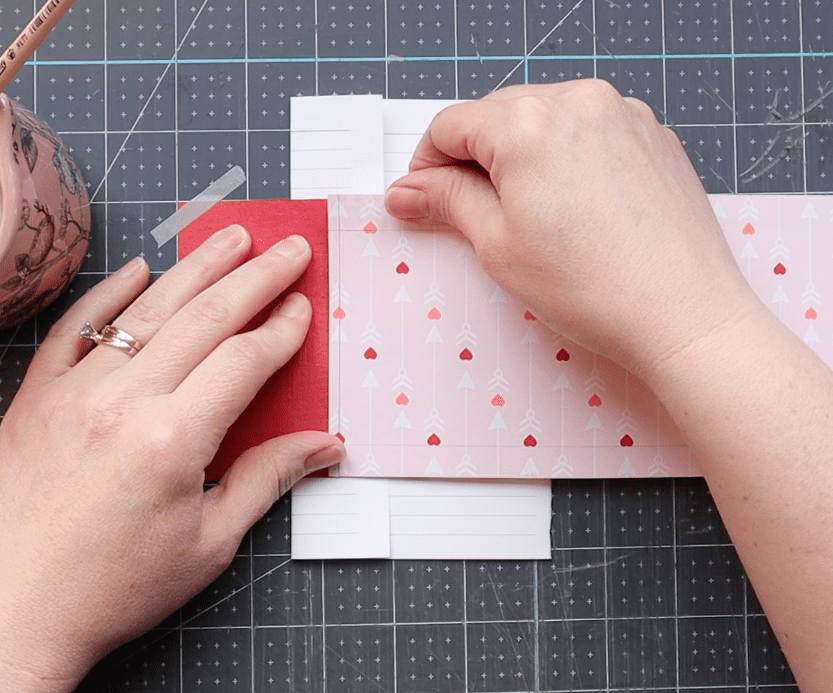
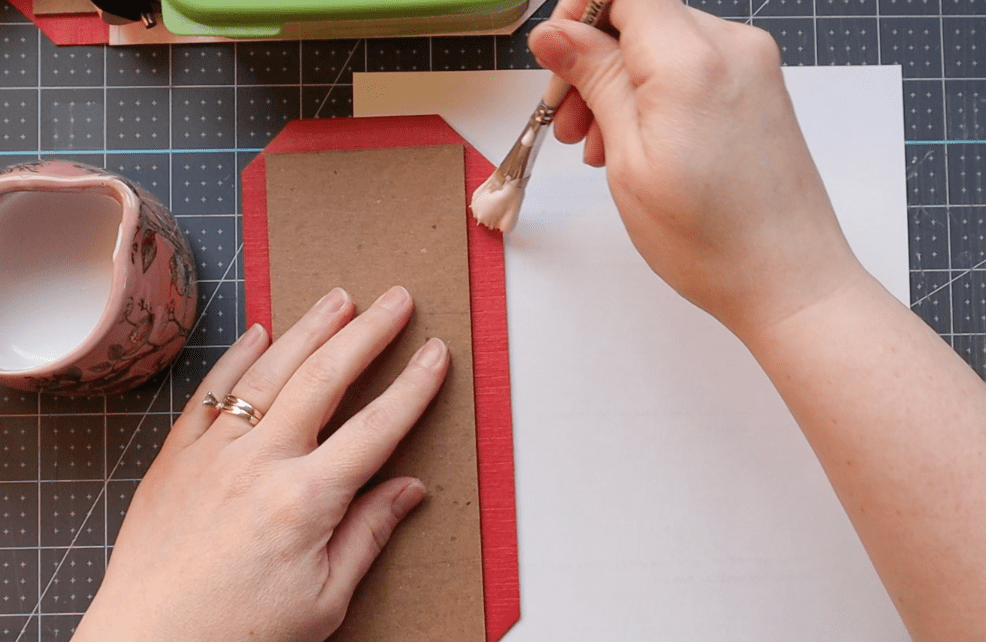
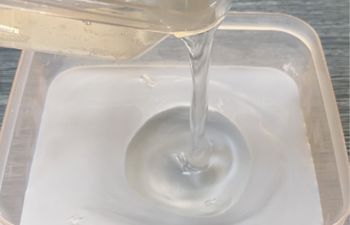
- Using a small paste brush, apply a small amount of PVA to the seam, around 1/8″ wide.
- Lay about 1/8″ of decorative card stock onto the PVA and press down to adhere.
- Wipe away any excess glue right away.
- Dry the seam under weight for 5 to 10 minutes.

Back cover
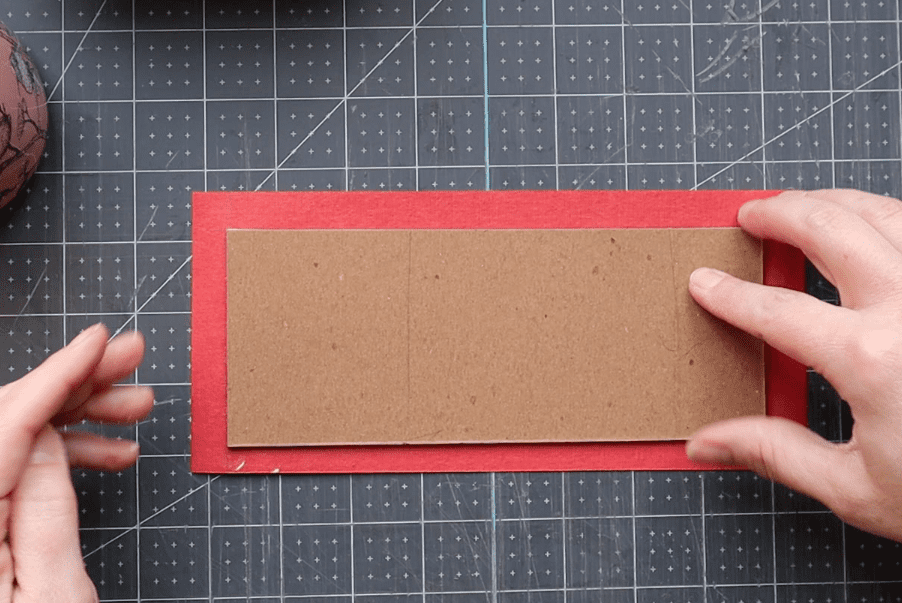
- Take the second piece of covering material and lay it face down on a clean surface in front of you.
- Roughly center the large piece of book board on the covering material. There should be 1/2″ of material all the way around.
- Use a pencil to trace the outer edges. This will help you remember where to place the board after glue is applied.
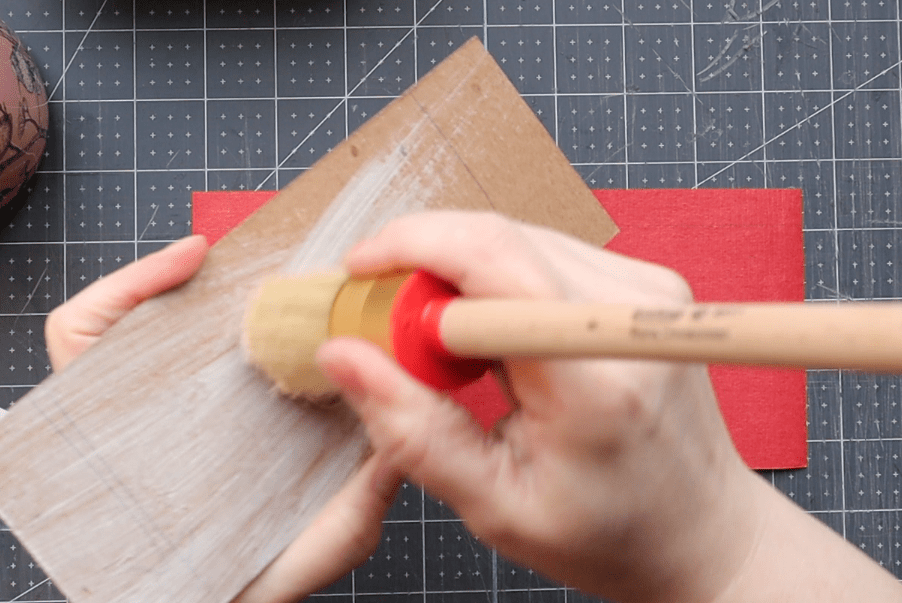
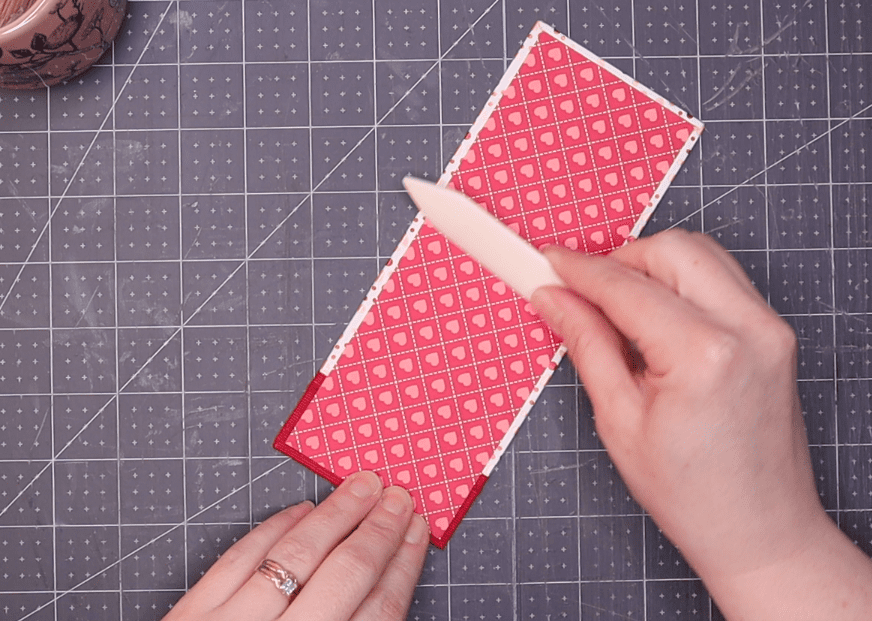
- Using PVA, glue the board into place. Be sure to press firmly and use a bone folder to smooth out any air bubbles on each side.
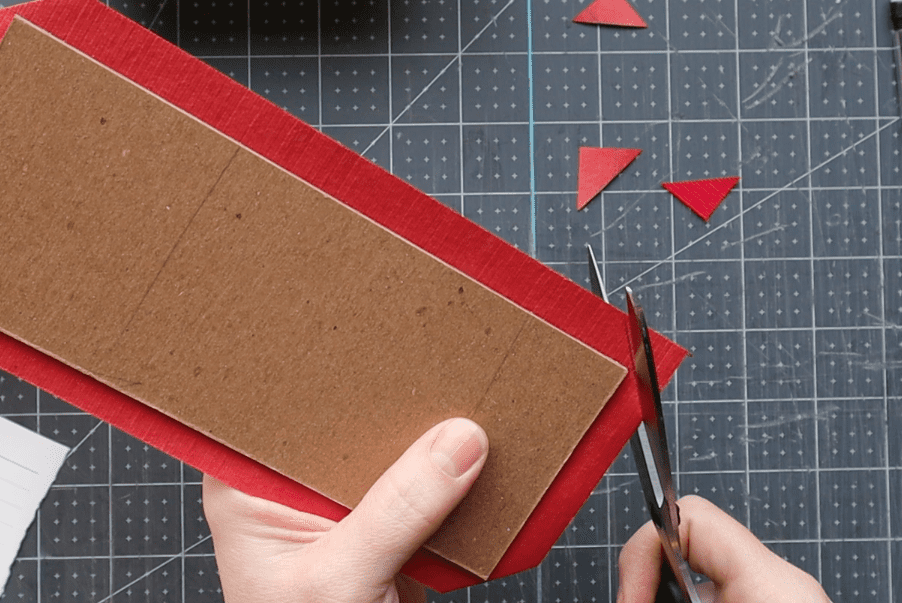
- Mark and cut the four corners. If you need help with this, I have technical videos in my Casebinding tutorial that can help.
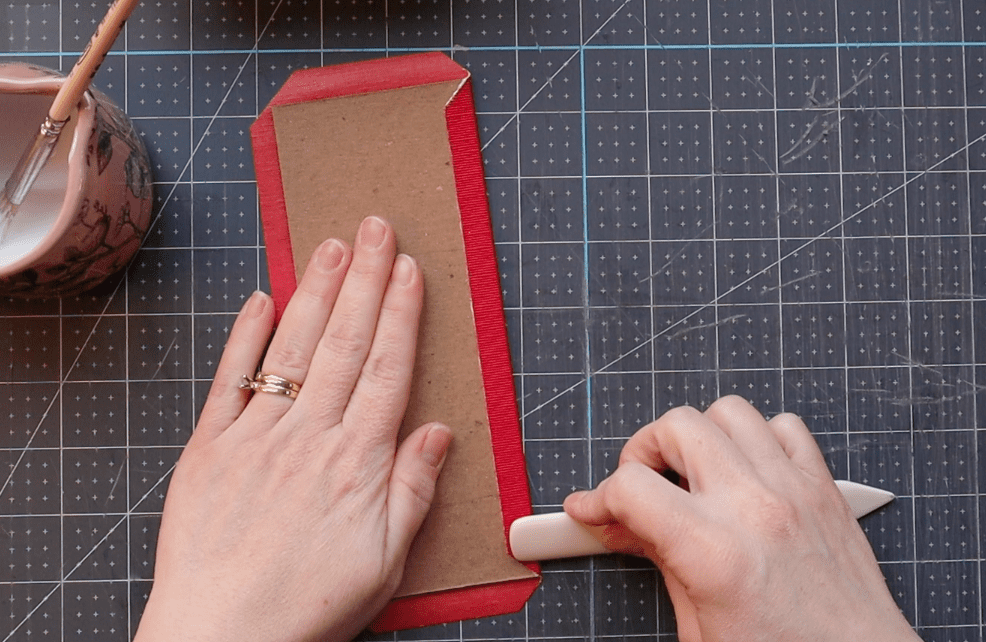
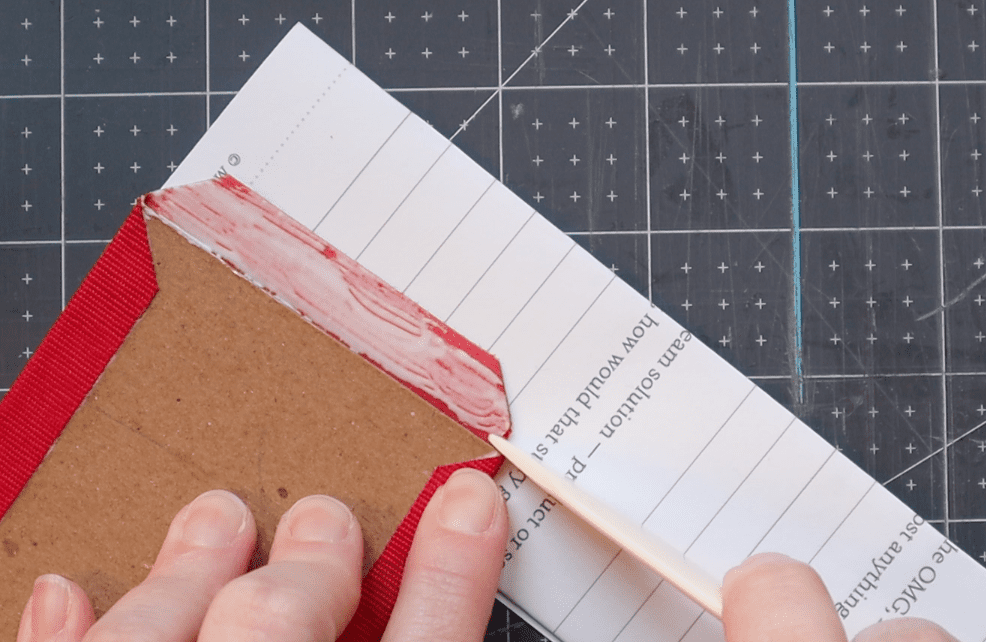
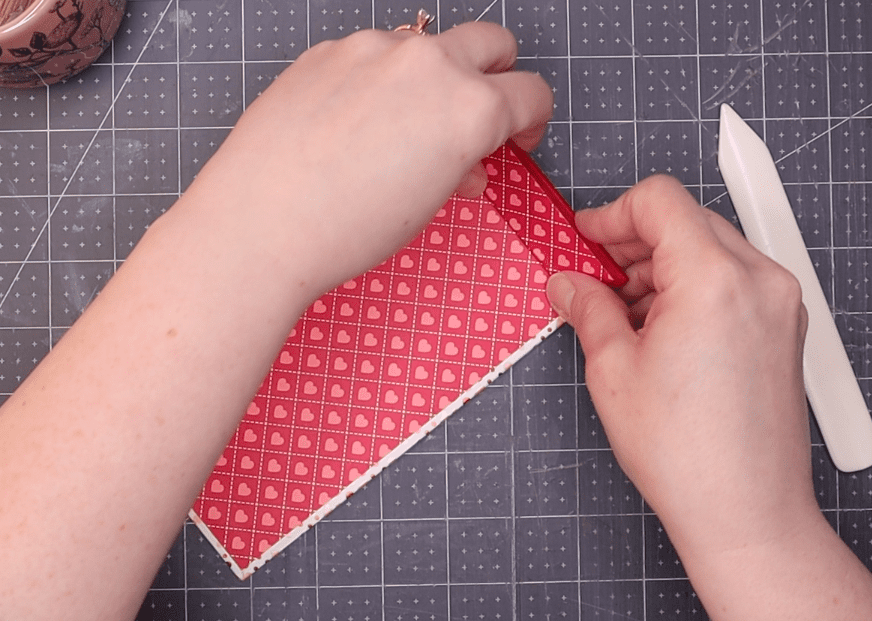
- Glue the top and bottom flaps first, using care to smooth each flap with a bone folder.
- Glue the right and left flaps next, repeating the smoothing process as you go along. Use care to turn in each corner with the pointed end of your bone folder.
- Press the cover under several large books for 15-20 minutes. Be sure to sandwich the cover between two sheets of waste paper (regular printer paper works here), which will absorb extra moisture.

Return to the Front cover
- Remove the front cover material from under weight. Place it face down on a clean surface in front of you.
- Position the small piece of book board on the left side. It should have about 1/2″ on the top, bottom and left edges.
- Use a pencil to outline the position of this small piece.
- Measure 1/8″ from the right side. Draw a light line.
- Line up the left edge of the medium piece of book board with the line you just drew. Both book board pieces should be level with each other.
- The medium board should have 1/2″ of material on the top, bottom and right sides.
- Glue both pieces in place.
- Mark and cut the four corners.
- Turn in and glue the flaps in this order: top, bottom, left and right.
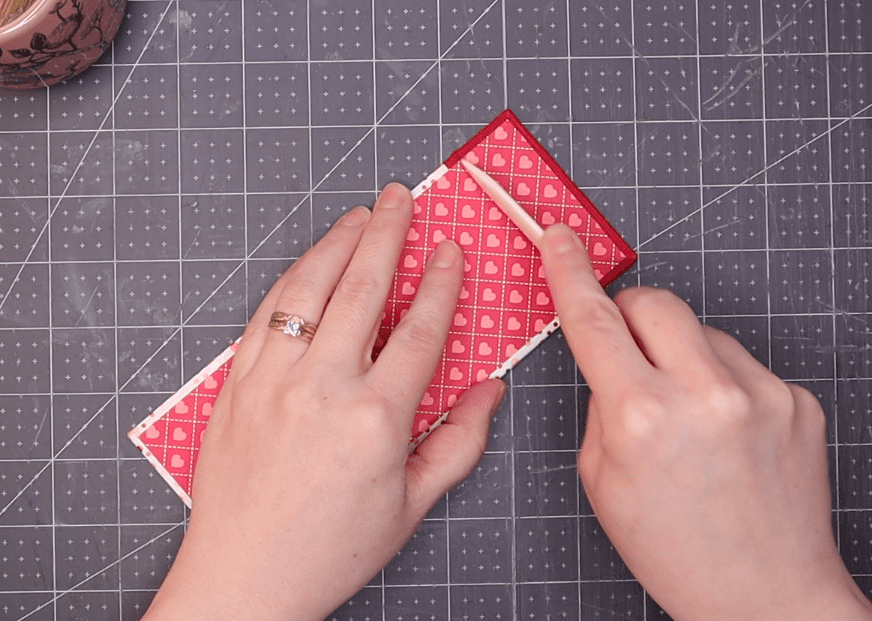
- Use the rounded edge of a bone folder to define the hinge.
- Set aside under some weight for 15-20 mins.
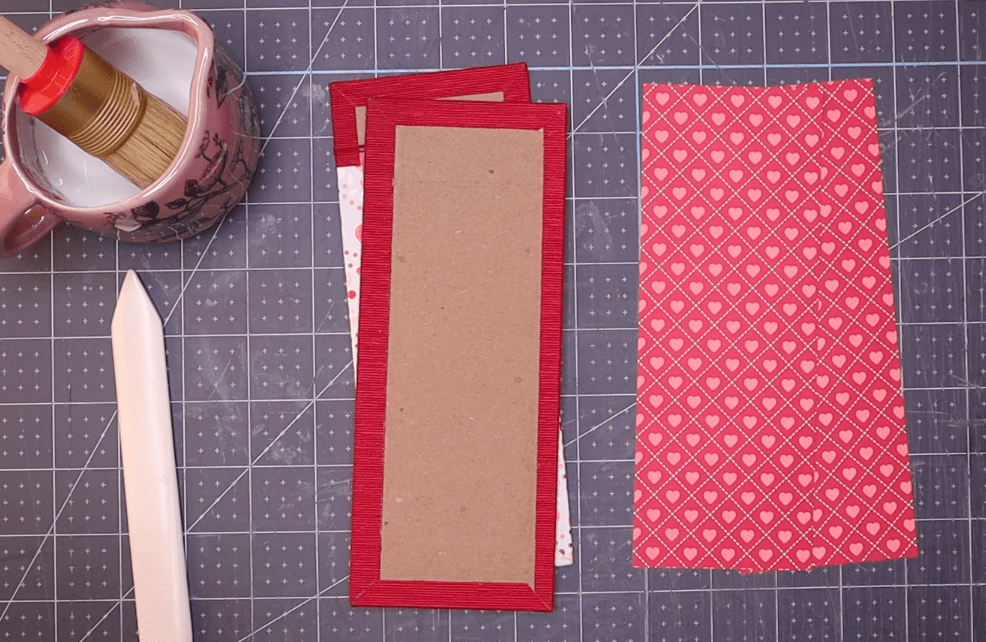
Finish the Back cover
- Remove the back cover from under weight and place it face down in front of you.
- Take up one of the two fine paper pieces sized 7-3/8″w x 2-3/4″h
- Roughly center the piece on the back cover, leaving around 1/8″ on each side.
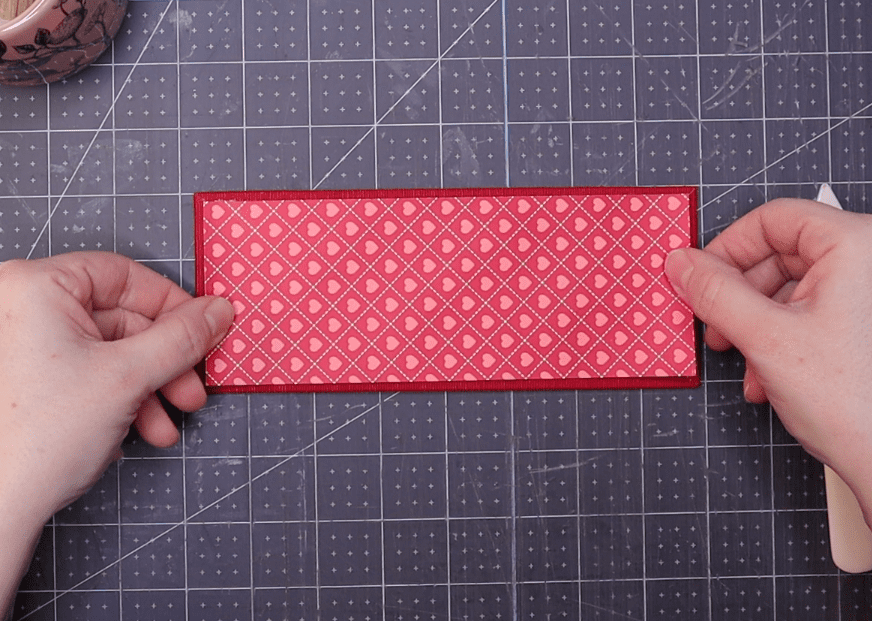
- Apply PVA to the back of the piece and press it in place.
- Use a bone folder to smooth and remove excess air.
- Press the back cover under weight for 15-20 mins.

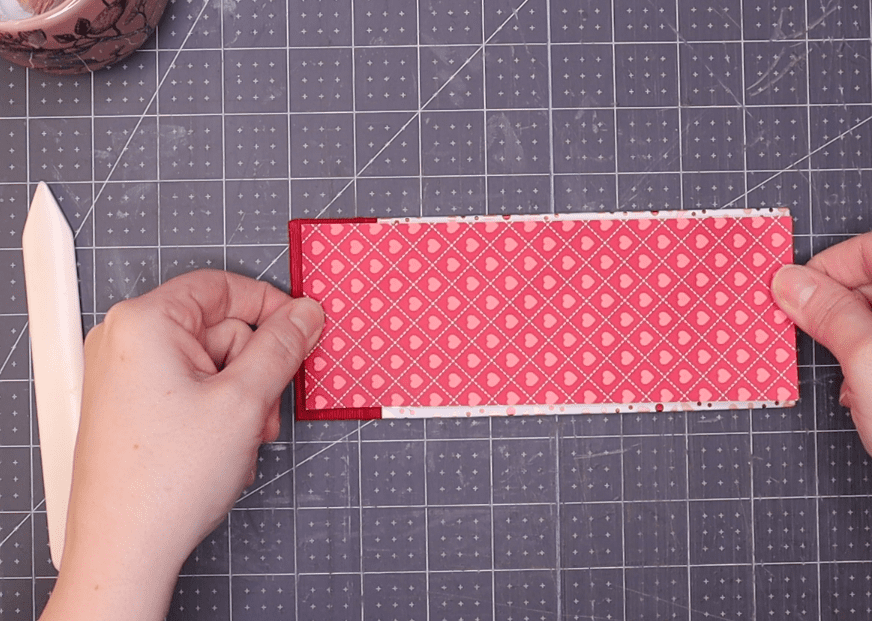
Finish the Front cover
- Remove the front cover from under weight and place it face down in front of you.
- Take up the second of the two fine paper pieces sized 7-3/8″w x 2-3/4″h.
- Repeat the steps above to finish the front cover.
- Use a bone folder to gently define the hinge with the end paper in place.
- Press the cover under weight for 15-20 minutes.
Part 2: Prepare the coupons
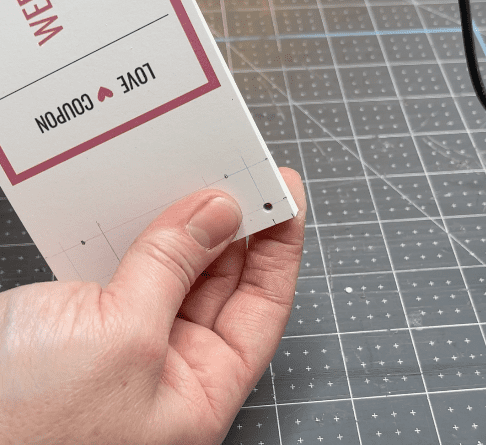
Leave room on the left edge to punch out the stab binding sewing stations. I left about 1-3/4″.
Mark & pierce the sewing stations
Choose one coupon to use as a piercing guide. Make sure this one is on top of the stack at all times.
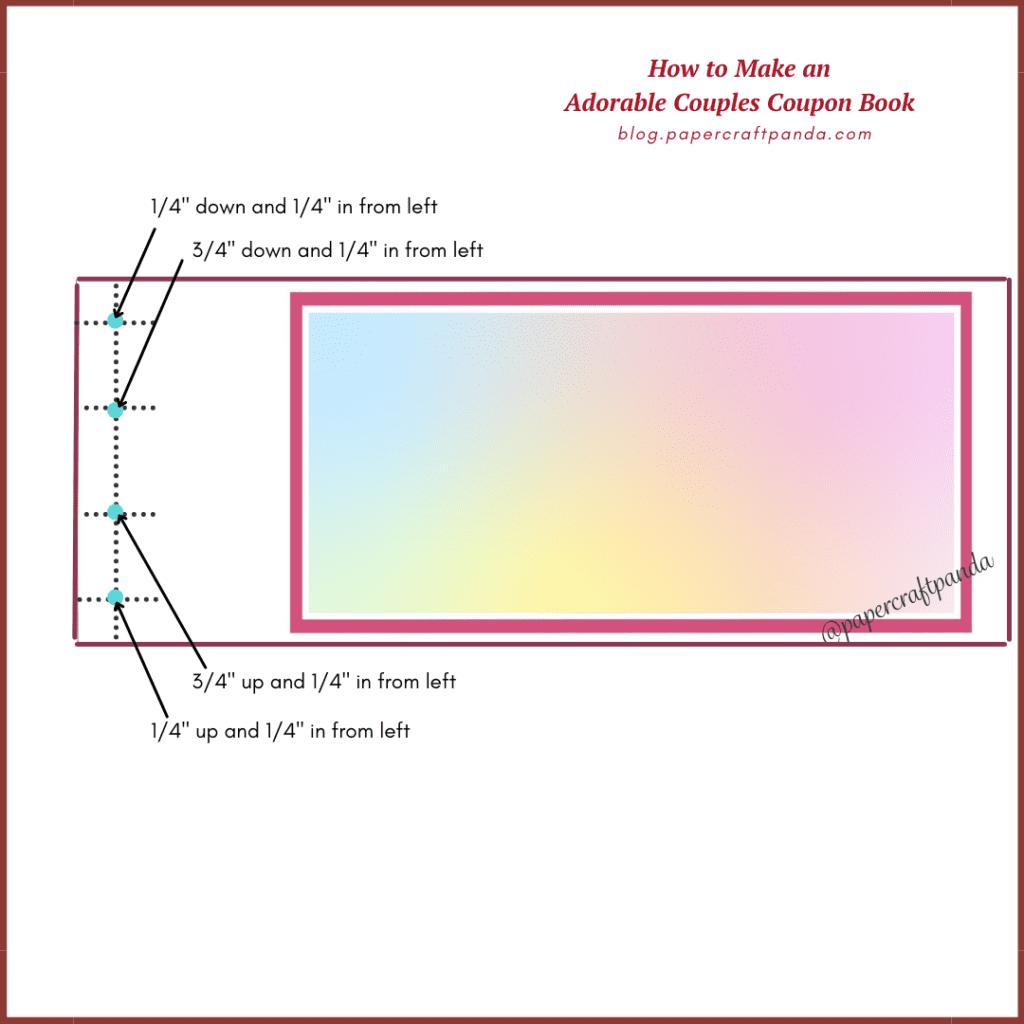
Two rows of piercing stations are needed for this project. We’ll start with the first row, which is closest to the left edge of the coupon.
Measure and mark first row of (4) sewing stations:
- Down 1/4″ from the top edge.
- In 1/4″ from the left edge.
- Make a first mark.
- Up 1/4″ from the bottom edge.
- In 1/4″ from the left edge.
- Make a second mark.
- Down 3/4″ from the top edge.
- In 1/4″ from the left edge.
- Make a third mark.
- Up 3/4″ from the bottom edge.
- In 1/4″ from the left edge.
- Make a fourth mark.
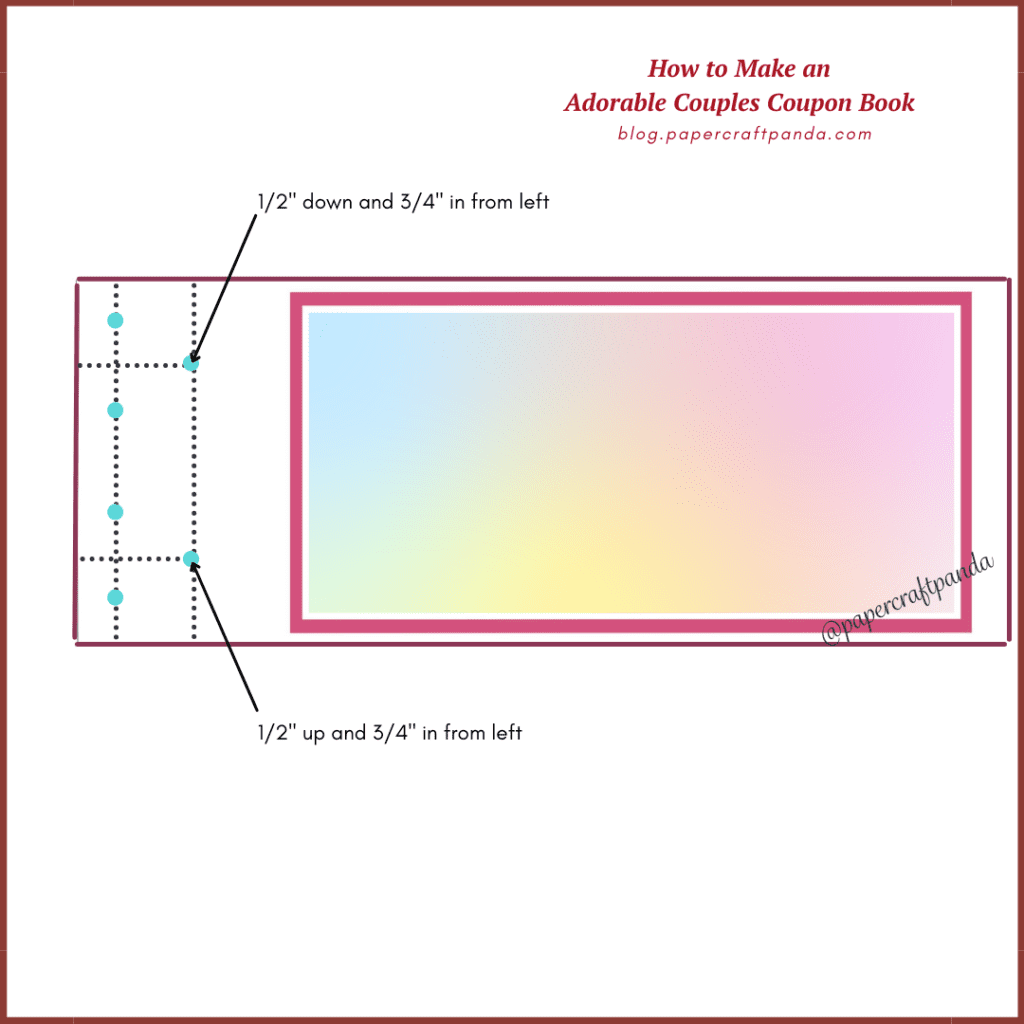
Measure and mark second row of (2) sewing stations:
- Down 1/2″ from the top edge.
- In 3/4″ from the left edge.
- Make a first mark.
- Up 1/2″ from the bottom edge.
- In 3/4″ from the left edge.
- Make a second mark.
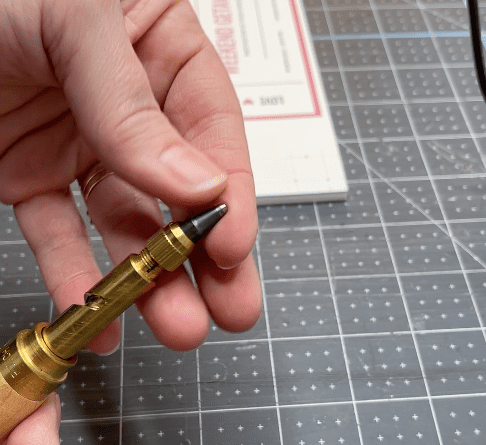
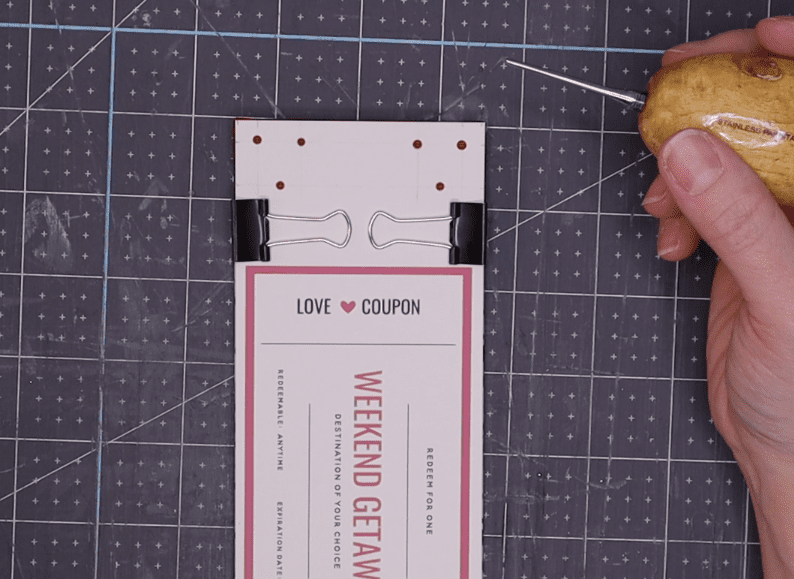
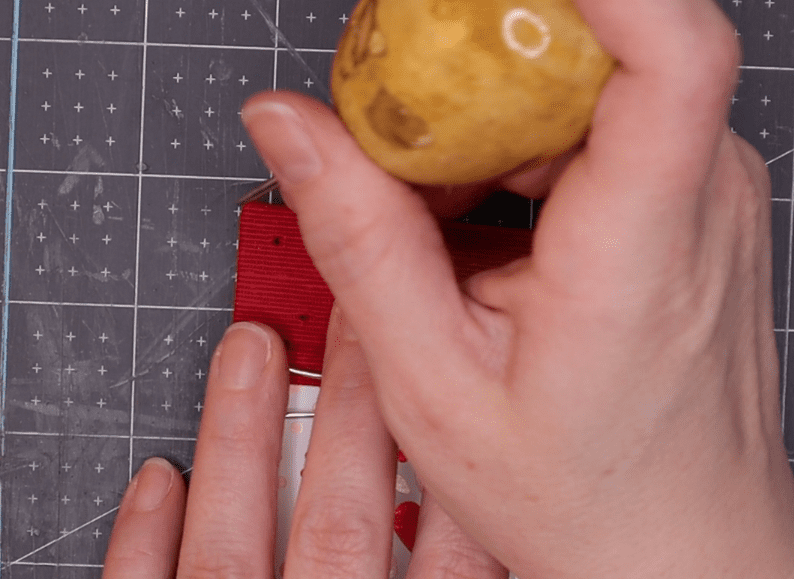
Pierce the coupon sewing stations
With all six stations marked, it’s time to pierce the holes!
- Stack the coupons. Make sure the template coupon is on top.
- Apply binder clips or a clamp to the fore edge.
- If using a Japanese Screw Punch, prepare the 2mm bit.
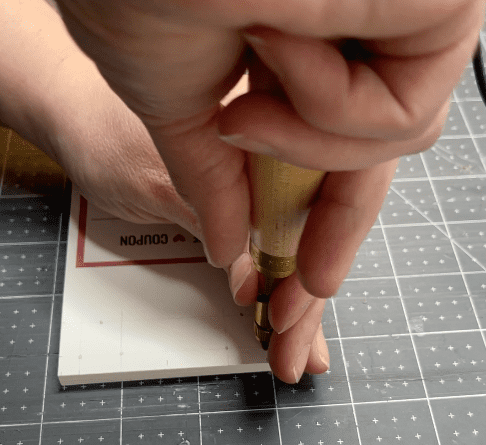
- Use the screw punch to carve out each station.
Secure and align the stack while piercing.
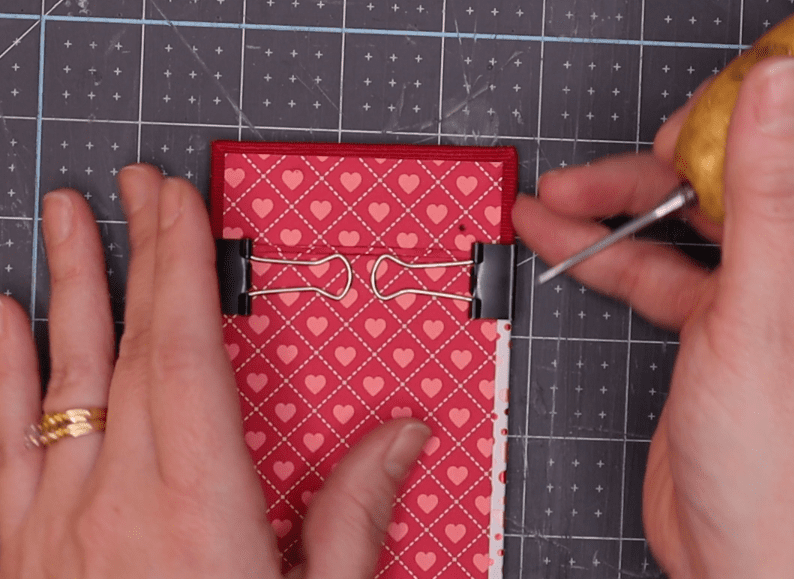
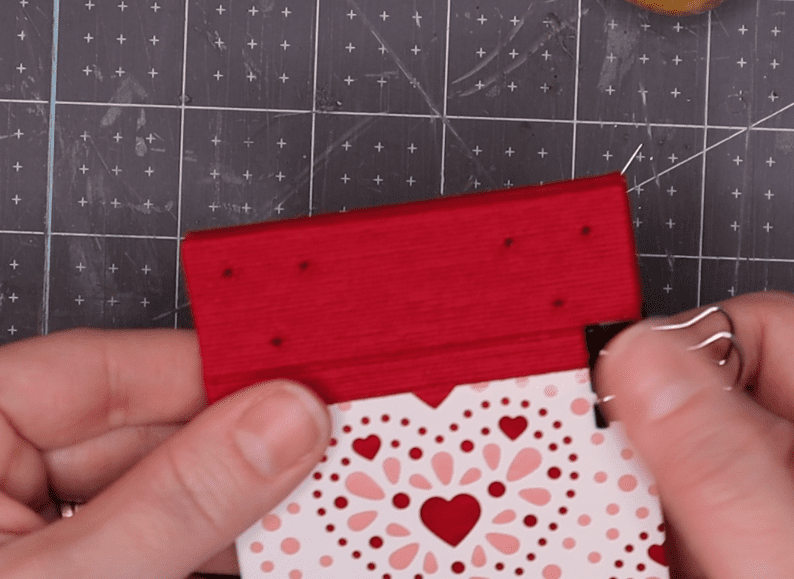
Part 3: Pierce cover sewing stations
- Lay the front cover in front of you facing up.
- Fasten the coupon template to the front cover using binder clips.
- With the template in place, use an awl to pierce each sewing station.
- Remove the template and recycle. You won’t need it anymore.
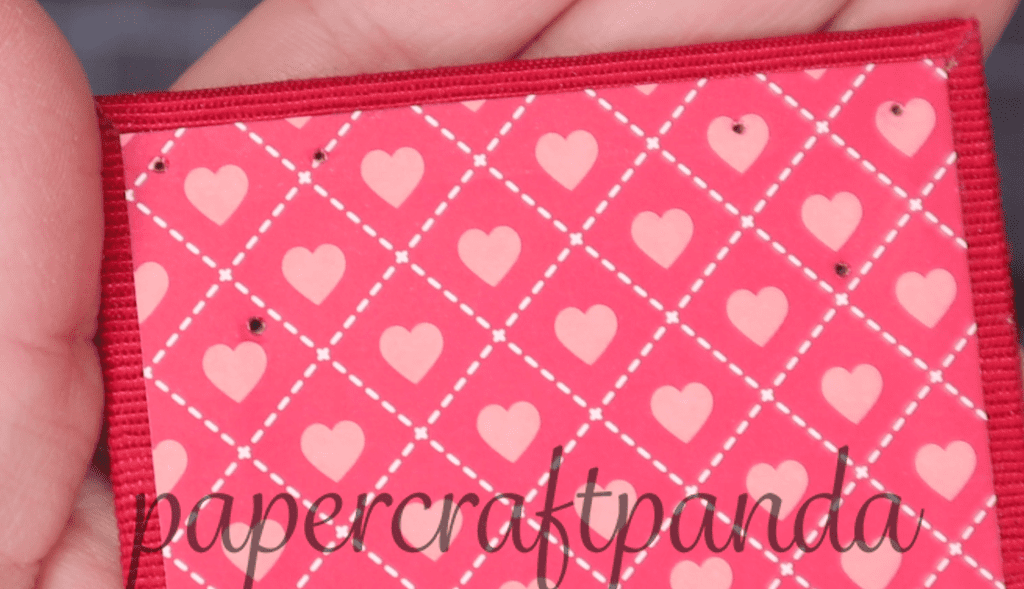
- Widen each hole with a light duty awl.
- Pass a needle through each hole to test fit.
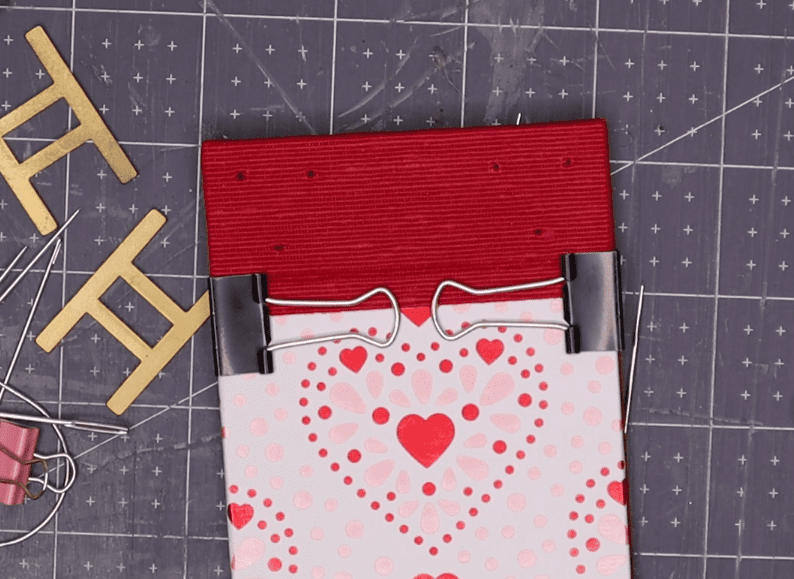
Now for the back cover…
- Bring the front and back covers together. They should resemble a book without paper.
- Fasten the two covers together using 3/4″ binder clips.
- We will use the holes pierced in the front cover as a guide for the back.
- Using an awl, poke through the front cover into the back cover.
- Remove the front cover and set it aside.
- Widen each hole in the back cover with an awl.
- Repeat the same steps used on the front cover (define, widen, test with a needle, etc.)
Part 4: Use the Tortoise Shell pattern to sew your coupon book for couples
It’s time to finish your coupon book for couples!
Bring the coupon book together. Make sure the spine of the book is flush with the spine of each cover.
Tortoise Shell Technique
- Thread your needle with 24″ of waxed thread.
- Separate the book into two halves. The first half should have the front cover + half the coupon stack.
- We’re going to start with Section 1.
- Move the needle through A from inside to outside.
- Pull the thread. Leave about 2″.
- Recombine the front and second halves. The bit of dangling thread should be sticking out from between the two stacks.
- Move the needle around the spine, under and back through A. This connects the bottom half to the top half.
- Once outside A, move the needle through B to inside.
- From inside, move the needle around the spine and back through B from outside to inside.
- Once inside again, move through A to outside.
- From outside, move through C to inside.
- Once inside, move the needle around the spine and back through C from outside to inside.
- From inside, move through A to outside.
- The first tortoise shell is complete.
- Once outside, skip across to the Section 2.
- Move into D from outside to inside.
- Wrap around the spine and back through D to inside.
- From inside, move through E to outside.
- Wrap around the spine and back through E from inside to outside.
- From outside, move through D to inside.
- Once inside, move through F to outside.
- Wrap around the spine and back through F to outside.
- From outside, move through D to inside.
- Skip across and back into A.
- When you reach A, pause.
- Open the book at the half mark. Exit the needle in the middle half of the book next to the original extra bit of thread. DO NOT go all the way through the hole.
- Tie the square knot inside.
- Trim the threads to 1/2″ and make sure they’re side by side.
- Close the book and voila! You’re done!
A video showing just the sewing process is below. Keep in mind, your book will have the front and back covers.
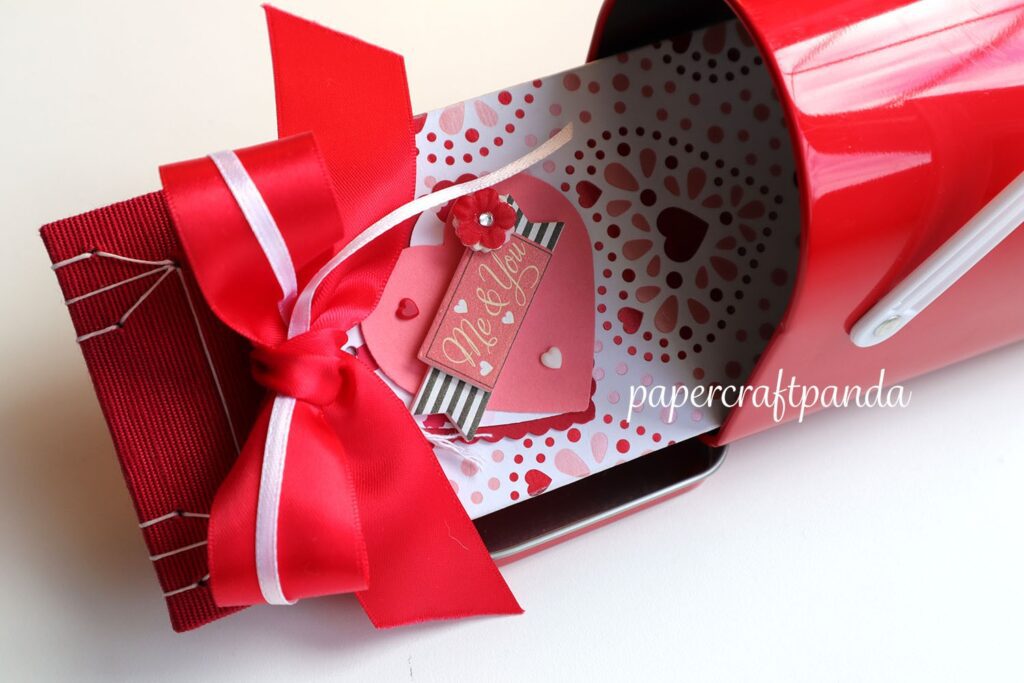
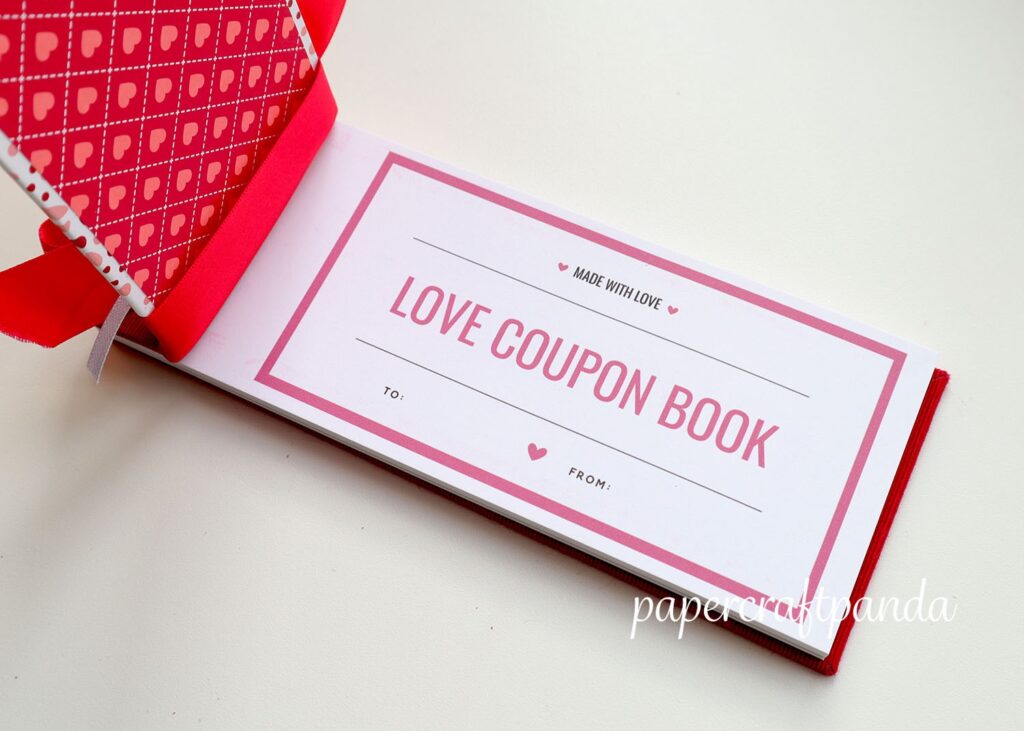
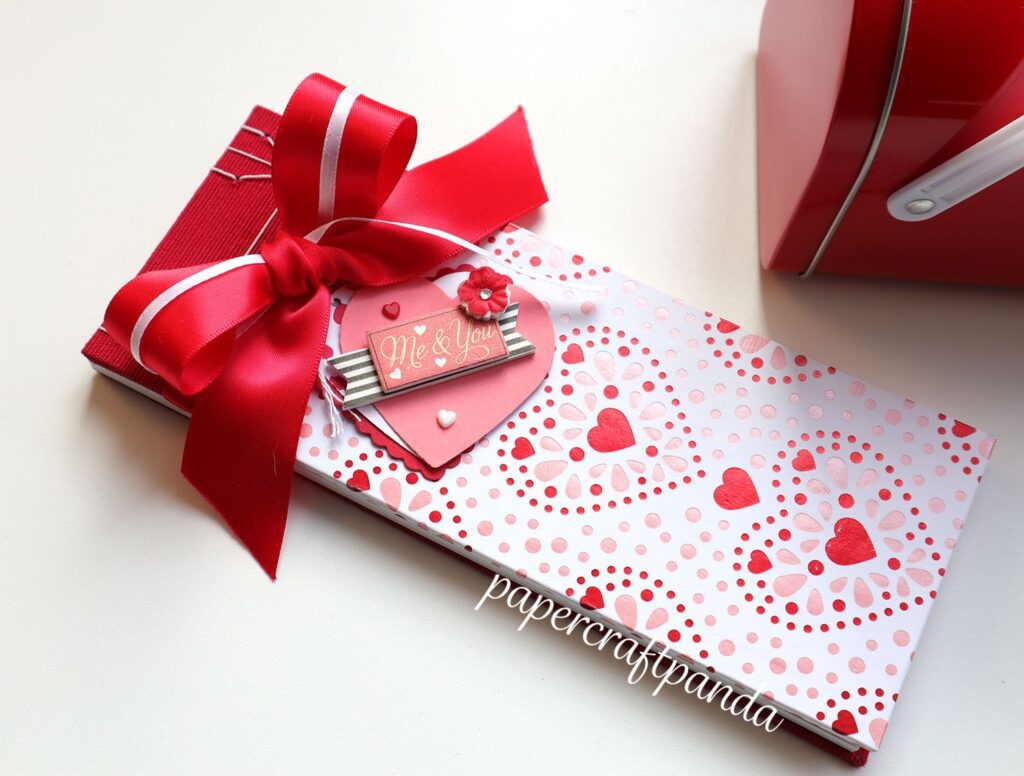
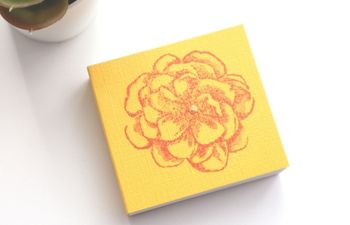
The final project
Here it is – my finished coupon book for couples!
These books have a lot of artistic potential. I can’t wait to see what you create! Good luck, my friend!
Full Tutorial Video: Make an Adorable Coupon Book for Couples using the Japanese Stab Binding Technique
Thanks for checking out this fun tutorial. I hope it gave you some inspiration for your own handmade gift ideas.
More bookbinding goodness
✨ What tools do I need to get started bookbinding?
- Bookbinding Tools & Supplies Quick Start Guide – learn all about book making tools, which to buy first & where to go online
- Pick up my popular Complete Starter Bookbinding Tools Kit – all the bookbinding essentials in one spot
🌟 Looking for a simple way to start making books?
Try a Complete Book Materials Kit. Each one has everything you need (+ tutorials & videos) to make a beautiful book without all the fuss.
Thank you for taking me along on your book making journey!
Misty


