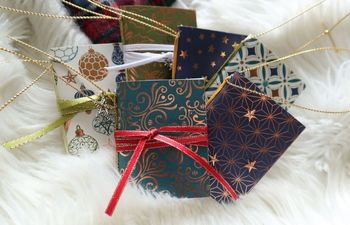
There are plenty of reasons to choose traditional book cloth (durability, flexibility and resilience, to name a few), but there are times when a book needs something…more. Fabric gives us millions of different options to customize our books, but it needs some prep work before it can be safely used to cover a book. In this post, I’ll explain why and show you how to make your own book cloth using Japanese rice paper (known as Unryu).
Moisture barrier
Fabric needs a moisture barrier before it can be used on a book to prevent glue from seeping through the material and onto the cover. Traditional book cloth is either backed with special paper or processed (called “sizing”) to create this waterproof layer. Backing fabric with paper is much easier to do at home, so all we need is a few supplies and the right paper to make it work.
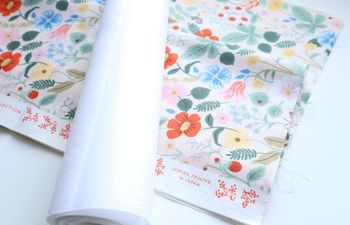
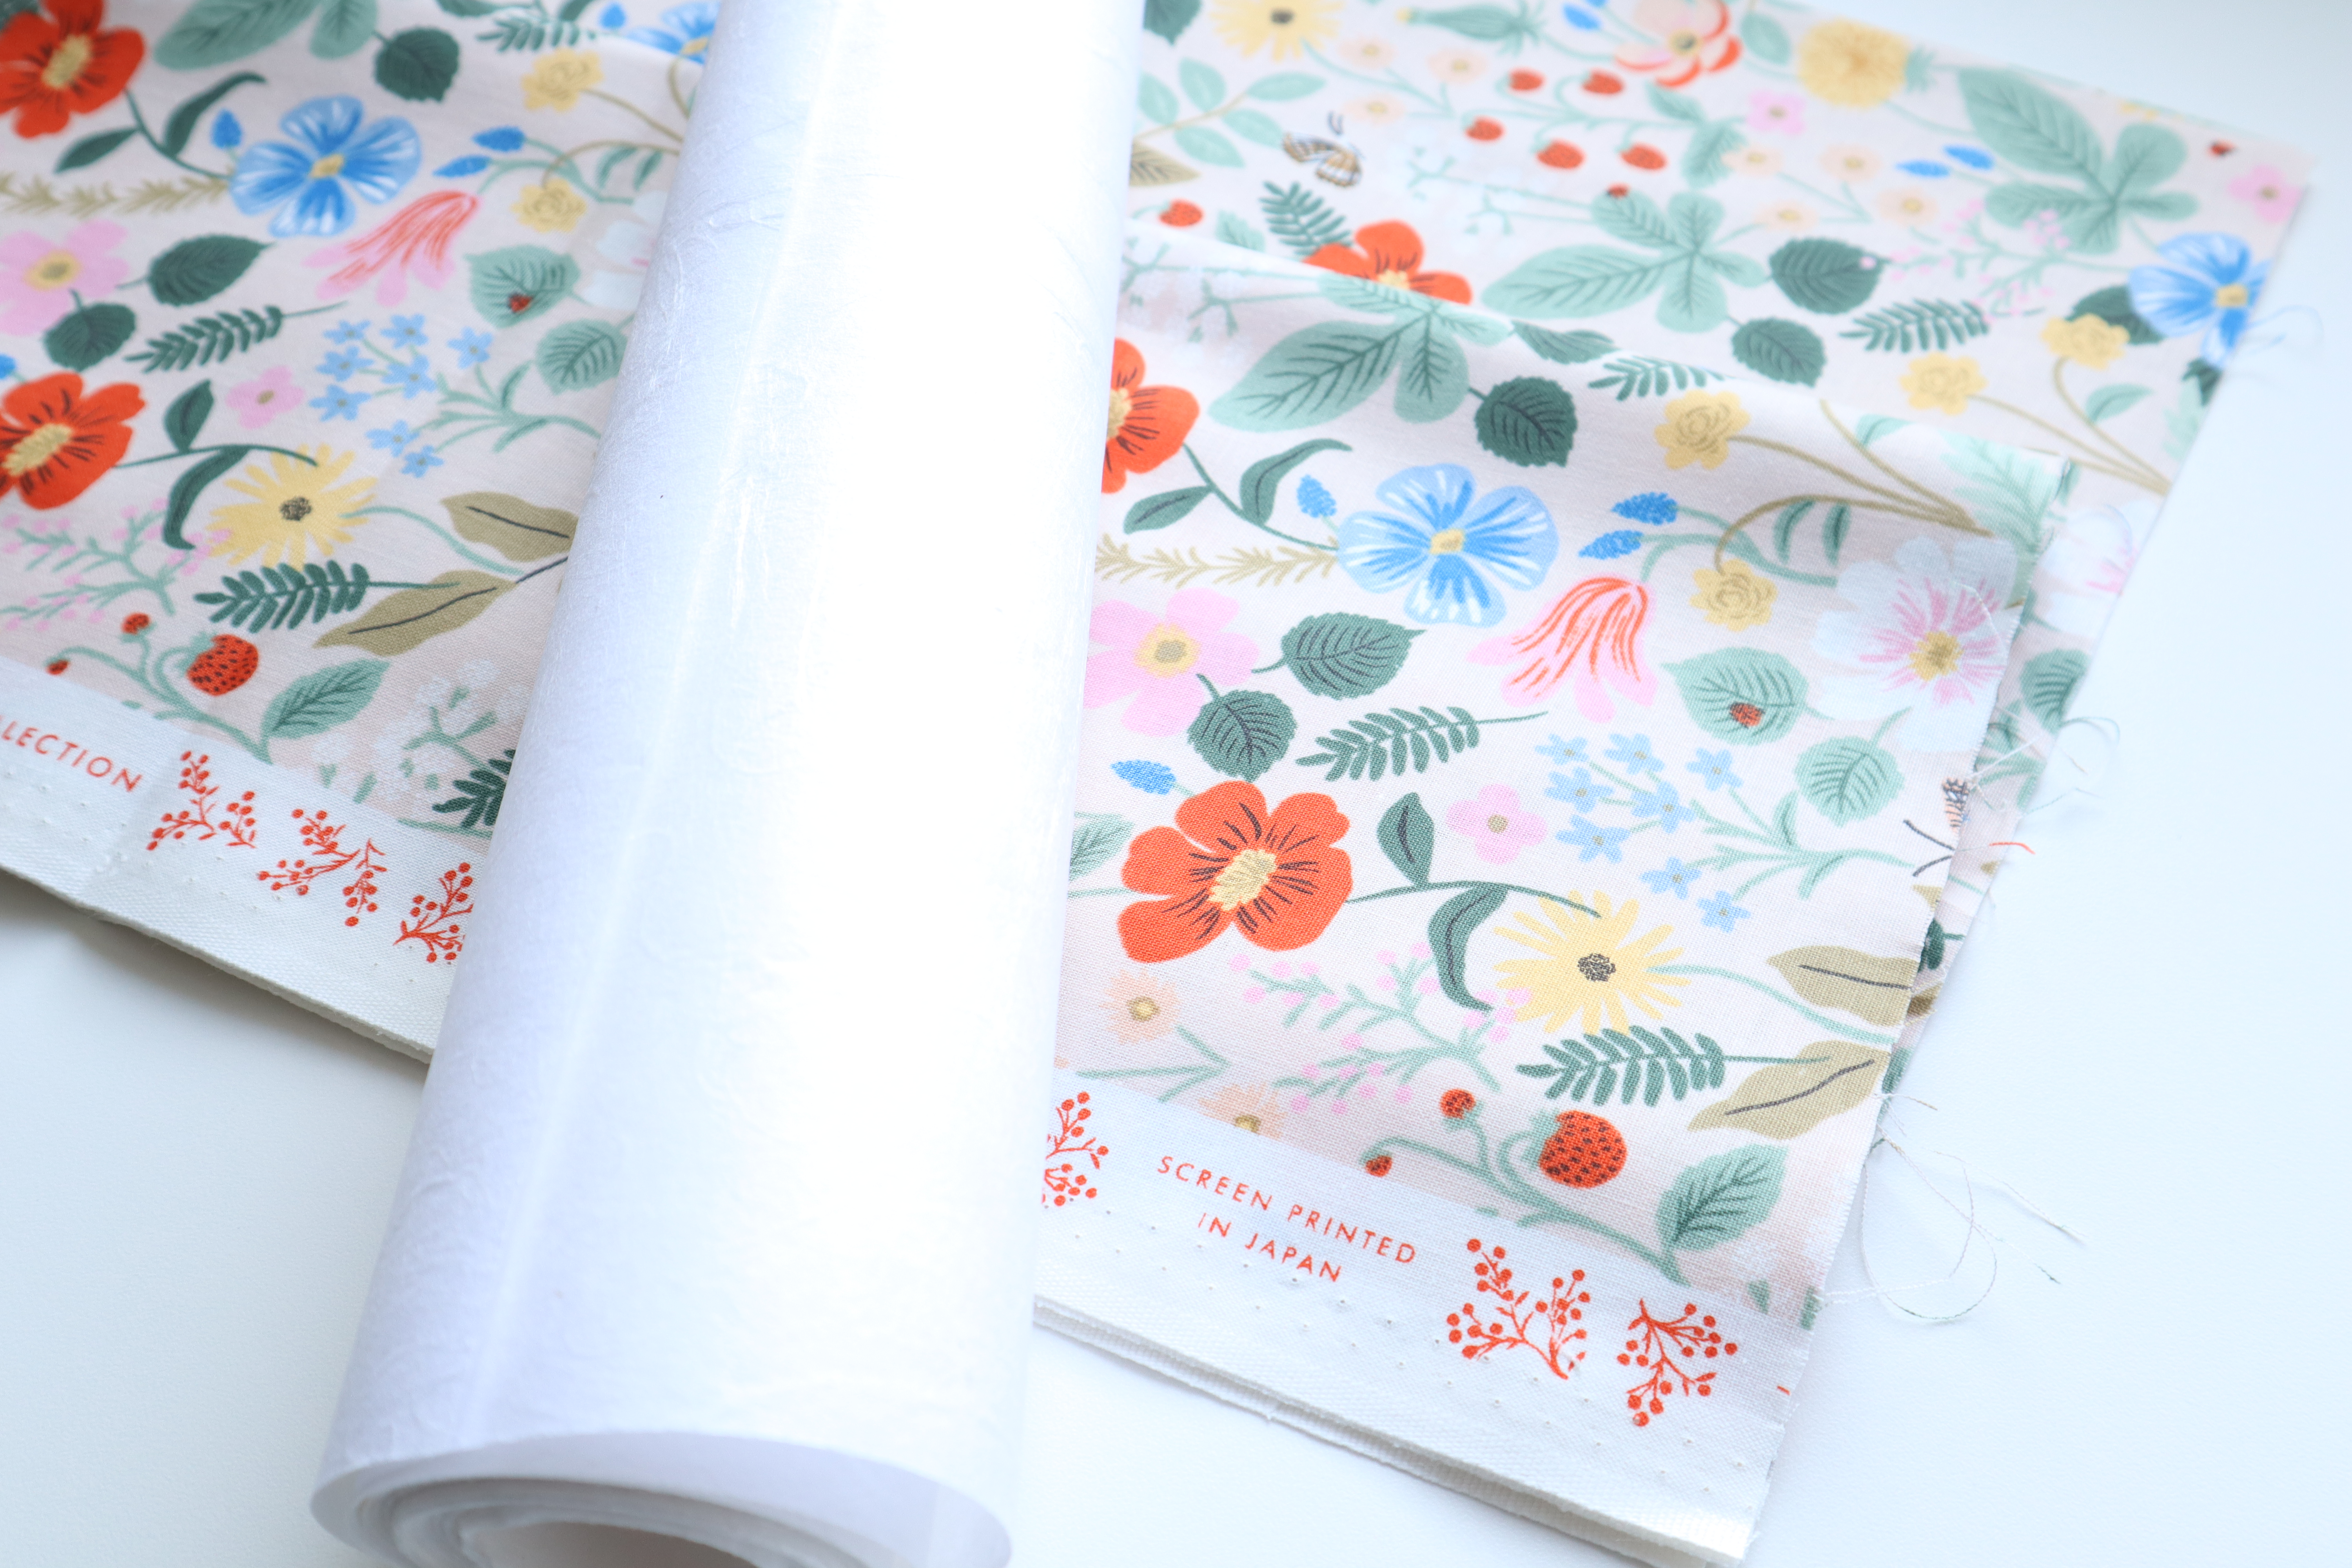
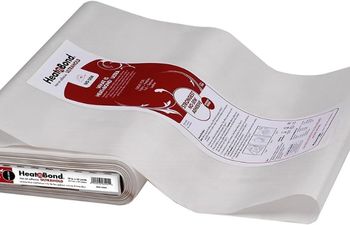
Japanese rice paper (Unryu)
Unryu is an acid-free, tissue weight, handmade rice paper composed of 30% kozo (washi) and 70% sulfite pulp (wood). This combination allows for an almost translucent paper with long, silky fibers that reinforce its strength. It’s the perfect paper for backing cloth because it’s incredibly strong without adding bulk.
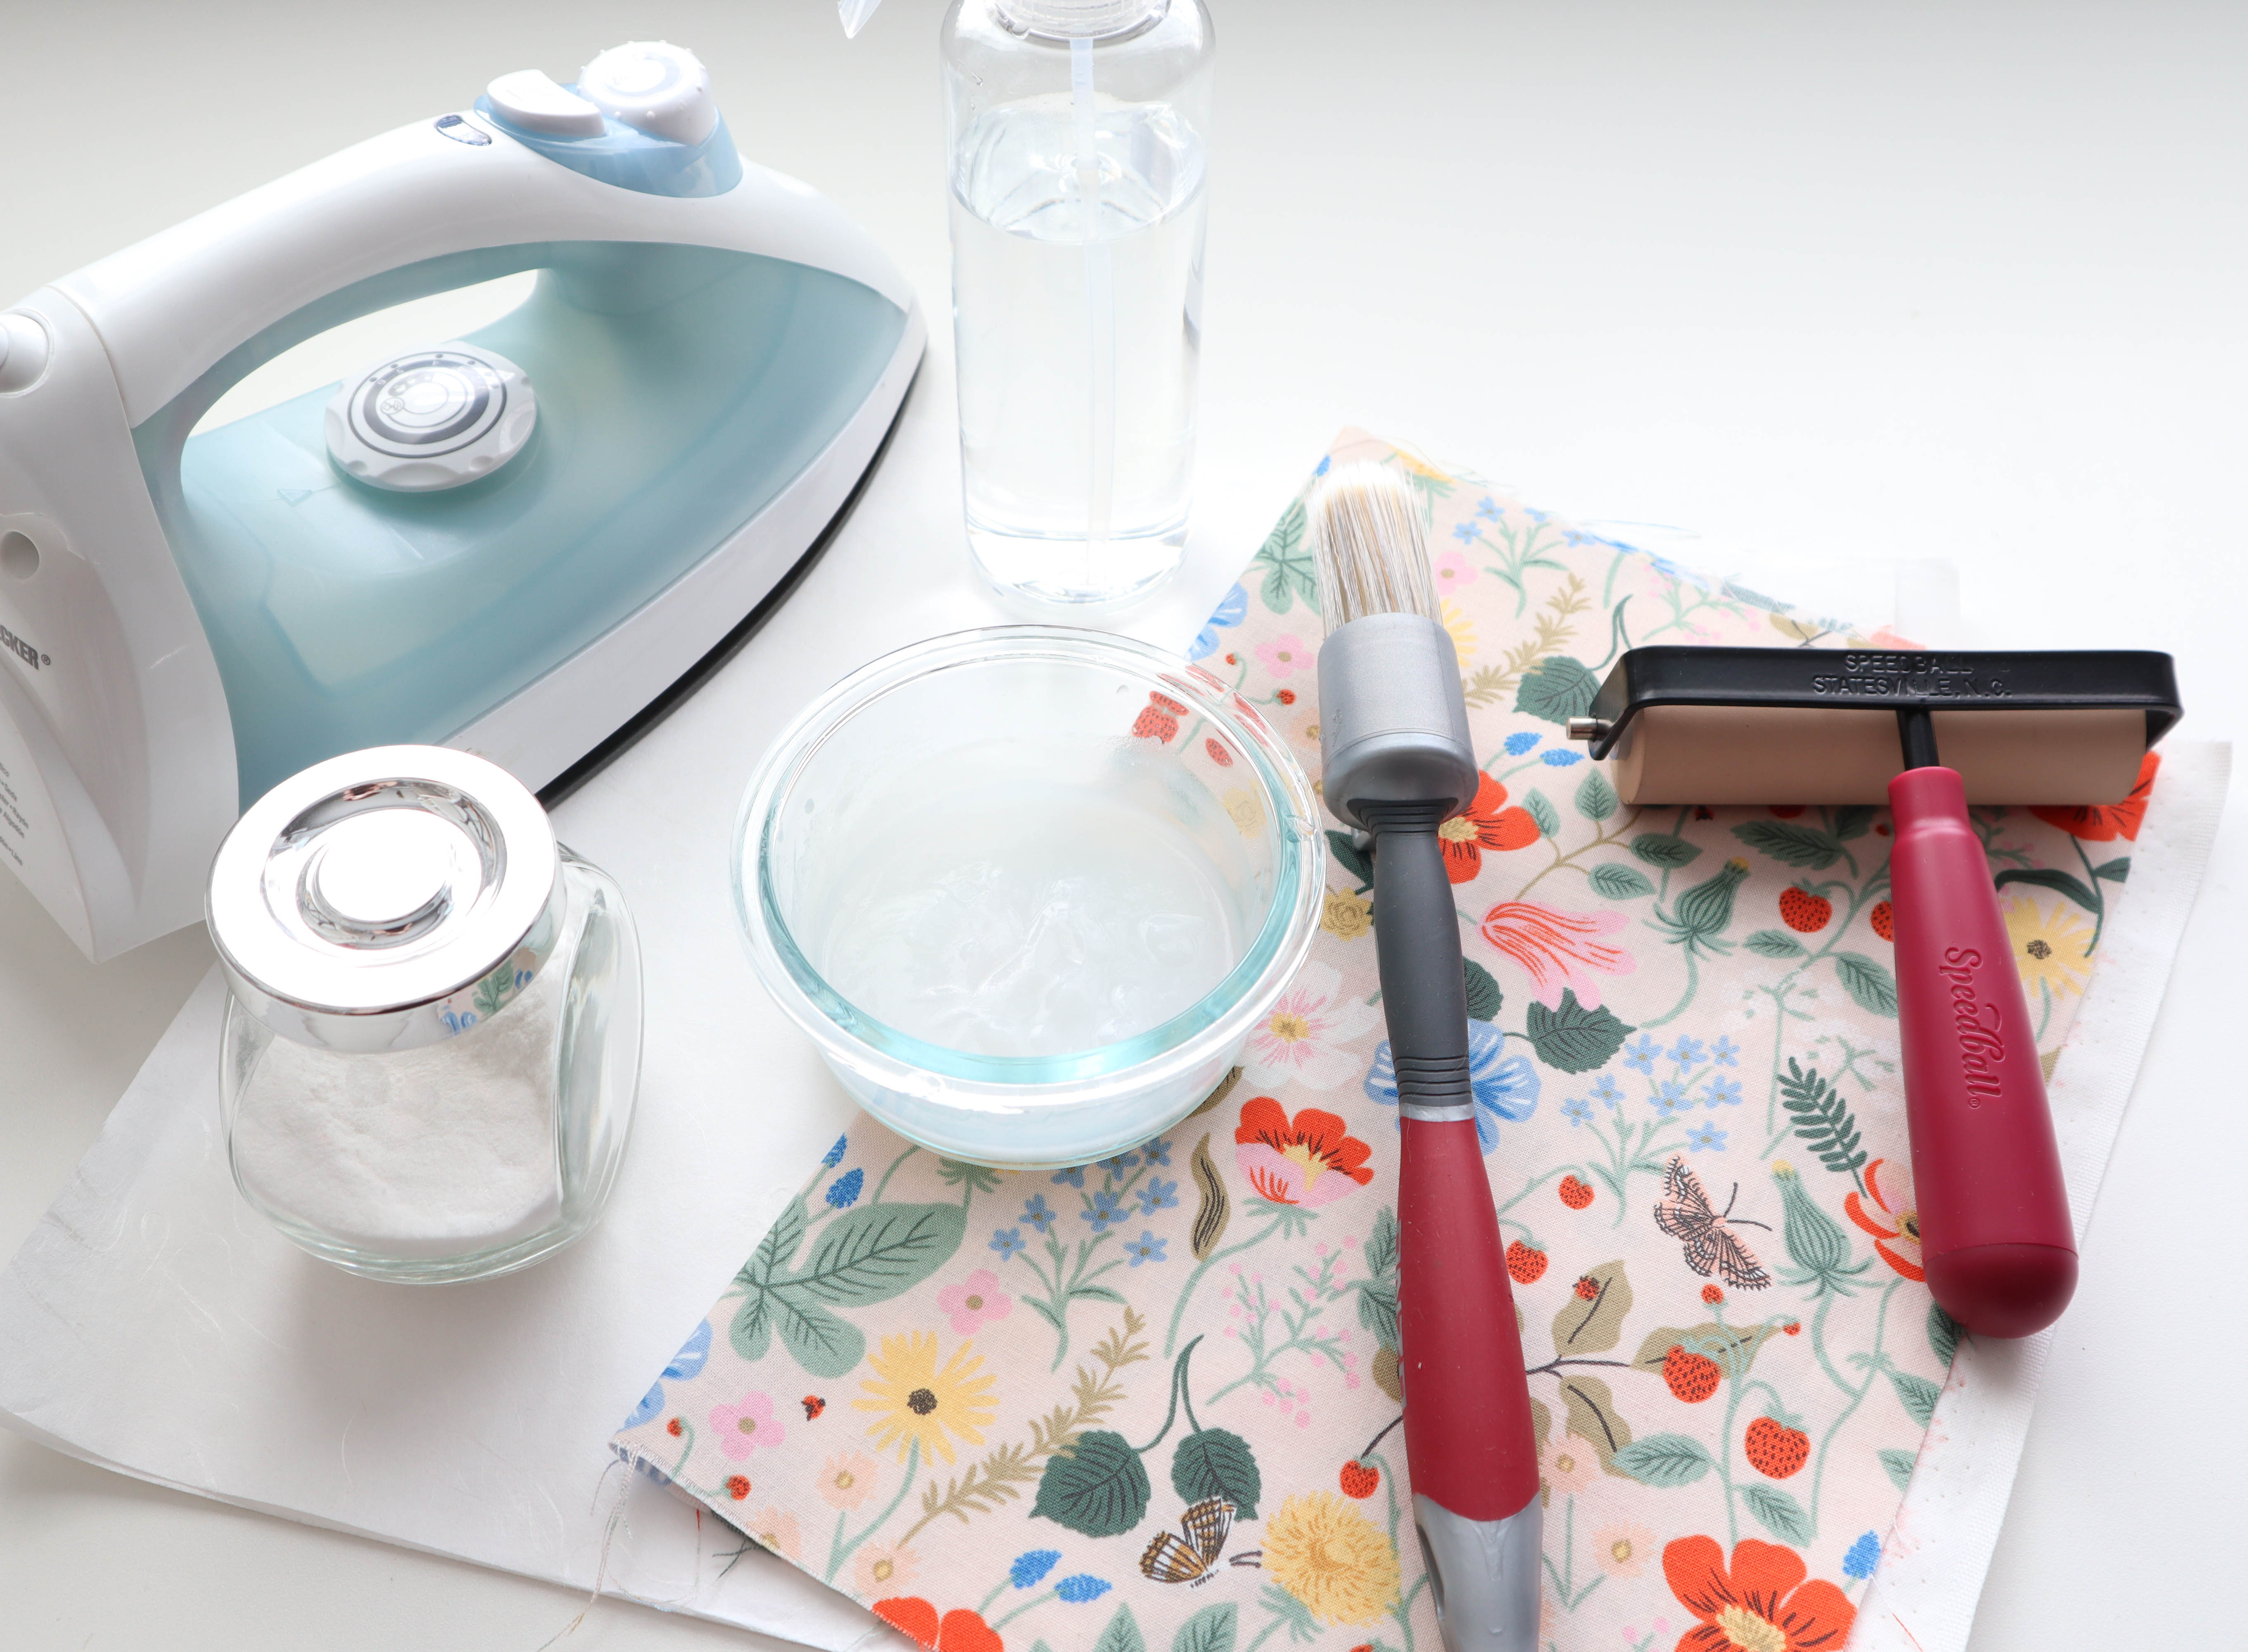
Supplies:
- Glass sheet (I bought shelves from Ikea) or melamine surface that you don’t mind using a utility knife on
- Fabric of your choice (make sure each side is 1″ bigger than what you actually need for your book)
- Roll of Japanese Unryu, cut into pieces that will completely cover your fabric with 1″ overhang
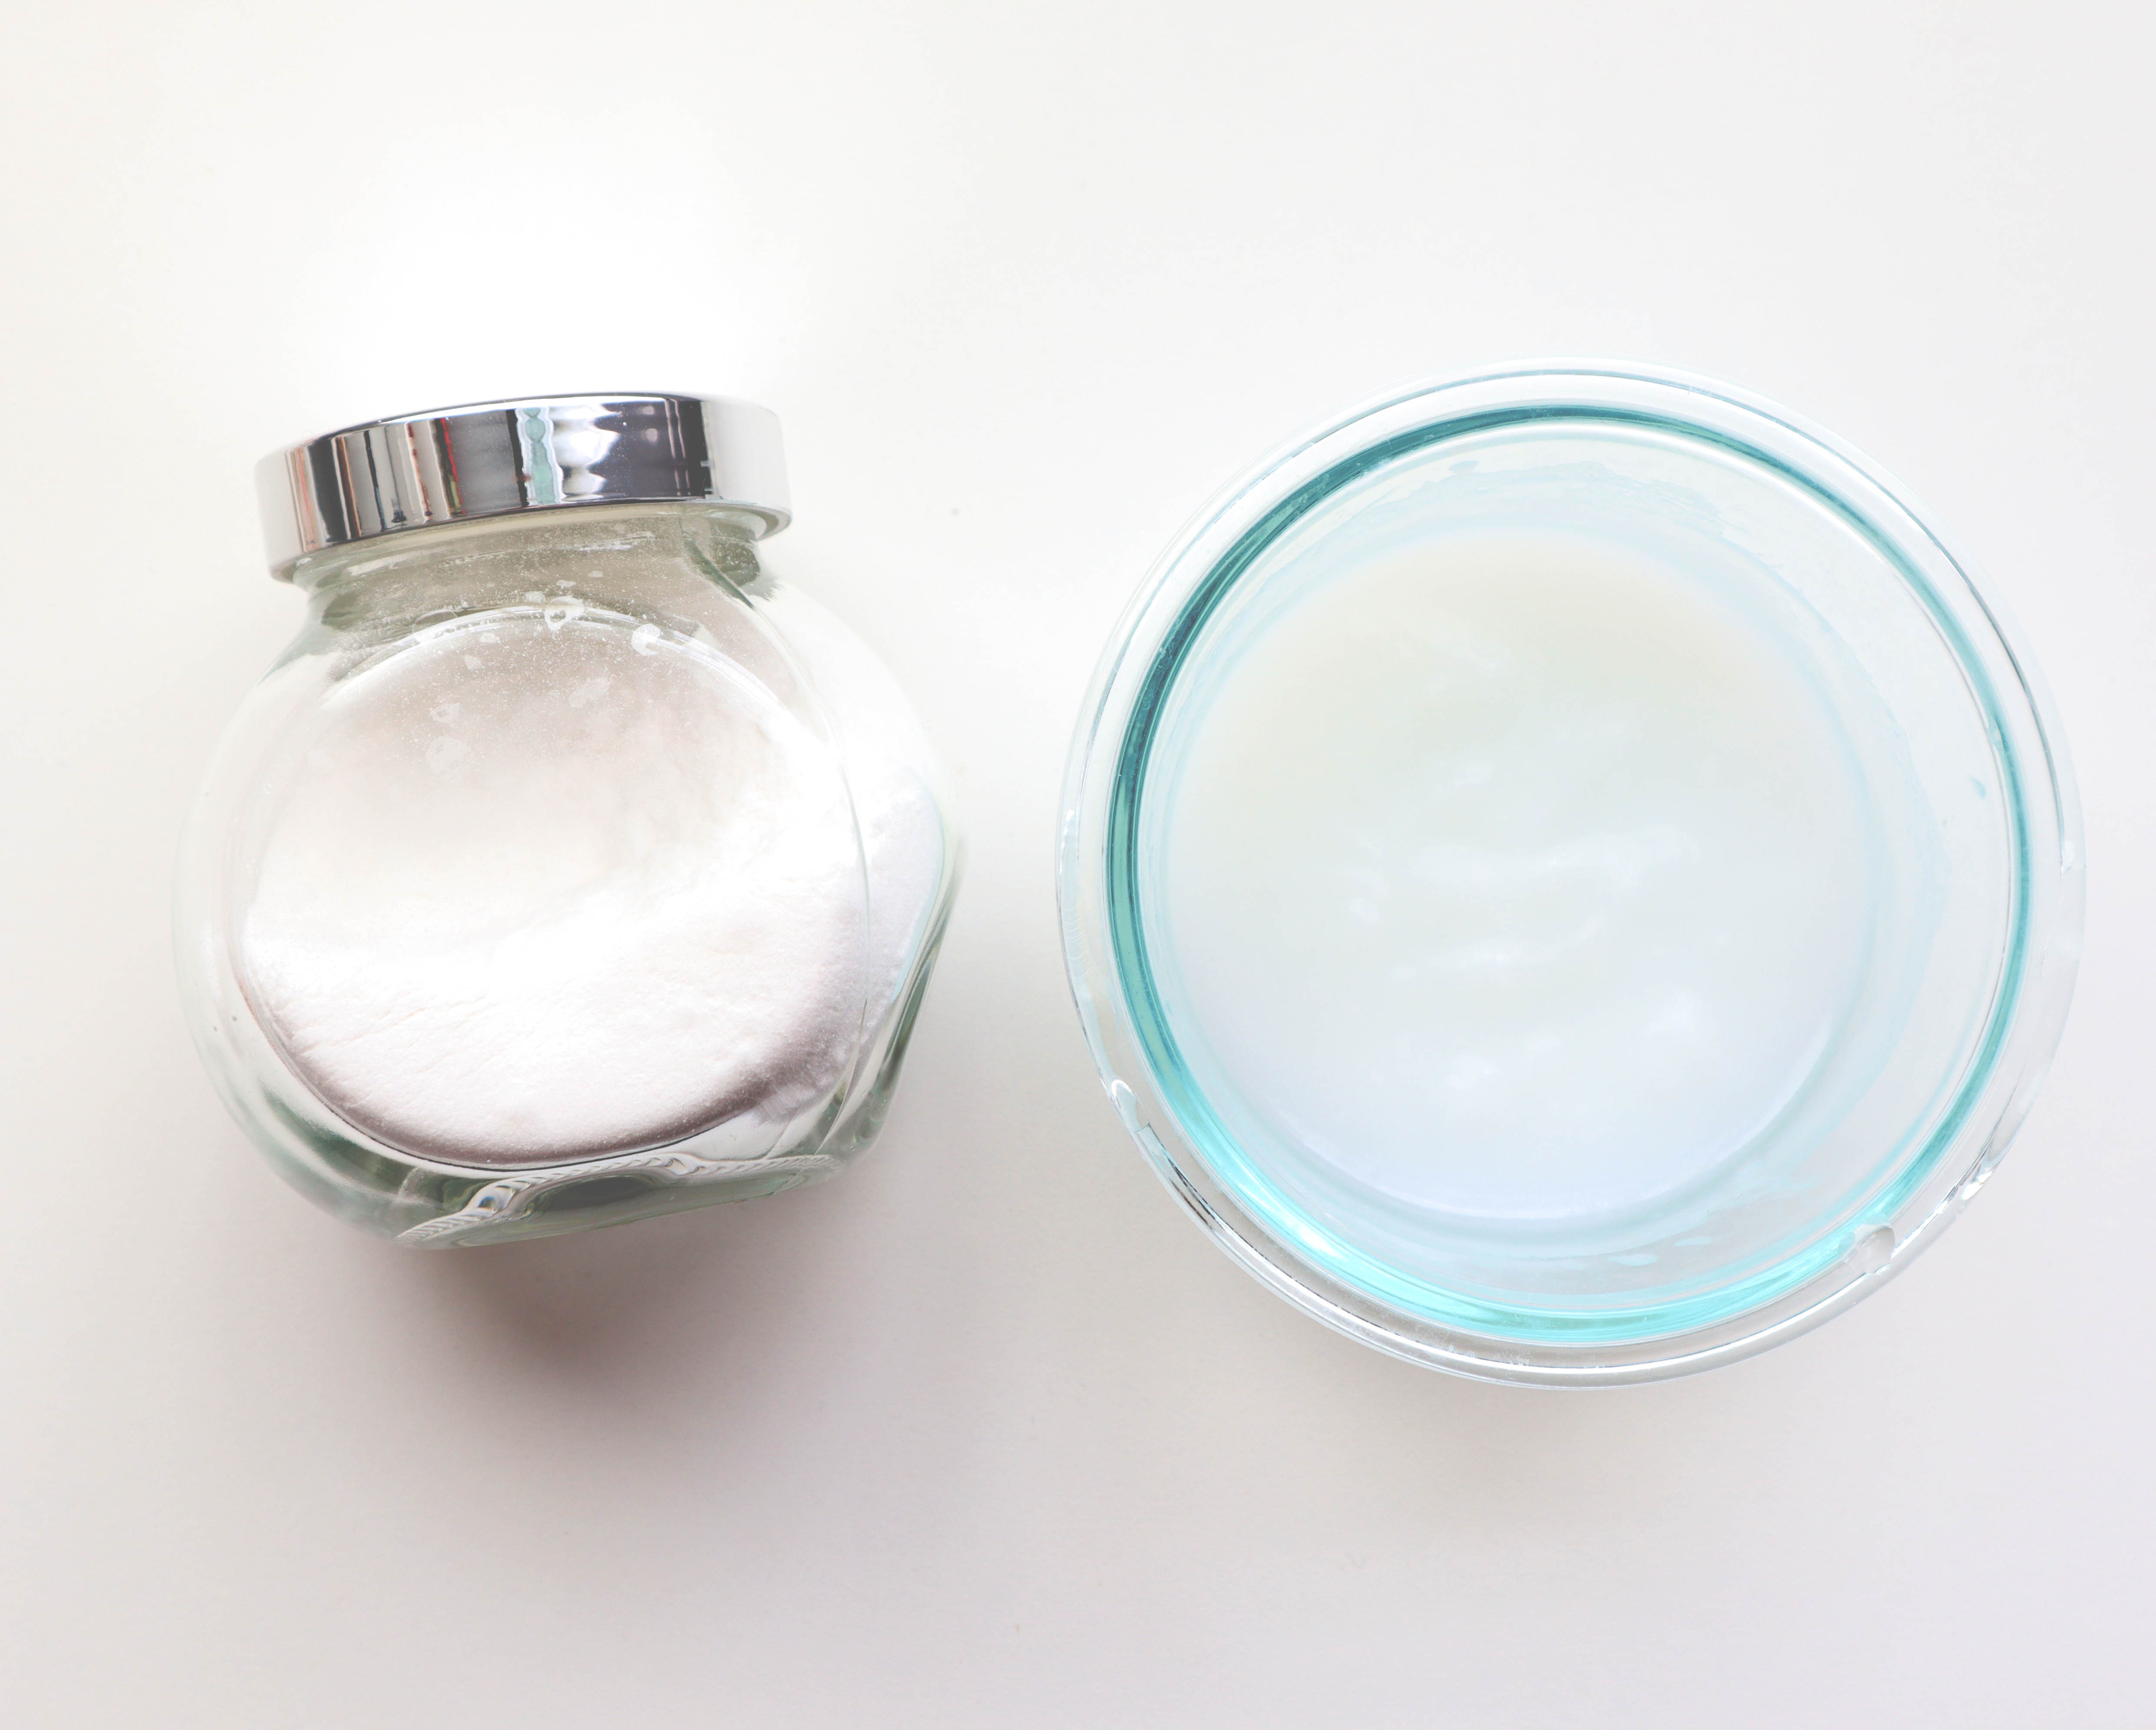
- 1/2 cup wheat paste (cooked or cold)
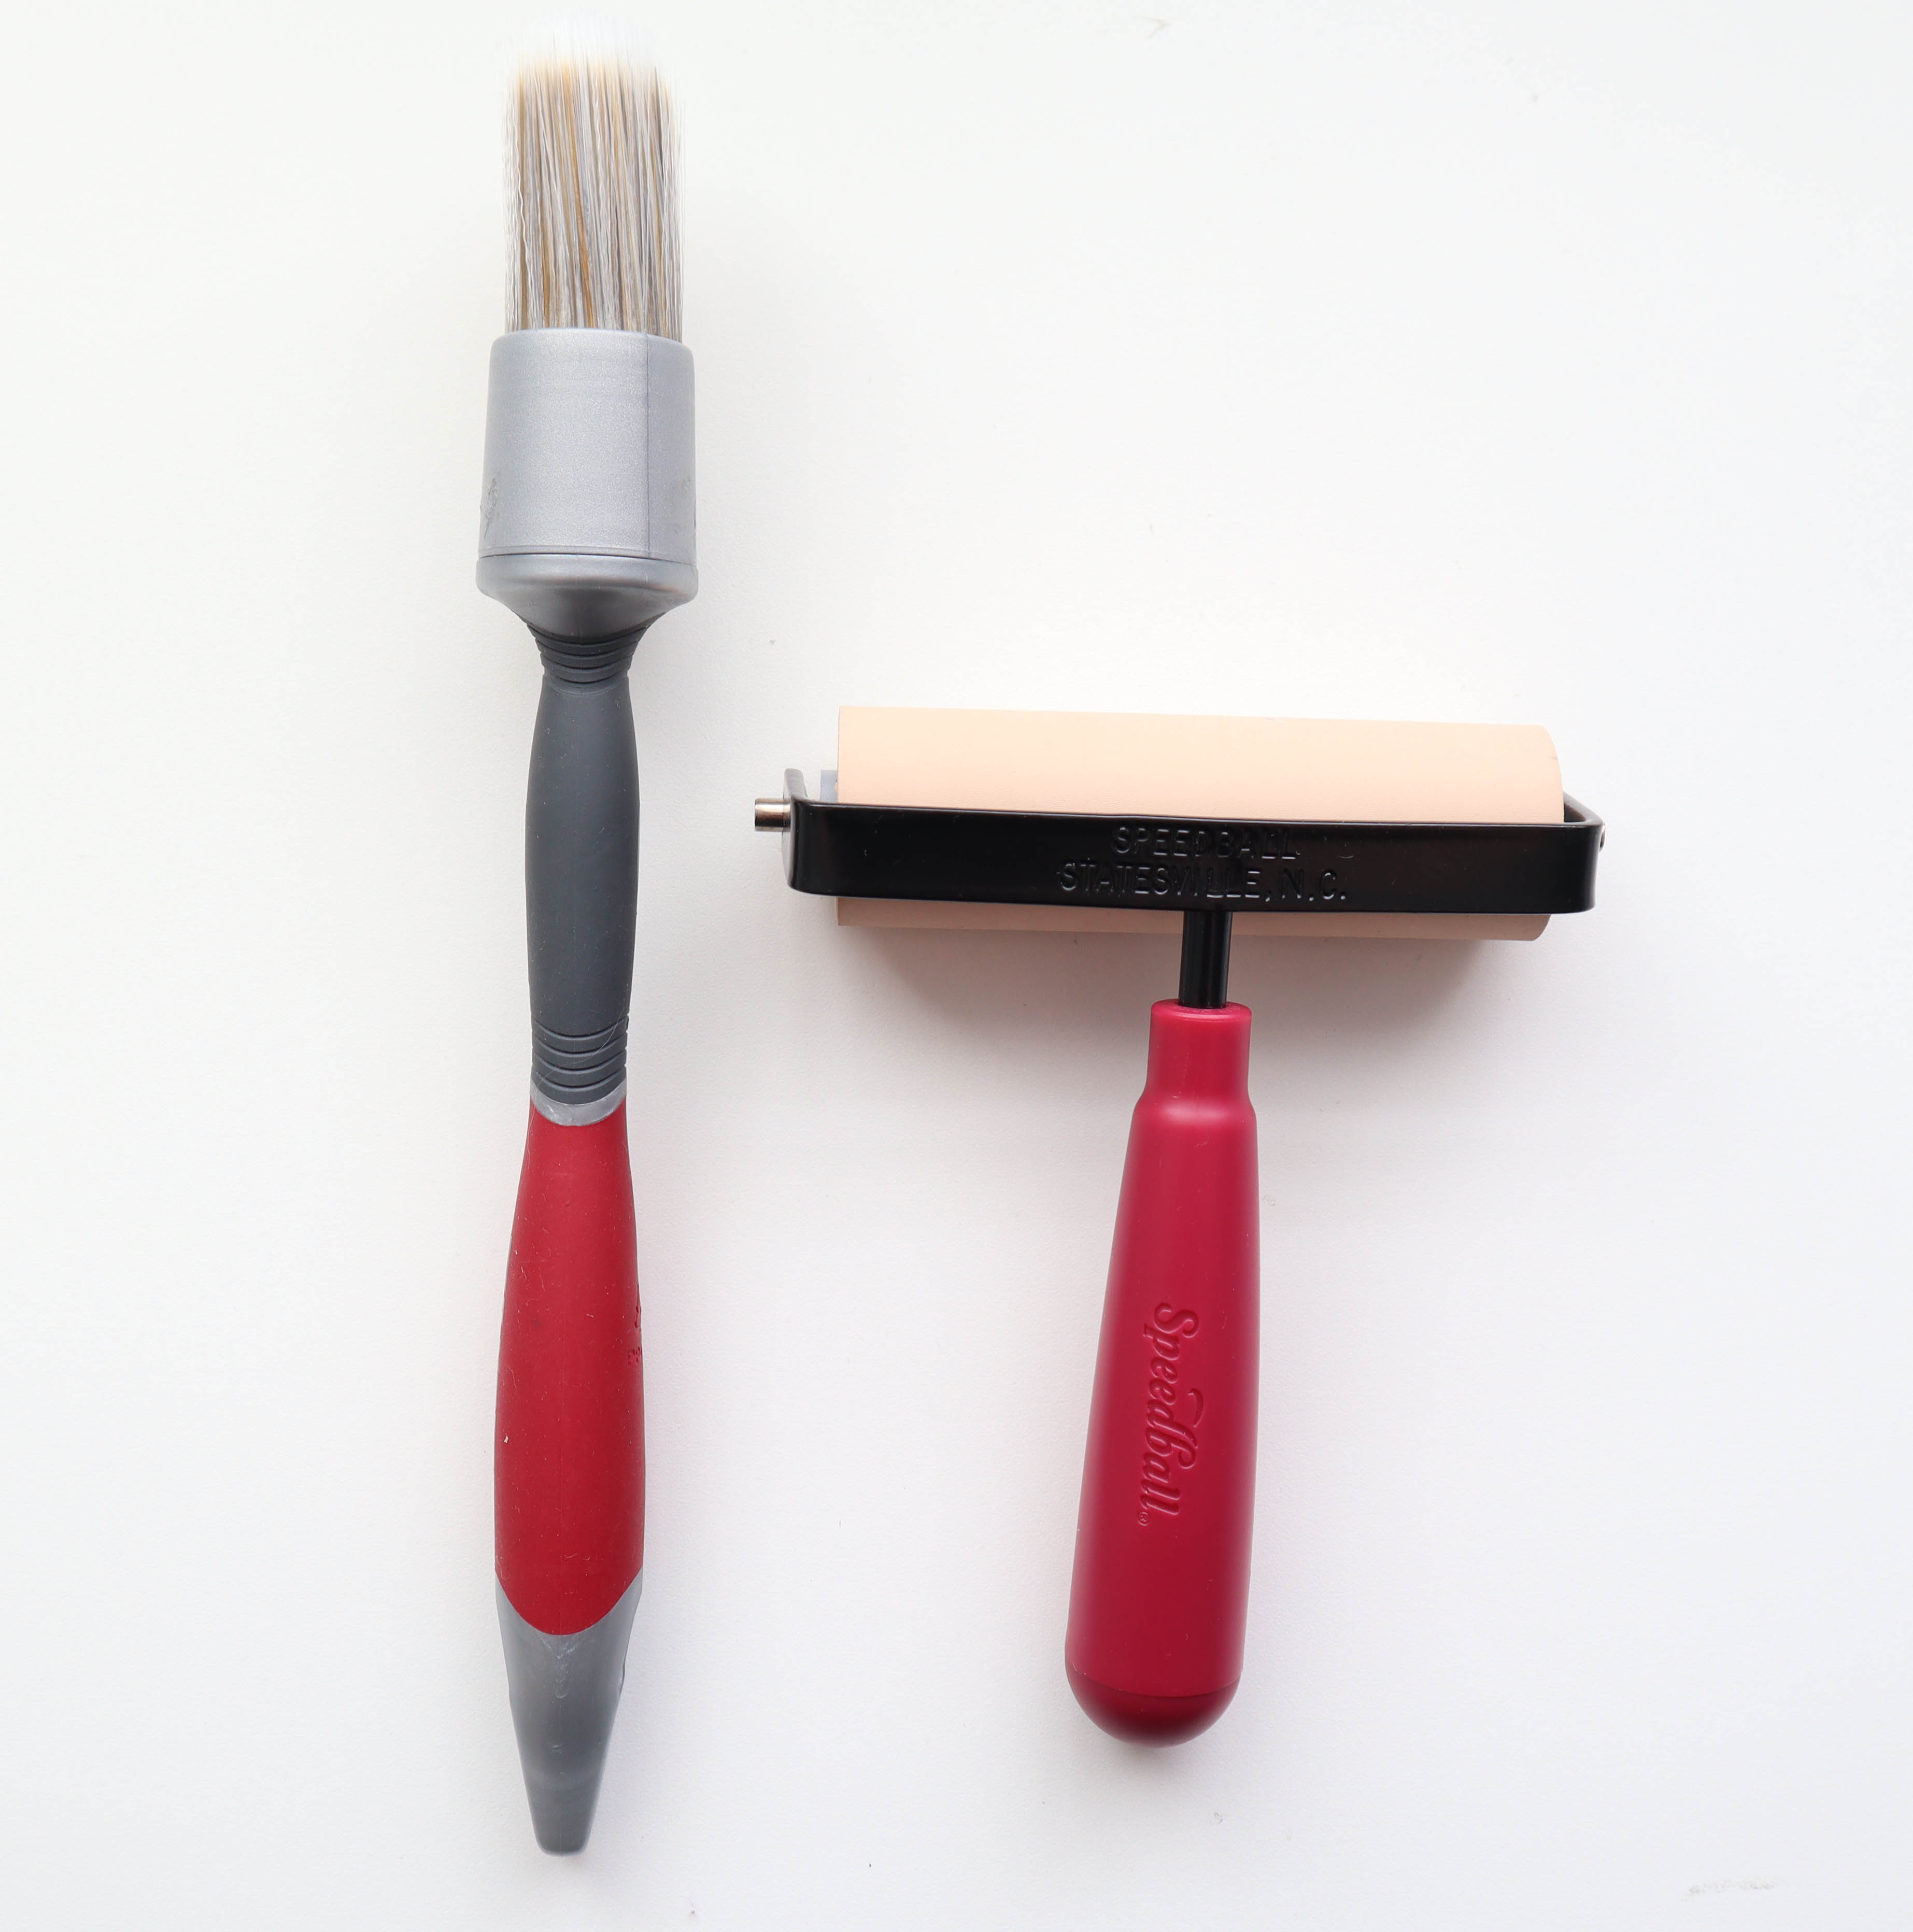
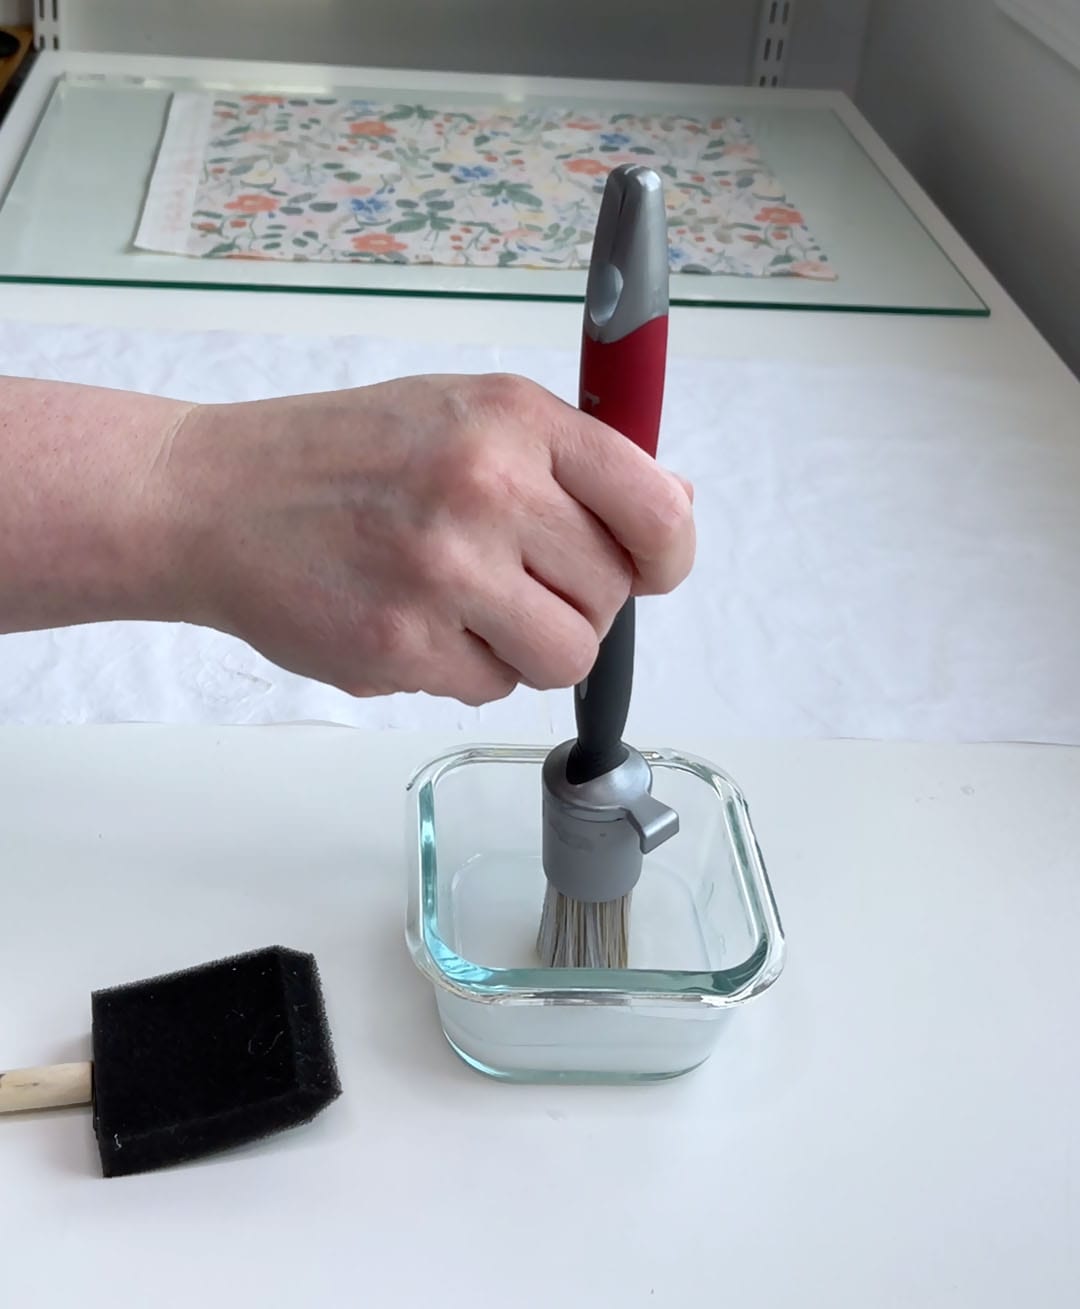
- 30mm round paste brush (I use Anza)
- 6″ soft rubber brayer (I use a Speedball)
- Retractable utility knife (I use an Olfa)
- 18″ metal ruler (I use a Pacific Arc)
- Spray bottle filled with distilled water
- Iron and ironing board
Steps:
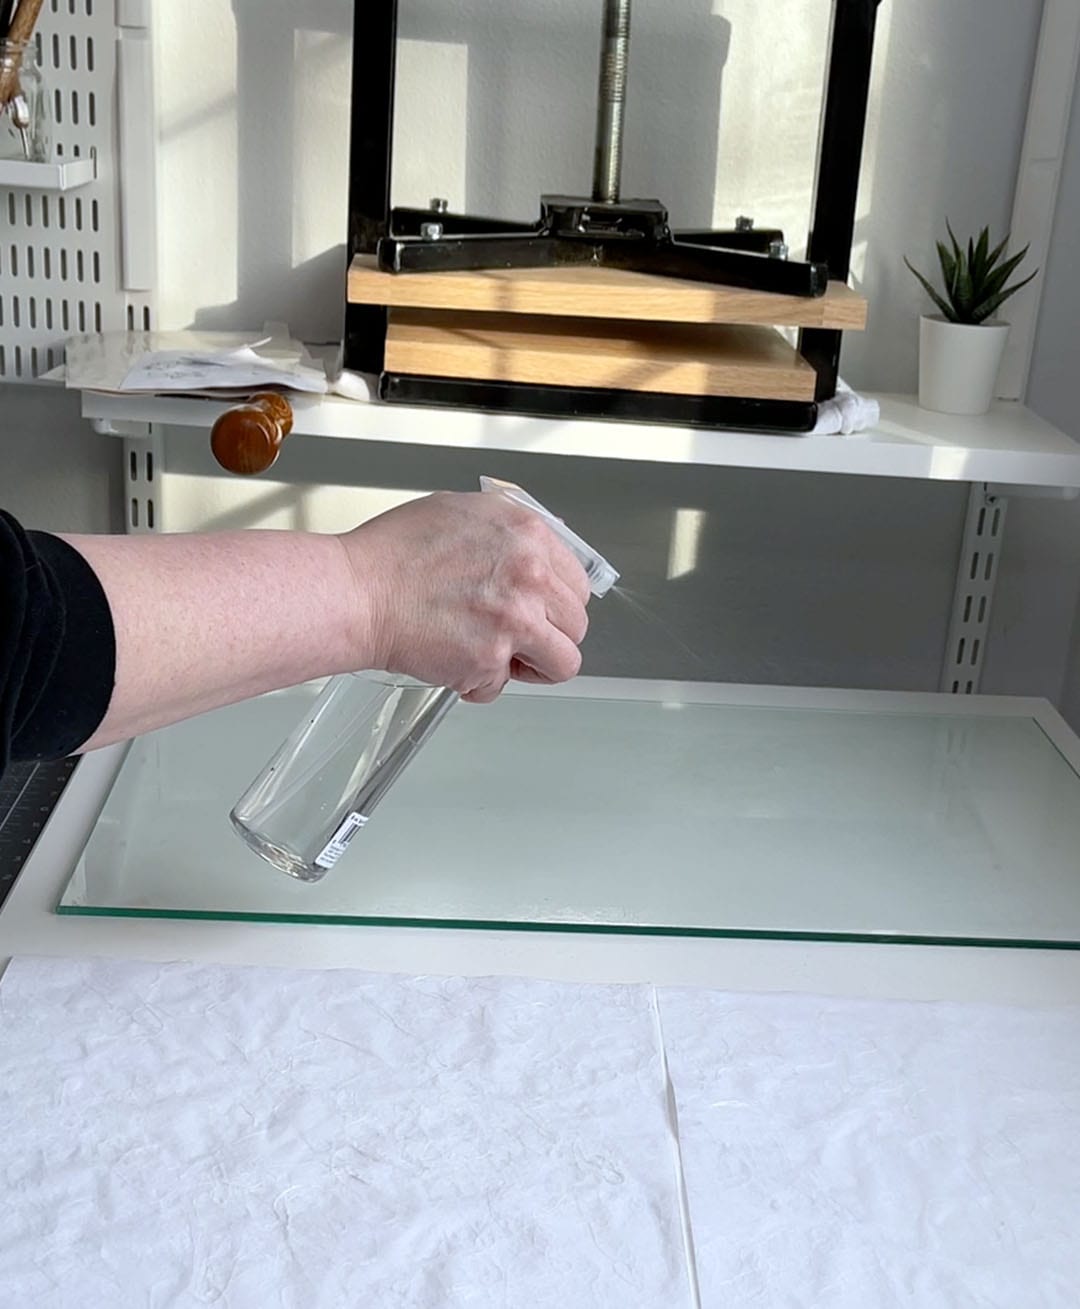
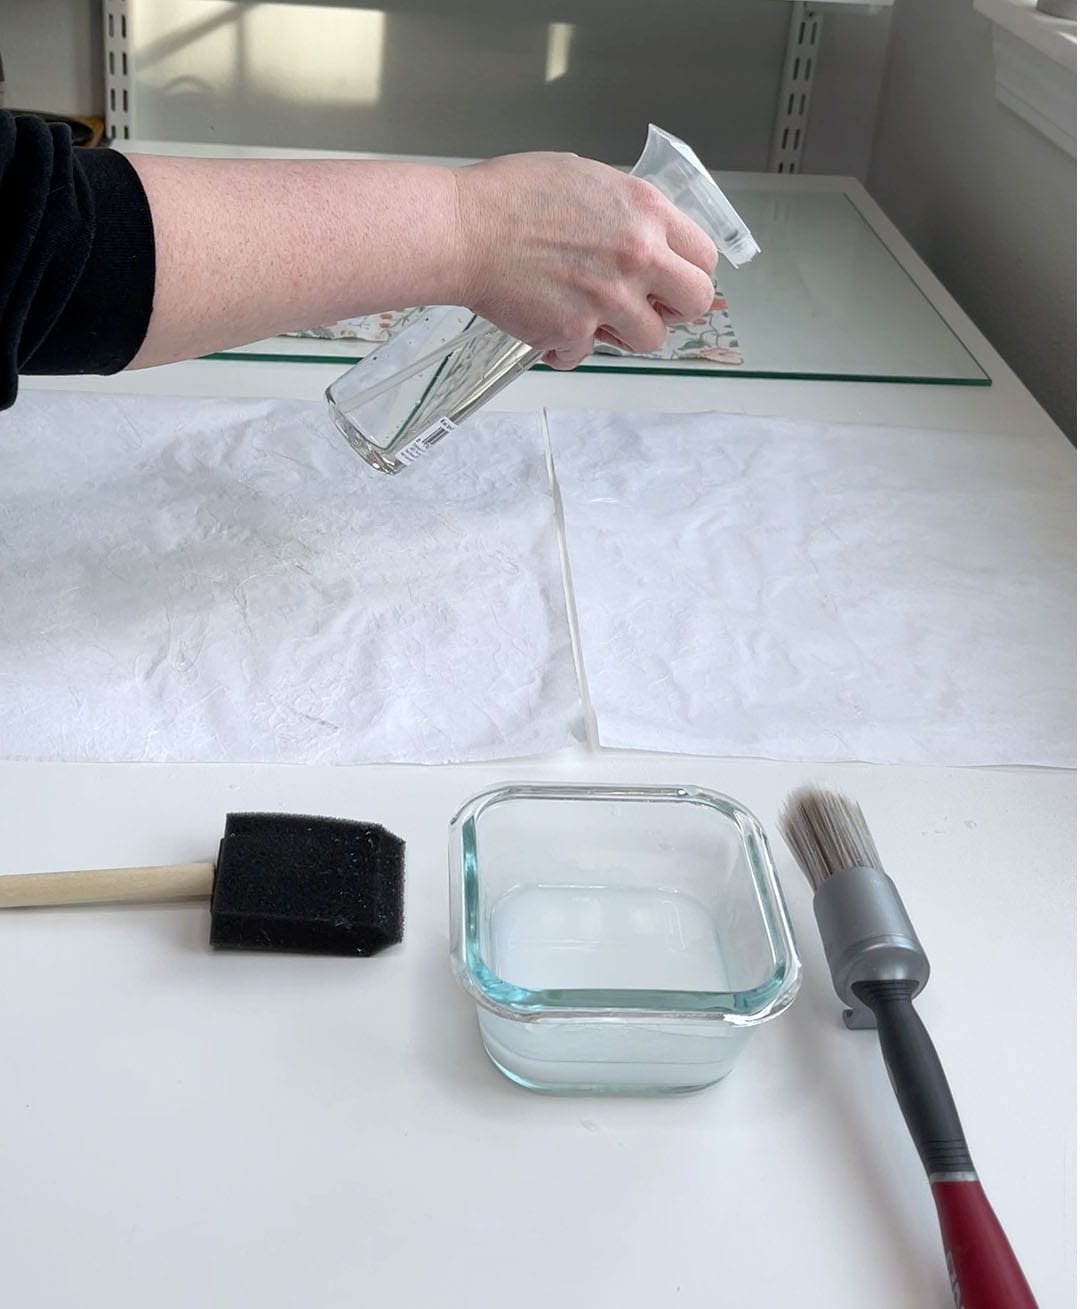
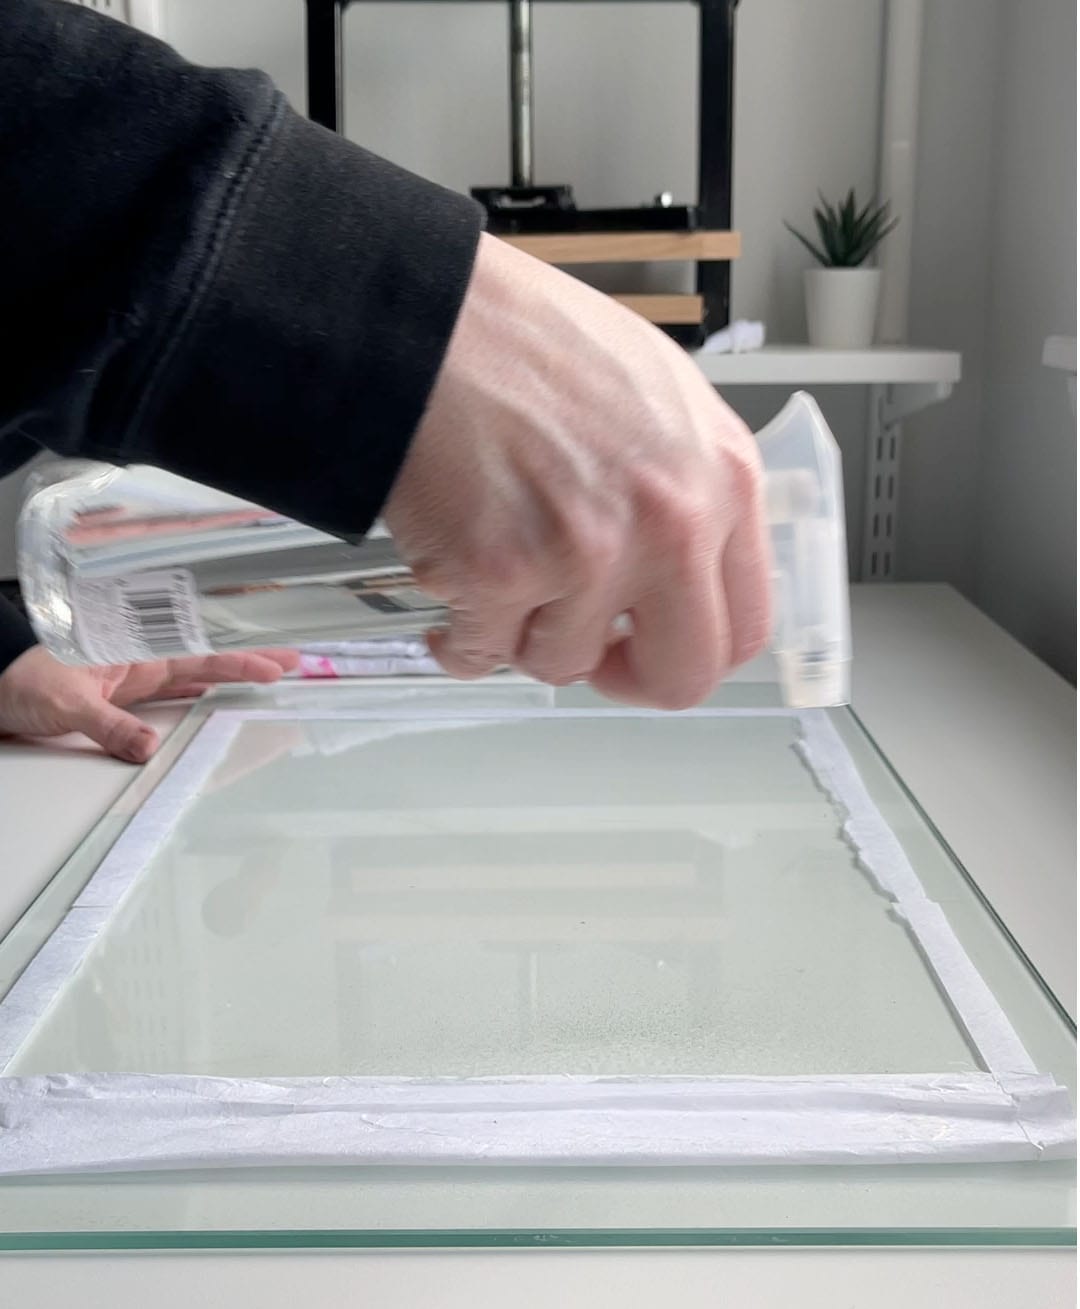
- Lay out the glass sheet on a work table and spray it with a layer of distilled water to make the surface damp
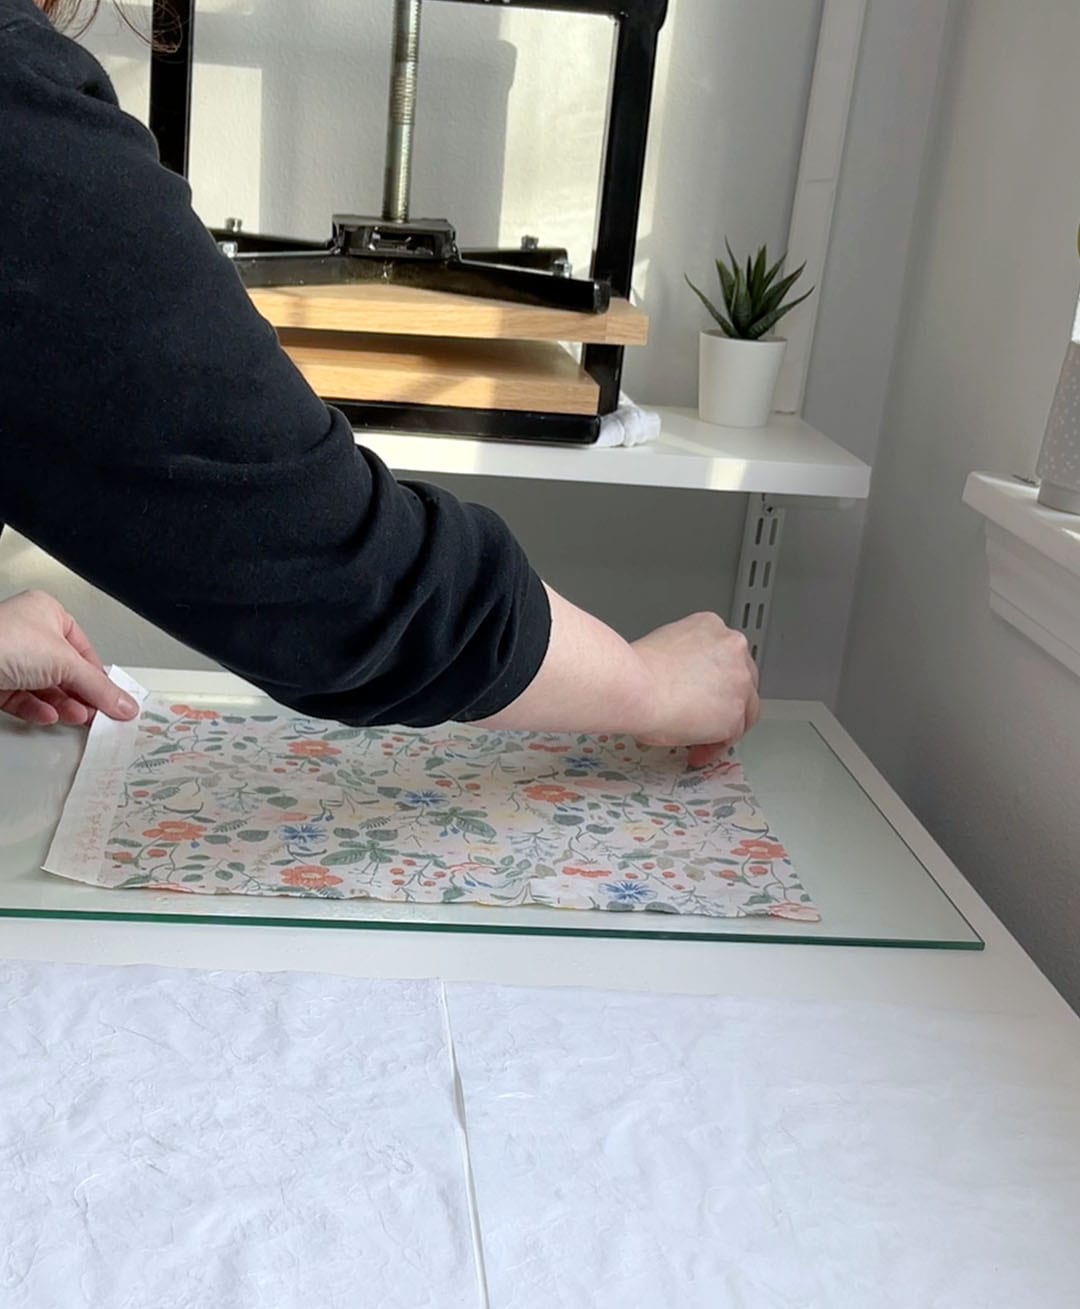
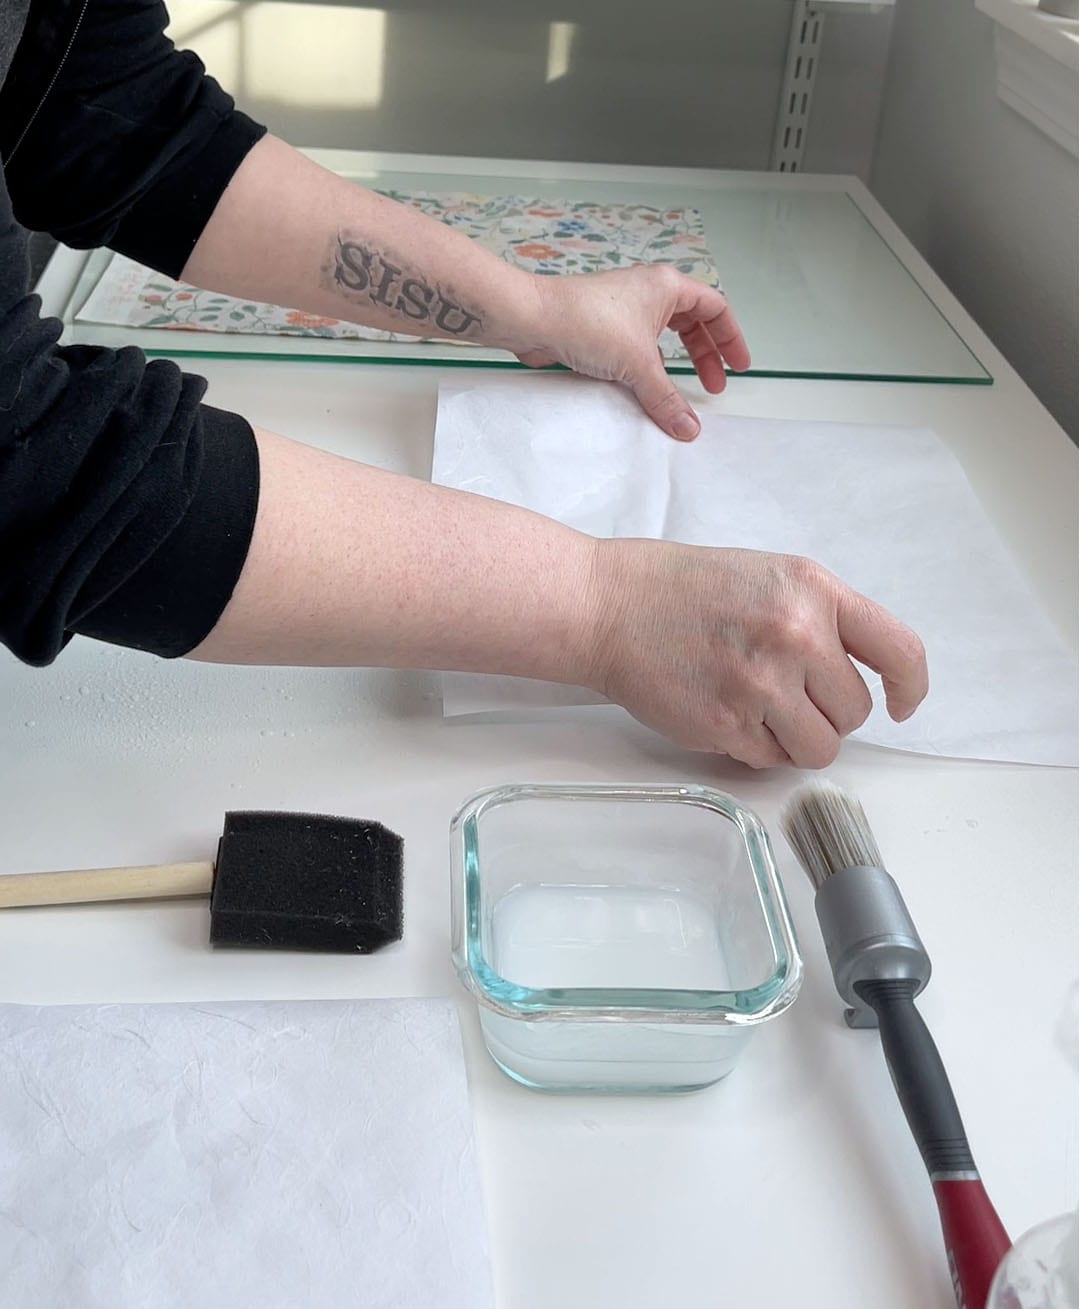
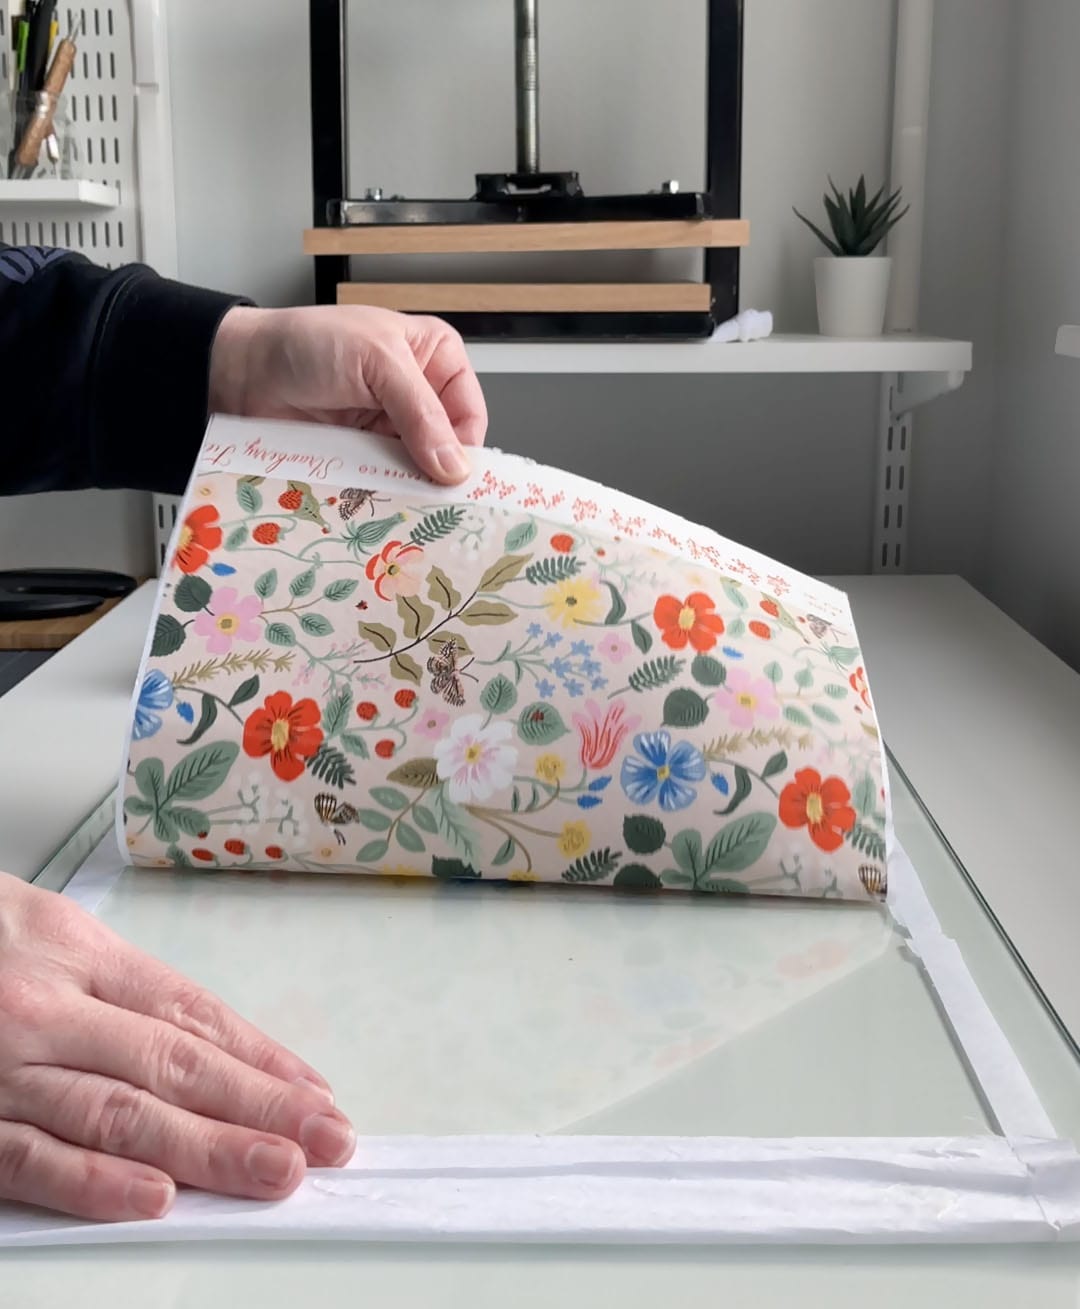
- Lay your fabric on the damp surface, pattern side down (you want the back of the fabric facing up)
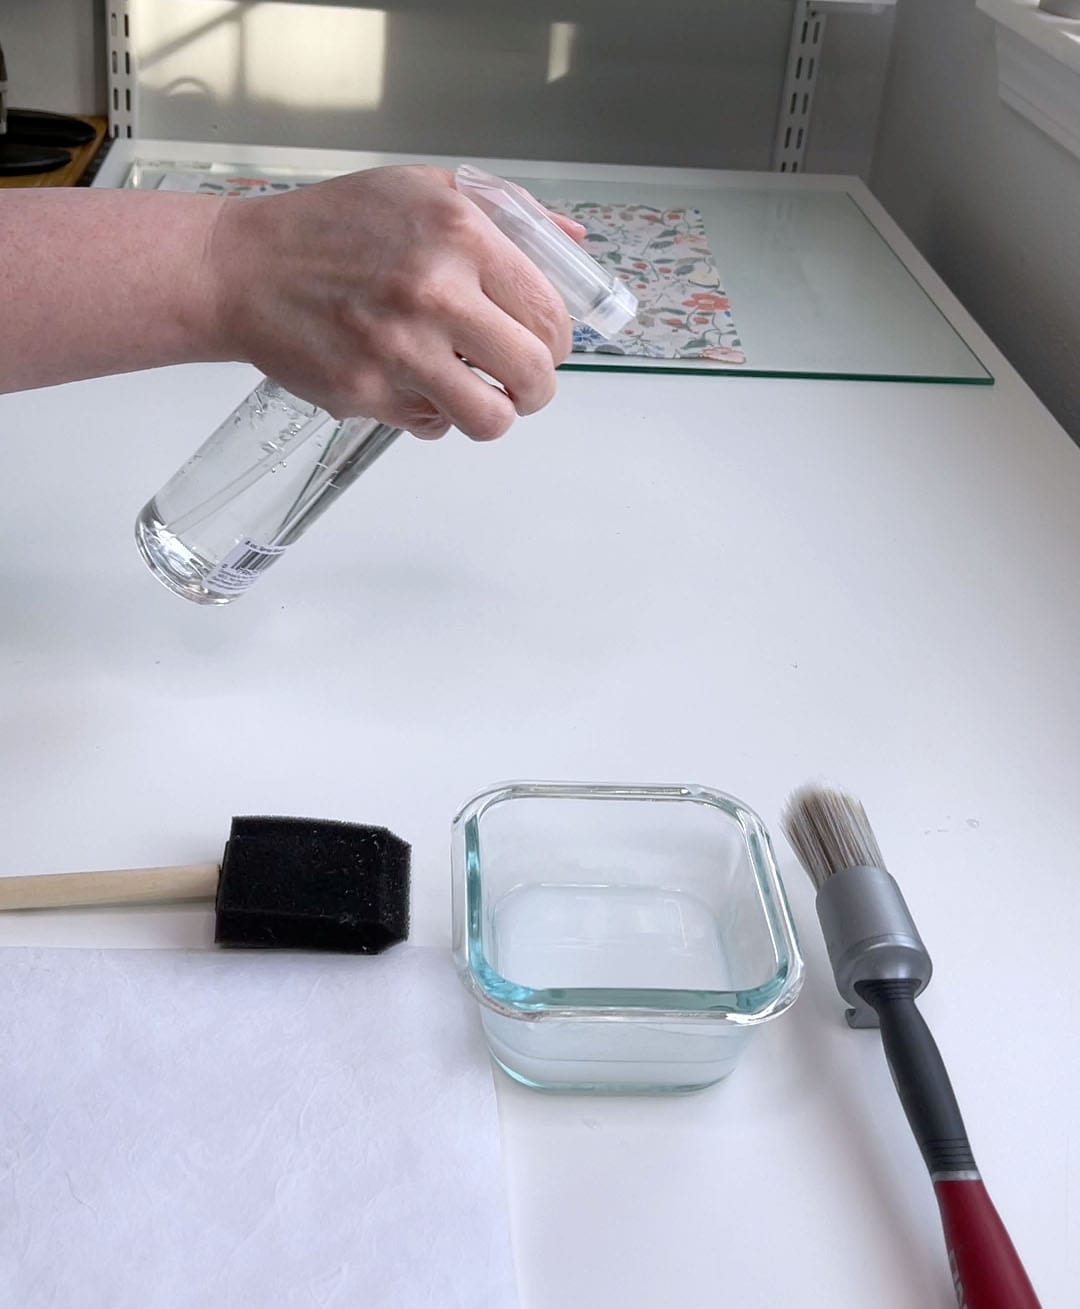
- Spray a layer of water on the table next to the glass sheet. This is where you will prepare the rice paper
- Lay the rice paper down on the wet surface – any side up – this helps the rice paper stay in place
- Spray another layer of water over the surface of the rice paper to make it damp
- Using your brush, gently smooth out the damp rice paper to remove any wrinkles or bubbles

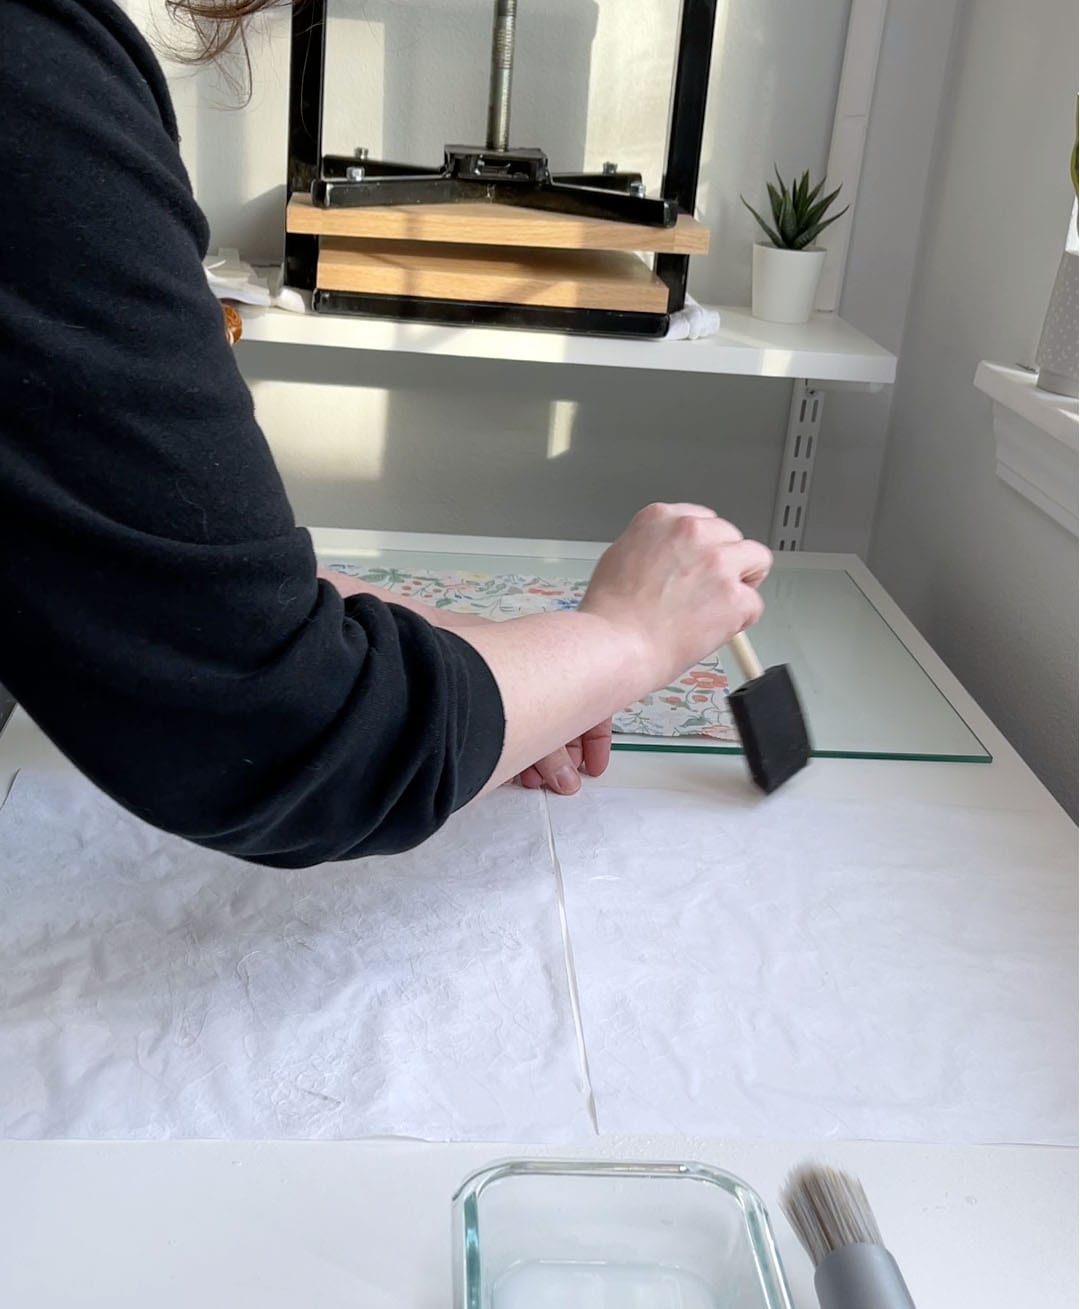
- Dip your brush in the wheat paste and spread the paste across the damp surface of the rice paper. Move from the center of the sheet outward to the edges. This helps move excess air out
- Continue spreading wheat paste until the entire surface of the rice paper is covered. The rice paper will be very damp and floppy now.
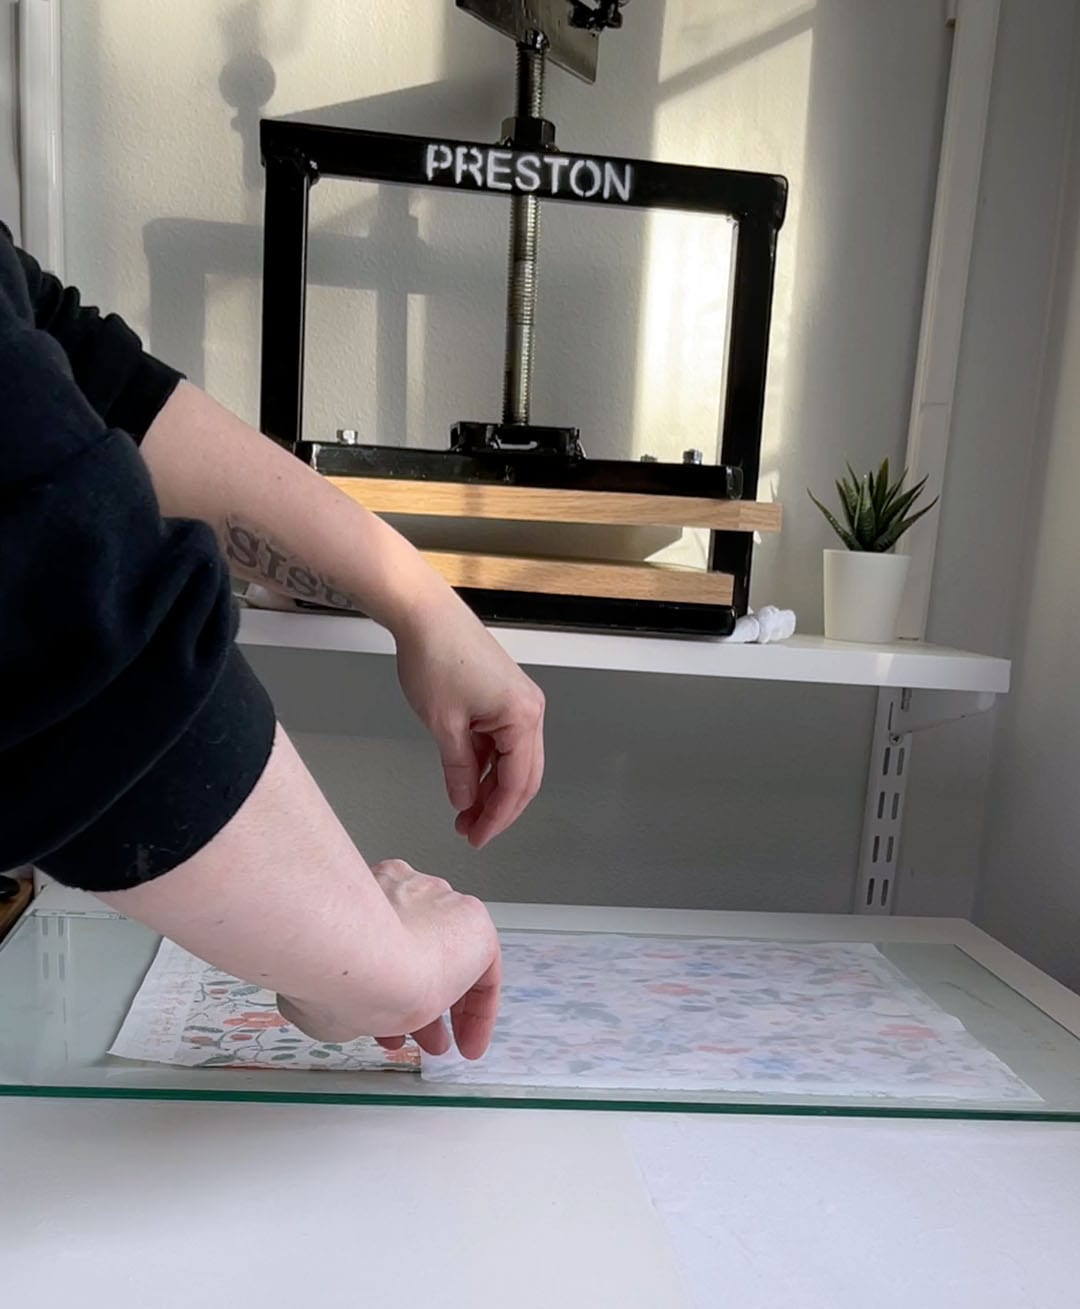
- Gently lift the rice paper with one hand on each top corner and lay it, glue side down, onto the back of your fabric. Be sure to let 1″ of extra rice paper extend beyond the fabric edges. This helps seal the rice paper to the fabric.


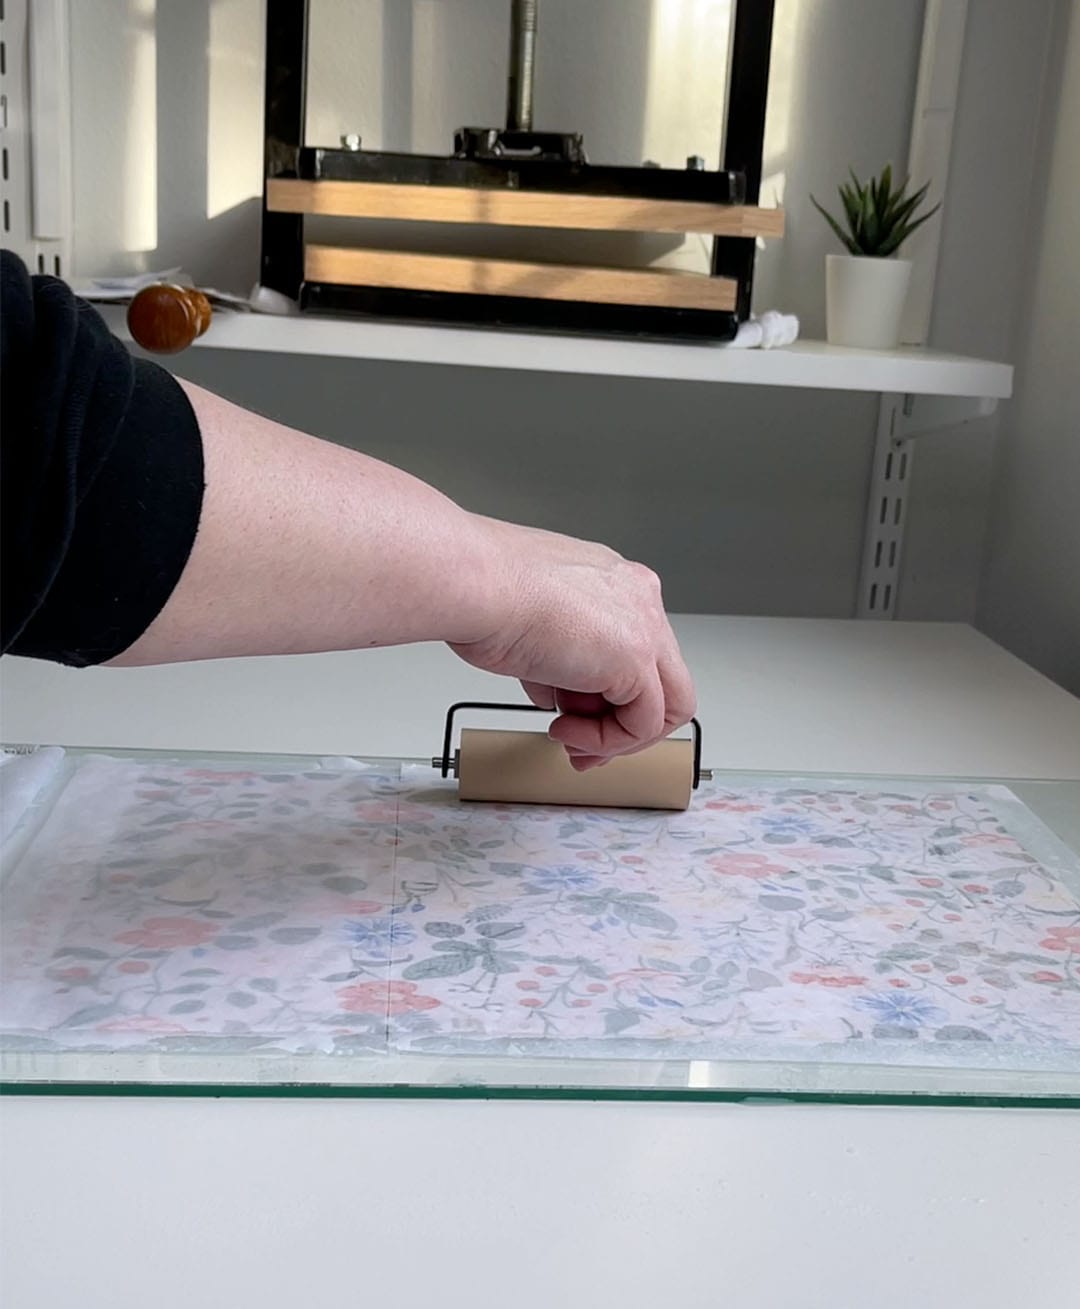
- Using a rubber brayer, gently press the rice paper into the fabric. Do not push hard – just let the brayer roll across the surface. Move from the center outward to each edge, using care to move the air bubbles out.

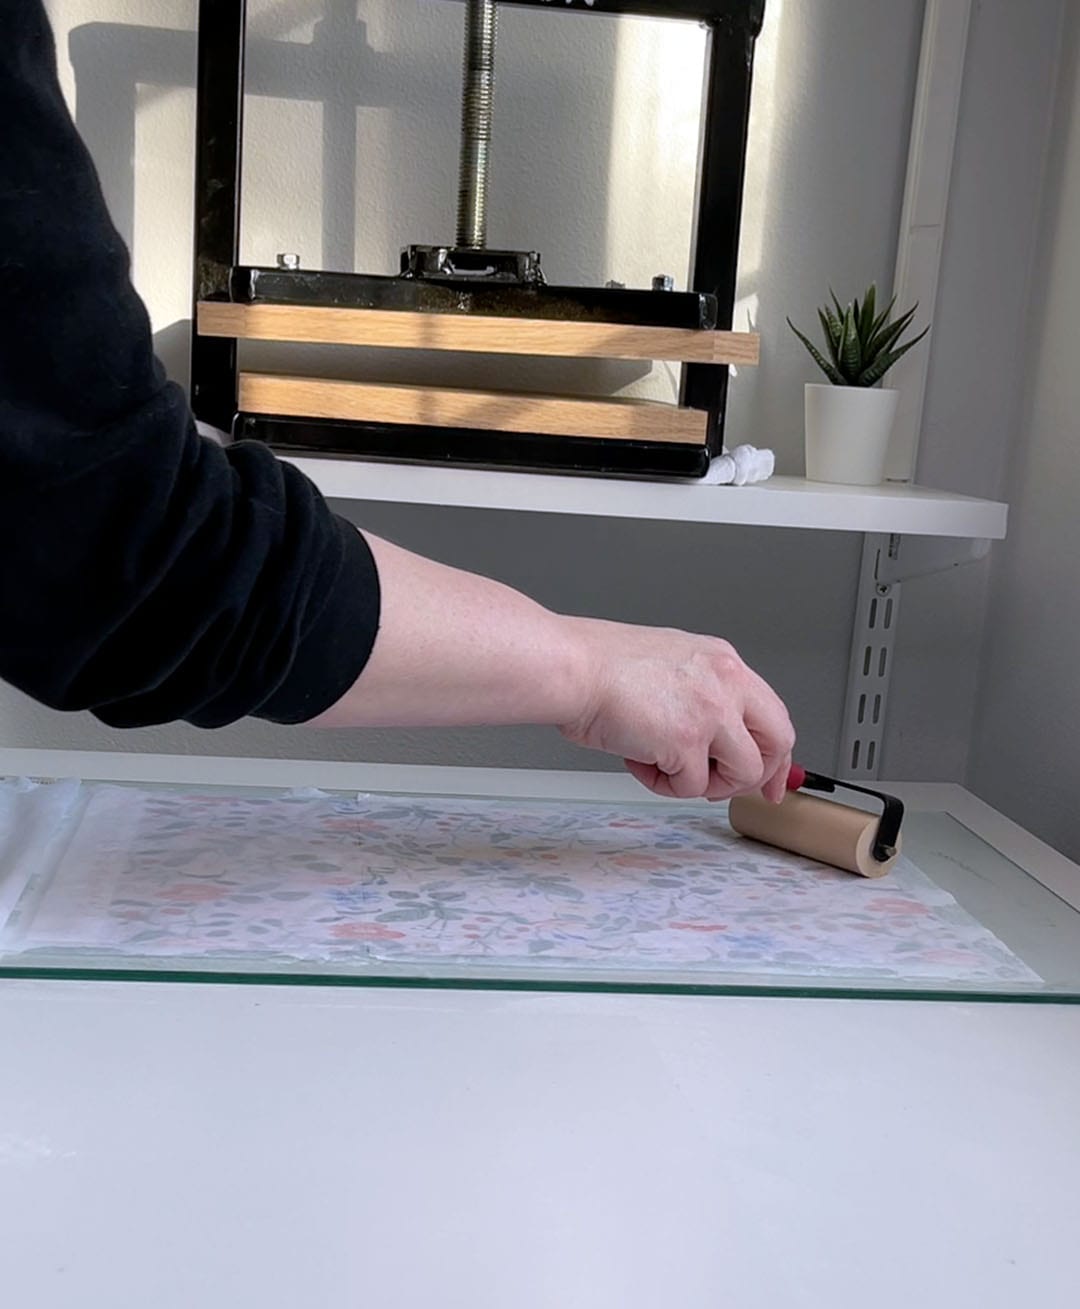
- Repeat this process with each sheet of rice paper, using just enough to cover the fabric with the 1″ overhang on each side.

- Allow the rice paper to dry to the fabric overnight. Do not be tempted to take this off early!
- After 12-16 hours, the fabric and rice paper will be completely dry. You’ll notice the rice paper is firmly stuck to the glass or surface. This is ok.
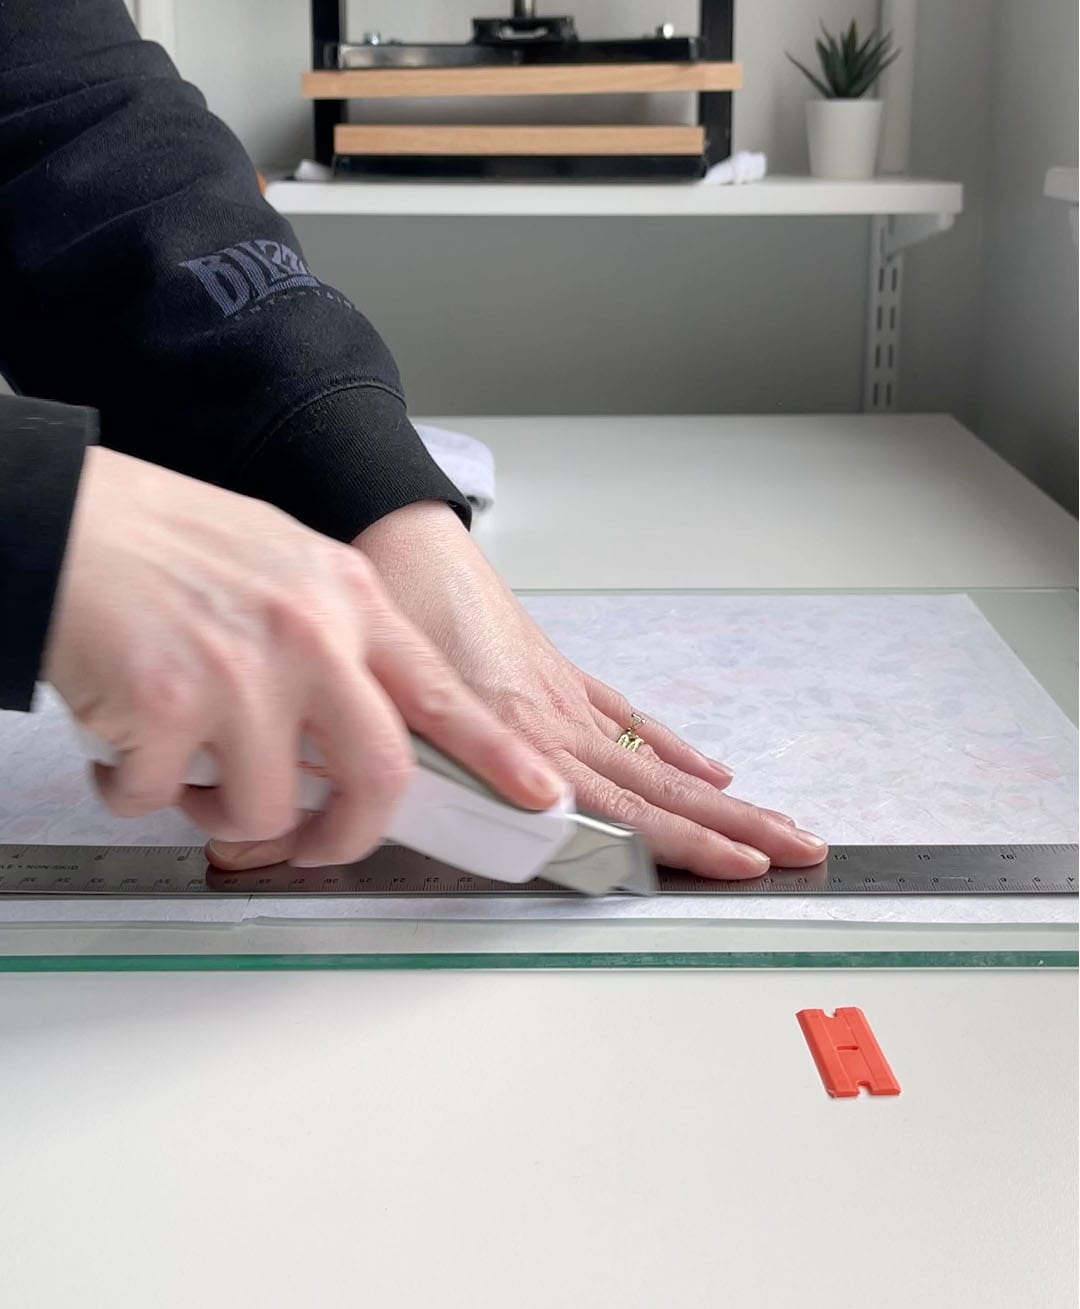
- Line a ruler up with the edge of the fabric and use a retractable blade to cut away the fabric from the extra rice paper. Repeat this process on all four sides until the cloth is released from the surface. Set aside.

- CLEAN UP:
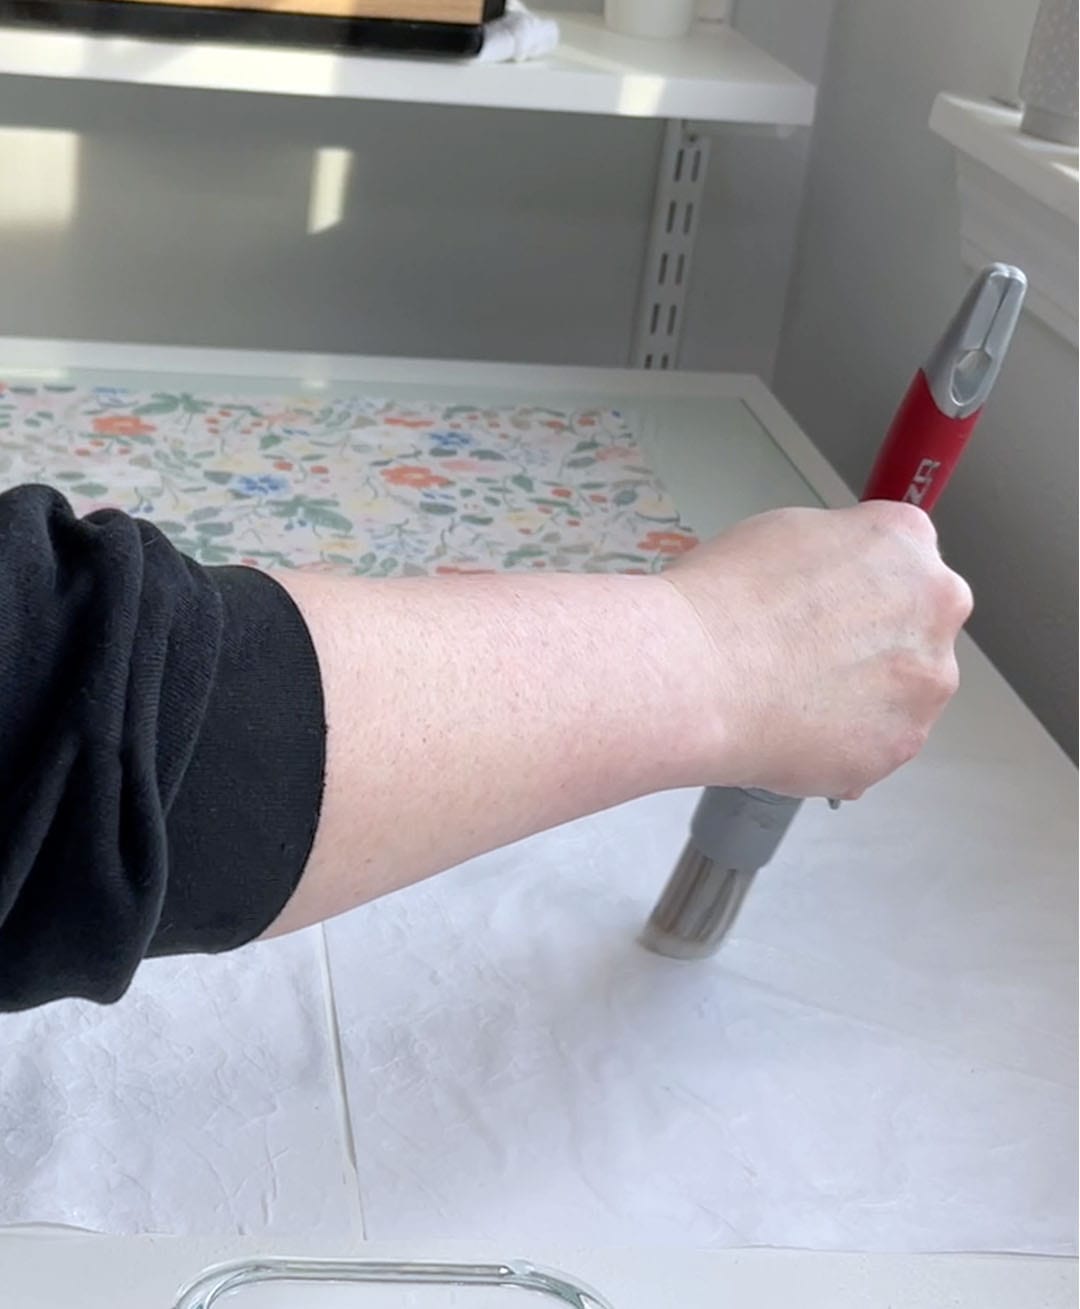
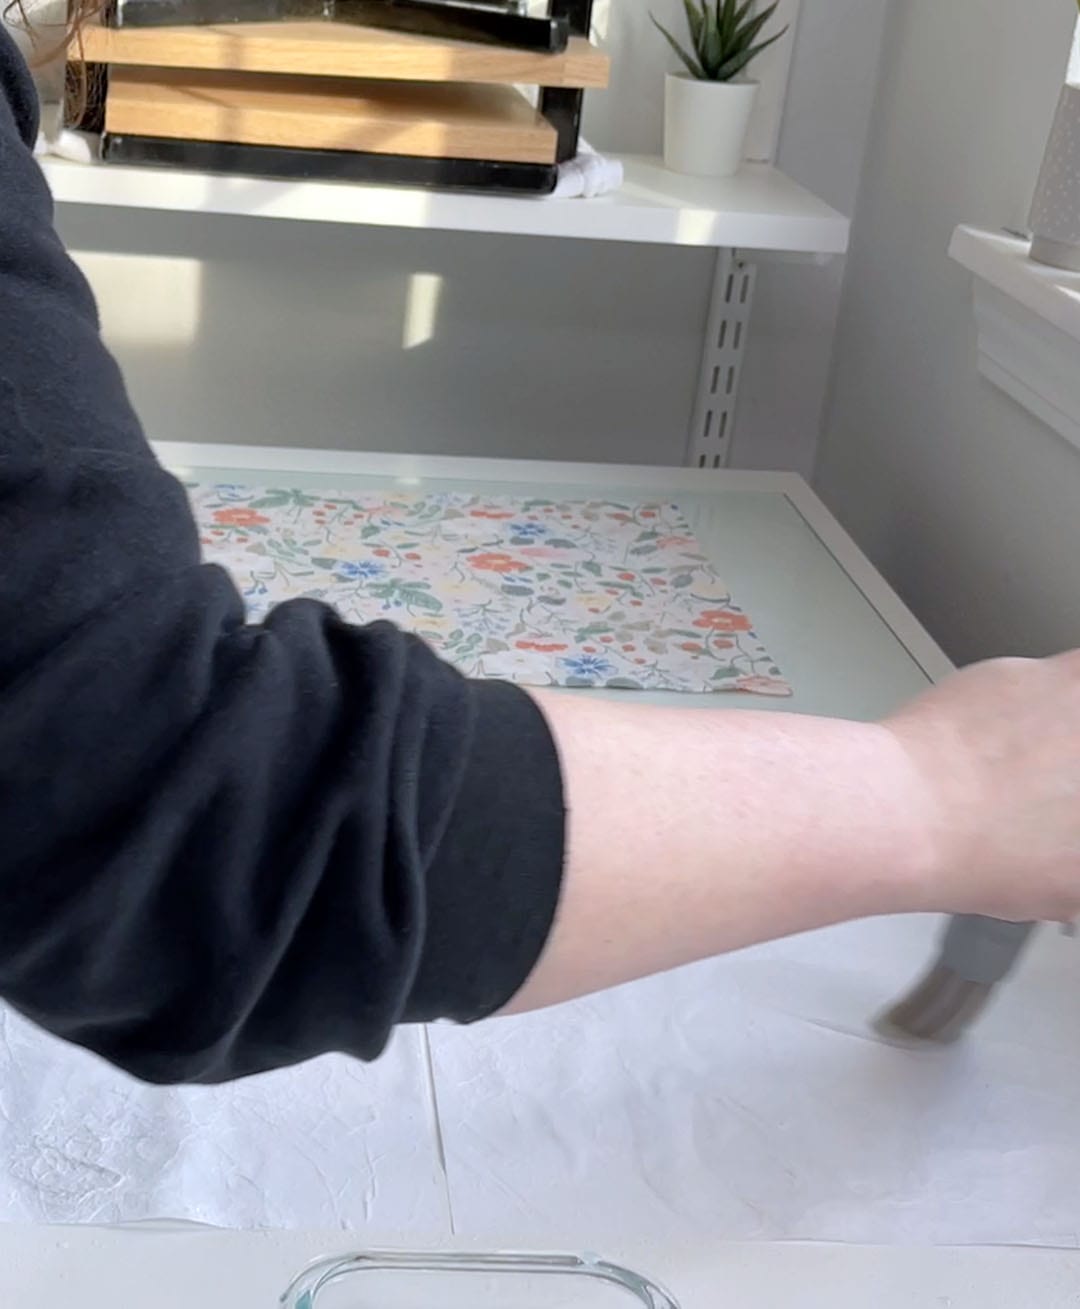
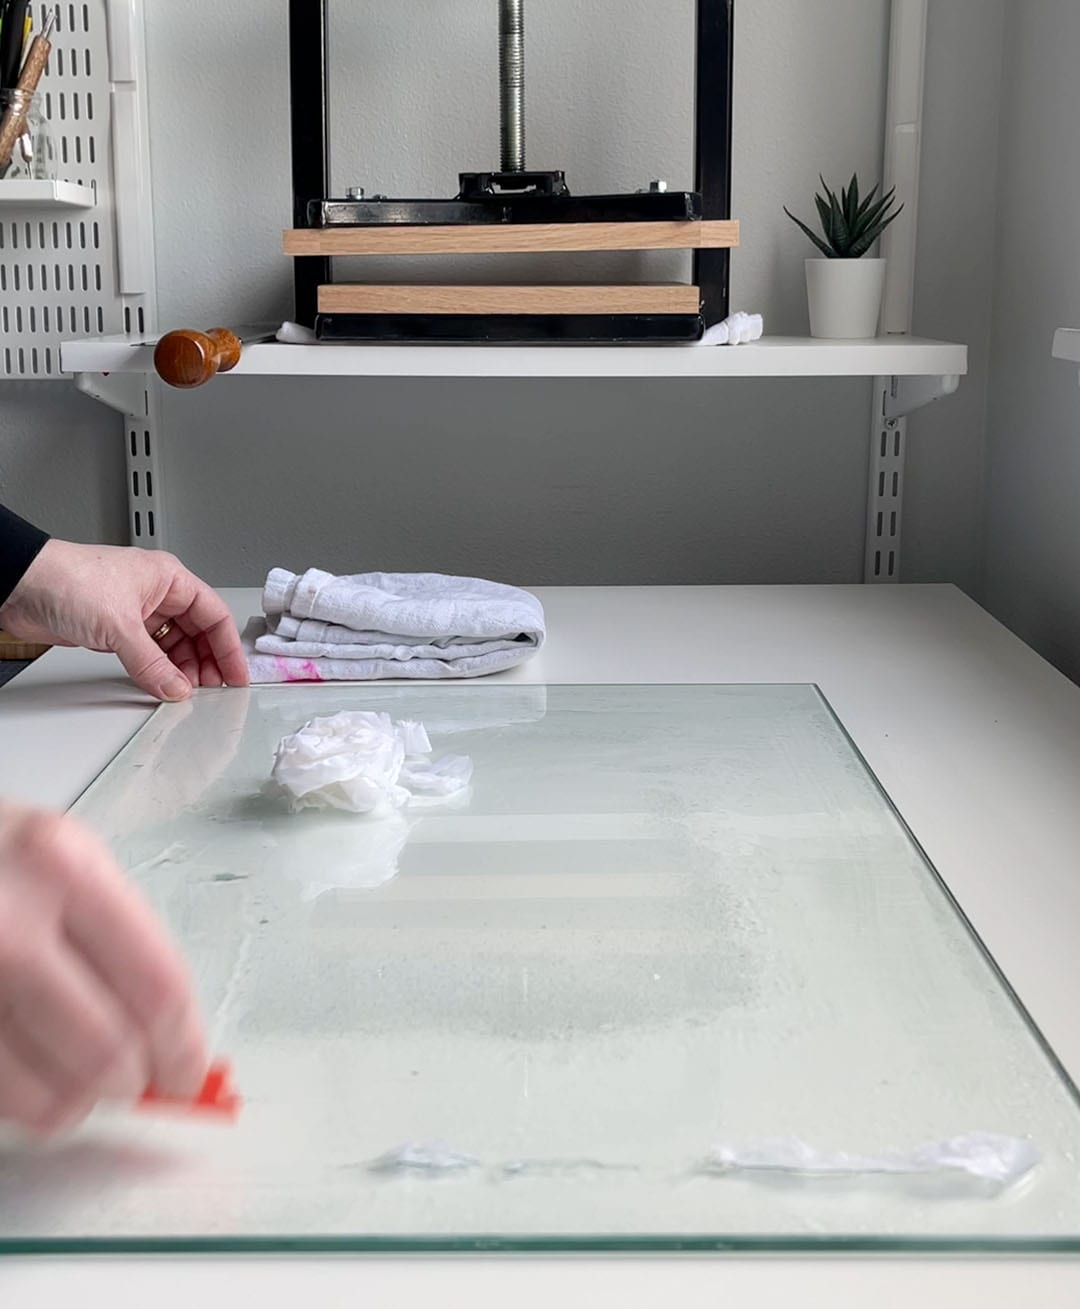
- Spray the entire surface generously with water to re-dampen the rice paper and wheat paste.
- Give the rice paper and dried glue about 1 minute to absorb, and then use your ruler or a plastic blade (like my orange one) to scrape away the rice paper. It will come away from the surface instantly and look like a wet paper blob.

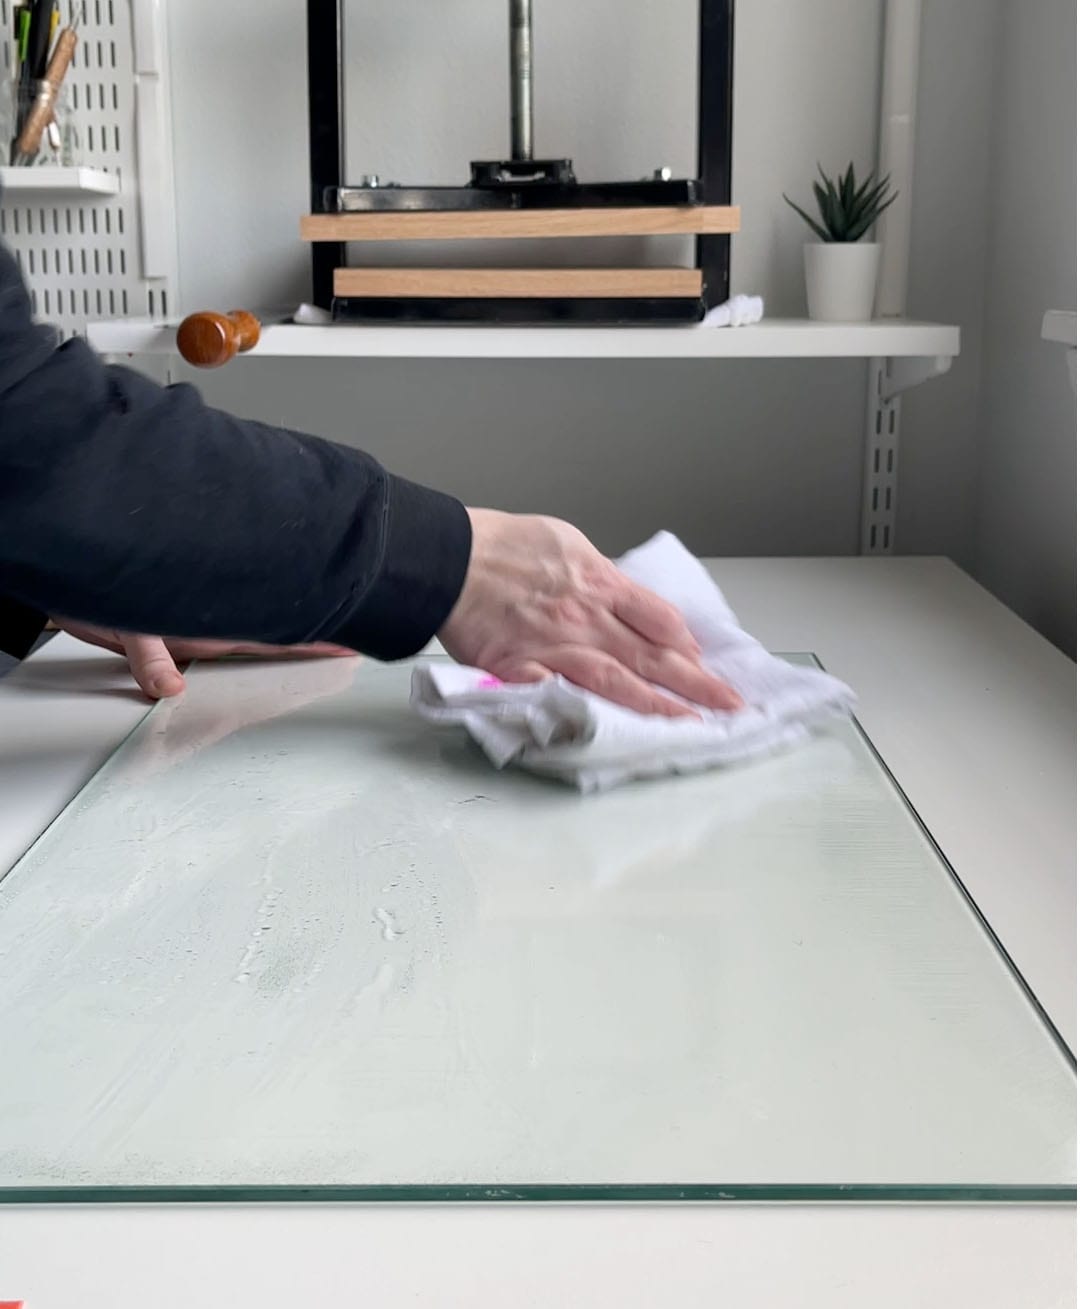
- Toss the blob in the trash and use a wet wash cloth to wipe down the surface. Spray with water and wipe again to remove all glue, if necessary.

- Spray the entire surface generously with water to re-dampen the rice paper and wheat paste.
Video
More bookbinding goodness
✨ What tools do I need to get started bookbinding?
- Bookbinding Tools & Supplies Quick Start Guide – learn all about book making tools, which to buy first & where to go online
- Pick up my popular Complete Starter Bookbinding Tools Kit – all the bookbinding essentials in one spot
🌟 Looking for a simple way to start making books?
Try a Complete Book Materials Kit. Each one has everything you need (+ tutorials & videos) to make a beautiful book without all the fuss.
Thank you for taking me along on your book making journey!
Misty


