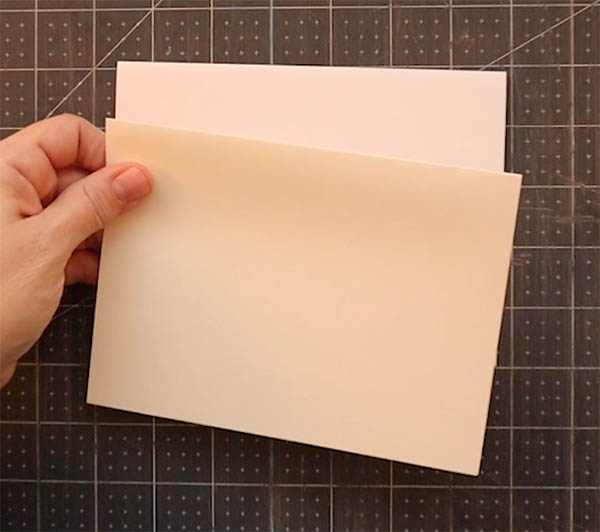
If you’re interested in making a coptic stitch journal, this tutorial is for you! I’ve created a DIY Coptic Stitch Journal Materials Kit with pre-measured and pre-cut materials to make this a fun, easy project and excellent gift for your or any crafty person in your life.
It’s also a great way to learn the method because it requires very few materials and leaves lots of room for general error. Plus, you’ll walk away with a beautiful coptic journal that can be given to someone you know or care about, making it the perfect choice for a unique holiday gift.
If you don’t have the kit, that’s okay! I’ve included all of the measurements below so you can make the book at home using your own materials.
Enjoy!
Bookbinding Tutorial: DIY Coptic Stitch Journal (using my coptic stitch journal materials kit)
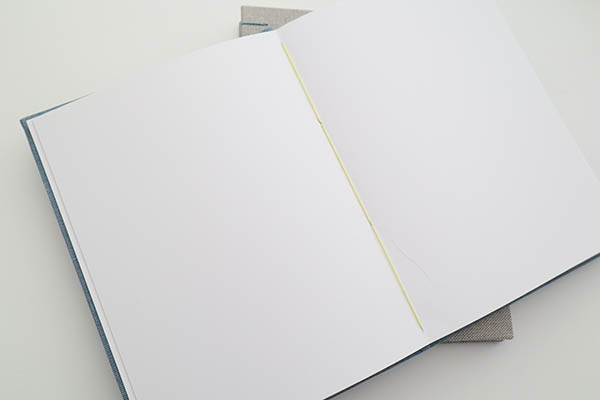
Measurements: 171mm x 127mm (6.75″ x 5.0″)
Total Time: approx. 2 hours
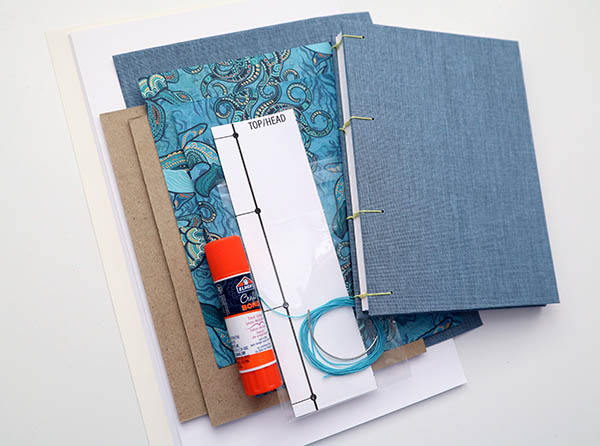
The DIY Coptic Stitch Journal Materials Kit
This kit includes the following pre-measured and pre-cut materials:
- 22 sheets of 80lb smooth bright white Mohawk superfine paper (18 sheets for signatures, 2 for “intro” and “outro” signatures)
- Two pieces of 80pt Davey book board (thinner board at 0.7 or 0.6 will also work)
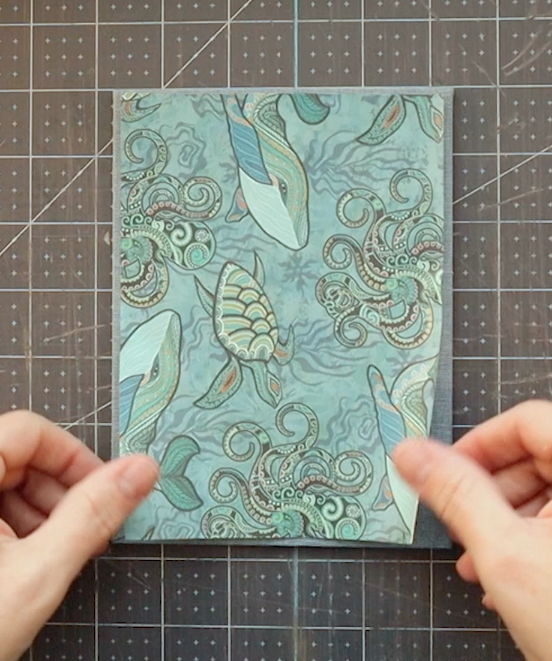
- 2 sheets of design cover paper
- 2 pieces of Ivory laid endpapers, 100lb
- 1 pre-measured hole punch template
- 60″ of waxed linen thread
- 1 glue stick
- 1 curved bookbinding needle
If you’re making this yourself at home, these are the measurements you’ll want to use for cutting:
- Mohawk extra fine white papers AND endpapers: 246mm x 164mm (9-11/16 x 6.5″)
- Book boards: 170mm x 126mm (6.75 x 5.0″)
- Design cover paper: 164mm x 120mm (6.5 x 4.75″)
- Cover paper or cloth: 216mm x 164mm (8.5 x 6.5″)
- Template: signature holes pierced at 7mm, 52mm, 106mm and 157mm
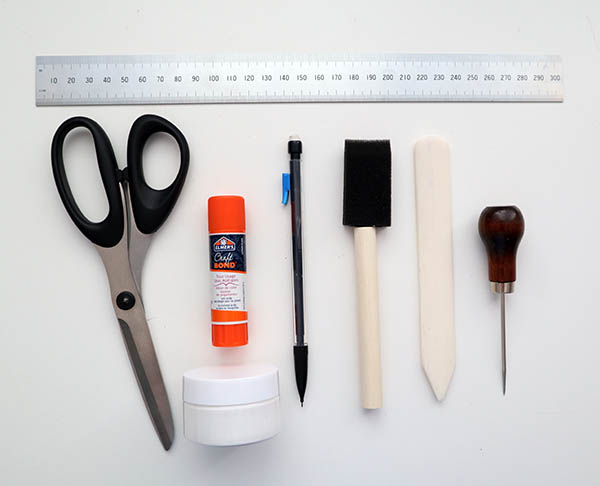
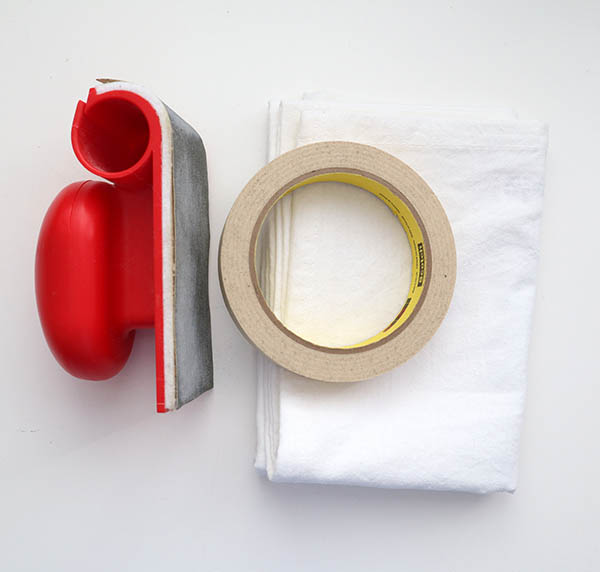
Other tools you’ll need:
Note: if you don’t have these items, I do offer a tools upgrade with the kit to include an awl and bone folder
- Ruler
- Scissors
- Pencil
- Awl, thick needle OR a nail with hammer to pierce holes in the boards
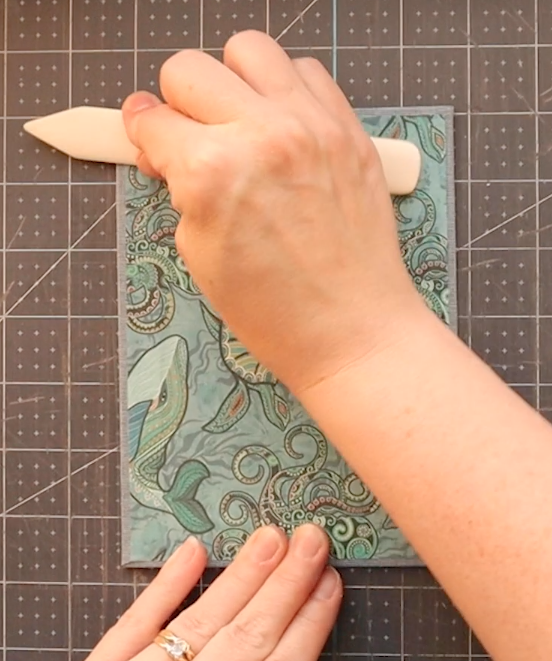
- Bone folder OR use your fingertips to crease
- Paste brush if you’re working with water based glue like Elmer’s or PVA
- Heavy book(s), weighted bean bag or other object to press the book
- Extra sheets of scrap paper for gluing
- Extra glue stick (if you’re prone to using lots of glue)
- A damp towel to wipe extra glue from your fingers
Recommended extras:
- Sanding block or snail (220 grit paper)
- Masking tape or painter’s tape
- Damp towel to wipe glue from fingers & desk
- Cutting mat or similar surface
Steps to create the Coptic stitch journal:
Fold & assemble signatures
- Break the 18 sheets of paper into stacks of 3 sheets each. You should end up with 6 stacks
- Using the last 4 sheets of white paper, create two signatures of 2 sheets each. These will serve as your “intro” and “outro” signatures
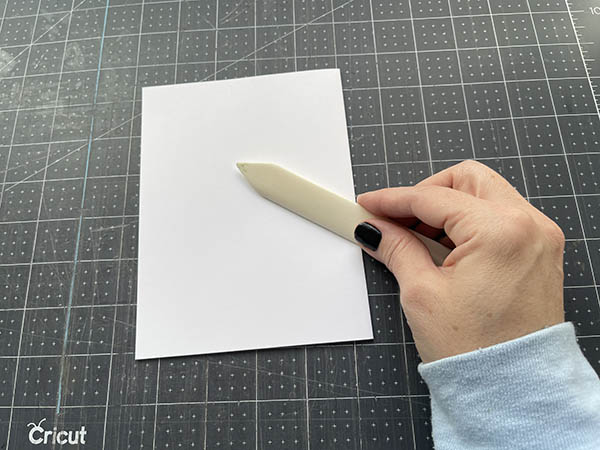
- Using the fold down method, fold each signature in half and crease
- Fold each of the 2 Ivory sheets in half individually and crease
- Lay all under weight to press for 10-15mins
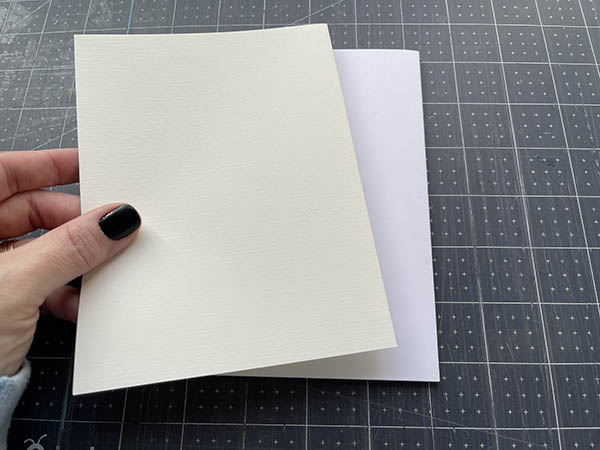
Prepare the endsheets (called “tipping in”)
In this step, we’re going to glue one ivory sheet to one of the signatures containing 2 sheets. We’ll do this twice, creating an “intro” and “outro” signature for the book. In bookbinding, we call this “tipping in.”
- Pick up the first ivory sheet and one 2-sheet signature
- Lay a scrap piece of paper under the 2-sheet signature
- Apply about 3mm of glue to the spine edge of the signature
- Line up the creased edges (spines) of the ivory sheet and signature. Press down, gluing the ivory sheet to the signature
- Smooth the edge with your fingertips or bone folder to remove excess air & glue
- Repeat this process with the second signature
- Lay both under weight to press for 5 minutes


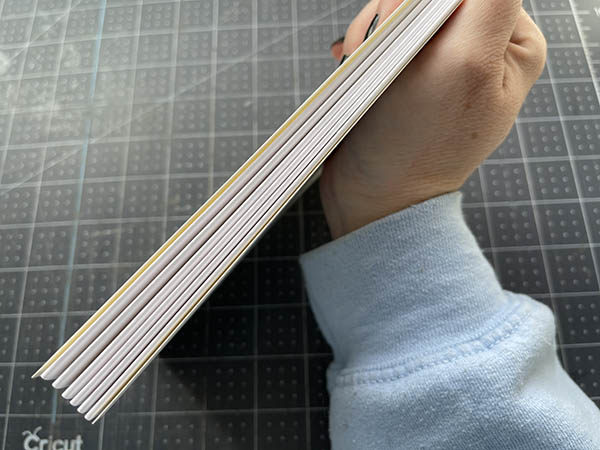
Assemble the signatures
The order should be:
- 1 folded ivory sheet tipped onto 1 of the 2-sheet signatures, dry
- 6 stacks of 3-sheet signatures
- 1 folded ivory sheet tipped onto the last of the 2-sheet signatures, dry
Make sure all of the signatures are aligned at their spine.
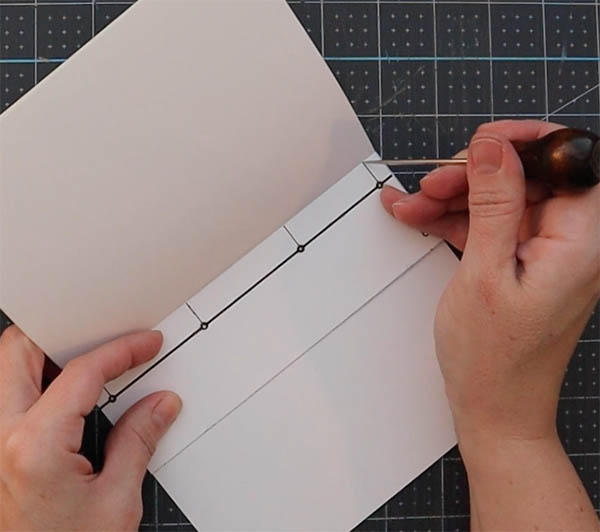
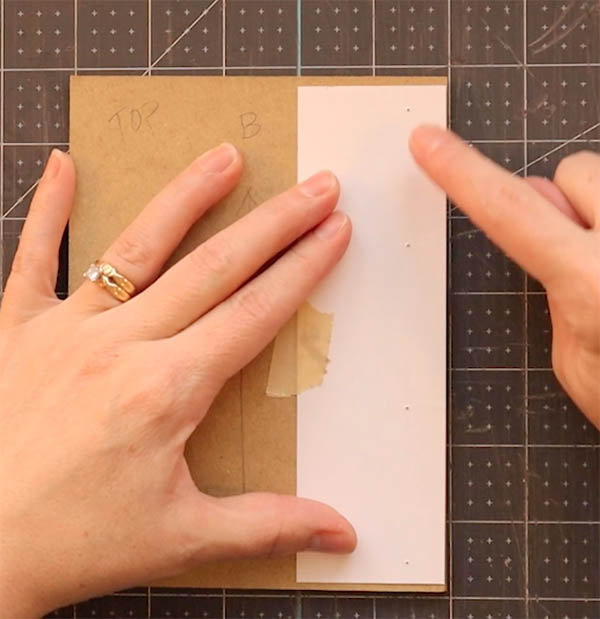
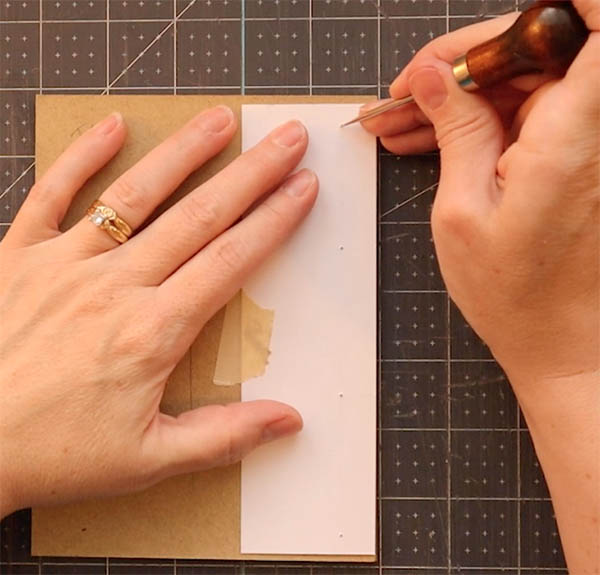
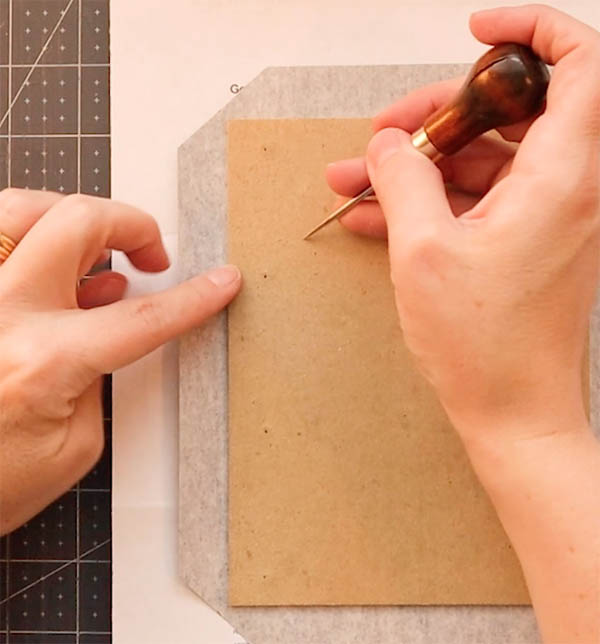
Punch the holes (called “sewing stations”) in each signature
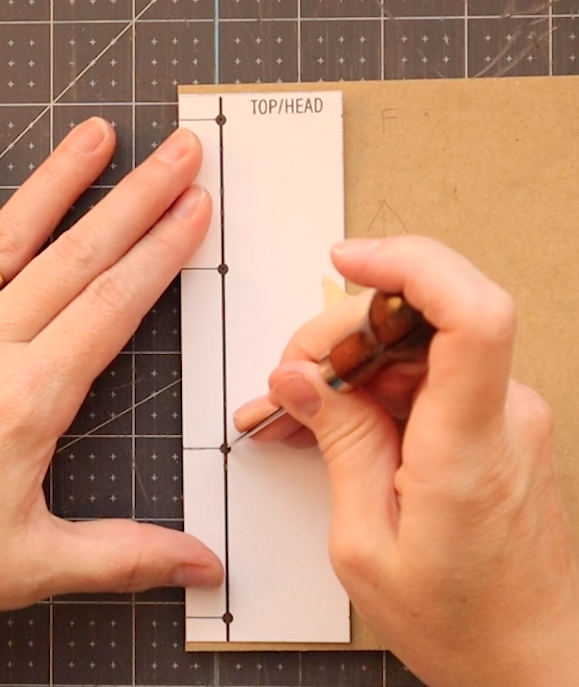
- Open each signature and line up the punch template with the inner crease. Be sure the “TOP/HEAD” lines up with the top of the signature
- Using an awl or needle, follow the lines leading to the edge of the template and pierce a mark at each spot
- Now pick up your awl and move it through the paper from inside to outside until about 5-6mm of the awl or needle is visible
- Repeat with all 6 signatures and the two front/end signatures containing ivory paper
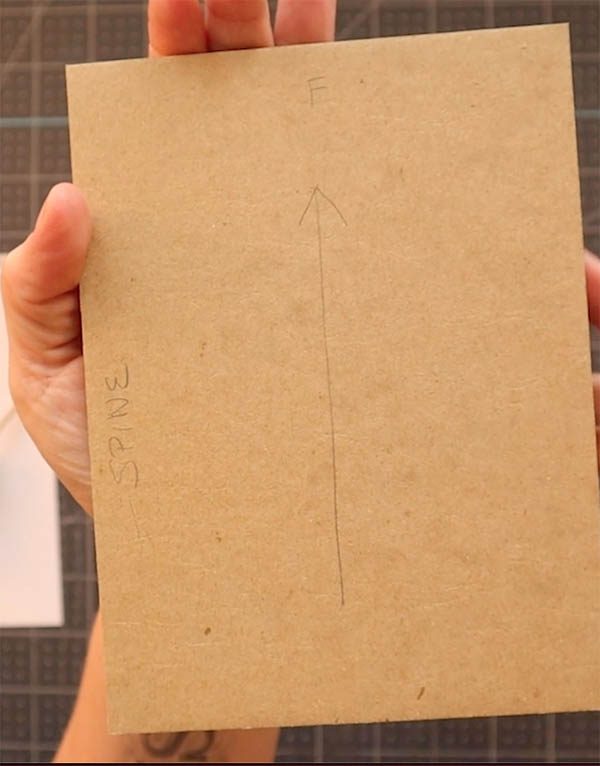
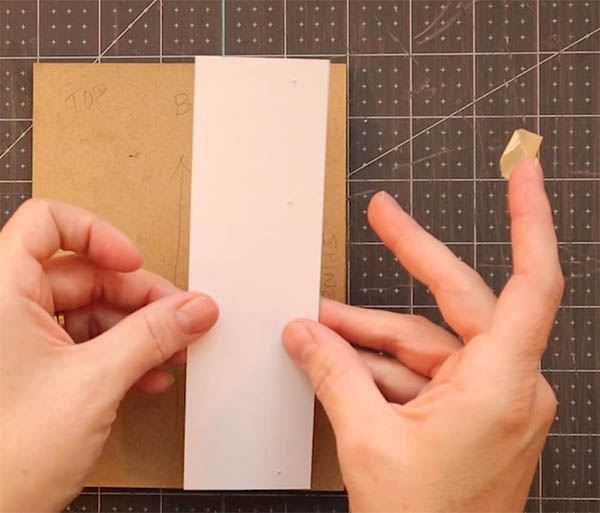
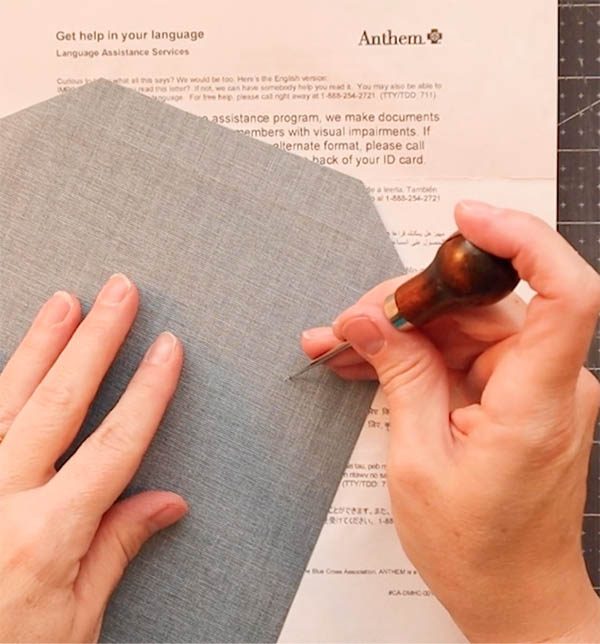
Pierce the board sewing stations
- Lay the two boards on top of each other. Decide which will be the front and which will be the back board
- Using a pencil, mark the front board with a “F” at the top and write the word “SPINE” along the spine edge. Repeat this process with the back board, using “B” for back
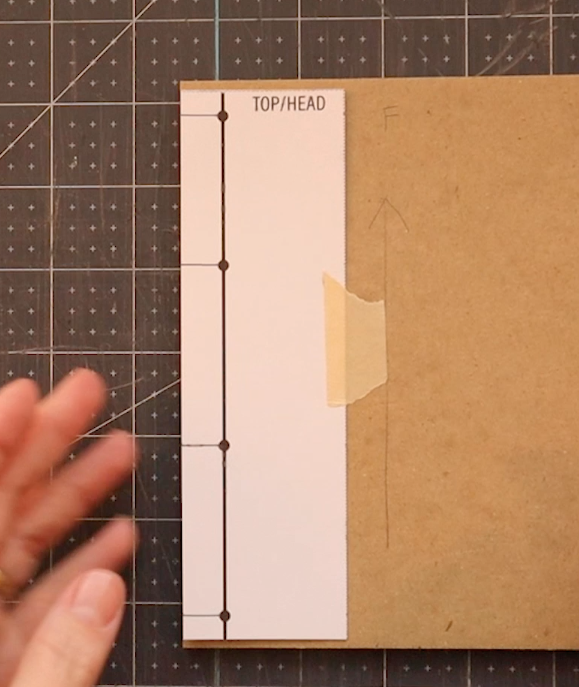
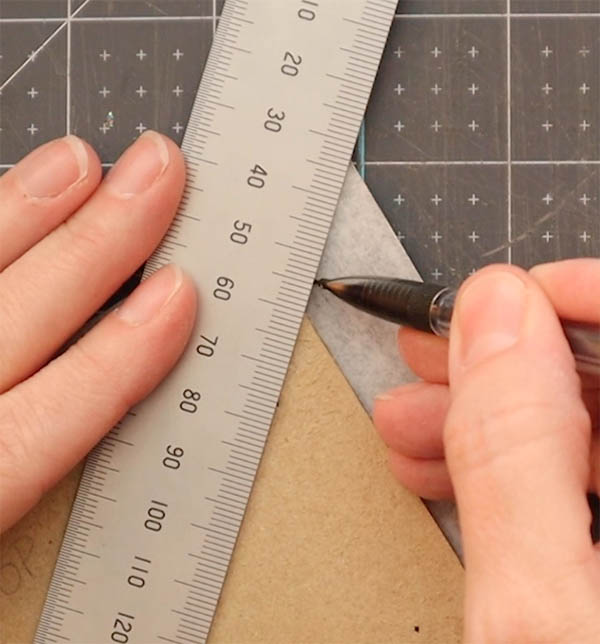
- Line up the punch template edge with the spine edge of the front board. Position the template so it is about 2-3mm from the top and bottom of the board. If you have masking tape, use a piece to hold the template in place
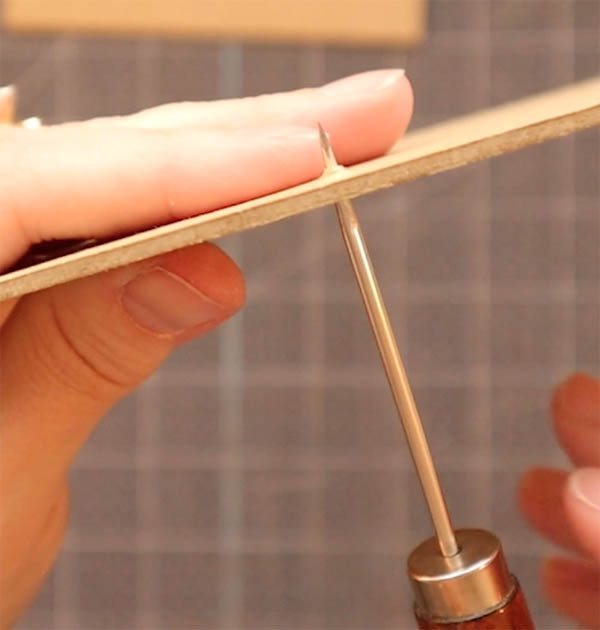
- Using an awl, needle or nail/hammer, pierce through each large black dot on the template
- For the bottom board, reverse the template like a photo negative and repeat the process. This part can be tricky, so take your time
Tip: when piercing sewing stations in board, move the tapered awl about 3mm through the board to increase the hole size. Don’t overdo it. You should be able to pass the needle through the hole with ease
FRONT:
BACK:
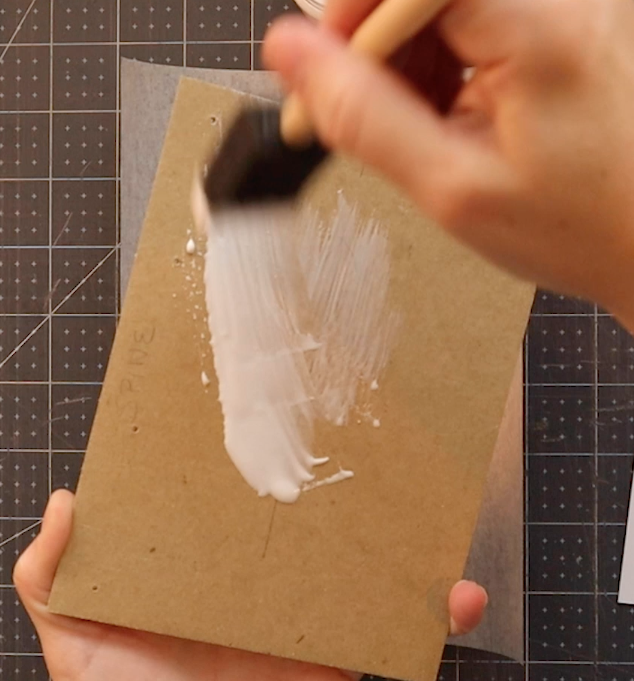
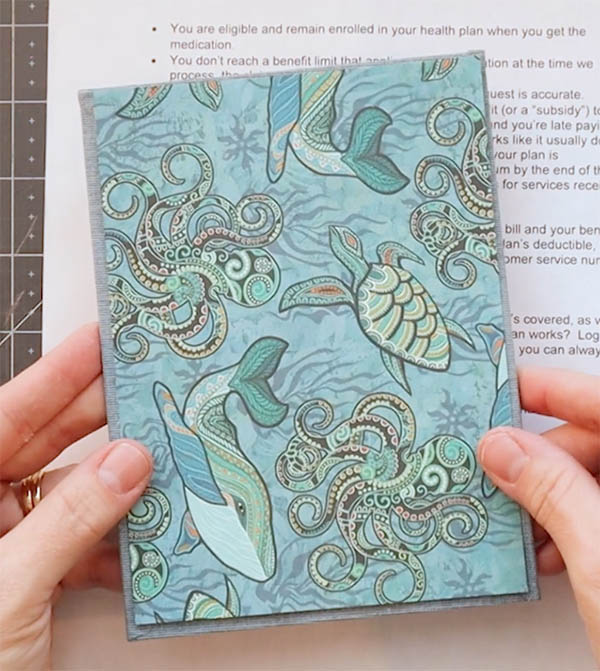
Cover the boards
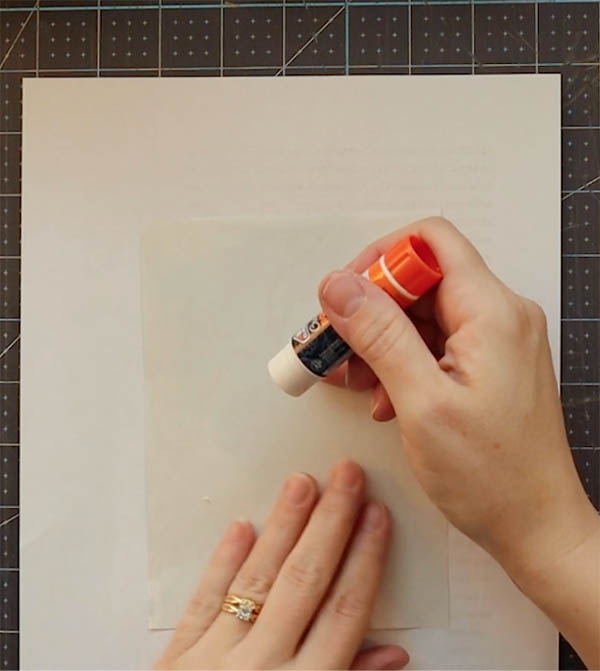
Gluing
- Lay the cloth face down so the paper is facing up
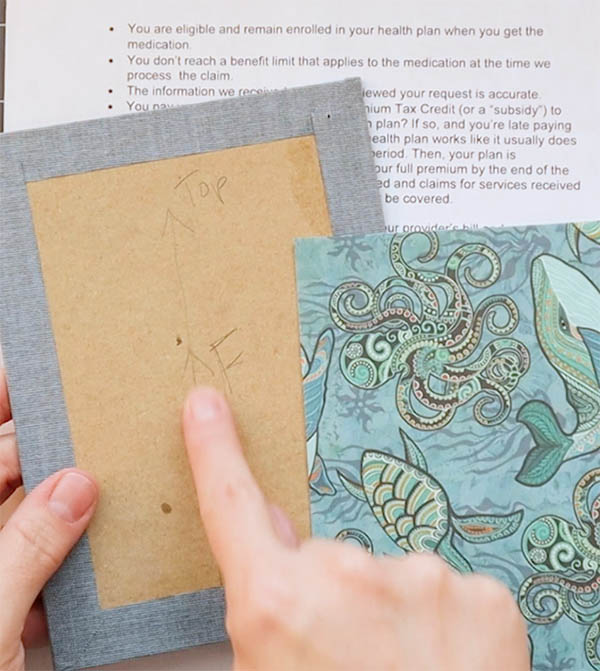
- We will position the board writing-side down onto the paper. This means we will apply a layer of glue to the side of the board were we’ve written “SPINE” and “F” etc. When doing this, be sure to pay attention to where the top of the board is at
- Using a glue stick or PVA, apply a thick layer to the board moving from the center of the board outward
- Position the board glue-side down onto the center of the cover paper. Try to have an even amount of excess paper around each edge of the board
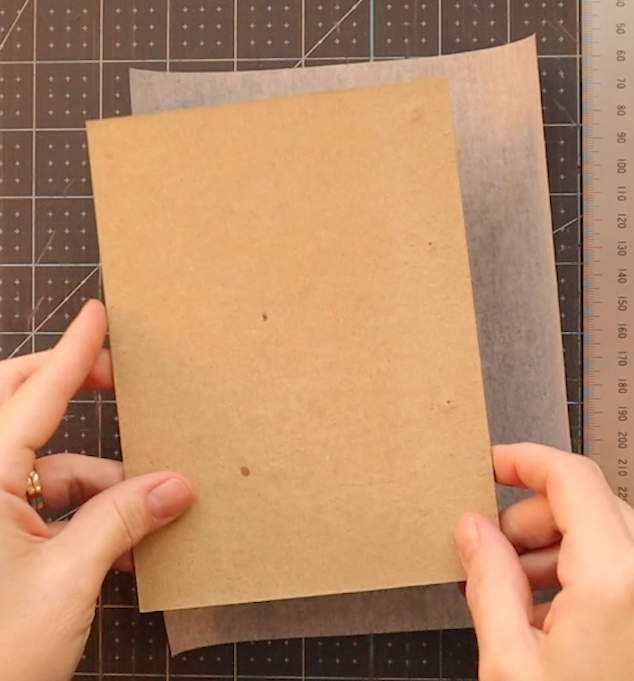
- Press each board firmly with your fingertips from the center outward to remove any air bubbles
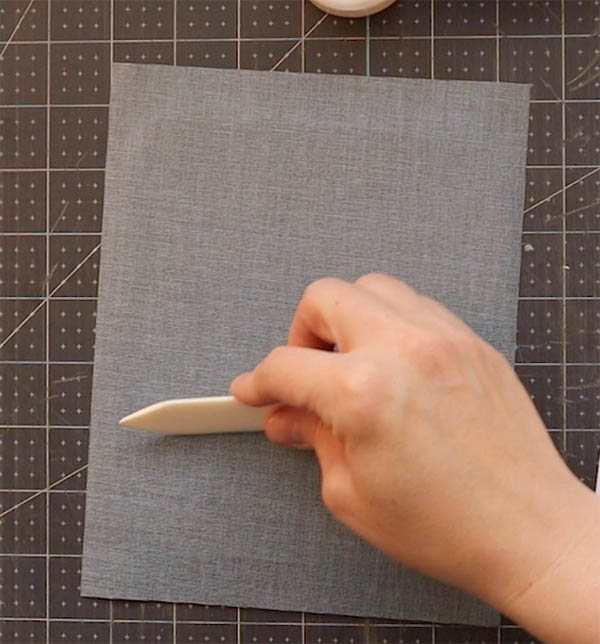
- Turn the board over so the cloth is facing up at you and smooth the cover paper softly with your fingertips or folder
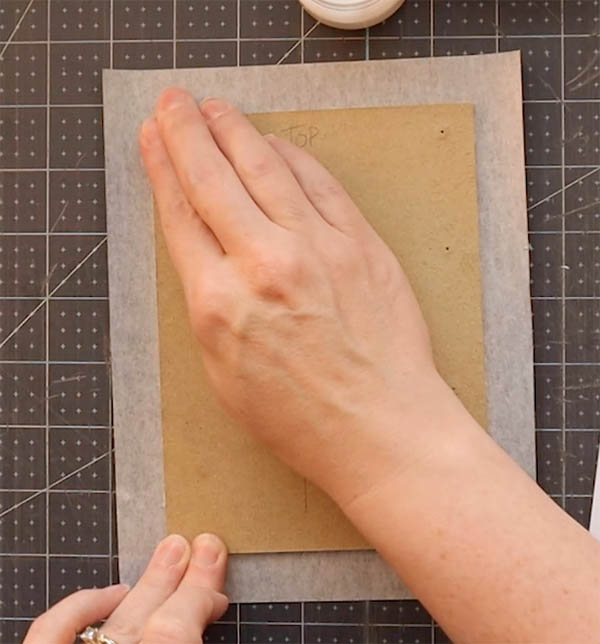
- Once smoothing is finished, return the cover paper to a face down position (with board up) and write “TOP” across the top of the board with an arrow pointing up to help you remember
- Press for 5 or so minutes
- Repeat with the second board
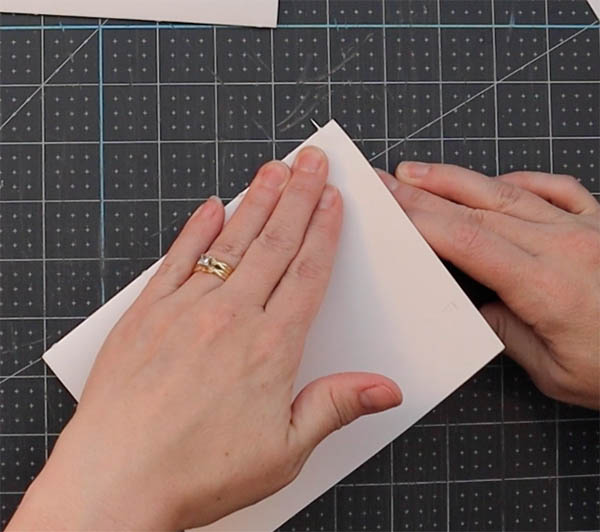
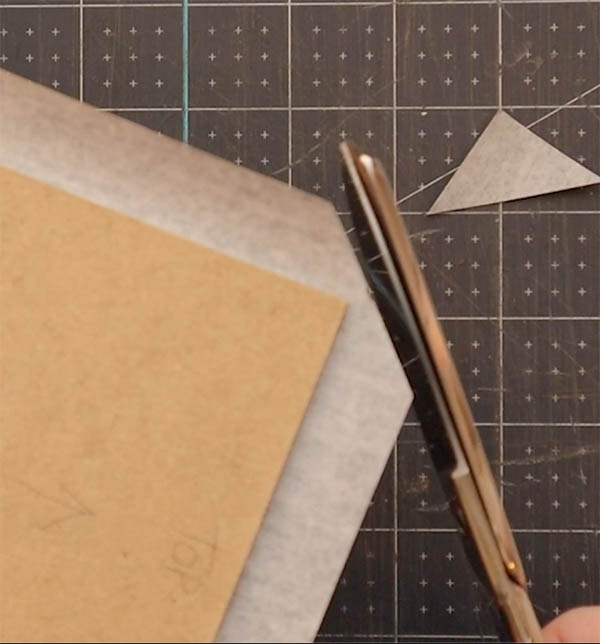
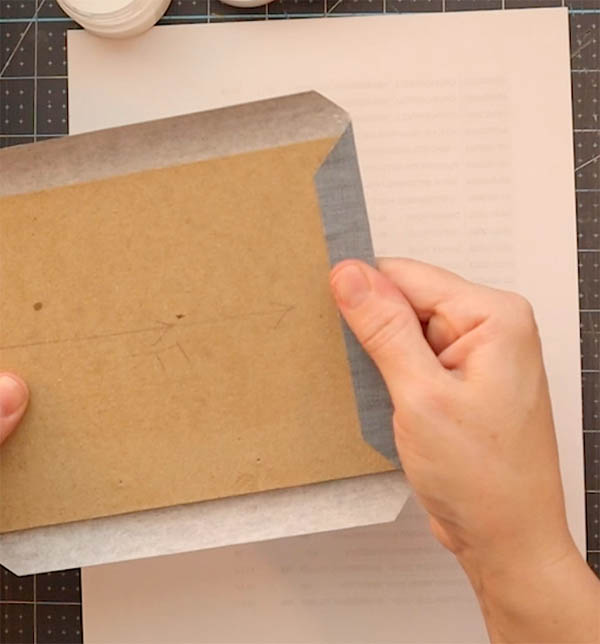
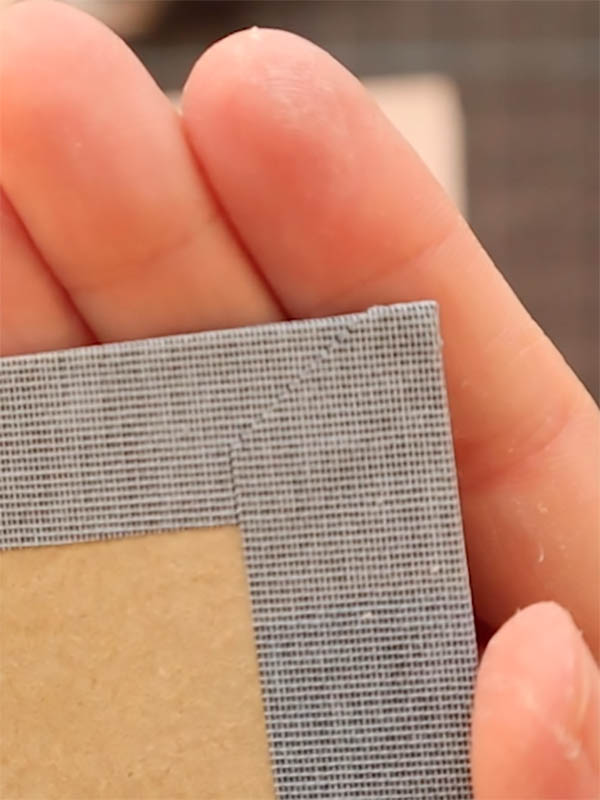
Measuring and cutting corners
- Using your ruler, line up the corner of the board with the corner of the cloth
- Measure outward from the book corner 5mm
- With a scissor, cut diagonally across the mark for each corner
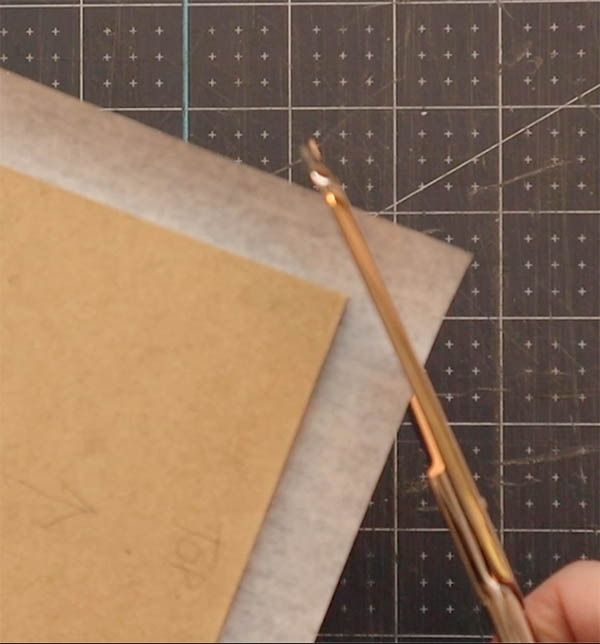
- Using an awl, re-pierce each hole location. It can help to turn the board over and run the awl back through from the cloth side
Folding top and bottom flaps
- Apply adhesive to the top and bottom flaps
- Fold the top and bottom flaps over the board and press with your fingertips to remove excess air and glue
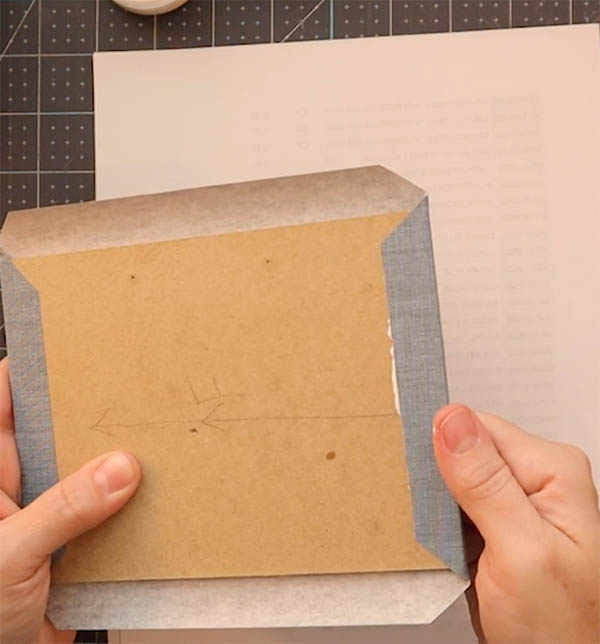
Folding left & right flaps, creating corners
- Apply adhesive to the left and right flaps. Be sure to use extra glue around the corners
- Use your thumbnails to press each corner into the board (pics below) before folding the flaps over
- Fold the flaps over the board and press with your fingertips to remove excess air and glue
- If the flaps cover up the hole locations, use an awl to re-pierce them from the outside of the cover and then re-define them from the inside. This helps to remove glue in the holes
- Place under weight for 5-10 minutes
- Repeat with the second board
Tip: Do one flap at a time to avoid the glue setting on the second flap before you get there
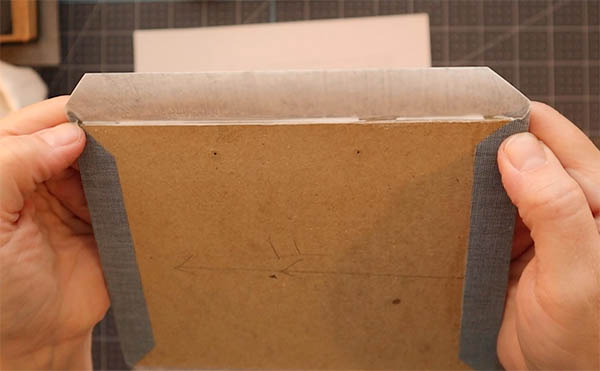
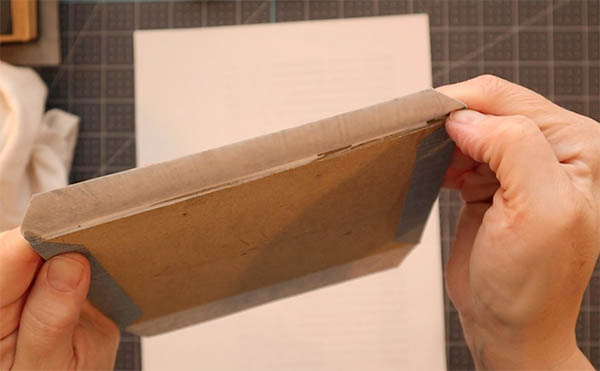


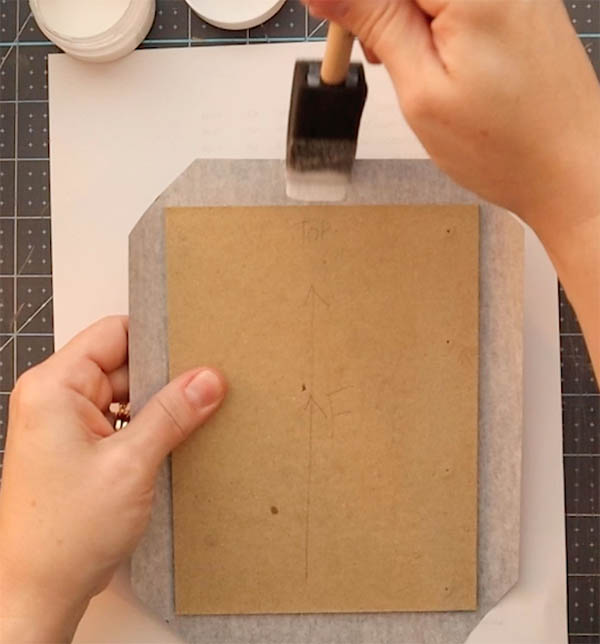
Glue down the endpapers
- Start with the board facing up at you (book cloth side down on the table), arrow up
- Test position the endpaper in the direction you prefer on the board, allowing for about 3-4mm around each edge
- Apply adhesive to the back of the endpaper, starting at the center moving outward. Make sure you get enough on each of the edges and corners
- Press the sheet into place with your fingertips, removing excess air bubbles
- The endpapers will cover up the holes you’ve pierced, so once again use your awl to “re-pierce” each hole
- Place the board under weight and press for a minimum of 30 minutes
- Repeat this process with the second board
Tip: when using wet glue (PVA), the paper will begin to curl up. Work quickly but carefully and don’t apply too much glue. An even, thick layer is perfect.
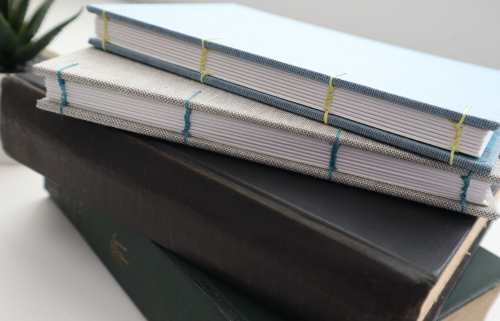
Sew the coptic stitch journal
Before we get started, let me just say there are many different ways to sew a coptic binding. The method I’ll show you today is the most basic (and easiest, in my opinion), but it’s not the only one out there.
The steps to attach the boards can be hard to understand in written text, but I’m going to give it my best try! I’ve broken this into three stages:
- Attaching the board and first signature
- Sewing the second signature
- Attaching the last board and signature
If you get confused and are able, feel free to watch the video!
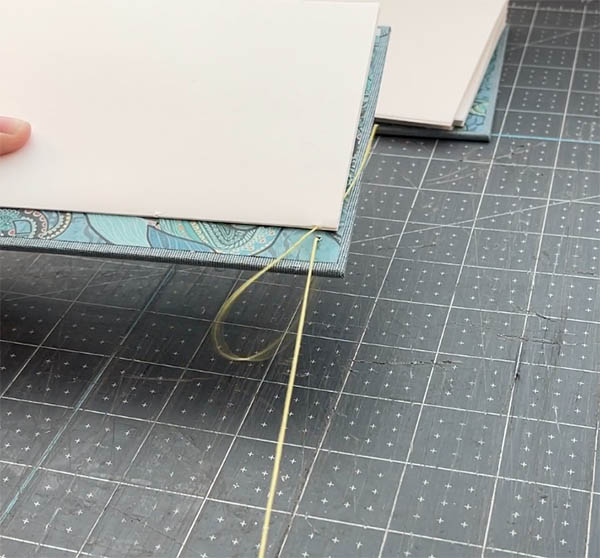
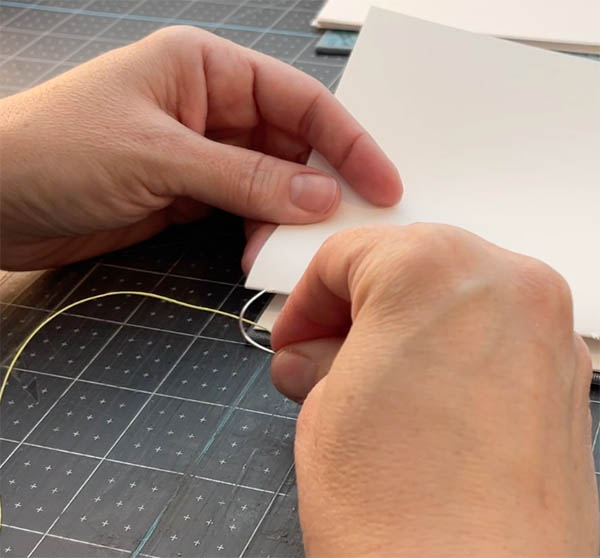
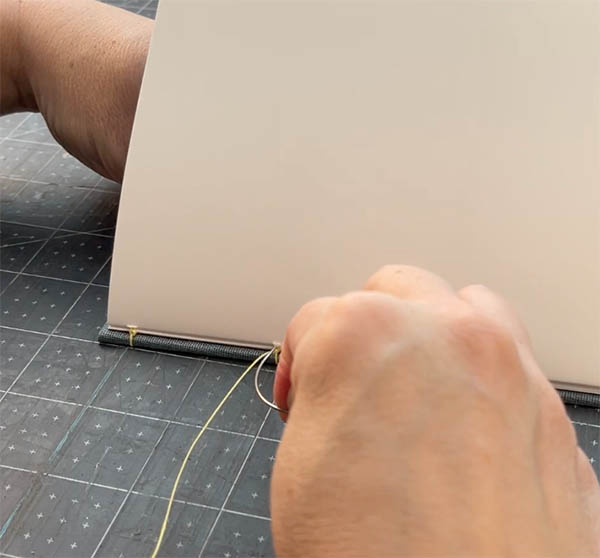
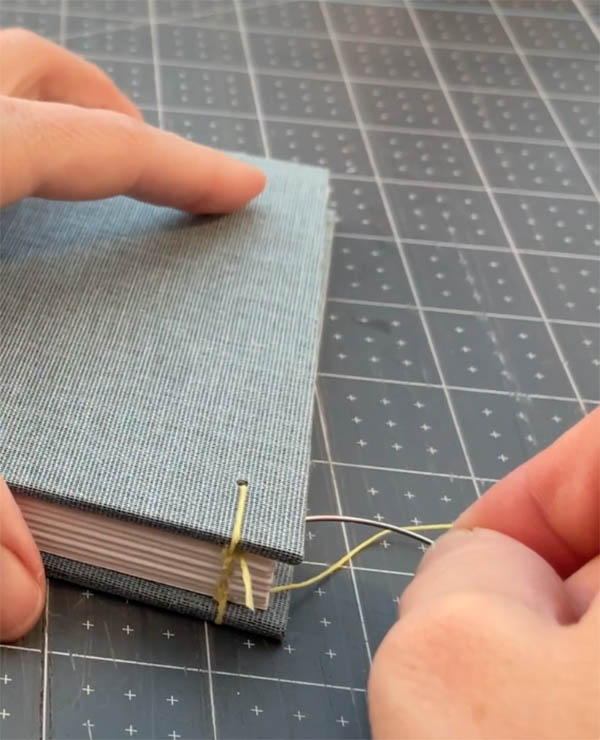
Sewing the board + first signature
This is probably the trickiest part (and of course, it comes right at the beginning)! The idea of this step is to “tie” the front cover to the first signature. To do this, we’ll sew through the first signature and into the holes you’ve pierced on the cover. If at any time you’re unsure, check the images below or watch the video.
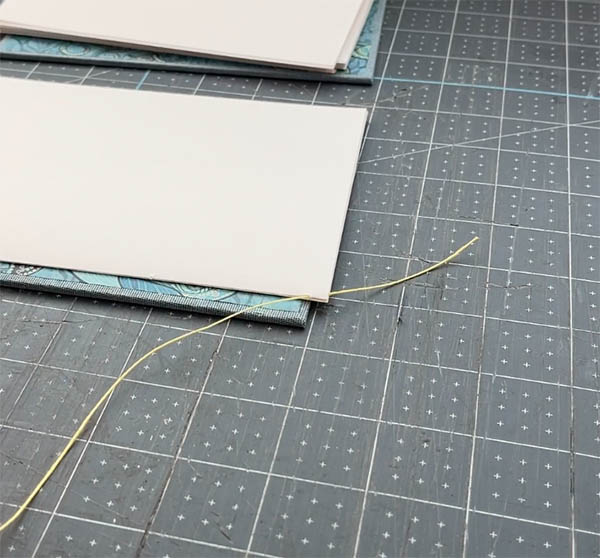
- Start at the first hole inside the first signature at the top of the book
- Move through the hole to the outside and pull until only 2″ of thread is left inside the signature poking out
- Move around the board spine edge onto the outside of the cover. Go through the corresponding hole on the cover, from outside to inside
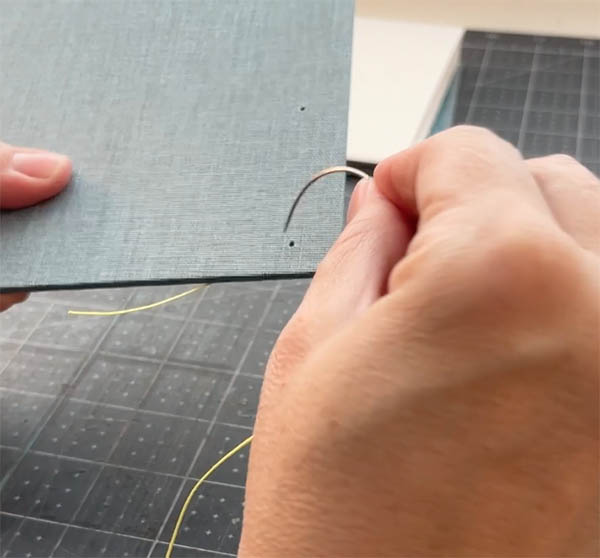
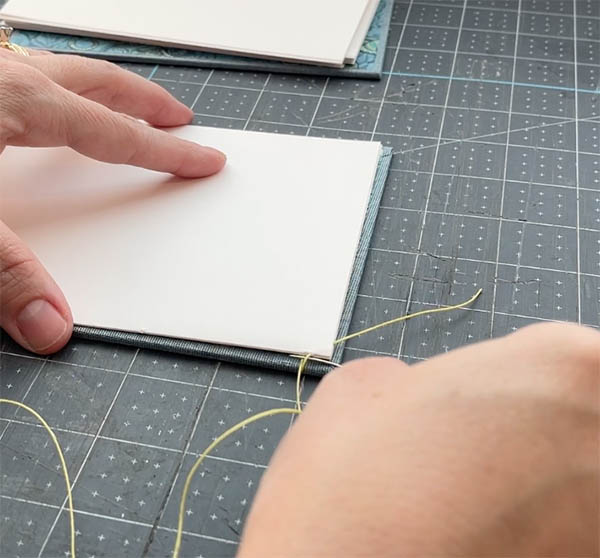
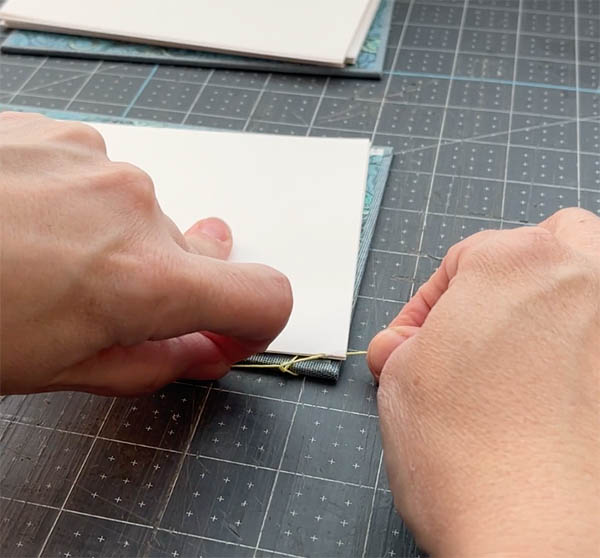
- Move the board down so it is flush with the first signature and pull the thread. This will tie the board and first signature together
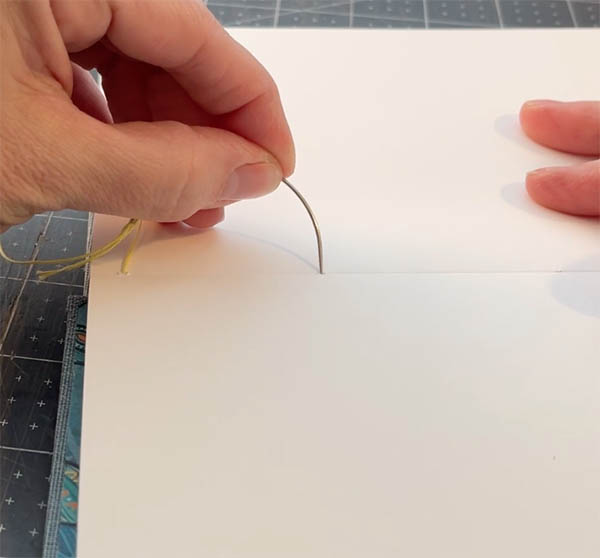
- Slip the needle behind the thread that connects the first signature and board. Pull it through and away from the spine
- Return the needle into the first signature and, once completely pulled through, tie it off with the 2″ of reserved thread
- Repeat the process of tying the board to the signature for each sewing station until the first board and signature are held together
- Once at the end (top of the book), return the needle into the corresponding hole in the second signature
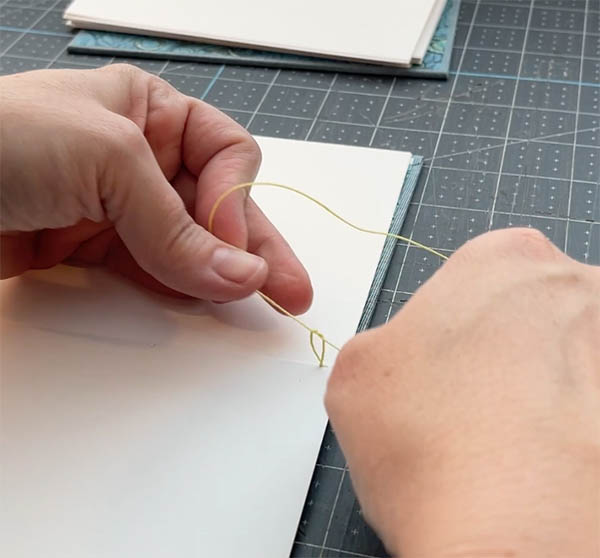
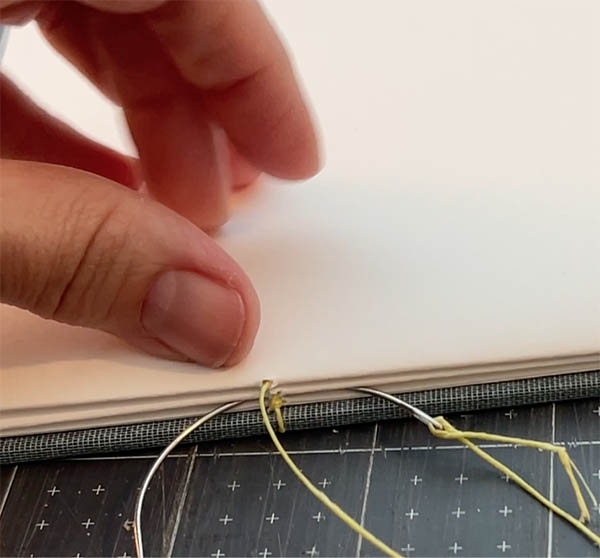
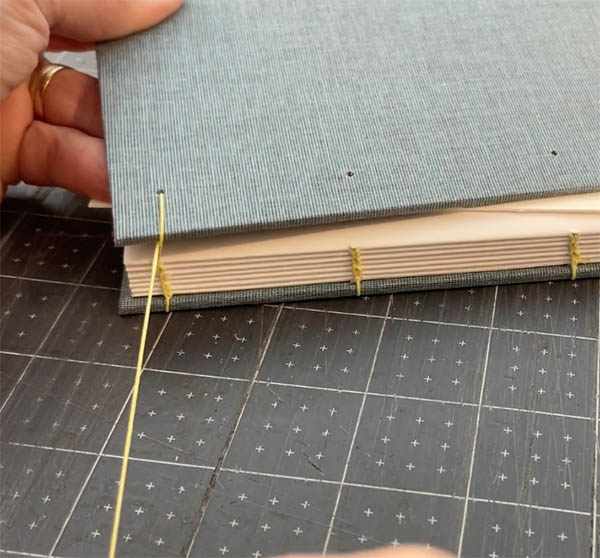
Sewing the second signature
While the first signature is arguably the “hardest,” the second one can also be tricky. This is because you’re securing the second signature to the first by looping your needle behind the thread holding the first signature and board together. It’s unlike any other signature by far, so that’s why I’m calling it out separately. Again, if you get confused, check the images or watch the video 🙂
- The needle will be inside the second signature. From here, move it through the next hole from inside to outside and pull thread tight
- Once outside, take the needle under the threads connecting the board and first signature. Pull tight
- Return the needle into the second signature through the same hole, careful not to pierce the previous thread
- Repeat this process until the 3rd, 4th and 5th signatures are in place
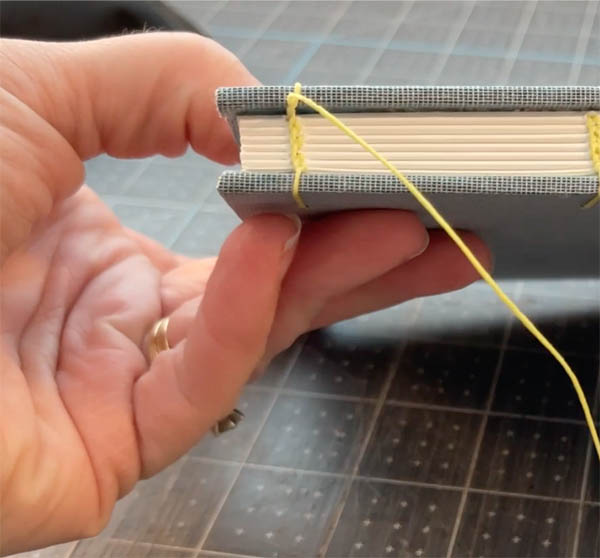
Sewing the final signature and board
This part sounds a lot like the first step (where we attached the first signature to the cover), but there is one major difference: instead of starting inside the signature, we’ll begin with the board and attach the signature second.
- Do not return the needle into the corresponding hole of the final signature. Instead, sandwich the final signature between the last 3-sheet signature and the board
- Move the needle into the board from outside to inside at the corresponding hole
- Once the needle is through, wrap it around the board spine toward you (like you did when connecting the first signature and board)
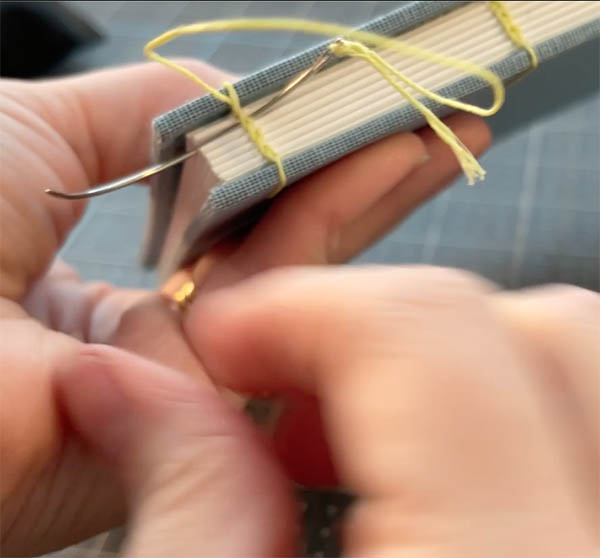
- Next, slip the needle between the last two 3-sheet signatures
- Return the needle into the corresponding hole of the final signature. This will be a little tough because the hole can be hard to see, so take your time
- Once inside the final signature, return the needle through the next hole and repeat the process for all stations
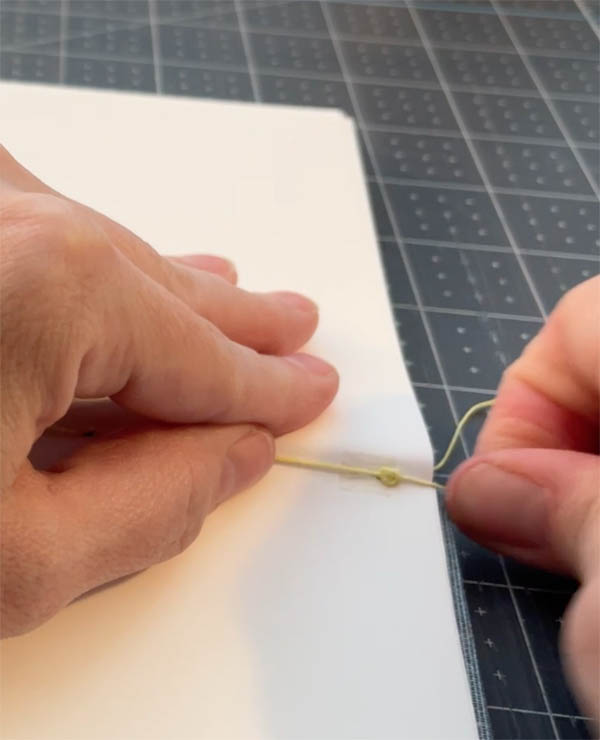
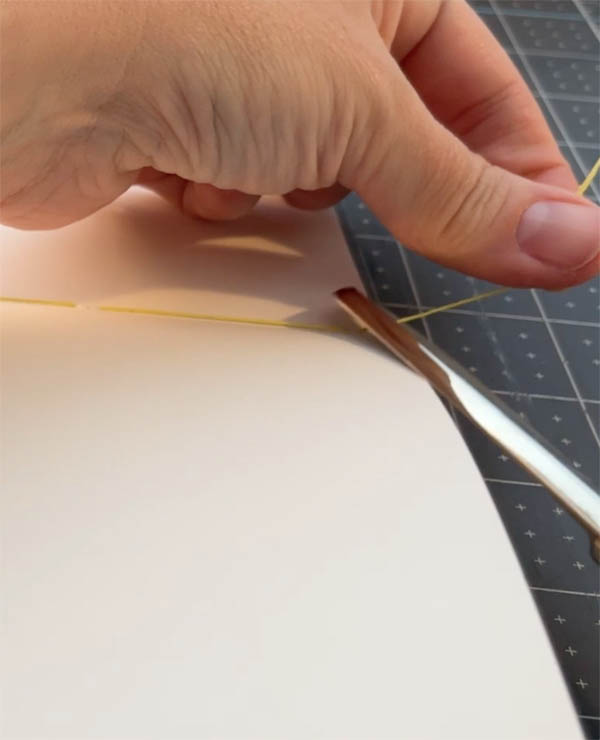
- Once you’ve reached the end, move the needle back into the final sewing station and tie it off by looping it behind the thread just prior and into a knot
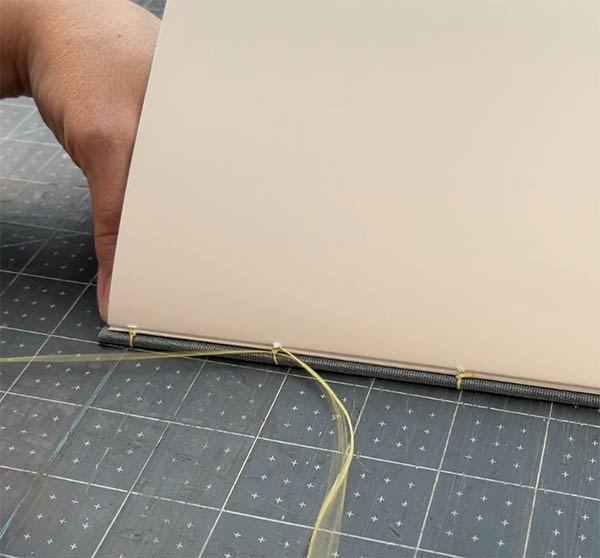
- Use a scissor to trim away any excess thread at the start and end of the book
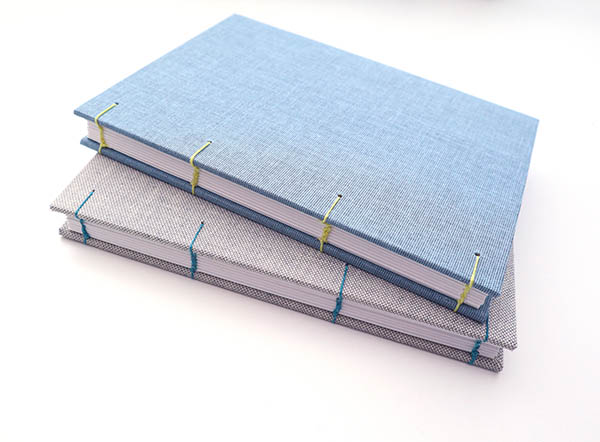
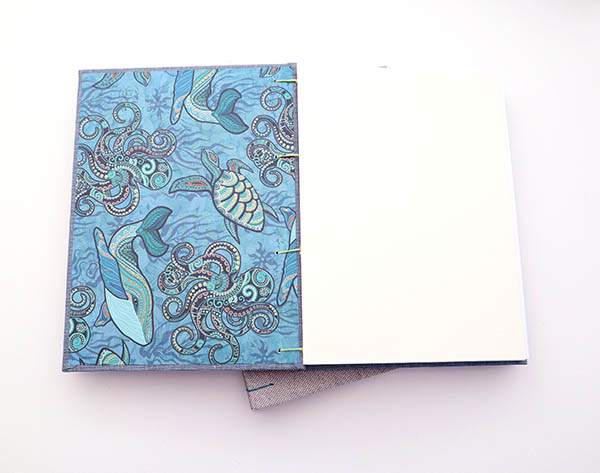
Admire your new Coptic stitch journal 🙂

Full Video: Bookbinding Tutorial | DIY Hardcover Coptic Stitch Journal
Watch the entire process from start to finish in this full length video with every step and more visuals.
I hope you enjoyed this tutorial!
Complete book materials kits
Each kit includes all the tools, supplies & materials to make one beautiful book.
More bookbinding goodness
✨ What tools do I need to get started bookbinding?
- Bookbinding Tools & Supplies Quick Start Guide – learn all about book making tools, which to buy first & where to go online
- Pick up my popular Complete Starter Bookbinding Tools Kit – all the bookbinding essentials in one spot
🌟 Looking for a simple way to start making books?
Try a Complete Book Materials Kit. Each one has everything you need (+ tutorials & videos) to make a beautiful book without all the fuss.
Thank you for taking me along on your book making journey!
Misty


