Is it really possible to create a book in under half an hour? Yes, it is! This simple tutorial will show you how to use the Perfect binding method to make a handy DIY notepad in 15 minutes or less.
All you’ll need for this DIY notepad is a few scrap materials (probably laying around your house) and some simple tools. All of the tools can be replaced with alternatives (use your fingertips, for example) except the ruler. Believe me, you’ll want to use a ruler and not your foot or whatever.
Bookbinding Tutorial: Handy DIY Notepad
Measurements: 76mm x 70mm (3″ x 2-3/4″)
Total Time: approx. 15 mins
DIY notepad materials:
- 1/2″ thick stack of single sheets of paper size 3″ x 2.75″ (any paper is fine – even printer paper!)
- 1 piece of cardstock, any color or design of your choice, in size 6.5″ x 2.75″ (this will be your notepad cover)
- Elmer’s glue
Recommended tools:
- 2 binder clips at least 1-1/2″ wide OR two easy grip clamps that won’t damage paper
- Bone folder or any tool that can be used to score a line without tearing paper
- 12″ ruler
- Paste brush OR use your fingers 🙂
Steps to create a Handy DIY Notepad:
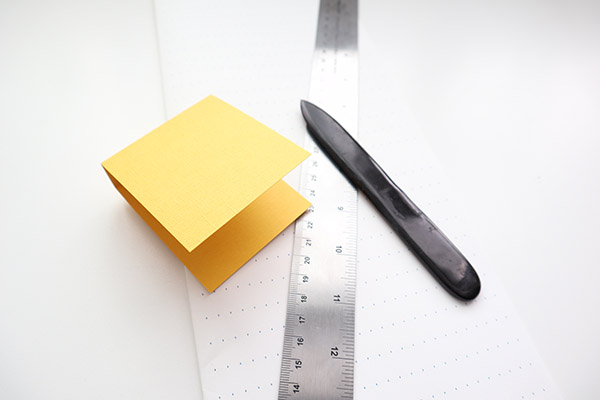
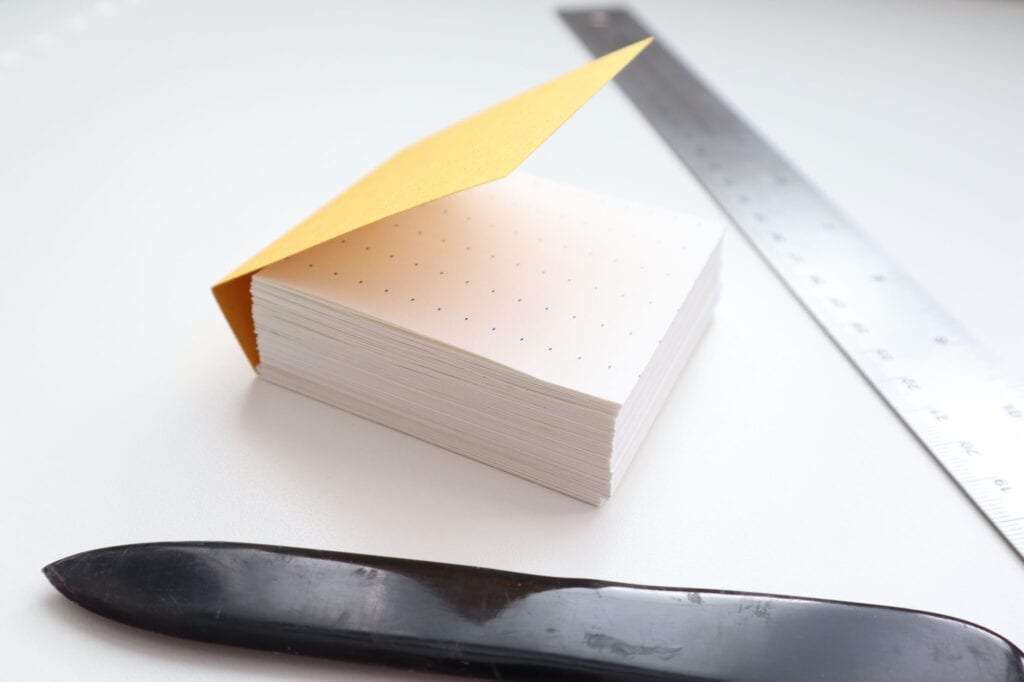
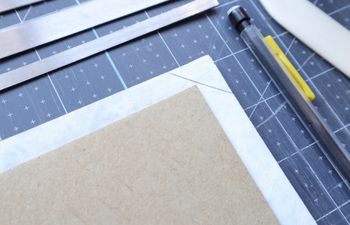
- Using your ruler and bone folder, score a line on the cardstock at 3″ and 3.5″ (photo #1)
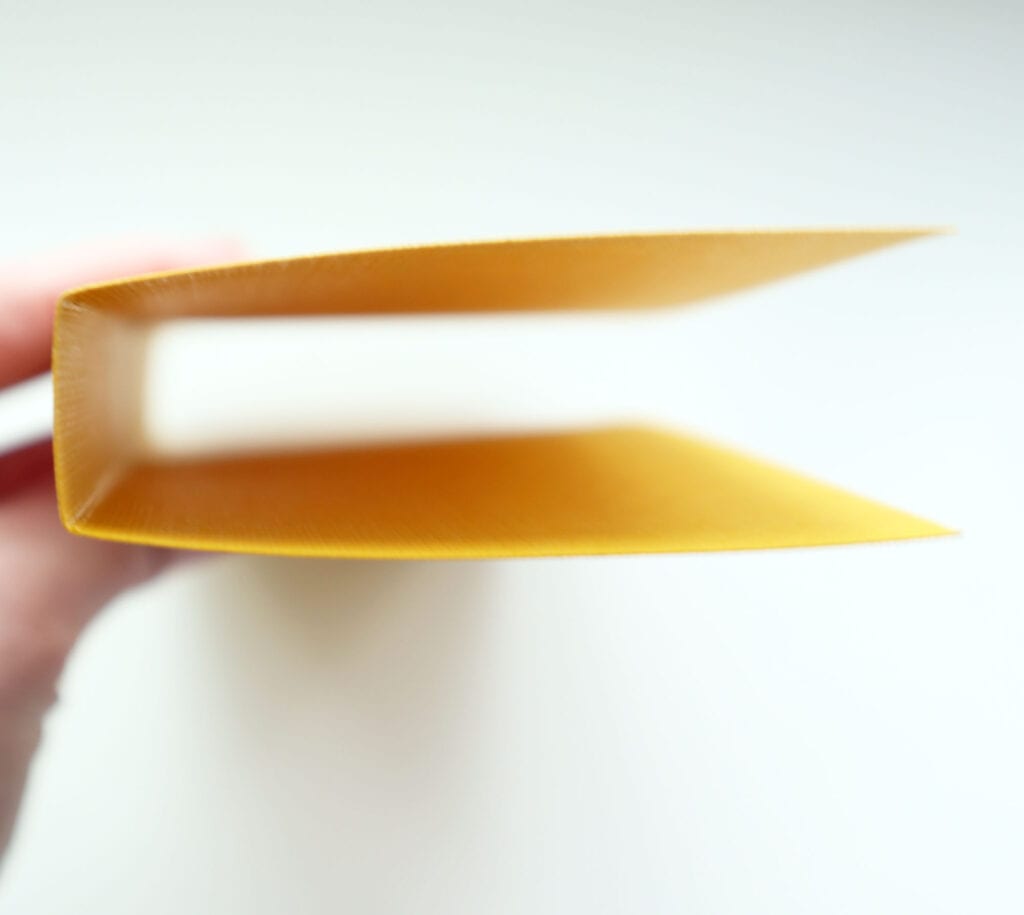
- Fold the paper on each score line. This should form a 3-sided box with one open side (see photo # 2)
- Stack up your lose sheets of paper so they’re flush on one side (the other side won’t be as flush; this is ok and exactly what you want!)
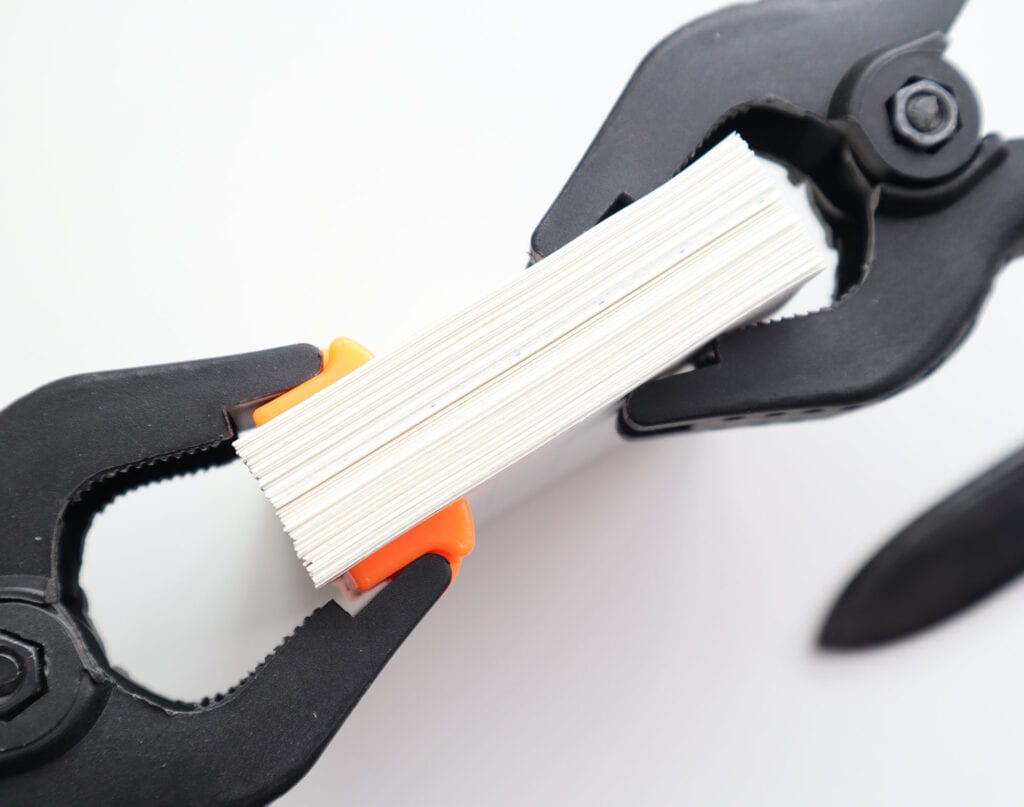
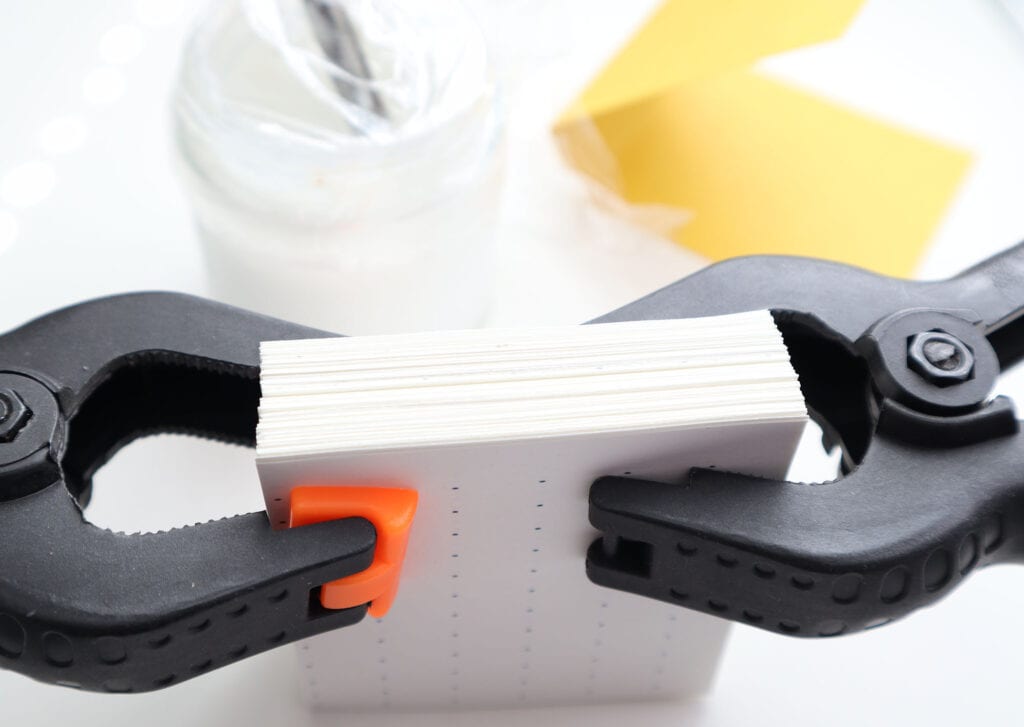
- Place a binder clip or clamp on each side of the stack to hold the paper in position. Make sure the uneven side is facing up and closest to the the binder clips (see photo #3)
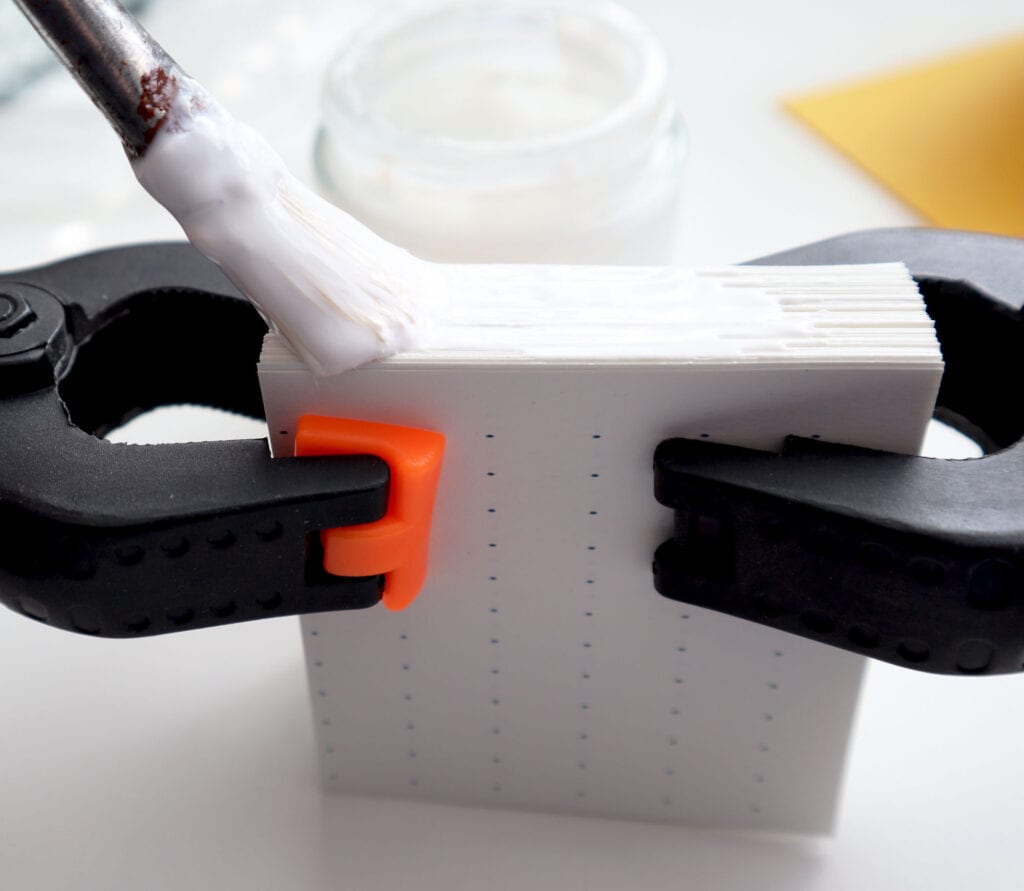
- With the paper stack now free standing (if not, prop it up with something nearby), start applying a layer of glue with your fingers or paste brush (see photo #4)
- As you’re applying glue, always brush the glue from center outward to each side (see photo #5)
- Allow to dry fully (around 2-5 minutes) (photo #6)
- Apply a second layer of glue and allow to dry. At this point, I recommend a third and even fourth layer of glue if you have time (optional – but makes a stronger book)
- Remove the clips. Your pad should stand solo now with the glue holding everything in place
- Apply another layer of glue and adhere the cover to the notepad. Press the cover to the spine and remove any excess glue that seeps out on either side (photo #7)
- Instead of using clips to hold it in place (the clips might dent the cover), set the book on its side and rest something heavy (2lbs or more) on it
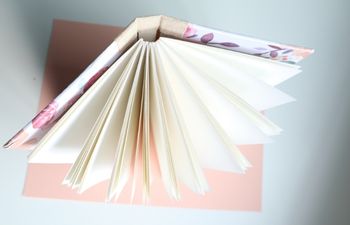
- Allow the book to fully dry before using. I recommend letting it dry overnight if possible, but a few hours is fine (photo #9)


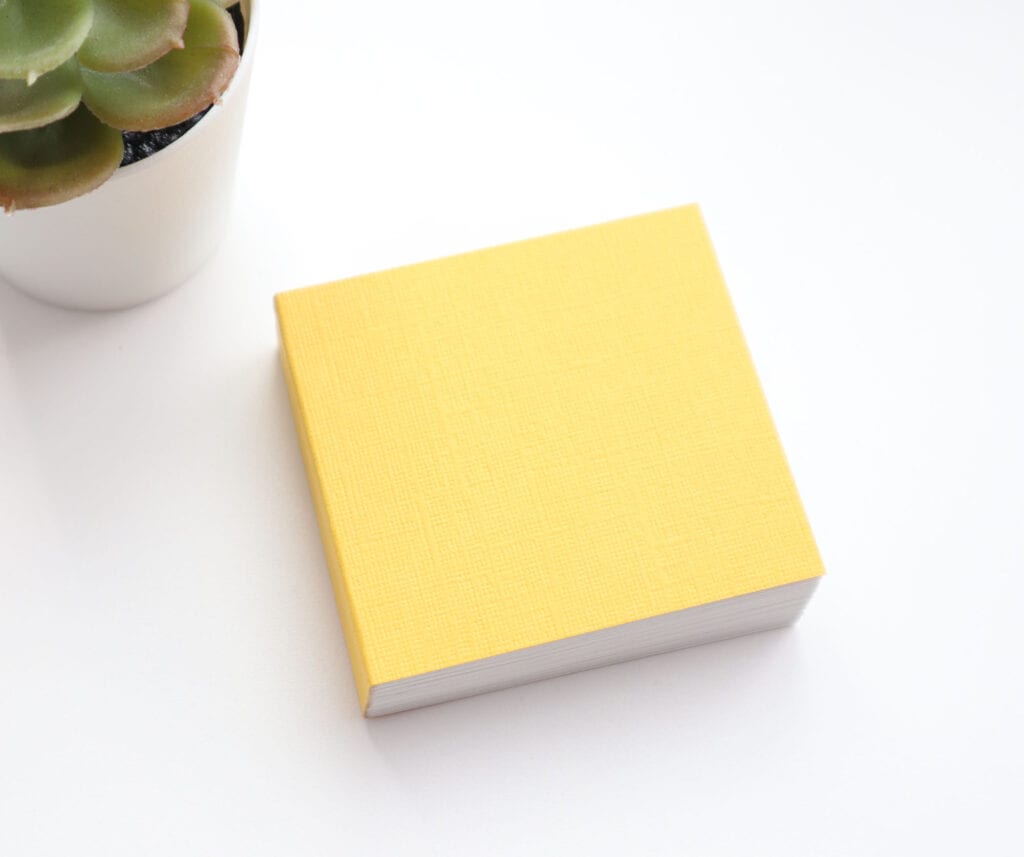
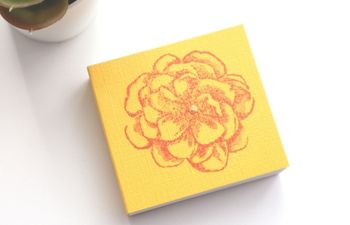
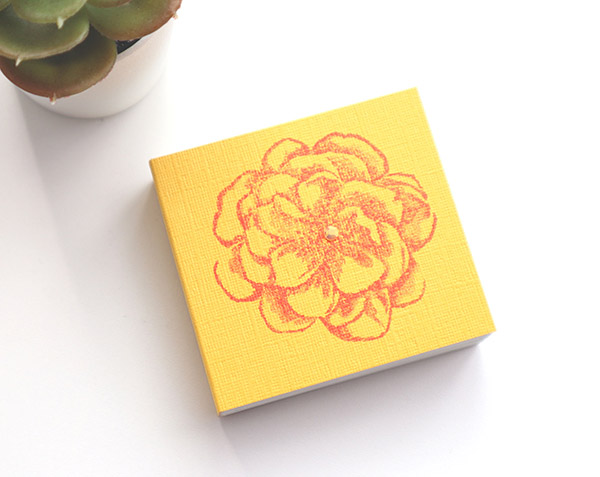
Admire your handy new notepad!
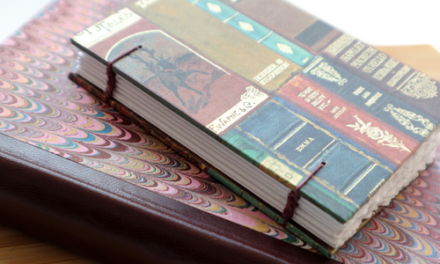
Once the book is done, you’ll have a useful notepad for all of those last minute scribbles, grocery store lists or quick notes in lunch boxes. Don’t be afraid to experiment with different types of papers. Use stamps for unique designs, or embellish with adhesive gems or jewels. Here is my finished book.
I hope you enjoyed this quick and easy tutorial!
More bookbinding goodness
✨ What tools do I need to get started bookbinding?
- Bookbinding Tools & Supplies Quick Start Guide – learn all about book making tools, which to buy first & where to go online
- Pick up my popular Complete Starter Bookbinding Tools Kit – all the bookbinding essentials in one spot
🌟 Looking for a simple way to start making books?
Try a Complete Book Materials Kit. Each one has everything you need (+ tutorials & videos) to make a beautiful book without all the fuss.
Thank you for taking me along on your book making journey!
Misty


