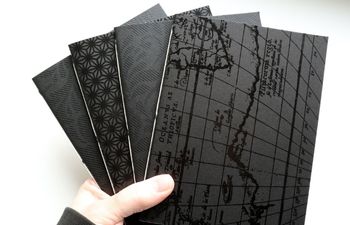
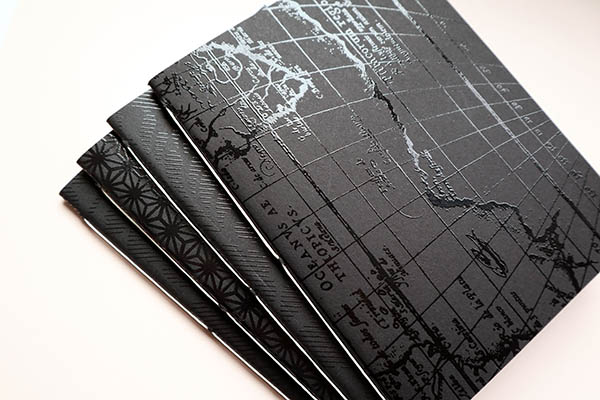
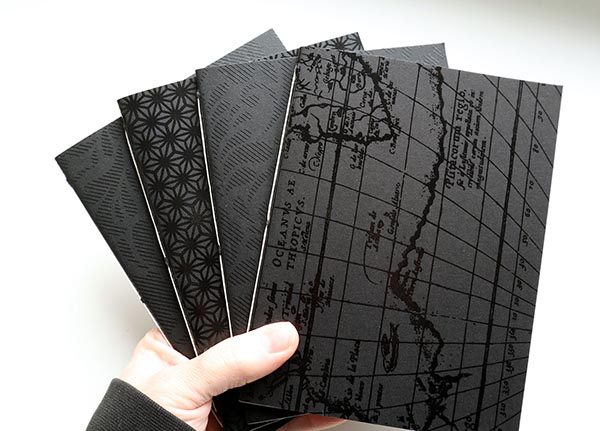
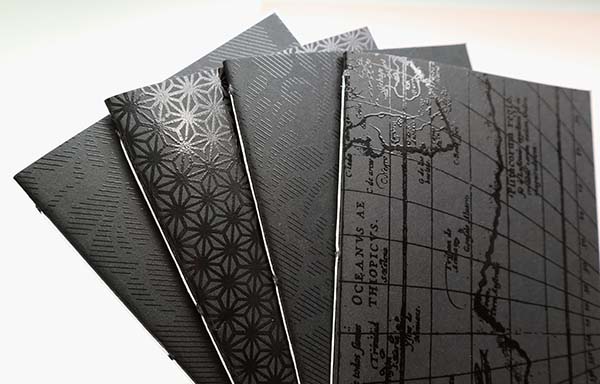
If you’re looking for a book you can create in a flash, look no further. This simple book uses an easy sewing technique called the 3 hole pamphlet binding method to secure 10 folded pages. It took me less than an hour to make 4 books with 40 pages front and back each. I chose some gel embossed 12×12 card stock from the craft store and white linen thread for contrast.
I hope this tutorial is helpful and you
Enjoy!
Bookbinding Tutorial: 3-Hole Pamphlet Binding
Measurements: 171mm x 130mm (6.75″ x 5.125″)
Total Time: approx. 15-20 mins each
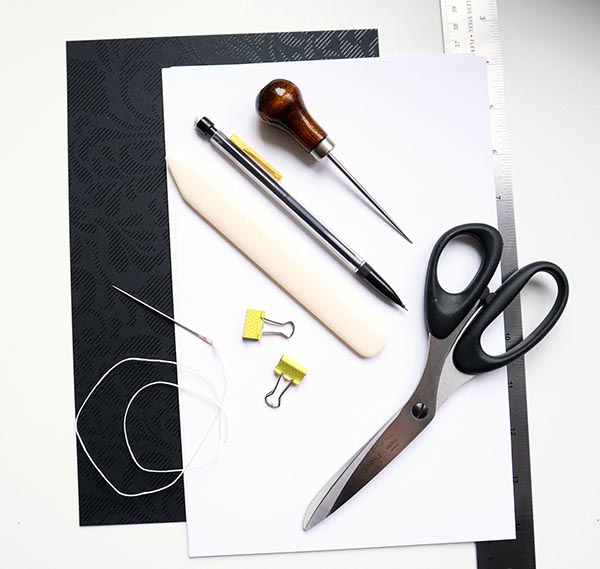
Materials needed:
- 10 sheets of 70 or 80lb smooth text paper, any color, size 10.25″ x 6.75″
- 1 sheet of 90 or 100lb cover stock, any style, size 10.25″ x 6.75″
- 17 inches of #18 linen thread, waxed
Recommended tools:
- 2 mini binder clips at least 3/5″ wide
- bookbinding needle
- bone folder or use your fingertips
- tapered awl or something to pierce
- pair of scissors
- ruler at least 12″
- pencil
Steps to create the 3-hole pamphlet binding
Step1: Create the book block
- Gather the paper and cover stock together with the cover on top.
- Gently fold the stack until the two ends meet. Pinch the ends with your fingertips to hold them in place.
- Use a mini binder clip to secure each end.
- Starting at the center of the spine, press with a bone folder going up and then down.
- Move the mini binder clips so that one secures the top right corner while the other secures the bottom left corner.
Step 2: Measure and pierce sewing stations
- Lay the book on its back with the fold horizontal, text paper facing up and cover facing down.
- Find the crease and, using a ruler and pencil, lightly mark three points from the left: 0.5″, 3.5″ and 6.25″
- Using an awl, pierce each point through until about 1/4″ of the awl point is visible.
Quick tip: fold the book in half while piercing to ensure the holes are directly on the spine. See video for example.
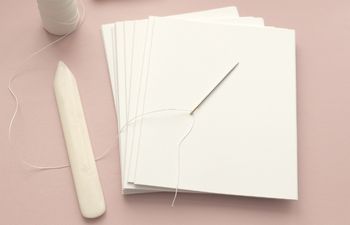
Step 3: Sew the 3-hole pamphlet binding
- Prepare the needle with waxed linen thread.
- Start at the inside center hole. Move through the hole until only 1-1/2″ of thread is left inside the book. Your needle should now be on the outside of the book.
- Re-enter through the top hole, pulling taught. Your needle should now be on the inside of the book.
- Skip the center hole and move through the bottom hole. Your needle should now be on the outside of the book.
- Re-enter through the center hole once more. Your needle should now be on the inside of the book at the very center hole.
- If you’ve sewn correctly, you will now see the original flap of thread as well as the remaining thread still attached to your needle. Make sure they are on either side of the center line of thread and then tie a square knot.
- Trim the threads so that each piece is about 1″ long. Tuck these ends under the center thread to hold them in place.
- Remove the mini binder clips
- Place the book under a few heavy books – go for about 3 to 5 lbs if you can – for at least an hour. I like to press mine overnight. This process releases air, giving the book that slim, professional look
Quick tip: trim the edges of the book using a ruler and retractable blade to create an even, smooth appearance
Full Video: Make a Simple Book Using the 3-Hole Pamphlet Binding Method
To make this easy, I created a quick 4-minute video with walk-thru instructions. No audio.
How to use your handmade pamphlet books
These completed books measure 6.75″H x 5.125″W and have awesome uses (they’re also great gifts).
Ideas for these books:
- Wine and/or whiskey tasting booklets
- Travel journals for short road trips or weekend vacations
- Fitness and/or food intake logs – use one for each month
- Notes on various topics – use one book for each topic (i.e new craft tutorials to explore, etc.)
- Track habits or occurrences (such as allergic reactions)
- Traveling poetry or sketch books
I hope you enjoyed this introductory bookbinding method and tutorial!
More bookbinding goodness
✨ What tools do I need to get started bookbinding?
- Bookbinding Tools & Supplies Quick Start Guide – learn all about book making tools, which to buy first & where to go online
- Pick up my popular Complete Starter Bookbinding Tools Kit – all the bookbinding essentials in one spot
🌟 Looking for a simple way to start making books?
Try a Complete Book Materials Kit. Each one has everything you need (+ tutorials & videos) to make a beautiful book without all the fuss.
Thank you for taking me along on your book making journey!
Misty


