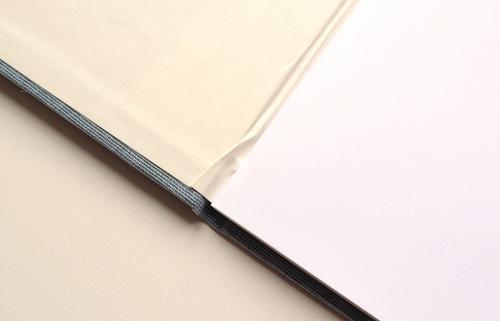
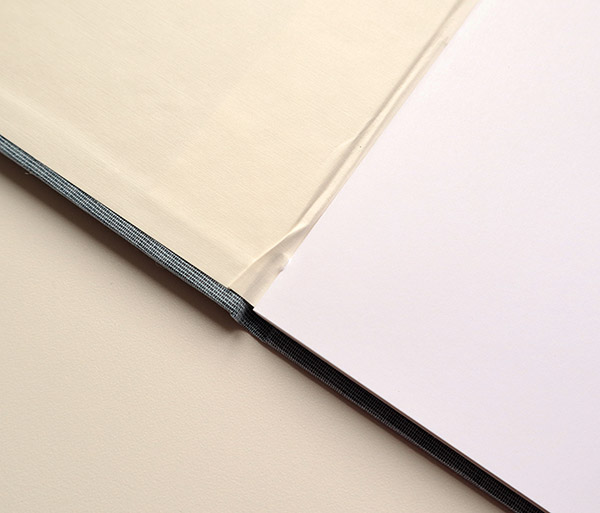
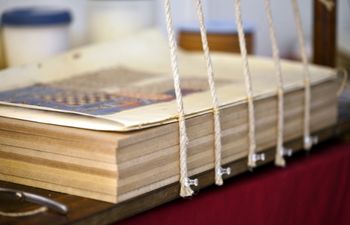
There’s nothing worse than pulling a new book out of the press, only to open it up and see ugly wrinkles in the end papers or along the hinge. This happens so often that I’m asked how to prevent it at least once a week on Instagram. In this post, I’ll share some of the reasons this happens and how to stop paper from wrinkling in your books.
Wrinkled end papers are usually the result of one or more of the following:
- Too much glue
- Using the wrong type of glue
- Paper is too thin
- Paper expansion
Let’s talk about these issues and how you can correct each one.
Too much glue
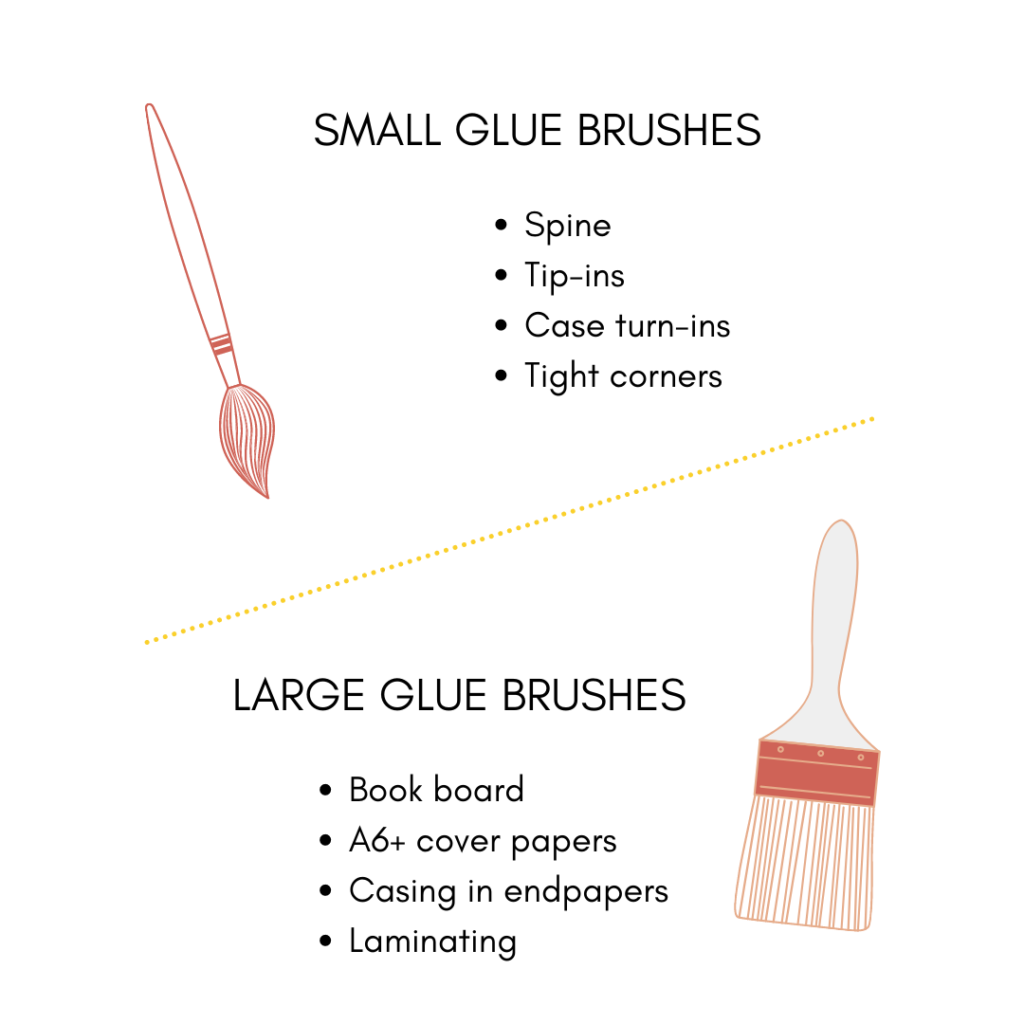
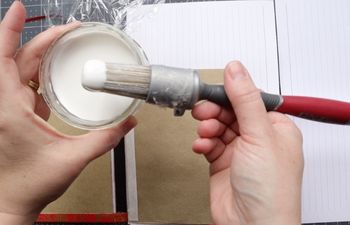
Glue needs to be absorbed before it will set. Too much glue will give the paper a chance to move around (thanks, gravity and pressure) before it dries. To prevent this, make sure you’re using the right size paste brush for the project. If the brush is the right size, be sure to move from the center of the paper out toward the edges in long, even strokes. You can see a visual on my brush technique here.
The wrong type of glue
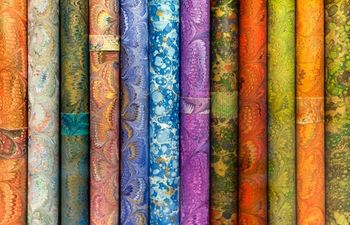
All materials are different. Some absorb faster or slower than others, so it’s good to think about this when selecting an adhesive. Some PVAs are very thick and will sit on the surface (allowing for more mobility) before absorption is complete. This can work wonders when gluing down highly porous Mulberry paper, but it can spell disaster if you’re working with a sheet of Japanese Chiyogami.
For porous materials, thick PVA’s are okay. For impermeable (less porous) materials, go with a standard PVA or PVA mixed with Methyl Cellulose.
If you’re not sure what glue to use, check out this experiment where I tested two types of glue on several different kinds of paper (all of them popularly used as covering materials or endpapers).
Paper is too thin
Thin papers require very minimal adhesive. Most of us will oversaturate thin paper on accident. Most of the time, we don’t even realize it. The excess water ends up between the waterproof barrier (usually wax sheets or plastic film) and the top of the paper itself. As the book is pressed, the paper will move around in the water, leading to wrinkles or tears.
To avoid problems when gluing thin papers, try these tricks:
- practice on a small piece of the paper first to see what happens & adjust the brush or adhesive as needed
- use a different type of adhesive, such as spray or a glue stick, to lower the water content. Just make sure you choose an archival (acid-free) alternative if the book is intended to last a long time
- laminate the paper. Laminating is the process of gluing a sheet of very thin-yet-strong paper, such as Japanese tissue, to the back of thin paper to add reinforcement. Let the laminated sheet dry completely before moving forward
Paper expansion
When wet, paper will expand along the grain. As the paper expands, the width of the sheet will naturally increase. Many of us make the mistake of measuring out exactly what we need without taking expansion into consideration. This leaves us with too much paper that moves around and can wrinkle when drying.
To correct this issue, understanding paper grain direction and the porosity of the material is important. If a material is highly porous, it will absorb more water and lead to more expansion. The opposite is true for less porous papers. Once you know how much water is absorbed, you can counter it by cutting the paper slightly shorter than necessary so it can expand into the actual size required.
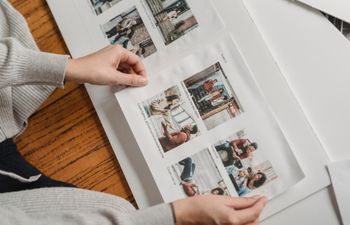
At one point, I ran some tests on a few of my favorite papers to understand how porous they were. You can do the same thing at home. Just follow these steps:
- Cut down a few different papers to around 10 x 15cm (4×6″) with grain long
- Measure the width before applying PVA
- Apply PVA using a small brush
- Let the paper sit for 60 seconds, then measure the width & write it down
- After another 60 seconds, measure the width & write it down again
A simple test like this can tell you 1) how quickly the glue is absorbed and 2) how much expansion happens every 60 seconds. Use this information to cut the paper slightly shorter than what you actually need and then give the paper time to expand before smoothing into place with a bone folder.
Hope this was helpful!
More bookbinding goodness
✨ What tools do I need to get started bookbinding?
- Bookbinding Tools & Supplies Quick Start Guide – learn all about book making tools, which to buy first & where to go online
- Pick up my popular Complete Starter Bookbinding Tools Kit – all the bookbinding essentials in one spot
🌟 Looking for a simple way to start making books?
Try a Complete Book Materials Kit. Each one has everything you need (+ tutorials & videos) to make a beautiful book without all the fuss.
Thank you for taking me along on your book making journey!
Misty


