If you’re thinking about using leather on books and don’t know where to start, this post is for you.
I was in the same position in 2019 when I first thought of using leather on my own books. There’s something about leather that can turn a book into a piece of fine art or an ancient talisman. It’s been used for centuries and I wouldn’t feel “complete” as a bookbinder until I tried it myself.
However, given the price and complexities of leather, I kept putting it off. Looking back, I wish I’d have known what I know now!
In this post, I’ll share my top three tips (+ a bonus tip!) to help you get started using leather on your own books. The hope is that you’ll waste less money and feel more confident after working with different types and thicknesses of leather.
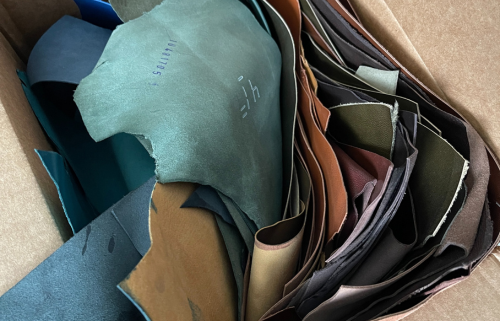
Tip #1: Start with scraps (and get them for FREE)
It’s really important to understand how leather feels in your hands while dry and wet. There are so many different kinds of leather! Each one has its own characteristics that will work and appeal to you differently. Before you go out and buy a brand new skin, start with scraps.
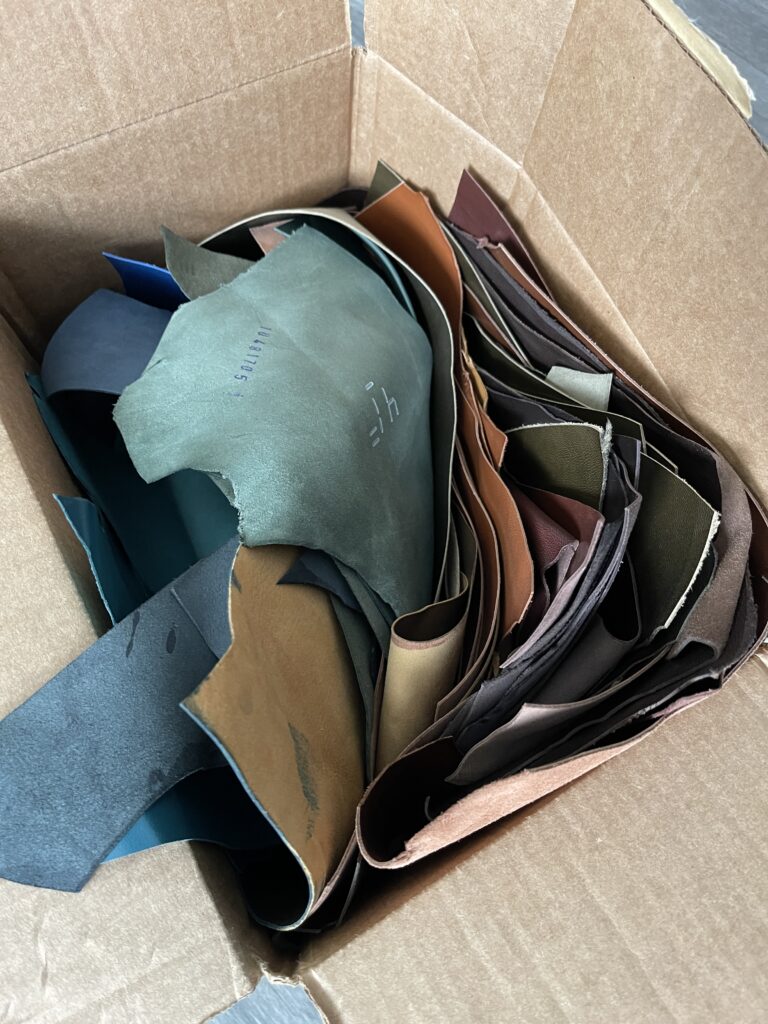
When I say “start with scraps,” I don’t mean that you should run out and buy a bunch of leather scraps online or convert an old leather purse into a book cover. Not all leather is created equal. Books need leather from an animal that is less than a year old (less than six months for cows) in order to guarantee softness and flexibility.
To get the right kind of book-quality leather scraps, reach out to a local binder or bindery. Many binders have large pieces of leather leftover after a book project. Instead of throwing it away, they may be willing to sell it to you at a good price or offer it for free. I once took a class from a master bookbinder in Seattle who offered me all of her scraps on a quarterly basis. Without me there to take the scraps, she would have had to throw them away. What a waste!
If you don’t have a bookbinder nearby, check with your library. Large city libraries often have a book restoration/conservation department that might be able to help.
Whatever you do, DON’T accept leather scraps from shoe, bag, belt or other leather goods creators. These types of leather are usually thick and tough. While this works great for shoes and belts, it makes paring and folding over book board edges nearly impossible.
There are a few other notable benefit to using scraps at first:
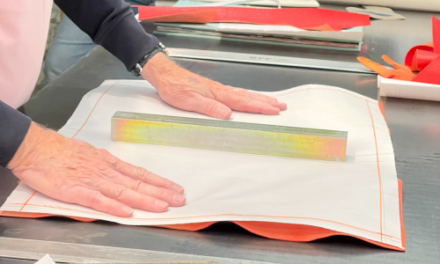
- practice paring different types and thicknesses of leather
- get a feel for different types of leather (calf vs. goat, for example)
- understand how grain and color go together
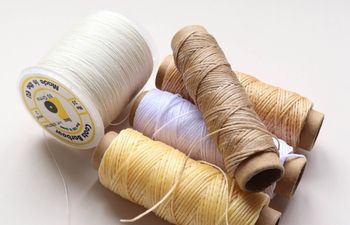
- try out different types of adhesives to see what works best
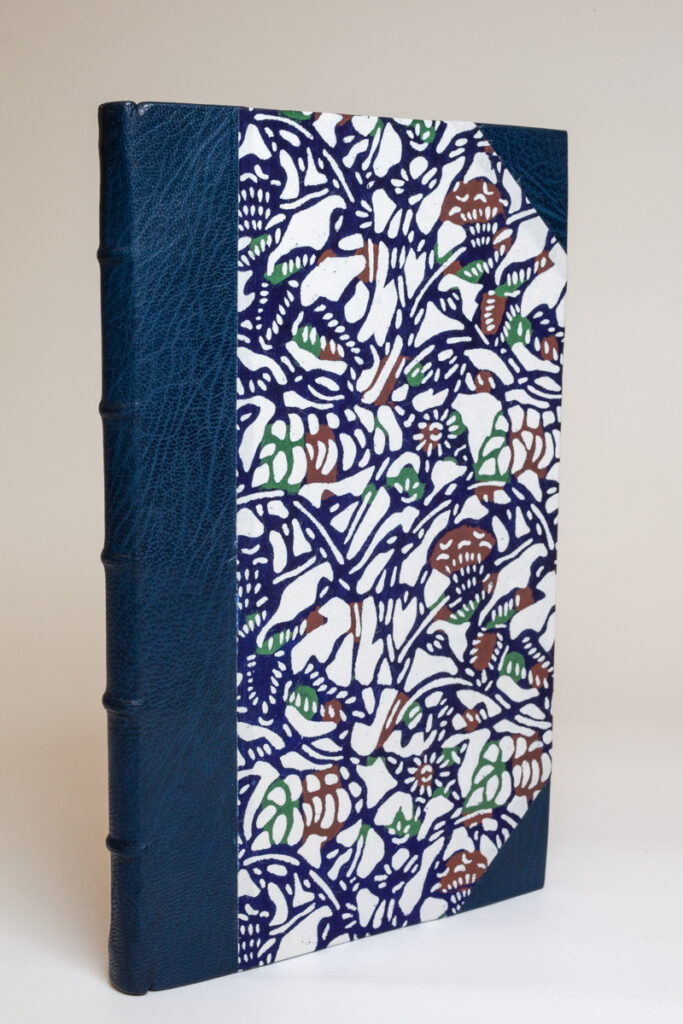
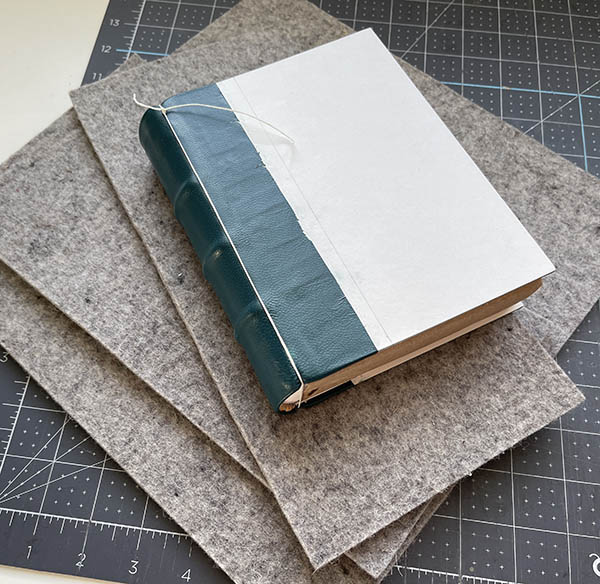
Tip #2: Try a half, quarter or miniature leather binding first
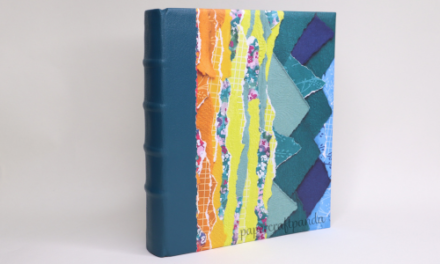
Before you jump into a fully covered leather binding, go for a miniature book or try your hand at a half, quarter or 3/4 leather binding first.
Half, quarter and 3/4 leather bindings place a small piece of leather over the spine and corners to protect the most vulnerable parts of the book. Miniature bindings are a fun way to get a quick payoff, but keep in mind that manipulating leather at a smaller size can sometimes be harder than the larger version. That said, there’s very little risk involved with a tiny book and so much to learn!
The scraps mentioned earlier will work great for both of these projects. I still use the leather scraps provided to me by my previous instructor to practice books today.
Here are a couple half leather bindings I’ve made using these scraps:
If you don’t want to use leftover leather or need a very specific color, go ahead and buy a full skin. You’ll use less leather, so the skin will go further and yield many beautiful books.
Tip #3: When buying leather, go with the lowest available quality
Leather quality is measured in numbers. When it comes to bookbinding leather, one is the highest quality and four is the lowest. “Quality” refers to the number of blemishes or other imperfections on the surface of the skin. Since the leather used to be on an animal, this makes sense. Some animals run into fences or were bitten by insects or other animals, so they have scars. I think scars are actually pretty cool and make a neat design element, but I understand not everyone prefers this.
When you’re just starting out, though, flawless skins don’t really make sense. The difference between a level 1 skin and a level 3/4 skin can be as much as $70-$100. You’re going to make mistakes (unless you’re a prodigy, at which point you probably aren’t reading this post anyway), so don’t waste your money. Save those extra dollars and put them into the next skin, possibly a level higher, once you’ve got some experience.
Bonus Tip #4: Where to buy book-quality leather online
There are a ton of places to buy leather online. Since you’re new to using leather on books, I’m going to recommend only ONE type of leather (goat) and TWO providers (Hewitt and Harmatan).
REMEMBER: When just starting out, always go with level 3 quality or below!
When it comes to leather providers, you can’t go wrong with these companies. They’re top in their class and have serviced the bookbinding industry for hundreds of years.
- You can buy both types (Hewitt and Harmatan) from Hollander’s online (look under Leathers > Hewitt Goat or Harmatan Goat).
- I personally buy my leather directly from J. Hewitt via their online store. This means I also need to pay the VAT cost, but I can usually find good deals when they’re working through overstock. While Hollander’s can be sold out of common colors like black, Hewitt always has them in stock for me.
Hope this was helpful!
More bookbinding goodness
✨ What tools do I need to get started bookbinding?
- Bookbinding Tools & Supplies Quick Start Guide – learn all about book making tools, which to buy first & where to go online
- Pick up my popular Complete Starter Bookbinding Tools Kit – all the bookbinding essentials in one spot
🌟 Looking for a simple way to start making books?
Try a Complete Book Materials Kit. Each one has everything you need (+ tutorials & videos) to make a beautiful book without all the fuss.
Thank you for taking me along on your book making journey!
Misty


