Today, I’m giving you an overview of the case binding method. This method is used in bookbinding to create strong, flexible books intended to last for generations.
The case binding itself dates back to the middle ages when books were a symbol of wealth and status. These books were often encased in wood covers for protection. Hundreds of years later, during the Industrial Revolution, the case binding method was standardized as a way to quickly produce books that could tolerate heavy use and transfer. This continues to be true today.
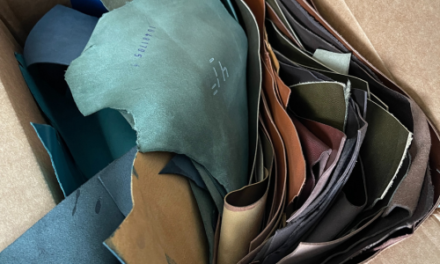
The case binding method has evolved through many innovations and improvements to get where it is today. Modern bookbinders use this method to create books bound in all sorts of materials (cloth, leathers, wood, papers and more) to express the content of the book and the artist themselves.
Every bookbinder should be familiar with this method, so let’s dig in!
This method is easily recognized for 4 reasons:
- The case and the text block are created separately,
- Completely covered and reinforced spine,
- Does not lay flat, but the spine is flexible,
- Expansive finishing options and coverings
What is a case binding?
- Bookbinding Method or Technique: Case binding (casebinding)
- Minimum Skill Level: Intermediate
- Characteristics: book block and case created separately, flat or semi-rounded spine, hard covers
- Great for: journals, manuscripts, dissertations, binding artwork, manuals
- Bad for: any book that needs to lay open flat
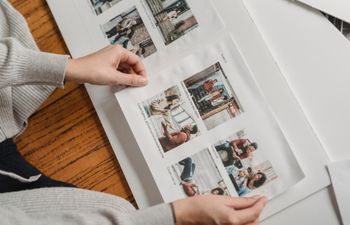
Case bindings are everywhere, from journals and photo albums to recipe books and novels.
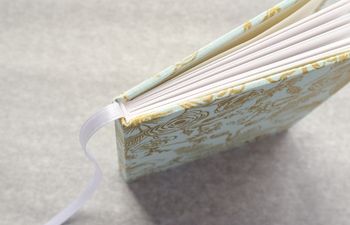
At its simplest, a case binding is just a hard cover book where groups of pages are sewn together and bound between pieces of book board covered in a protective material.
Take a look around your own home. Do you see any case bindings? Grab one and open it up. It could be very helpful as we go through the structures.
While I’ll be covering some steps of book assembly, this is not an in-depth tutorial. This article is intended as an overview only. I’ve broken the entire process down into three detailed tutorials if you’d like to make one yourself.
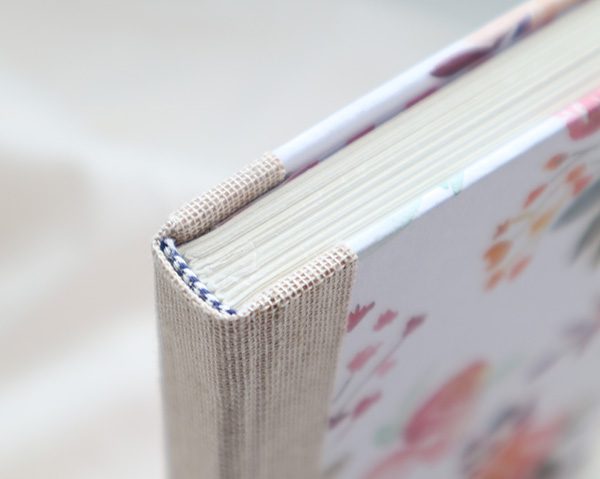
Characteristics of a case binding
Coptic bindings are have an exposed spine with chain link stitching and multiple sections. The covers are usually hard, but may also be soft or protected with leather. Like a Pamphlet binding, the book block is traditionally flush with the head, tail and fore edge. This makes it an easy book for beginners and intermediate book artists who may not know how (or have the equipment to) trim these three edges. The covers are sewn directly to the first and last signatures, so there is zero adhesive required (unless you’d like to cover the boards first). A straight needle can be used to sew these bindings, but most people find curved needles easier to use.
Case bindings have a closed spine with sewn text blocks and multiple sections/signatures. The case and text block are created separately and joined together at the end (called “casing in”). The covers are hard and the text block usually sits inside the covers by about 2-3mm from the top, bottom and fore edges. The book’s spine may be rounded or flat with headbands at the head and tail. Many different materials can be used on these books. The most popular are paper and cloth.
The 7 “building blocks” of a case binding
Case bindings have what I call “7 building blocks”:
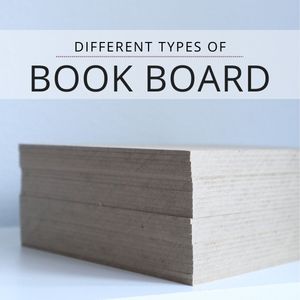
- Book board (also: bookboard, binder’s board, millboard, greenboard)
- Covering material
- Endsheets
- Endpapers
- Head/tail bands
- Paper
- Spine
- Extras (also: finishing)
The case and text block
When brought together, these 7 building blocks form two primary structures:
- Casing (or, case)
- Text block (or, book block)
Case
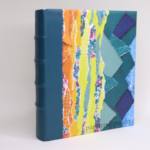
The casing is created by covering the spine and boards in a single sheet (or combination) of paper, cloth or leather. The paper or cloth is glued to the book board and pressed under weight until dry.
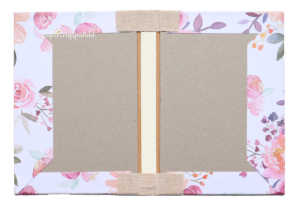
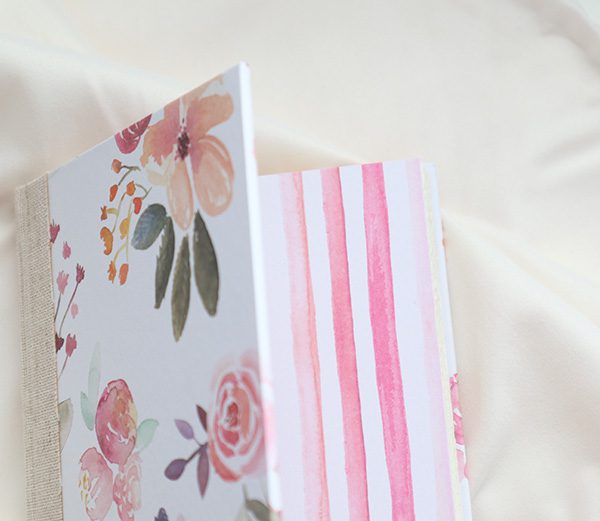
I’m using linen book cloth over the spine and decorative paper over the covers.
Text block
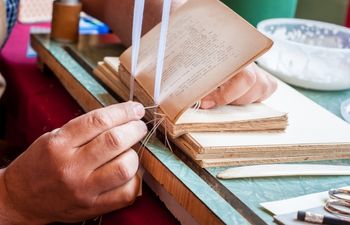
The text block (or book block) is created by sewing groups of paper that have been folded (called sections or signatures) together. Once pressed to remove the air, they may or may not be sewn onto supports. Supports are typically linen tapes or cord (twisted twine). Once sewn, the signatures go through a process of reinforcement along the spine (gluing, adding additional supports) until they’re held firmly in place.
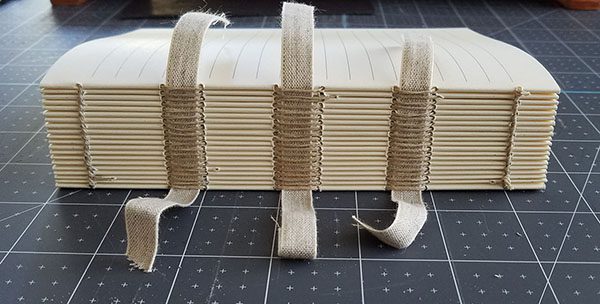
Preparing the text block for casing in
At this point, endpapers may be attached to the text block using glue along the spine edge or directly to the top sheet. Some binding methods require these to be sewn in with the signatures beforehand. Either way works and is up to your preference.
Next, head and tail bands may be attached to the text block using glue or hand-sewn methods (not covered here). These are totally optional, but should go in before the book is cased.
Once the head and tail bands are secure, an additional support (usually called a super or mull) is glued in place around the back of the text block for additional reinforcement.
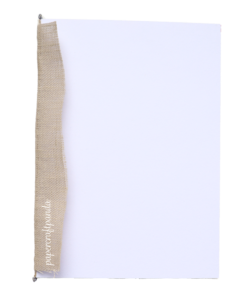
Before the text block can be glued to the case, it is first placed inside the case to ensure adequate coverage. I call this “fitting the text block.”

Securing the text block to the case
The text block is secured to the case by gluing the endpapers to the front and back covers. Newsprint and a glue barrier (usually wax paper, parchment or mylar) are inserted between the endpapers and first/last page of the book to prevent moisture from seeping into the text block.
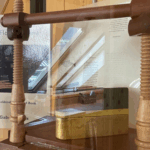
The completed book is then placed under weight (usually a book press) to dry overnight or up to 3 weeks depending on the project.
Finished book
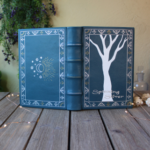
Voila! The book is now complete!
There are many steps in between, of course, but this is what you can expect when everything comes together:

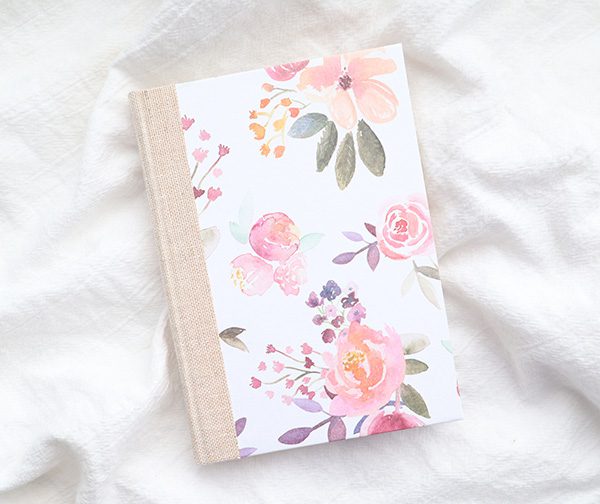
Are you ready to make a case binding?
I’ve split the process into three detailed tutorials:
- How to Create a Casebinding (Part I)
- How to Create a Casebinding (Part II)
- How to Create a Casebinding (Part III)
More bookbinding goodness
✨ What tools do I need to get started bookbinding?
- Bookbinding Tools & Supplies Quick Start Guide – learn all about book making tools, which to buy first & where to go online
- Pick up my popular Complete Starter Bookbinding Tools Kit – all the bookbinding essentials in one spot
🌟 Looking for a simple way to start making books?
Try a Complete Book Materials Kit. Each one has everything you need (+ tutorials & videos) to make a beautiful book without all the fuss.
Thank you for taking me along on your book making journey!
Misty
