A bookbinding sewing frame is an essential tool for book makers. It allows us to sew on support structures, which is the next step for intermediate to advanced bookbinding. In this article, I’ll show you all the steps and components needed to setup and use a bookbinding sewing frame in your work.
What are support structures?
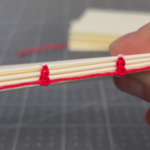
In Western bookbinding, supports are strips of leather thongs, cords or tapes sewn onto the text block of a book to reinforce the spine and keep the gatherings together. Leather thongs and cords were popular with Medieval style bindings, but died out around the 11th century. Linen tapes appeared around this time and are still in use today.
What is a sewing frame?
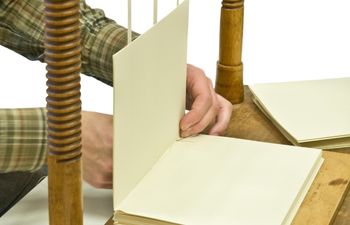
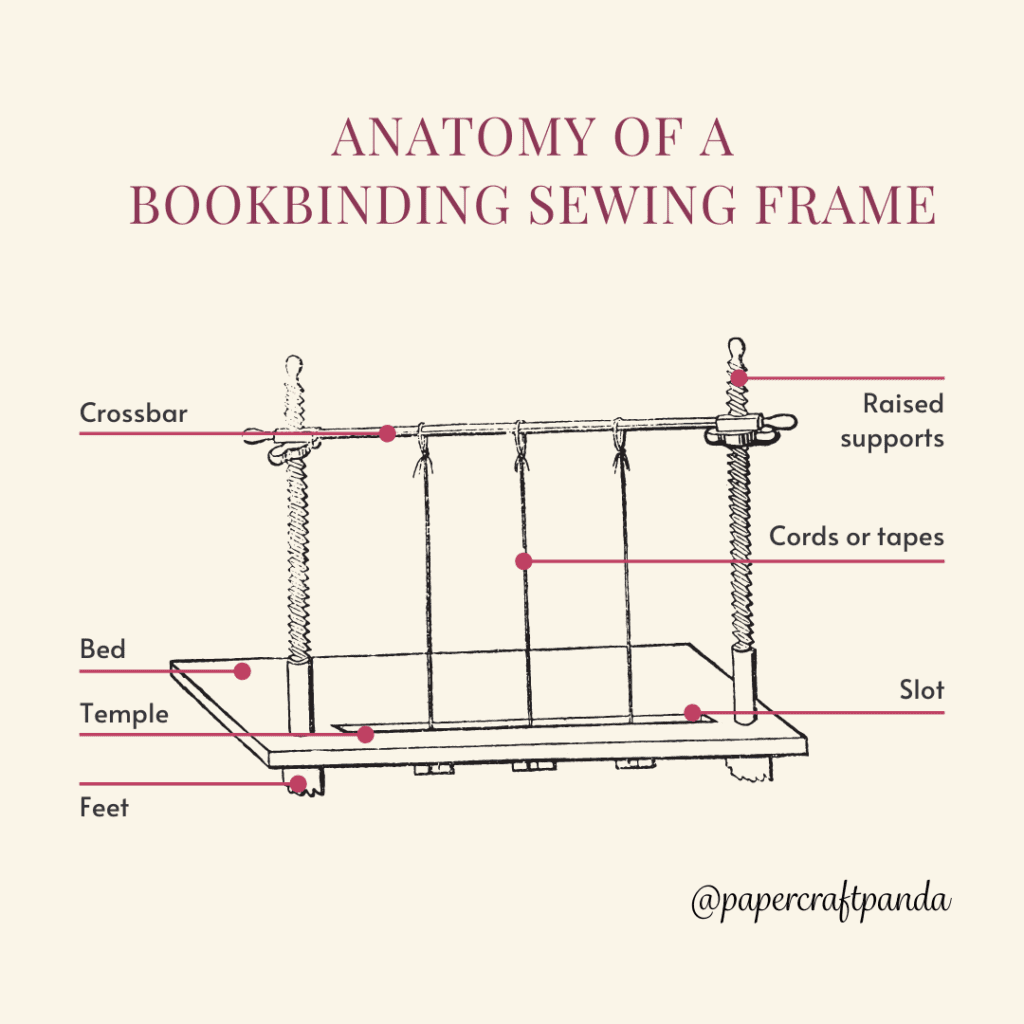
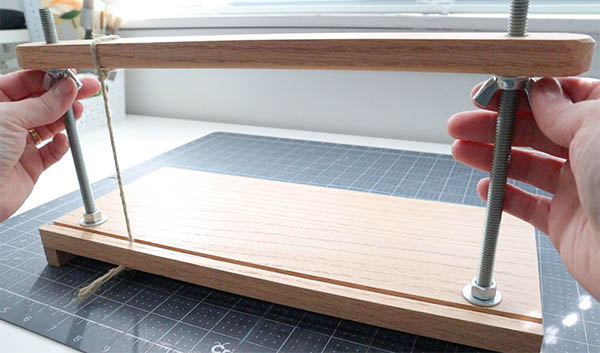
A bookbinding sewing frame is a wooden appliance used to attach supports to the text block of a book. While there is more than one type of sewing frame, all have seven key features:
- bed (platform) – base where the text block sits
- feet – wood pieces used to raise and support the bed
- crossbar – adjustable crosspiece held in place by two raised supports
- raised supports – two vertical pieces of threaded wood that are turned to adjust the height of the crossbar
- slot – elongated opening where sewing frame keys are inserted
- temple – wooden slat that fits inside the slot to hold supports in place
- cords or tapes – support materials tied around the crossbar and held in place by sewing frame keys
What are sewing frame keys?
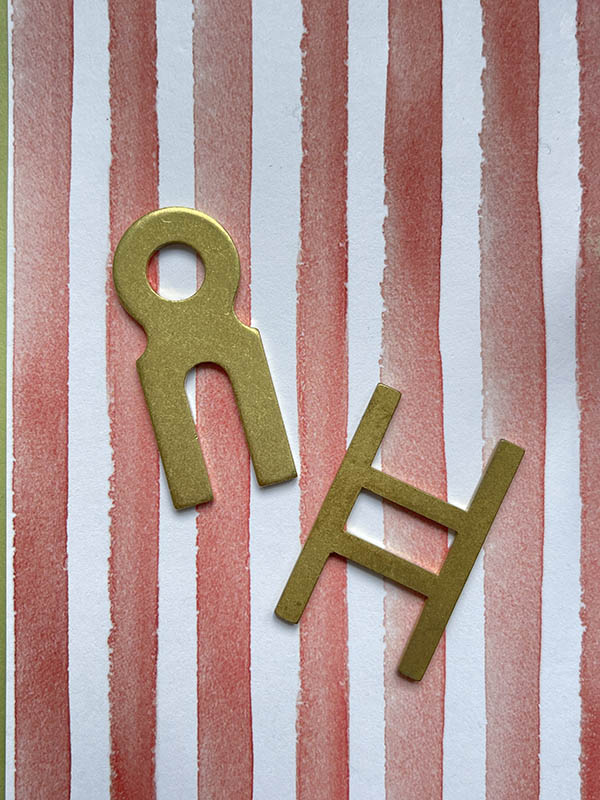
Sewing frame keys are usually wood or heavyweight brass. These keys secure tapes or cords underneath a sewing frame and come in two shapes:
- A-shaped keys – also called “cord keys.” Used with hemp, twine or jute cord
- H-shaped keys – also referred to as “tape keys.” Used with linen tapes
The construction of these keys makes it easier to secure cord or tapes. While it is possible to tie a cord around a tape key, it may not work as well.
How to setup the bookbinding sewing frame
The sewing frame is easy to setup and use. Follow these steps:
- Place the text block on the bed
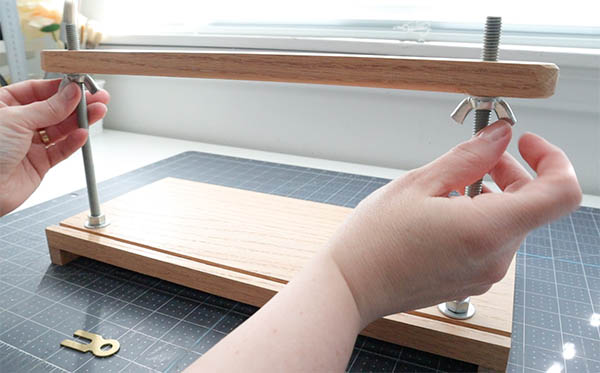
- Tighten the raised support bolts to lift the crossbar to a height roughly 2-3″ above the text block
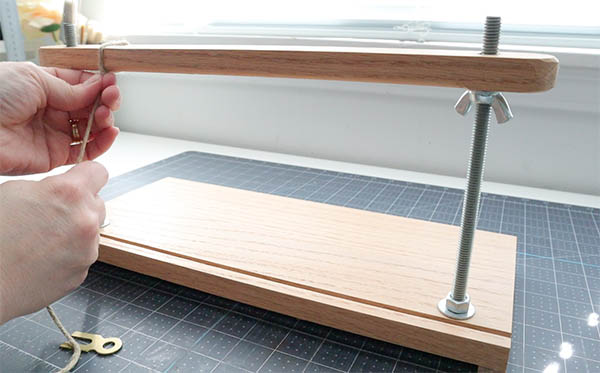
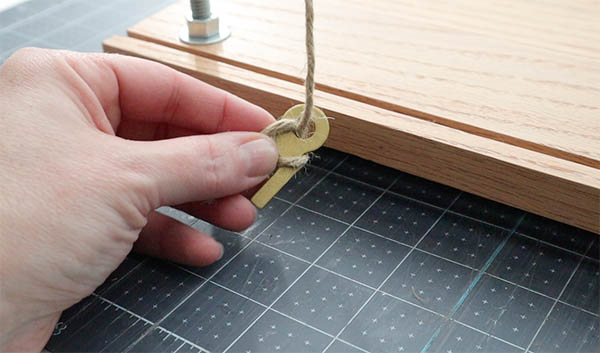
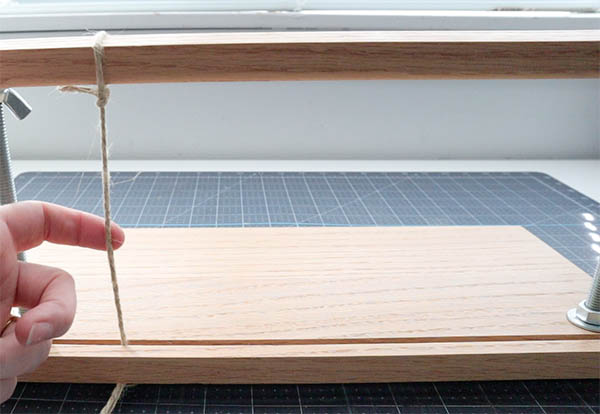
- Attach supports to the crossbar. The supports should be long enough to wrap the crossbar and extend 1-2″ beyond the slot.
- Cords or thongs: tie around the crossbar in a square knot
- Linen tapes: wrap around the crossbar and secure the two pieces using a safety pin or needle
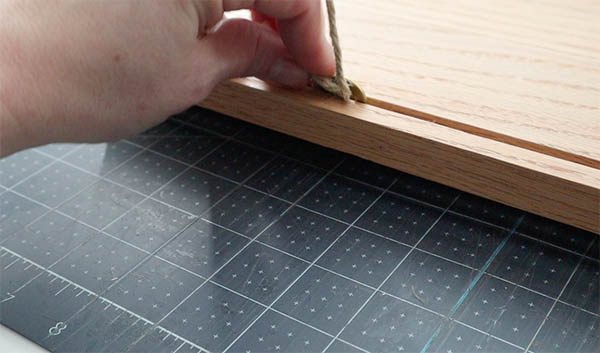
- Attach supports to the appropriate key. The key should be tight, but have enough slack to fit through the slot and under the bed
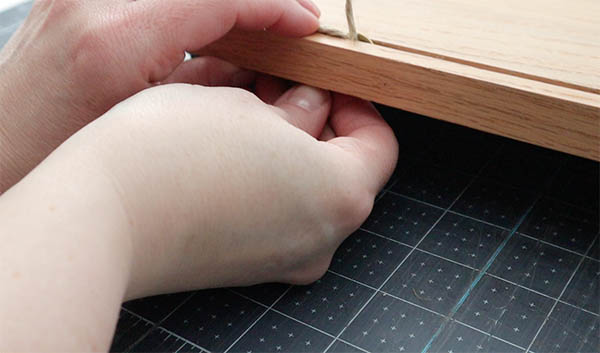
- Slip the key into the slot and turn clockwise under the bed
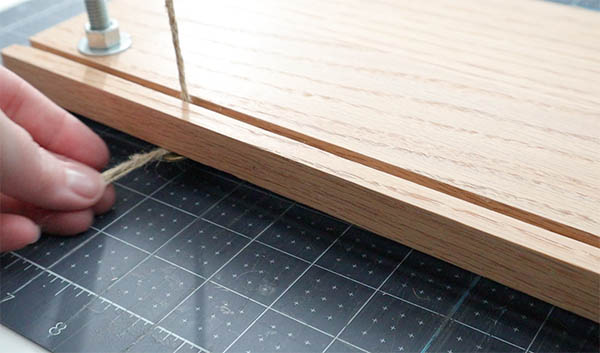
- If needed, slide the temple into the slot to further secure the supports and prevent keys from popping back through the slot
- Twist the raised support bolts until the supports have strong tension
Where to find a bookbinding sewing frame
Sewing frames can be purchased ready-made or created at home if you’ve got the mechanical chops. Here are a few resources to help you out:
Ready-made sewing frames
Ready-made frames are more expensive (usually $175 to $350).
- Talas online (great selection of sewing frame sizes)
- Colophon book arts (pricier; made with beautiful Sapele wood, similar to mahogany)
- Affordable Binding Equipment (well priced, simple frame that does the job!)
I’ve come across several beautiful handmade frames on Etsy, so be sure to check there as well.
Create your own sewing frame
DIY bookbinding sewing frames are far less expensive than their ready-made counterparts at only $30-$45 depending on the quality of materials.
- Eden workshops (straight forward and easy to follow PDF directions)
- Watch a sewing frame be made (perfect for visual learners) with instructions
There are tons of tutorials available online for variations of the standard sewing frame (some with different materials, others with hacks to make life easier). Just Google up “DIY bookbinding sewing frame” and have a look.
I hope this information will help you on your bookbinding journey. Just remember – sewing frames are not essential tools. While they do make life easier in the bindery, they’re not required and can wait until you’re ready.
More bookbinding goodness
✨ What tools do I need to get started bookbinding?
- Bookbinding Tools & Supplies Quick Start Guide – learn all about book making tools, which to buy first & where to go online
- Pick up my popular Complete Starter Bookbinding Tools Kit – all the bookbinding essentials in one spot
🌟 Looking for a simple way to start making books?
Try a Complete Book Materials Kit. Each one has everything you need (+ tutorials & videos) to make a beautiful book without all the fuss.
Thank you for taking me along on your book making journey!
Misty
