As you continue to learn and try new things in bookbinding, you will eventually butt heads with paper expansion. Paper expansion describes of the process of paper growing larger as it absorbs water. This is especially true of plant-based papers, which are usually fairly porous compared to tree-free papers (like stone). In this post, I’ll explain how paper expansion can cause issues for book makers and how to deal with it gracefully.
How does paper expansion affect bookbinding?
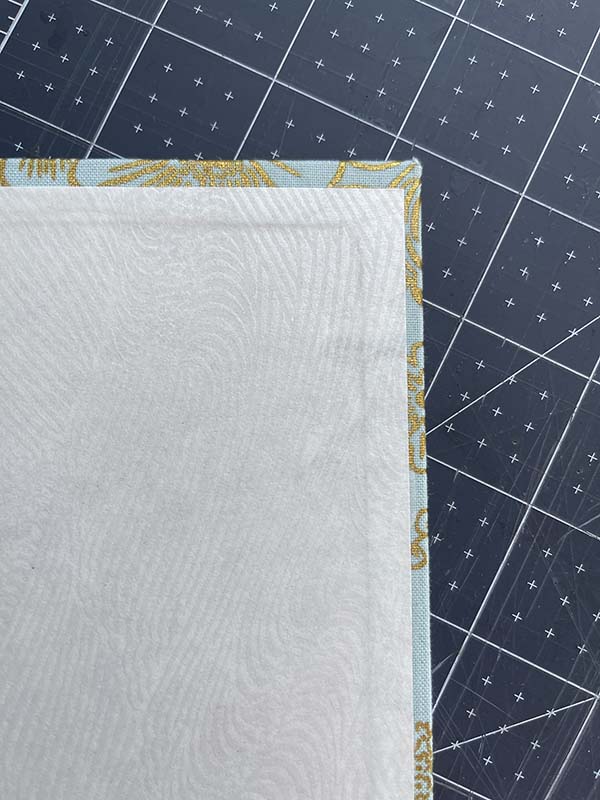
Let’s say you are gluing endpapers. The papers are perfectly measured to allow for 3mm (1/8″) around each edge (top, bottom, left and right if making a Coptic). You apply the glue to the back of the endpaper and then position it carefully before pressing with a bone folder. To your dismay, the room around each edge is only 1.5mm (1/16″) on the left and right, but fits perfectly on the top and bottom. What happened??
Paper expansion, my friend.
Between the time you applied glue to the paper and finished pressing, the paper absorbed enough water to expand along the grain. Since the grain ran long, the paper spread to the left/right but not the top/bottom. Bummer, right?
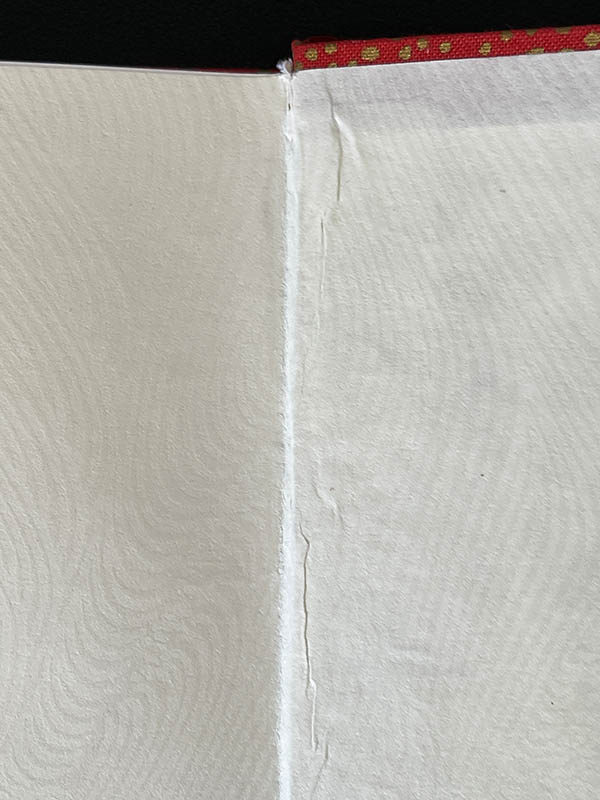
If you’ve ever had wrinkled papers or hinges on your book, there’s a good chance paper expansion was at work. There are a lot of other pesky problems caused by paper expansion, but they’re easy to catch, prevent or fix once you understand the forces at play.
Let’s get into some of the things you need to understand (and why) to deal with paper expansion in bookbinding.
Grain direction
First and foremost, you should understand paper grain direction. This fundamental concept is important to master for any bookbinder. It can also save you a ton of time and frustration, because grain direction affects nearly every step of the bookbinding process later on.
As paper absorbs water, it will expand along the grain (also known as “parallel to the grain”). There are three possible types of grain. Each will steer expansion differently:
- Short grain (the grain expands along the short side of the paper)
- Long grain (the grain expands along the long side of the paper)
- Mixed grain (there is no true grain direction; instead, the grain lays in all directions and thus will expand in all directions)
Rule of thumb: Commercially produced papers will almost always have a defined grain direction. Look for this on the package. Handmade papers, on the other hand, are usually mixed grain. Note: *The word “usually” means you should always verify this with the paper creator before getting started.
Paper composition & reaction to water
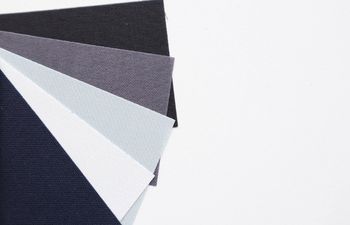
Plant based papers are usually made from a single raw material or a combination of materials. In each case, the response to water will be different. Let’s look at a common example.
Paper made from 100% cotton should respond to water the same way across the board. The amount of expansion would depend on the density of the paper. Lower density papers will absorb water faster and expand further than higher density papers that absorb slower.
Blended materials (like Neenah Classic Linen Premium, which is 75% wood pulp and 25% cotton fiber) will show a response more in line with the material of highest concentration. Since wood pulp is less absorbent than cotton, we’re likely to see slower absorption and less expansion overall.
Read up on the raw materials your paper is composed of. Understand how those materials react to water and whether or not the paper company has added chemicals to the paper to reduce water absorption.
Good to know: very few environments are 100% dry. This means that your paper has probably already absorbed at least some water from the air while sitting in the bindery. Just keep this in mind whenever you’re thinking about “how much water” paper can hold and invest in a dehumidifier if you live in the PNW like me! 😉
Dealing with paper expansion and spreading in bookbinding
Once you know the main factors contributing to paper expansion, you can start dealing with the problem. Here are my two favorite tips for managing expansion:
Test a paper sample first
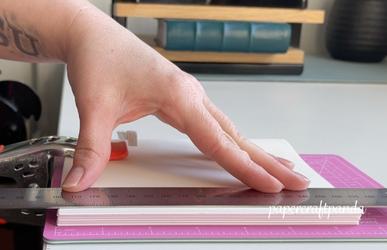
- Cut a sample piece of the paper you plan to use. Use a standard size like 127mm x 127mm (5″x5″).
- Apply some of your adhesive to the back of the paper. Make sure you’re using a brush that fits the size you’ve cut.
- Once the adhesive is applied, set a timer for 60 seconds. After the minute is up, measure the paper. How much expansion happened?
- Now set the timer for another 60 seconds and measure again. Did the paper expand further? If so, by how much?
Running a test like this will help you understand how the paper will react to your chosen adhesive in terms of expansion speed and size. Once you know how much the paper is likely to expand, you can cut the paper slightly shorter (in the directions of expansion) to compensate.
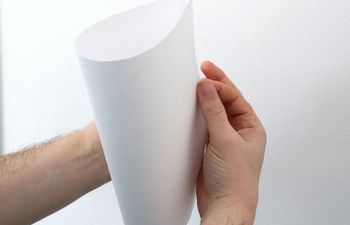
Dampen the paper to relax fibers
Sometimes, it’s easier to simply dampen paper slightly (very slightly) before getting started. To do this, you’ll need a fine mist spray bottle. These can be found online easily by searching the term “fine mist spray bottle.”
Once the paper has been misted on each side, let it rest for 90 seconds.
Misting paper on each side with an even layer of water has two benefits:
- The paper absorbs some of the water and will begin to expand ever so slowly. This gives you an idea of how much expansion will occur and how fast the paper absorbs water.
- The water will fill some of the paper pores, expanding the sheet and making it more flexible. Just be careful not to over-mist the paper. You don’t want it soaked, just barely damp. As paper absorbs water, it quickly moves from strong/flexible to weak/floppy in a matter of minutes. Use caution.
Once wet, you’ll need to decide to either work with the paper immediately (use it on the book) or abandon it and start over. I don’t recommend re-wetting paper once dry. The dried paper will freeze in position with fibers expanded, making the next wetting attempt (with glue or otherwise) difficult and uneven. Note: If you have no other choice, just go ahead and use the paper. The experience will help you to better understand paper spreading and expansion.
Cut the paper slightly shorter than what is desired
Once you have experience working with paper expansion, you might want to try this tricky fix.
Let’s say your paper expands about 1-1.5mm on average. If you want the paper to sit 3mm (1/8″) from the fore edge, cut it 1-1.5mm shorter than what you would normally. When the paper expands, it will fill in the missing amount and result in even edges.
Each time you do this, it gets easier.
5 things to remember going forward
Today, I’m capable of estimating the amount of expected paper spread by simply “eyeballing” the sheet. I’m always careful to consider:
- What raw material the paper is made of,
- How dense or thick the paper is,
- Whether or not the paper is commercial or handmade,
- The paper’s grain direction (or lack thereof)
- What kind of glue I’ll be using (standard PVA, PVA + Methyl Cellulose, Jade 403 PVA, etc)
If you keep these things in mind with each project, you’ll start to build the experience necessary to move ahead easily. I’m wishing you the best of luck!
More bookbinding goodness
✨ What tools do I need to get started bookbinding?
- Bookbinding Tools & Supplies Quick Start Guide – learn all about book making tools, which to buy first & where to go online
- Pick up my popular Complete Starter Bookbinding Tools Kit – all the bookbinding essentials in one spot
🌟 Looking for a simple way to start making books?
Try a Complete Book Materials Kit. Each one has everything you need (+ tutorials & videos) to make a beautiful book without all the fuss.
Thank you for taking me along on your book making journey!
Misty


