While studying at the American Academy of Bookbinding, I picked up 3 bookbinding measuring tips that quickly became gospel in my everyday work. In this post, I’ll share these tips, why I chose them and how each one saved me time and made my life in the bindery more efficient.
Precision Measurement tip #1: get the right ruler
When it comes to bookbinding measuring tips, we need to start with the basic tool in everyone’s kit: a ruler.
Back in 2016, someone advised me to buy a ruler with a cork backing to prevent slippage. I found one for less than $10 and thought I’d scored a deal. True to its word, the ruler would not slip. The trade off? Precision.
As a beginner, the lack of precision didn’t really bother me. When I tried more advanced bindings, though, it was clear I needed a better ruler. I’ll explain why.
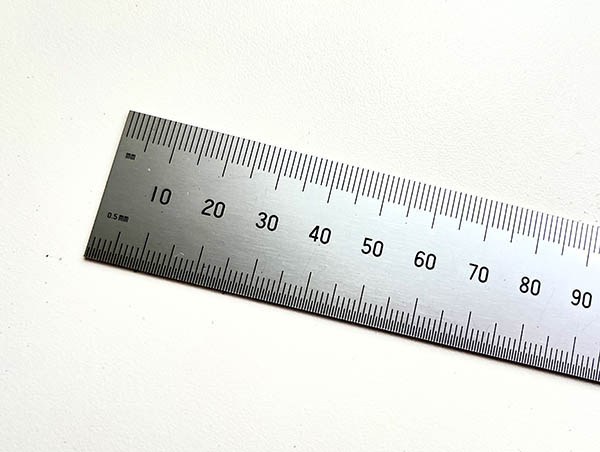
A good precision ruler will have these features:
- It will be made of quality steel. This gives the ruler weight and makes it harder to deface the units of measurement with scratches or nicks.
- The starting mark will sit at the outer edge of the ruler. Many rulers “begin” at the first mark, which can sit anywhere from 1-2mm inside the edge of the ruler. This makes it difficult to get a precise measurement, because everyone’s eye and the thickness of each mark can vary from ruler to ruler.
- It will lay flat with no anti-slip properties. Flat rulers give the most accurate measurements and cutting line. If the ruler is lifted slightly from the table due to an anti-slip material (such as cork), your knife may slide under the edge instead of maintaining a straight line. This can lead to curved or sliver cuts, both of which can ruin a material or the fore edge of a book.
Yes, rulers can slip while you’re cutting. It’s really annoying, especially if you don’t have enough downward pressure to hold it in place due to carpel tunnel (me!) or arthritis. To get around this, I will will clamp my ruler in place or use a strong piece of masking tape at one end.
For me, the extra effort is worth the tradeoff for increased precision. - It will feature anti-glare properties. Many bookbinders use bright white lights in their bindery to see well. These lights can reflect off the face of a ruler, blinding you in the process.
A good ruler manufacturer will understand this and use treatments to prevent glare. Be sure to read the reviews before buying. Many people will tell you right away whether or not the ruler is highly reflective.
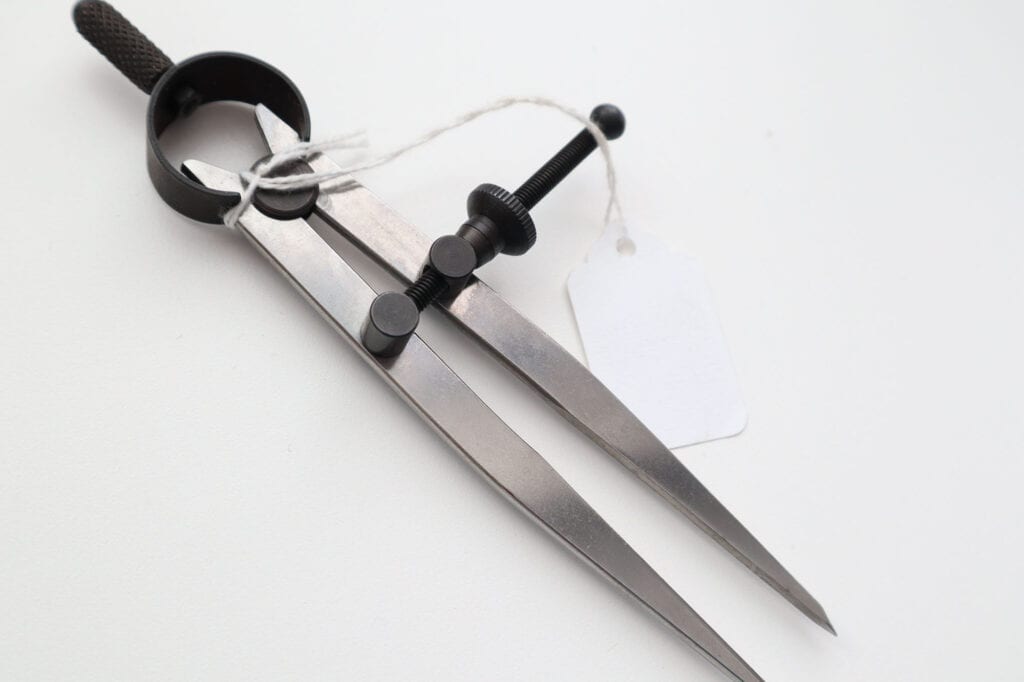
Precision Measuring Tip #2: use spring dividers when working with uneven surfaces or materials
Look, I love my spring dividers. I just never realized how underused they were in my bindery.
In class, our instructor used a pair of spring dividers for nearly every measurement. Eventually, I decided to ask him why. His response gave me one of those “ah-ha!” moments: “Nothing in bookbinding is perfectly straight or even. Spring dividers make it easy to get the same measurement across various areas and materials without losing accuracy.” He was right!
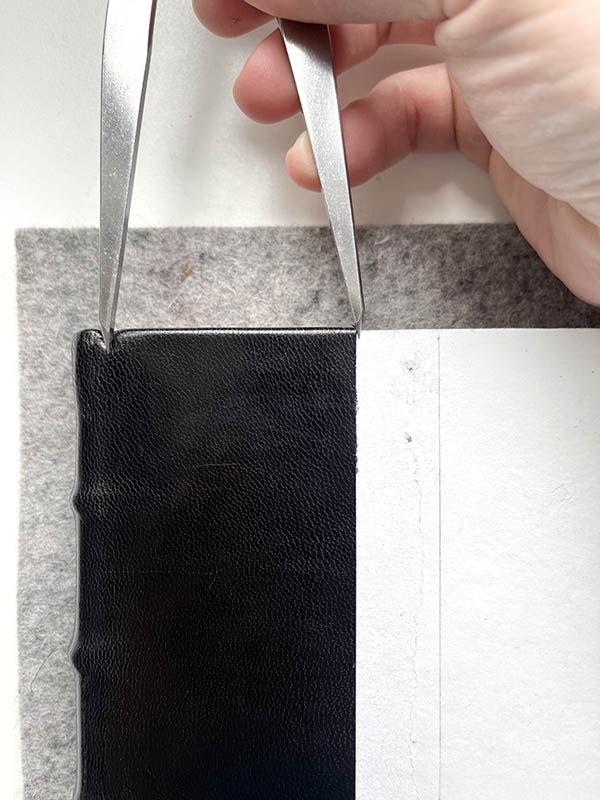
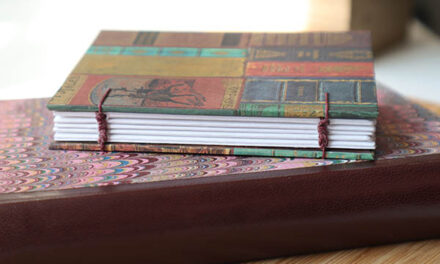
Example: using spring dividers to measure a leather binding
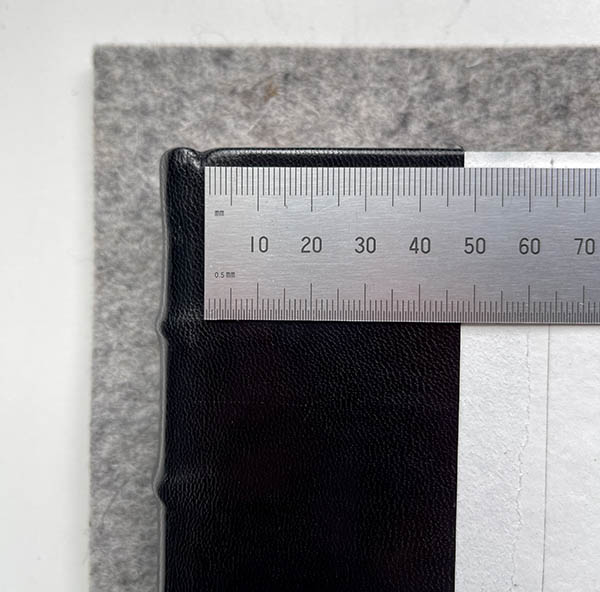
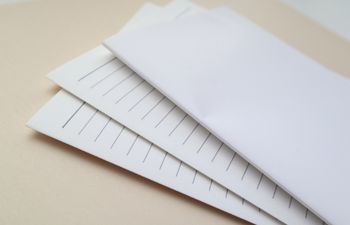
Here, I have shiny black leather over the spine of a book. I used paste, so the wet leather stretched beyond the intended 70mm. I cut away the extra leather (to the same distance) on each board. This was hard because the leather “swallowed” up the board edge, making it difficult to find a starting spot.
A few points (get it?):f
- the uneven area between different materials is easier to measure with spring dividers because rulers work best on a flat surface
- the sharp points on the feet of spring divers sink into the hinge and catch on the edge of a board masked by a thick material, making it easier to find a starting place
- these sharp points can also mark the leather with a removable divot, so you don’t need to “remember” or use a pen/pencil that may leave permanent marks
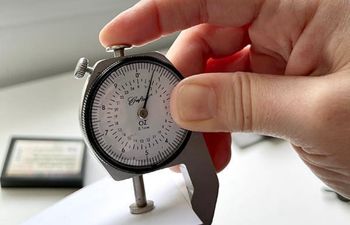
Precision Measurement Tip #3: a leather thickness gauge isn’t just for leather
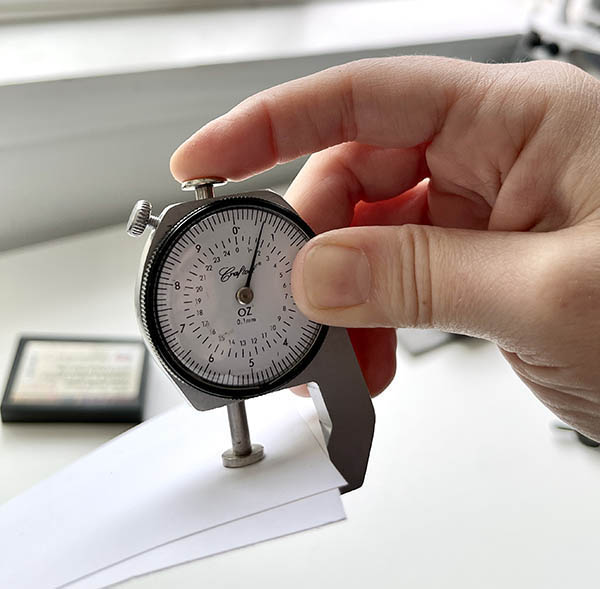
A leather thickness gauge measures the depth or thickness of a leather hide. It’s very precise with measurements down to 0.01 millimeter (or, 0.001 inches). Leather is easiest to fold over board when it pared to 0.06mm, so this tool will tell you when to put the knife down and step away.
While the tool sounds very “leather specific”, it can be used for a number of different purposes in the bindery.
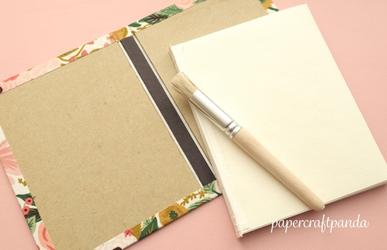
Example: using a leather thickness gauge to find the right card stock filler
Many bindings will require you to fill in the gap between different materials using card stock or other filler. The sewn boards binding, millimeter binding, and half/quarter leather bindings are just a few examples. To find the right filler, you’ll need to understand how thick your contrasting material is and find a match.
Example: using a leather gauge to find the right filler material for a half leather binding
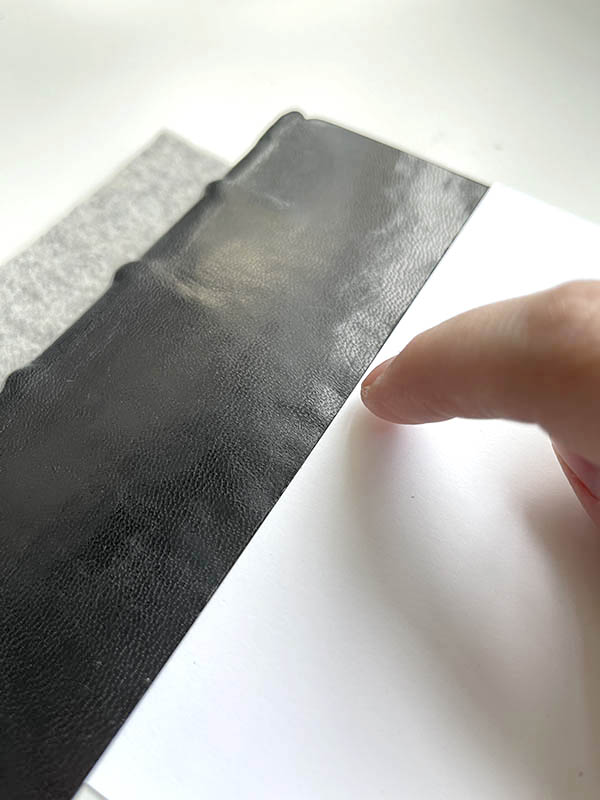
Let’s go back to my half leather binding example. After applying the leather to the spine and cutting back excess, it’s time to fill in the gap between the leather and board using card stock. The card stock should be thick enough to meet the leather perfectly, creating a flat landscape for my cover material.
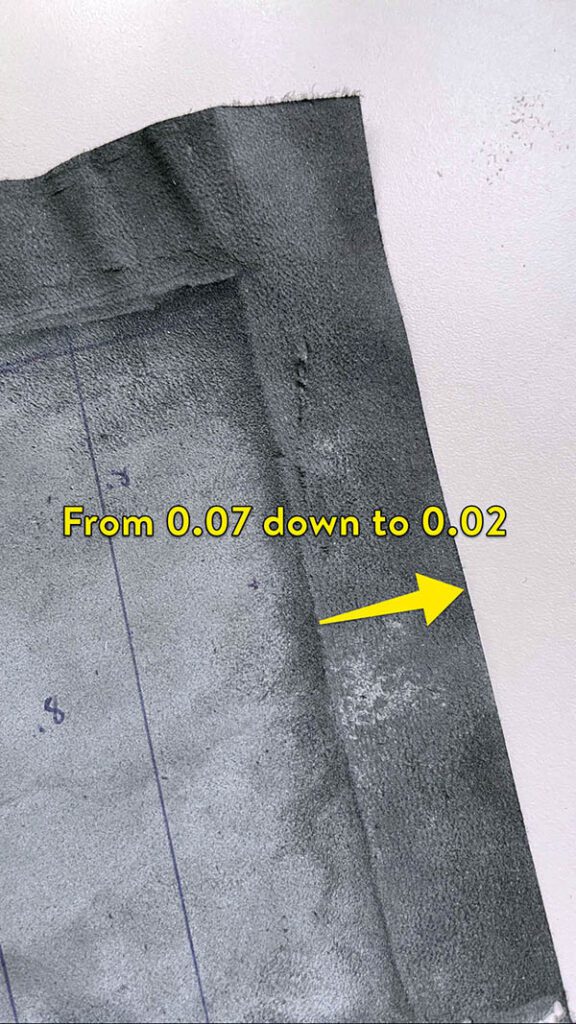
Before applying leather to the spine, I measured the thickness of the hide starting about 25mm before the edge. The leather is 0.07 at the thickest point, descending to 0.02 at the very edge. After cutting back excess, I can see I’m somewhere between 0.07 and 0.06 thickness. I’ll need a filler with a thickness that falls inside this range to work.
I took two pieces of card stock from my extras pile, each of a different weight. The heavier one (90lb) used alone wasn’t thick enough. I added the lighter piece (70lb) on top and could barely feel the difference between the card stocks and leather edge. Exactly what I’m looking for.
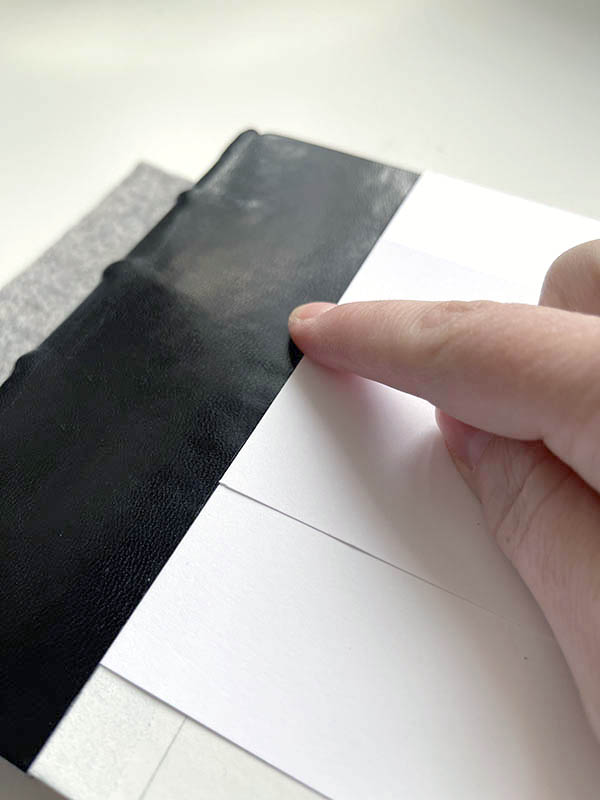
Next, I used the gauge to determine how thick the two sheets were when sandwiched: ~0.066mm. Perfect!
If I know the weight of my material, isn’t that good enough?
Not exactly. As we all know, every manufacturer makes their product differently. So while each different company may call their paper “70lb weight”, they can still vary in thickness. This is where my precision bookbinding measurement tips come in handy.
Anyway, I hope you enjoyed these precision bookbinding measuring tips and find them useful in your work. I’ve listed links to my personal tools below for those who would like to know.
- Ruler: Shinwa 12″ 300mm English Metric Zero Glare Satin Stainless Steel Ruler
- Leather Thickness Gauge: Crafttool Pocket Leather Thickness Gauge by Tandy Leather
- Spring Dividers: 4″ CS Spring Divider Black by Hollanders
More bookbinding goodness
✨ What tools do I need to get started bookbinding?
- Bookbinding Tools & Supplies Quick Start Guide – learn all about book making tools, which to buy first & where to go online
- Pick up my popular Complete Starter Bookbinding Tools Kit – all the bookbinding essentials in one spot
🌟 Looking for a simple way to start making books?
Try a Complete Book Materials Kit. Each one has everything you need (+ tutorials & videos) to make a beautiful book without all the fuss.
Thank you for taking me along on your book making journey!
Misty


