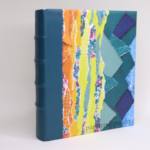
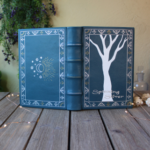
If you’re into making books, you probably have friends and family who are used to getting them as gifts for various occasions (weddings, birthdays, holidays). My family is especially keen to this, so I’m always looking for new ways to throw off the scent. If you’re in the same boat, I want to help! I’ve gathered a list of three unique handmade book gift ideas for the holidays that might just achieve maximum “Awww!” and a little bit of “ohh, this is so cool!” from our loved ones. Since my family reads this blog, I can neither confirm nor deny making these myself… ?
Everyone is different, so I figured it might be nice to have a few different categories: stocking stuffers, holiday decor & gifts from Santa. At least ONE of these should work for most gift recipients…I hope!
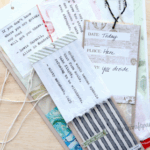
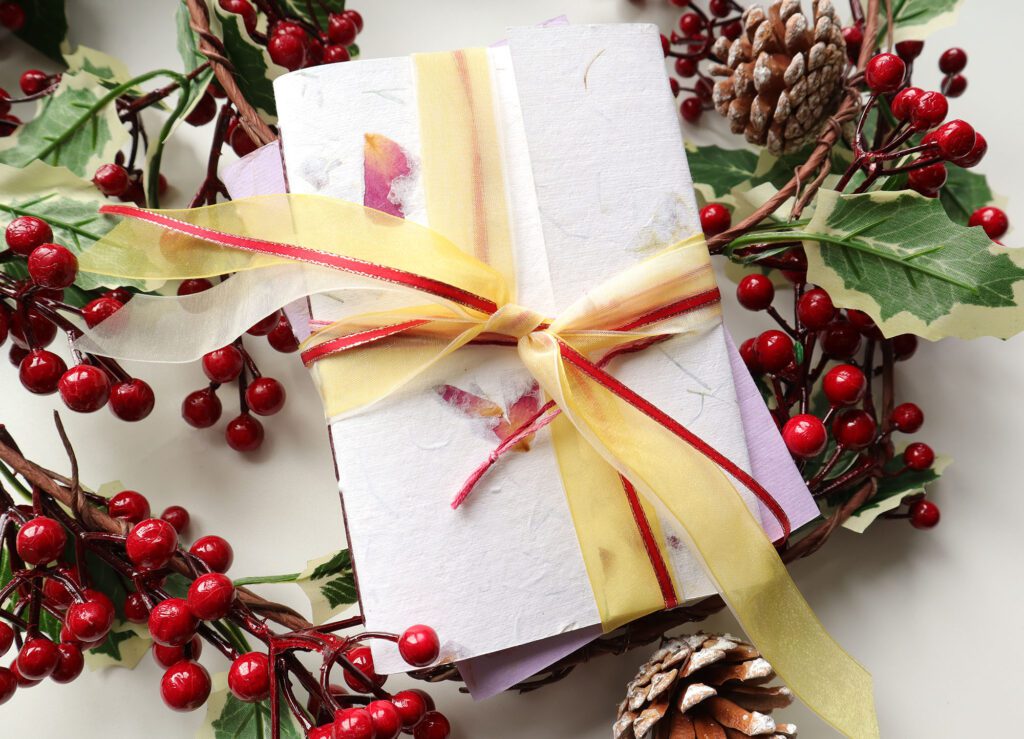
The Stocking Stuffer: Handmade Paper-Wrapped Pamphlets
Tutorial | How to Create a Wrapped Pamphlet using Handmade Paper
Book making is more than just pages and covers! The art form also includes handmade paper, which is totally addictive once you get started (or so I’m told). If you don’t know how to make handmade paper, don’t worry! Neither do I. Paper making supplies are #1 on my Christmas list, though, so hopefully the hubby will come through…
Until then, I’ll continue to buy my handmade papers from local artists here in Washington, via Etsy or online through speciality paper stores like Mulberry Paper & More and Paper Source. Right now, my favorite handmade paper is infused with bamboo grasses (bamboo = pandas = duh ?) and dried flower petals.
Creating one of these is really easy, because handmade paper has zero grain direction (can be folded either way), so you’re not hindered by sizes. Sewing is also a breeze, as these pamphlets use the 3-Hole or 5-Hole Pamphlet Binding method.
When you’re all done with the folding & sewing, it’s time to add the finishing touches! Create a simple closure using enamel brads & embroidery thread, or do something that’s completely unique to your own style.
For the perfect size stocking stuffer, start with a 8-1/2 x 11 sheet of handmade paper. This will yield one A6 wrapped pamphlet (around 6×4 inches) which, when wrapped in ribbon, will slide nicely inside one lucky stocking!
The Holiday Decoration: Tiny Book Ornaments
Tutorial | How to Make DIY Mini Pamphlet Holiday Book Ornaments
Every year, my family picks out a new ornament for our tree. Sometimes, we make them ourselves (like we did in 2020…for obvious reasons), which is even more special. This year, why not create a tiny book ornament or two for the ones you love?
These little books are easy to make and even more fun to decorate. Dive into your craft room overstock and recycle bins for this one, because these 3×2 books are the perfect way to use up paper, decorative cardstock scraps, leftover embellishments and too-short-for-a-normal-bookmark pieces of ribbon.
If you have some matching cardstock or a theme to toy with, try making a matching set of 6 or 8 books. If you’re feeling frisky, go one step further and make a tiny slipcase for the whole set. How much fun would that be to open on Christmas morning??

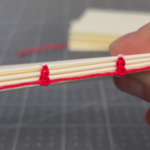
The Gift from Santa: Mini Coptic Bindings
Tutorial | How to Make a Mini Coptic Binding
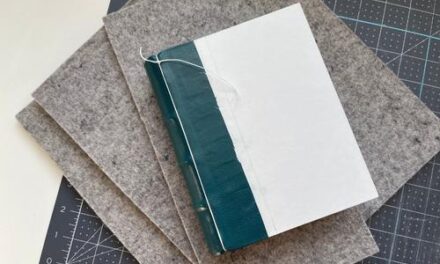
We all know time flies, but it seems to go even faster as the holidays approach. Maybe you entered the fall season with plans to whip up A5 books for each member of the family, but now we’re a full week into November and time is running out. What can you do to keep up? Don’t worry, you can still give your family the gift of a beautiful handcrafted book. You’ll just have to compromise on the size!
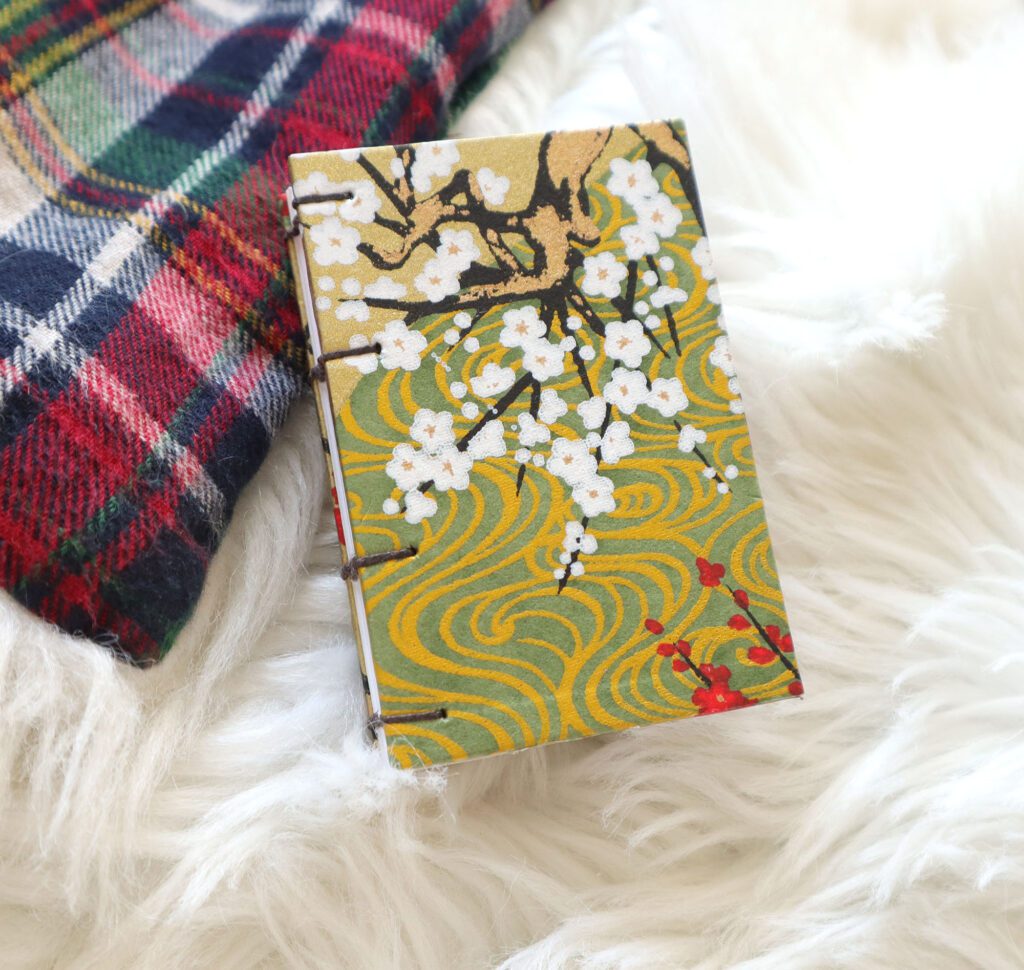
Even though Americans generally think “bigger is better,” I tend to disagree. When making books, size is secondary. It’s the attention to detail that really matters. That’s why I think the mini coptic binding (3×2.5) is an excellent alternative to a full size book when you’re in a time crunch. Not only are they easier to make (more on that next), the exposed spine stitching is beautiful to look at and full of creative potential.
Coptic bindings are generally faster to make because of a few reasons:
- Only the covers require adhesive (less drying time)
- The covers are created individually (no cases, making them faster to produce in bulk)
- The spine is unsupported without adhesives, so text block paper grain direction is not as important (one less thing to worry about)
In addition to the above, making a mini book requires less materials and prep. It’s also very easy to create several of these books in just two days, because you can split the work.
For example:
- Day 1 – prep & press covers and text blocks
- Day 2 – sew the books together & wrap them up
As I mention, these books are full of creative potential. Mix and match covers, end papers, paper type (watercolor, sketch/drawing or writing) and colorful waxed threads. When the book is complete, don’t be afraid to embellish it with the recipient in mind. After all, it’s the attention to detail that people notice first and foremost!
I hope you loved this fun coptic tutorial!
More bookbinding goodness
✨ What tools do I need to get started bookbinding?
- Bookbinding Tools & Supplies Quick Start Guide – learn all about book making tools, which to buy first & where to go online
- Pick up my popular Complete Starter Bookbinding Tools Kit – all the bookbinding essentials in one spot
🌟 Looking for a simple way to start making books?
Try a Complete Book Materials Kit. Each one has everything you need (+ tutorials & videos) to make a beautiful book without all the fuss.
Thank you for taking me along on your book making journey!
Misty

