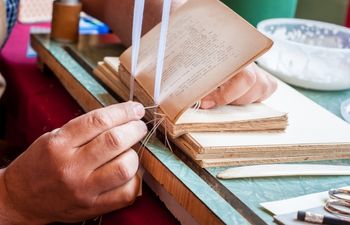
There are a bunch of different types of sewing supports for bindings. Cord, twine and linen tapes are among the most popular in today’s world. Ideally, each support would be evenly spaced with one Kettle stitch at the head and tail. Figuring out exactly where the supports should sit between these kettles is the tricky part. In today’s post, I’ll show you how I learned to make a punch template for linen tapes. This tutorial will focus on 3 evenly spaced tapes, since three is generally the “magic number” for most books under A5 size.
Note: the width of each tape can vary, but should not exceed 3/4″ or 19mm.
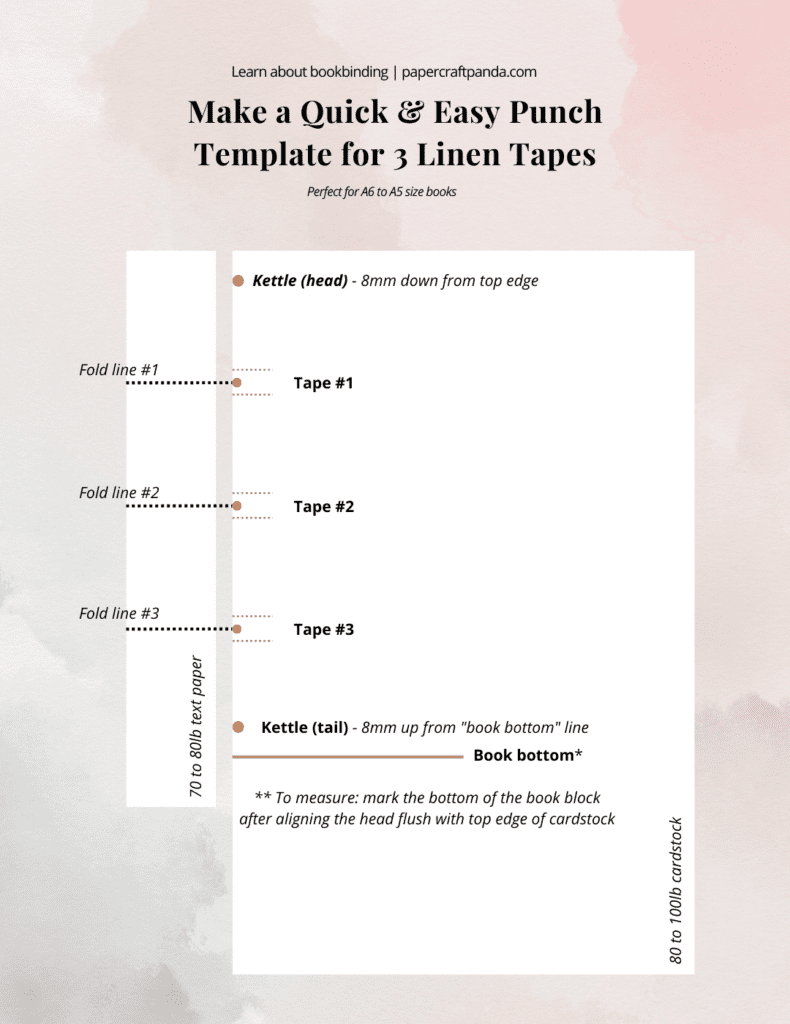
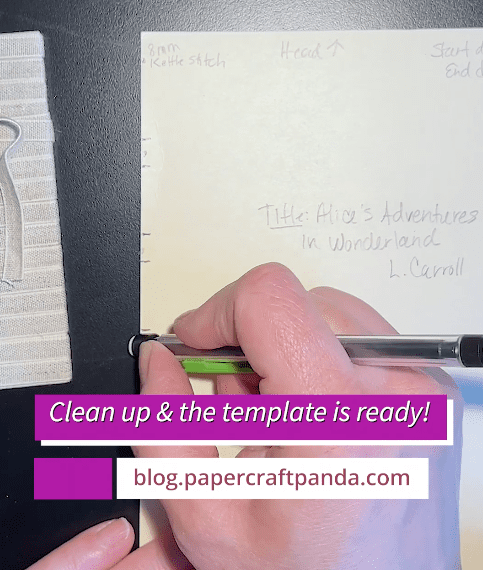
Finished punch template for linen tapes
Here is what we’re going for. This template will work great for A6 to A5 sized books. Regardless of book size or tape width, this technique will always yield three evenly spaced sewing positions.
Materials
To make a punch template for linen tapes, you’ll need the following materials:
- pencil with eraser
- book block
- one sheet of 80 or 100lb cardstock, cut slightly taller than your book block
- a strip of 25mm wide 70 or 80lb text paper, cut to the height of your book block
- the linen tapes you plan to use
Tools
A metric ruler is the only necessary tool, but it would help to have a set of spring dividers. Spring dividers make it simple to transfer like measurements without the risk of making a mistake. I use mine ALL the time, so they’re worth the money. Check out my Spotlight: My Favorite Spring Divider for Bookbinding post for more info.
Instructions
Have your ruler and pencil handy.
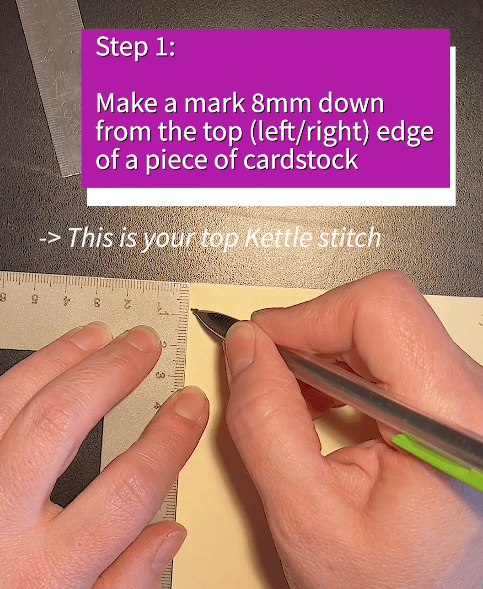
Step 1
Make a mark 8mm DOWN from the top left edge (if you’re left handed, go with the top right edge) of the cardstock. This is your head Kettle stitch location.
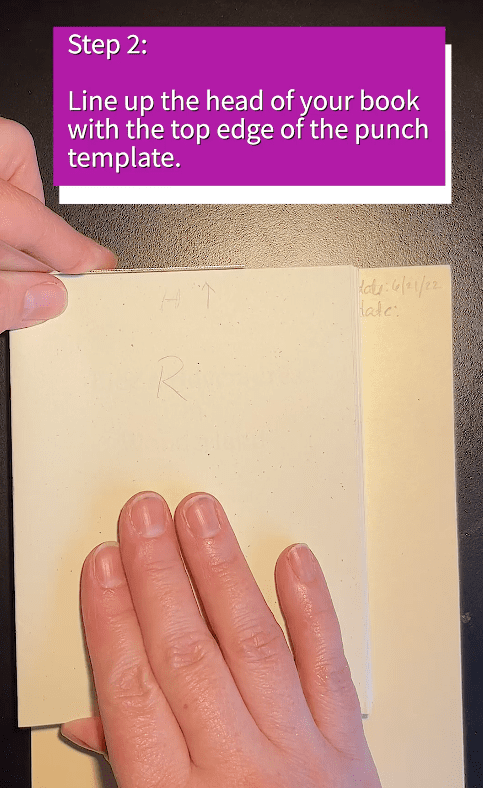
Step 2
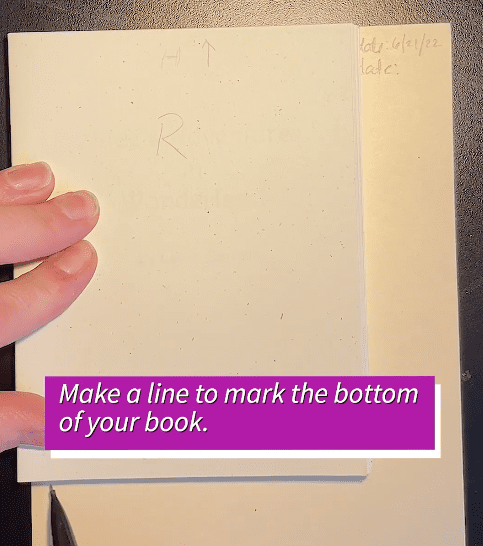
Line up the head of your book block with the top edge of the cardstock. Make a line at the bottom of the book block. This is the “book bottom” as I’ve written on my template.
Step 3
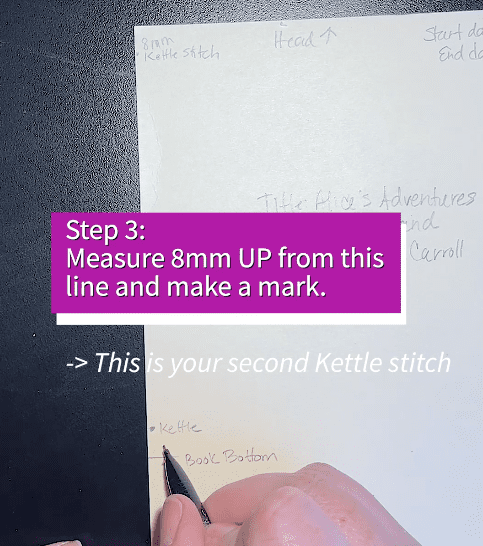
Make a mark 8mm UP from the “book bottom” line. This is your tail Kettle stitch location.
With the initial marks out of the way, it’s time to evenly space the linen tapes between Kettles.
Step 4
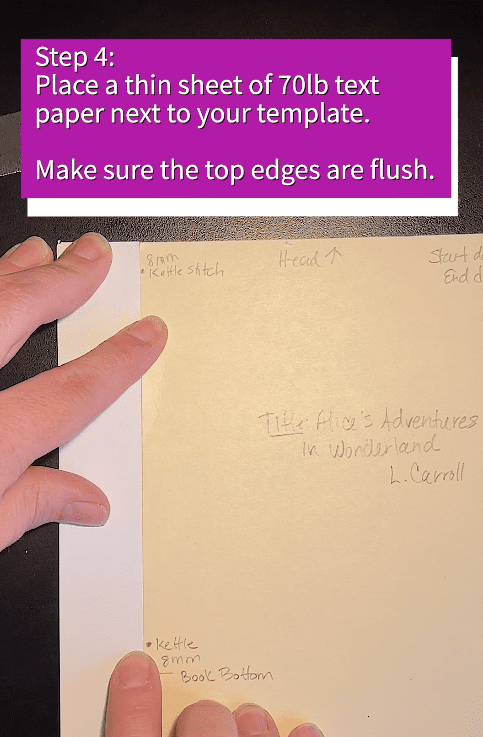
Place the text paper next to the left edge of the cardstock (opposite if you’re left handed). Make sure the top of the text paper and cardstock are flush.
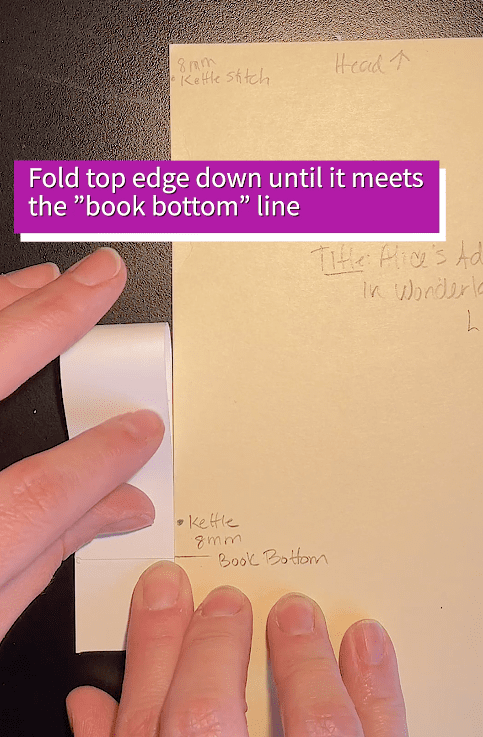
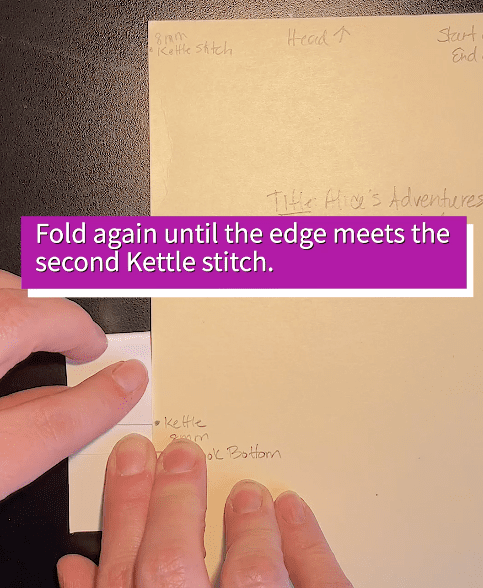
Hold the text paper in position and fold down the top edge until it meets the “book bottom” line.
With the initial fold still in place, bend the “new” top edge down until it meets the bottom Kettle stitch mark.
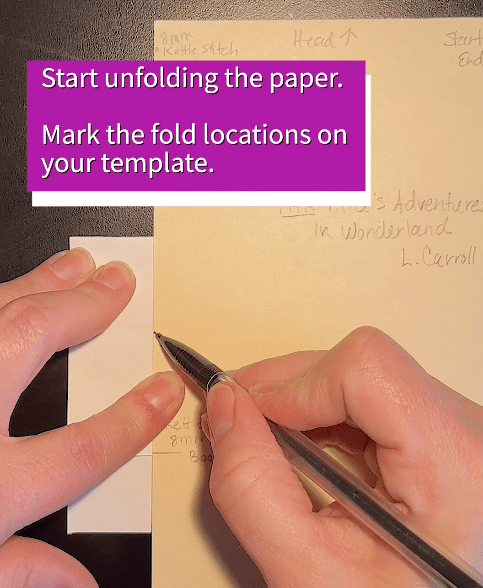
Gently unfold the paper and use a pencil to mark each corresponding fold location on the cardstock. There should be three total folds – one for each tape.

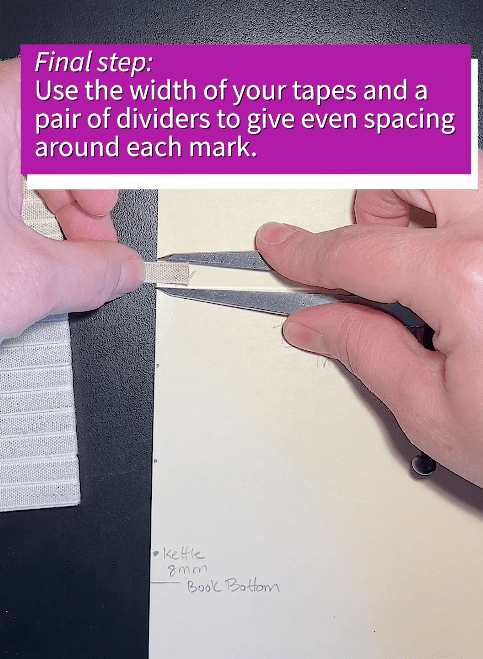
Step 5
Center one of your tapes over the first mark. Use a pencil to gently mark the top and bottom edges of the tape. For this step, I used my spring dividers.
Repeat step #5 until each of the three locations is marked.
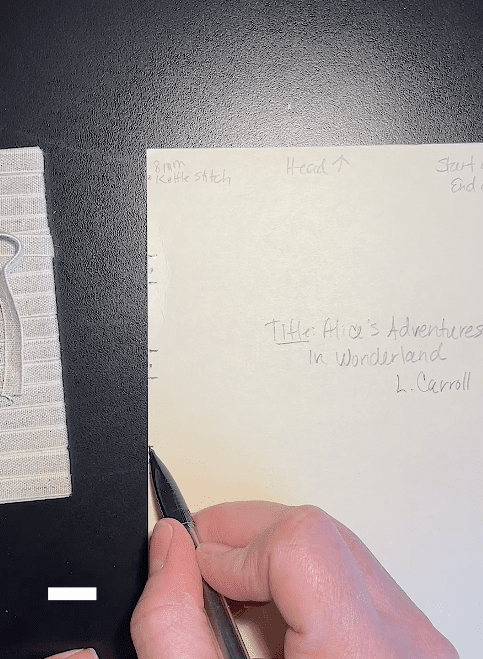
Go back and erase the center dot between each tape station (this helps avoid confusion when using an awl to puncture the card)
Use an awl or punch cradle to pierce the template
Once the stations are identified, you’re free to use an awl to puncture the pencil marks for sewing. Remember, you’ll need one puncture mark for either side of each tape.
Awl
When punching by hand with an awl, you will align the top of the template with the head of your signature. The “book bottom” line should match the tail of the signature perfectly.
Punch cradle
If using a punch cradle, be sure to bump the top of the card against the head of the cradle along with your signature. Double check that your “book bottom” line is truly at the tail of the signature.
Reminder: “Book bottom” line and signature tail must meet
No matter which way you choose to pierce the template, it’s important to make sure the “book bottom” line meets the tail of the signature. If it’s not aligned, there might be a mistake. Go back to the beginning of these instructions and move through step-by-step to locate the gap.
Good luck to you!
More bookbinding goodness
✨ What tools do I need to get started bookbinding?
- Bookbinding Tools & Supplies Quick Start Guide – learn all about book making tools, which to buy first & where to go online
- Pick up my popular Complete Starter Bookbinding Tools Kit – all the bookbinding essentials in one spot
🌟 Looking for a simple way to start making books?
Try a Complete Book Materials Kit. Each one has everything you need (+ tutorials & videos) to make a beautiful book without all the fuss.
Thank you for taking me along on your book making journey!
Misty


