Whenever I think of raised bands, I picture Medieval bindings from the 14th and 15th centuries. Book makers of this period added support by sewing on pairs of thick cords or leather thongs. Eventually, the practice gave way to cords sewn into the text block. In today’s post, I’ll cover both techniques, how they’re different and how you can achieve a raised band look for your bindings.
Sewing on cords
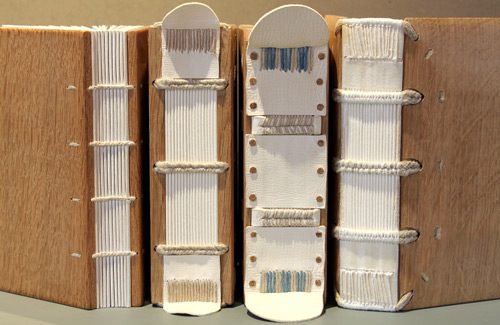
The first known use of sewn on supports may have appeared as early as the 8th century. These supports were held to the book block by a herringbone style stitch that moved through the text block and wrapped around and behind each cord individually. While leather thongs were used, they appeared in less than 10% of all bindings from this period (The Archaeology of Medieval Bookbinding, J.A. Szirmai, p. 101).
Why sew on cords?
Sewing on cords developed as a way to attach a book block to the heavy wooden covers of the time. These oak covers were pretty thick (up to 1/4″ at times) and heavy, so the supports needed to be strong.
Sewing on cords
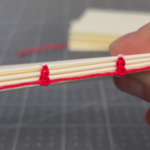
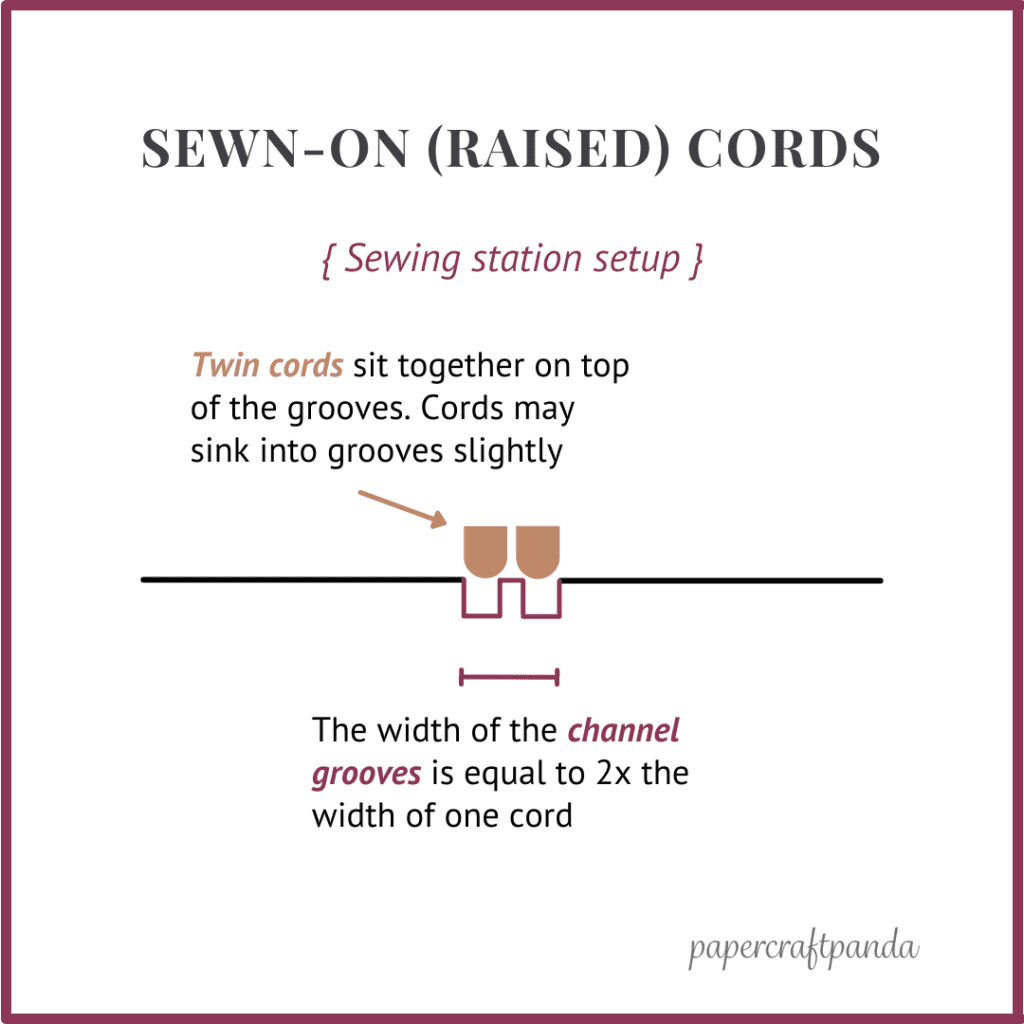
One pair of hemp cords (1-2mm in thickness) are sewn onto each evenly-spaced sewing station. Most books had three stations. Some books had two stations or as many as five. A book’s height did not appear to determine the number of sewing stations.
Attaching the boards
Early books attached one board before sewing. After sewing, final cord ends are laced through holes and channels carved into the wood covers. Cords are frayed, flattened and pasted down to the board. The finished book block may or may not be covered, depending on the book’s purpose or binder’s status.
Binders who wrapped their books took care to form the leather around each of the cord pairs, creating the raised band look we know today.
While raised supports are great for holding the covers to the spine, they leave little room for hinge motion. Cord strain would eventually crack and break the spine, forcing book makers to find a better solution.
Sawn in cords (recessed)
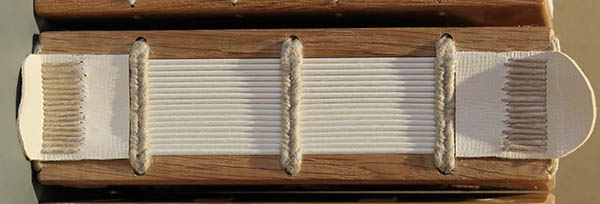
In the 17th century, the practice of sewing cords into the text block arrived. This process, called sawn-in or recessed cord sewing, solved the hinge problem by allowing the supports to sink into the text block. This created a flat spine with more flexibility that could open wider and lay flatter.

Recessing the cords
Grooves are cut at each sewing station with a fine tooth saw. Channel depth is determined by the thickness of the cord pairs. The opening is intentionally smaller to prevent the cords from pulling out.
Sewing recessed cords
In recessed sewing, thread is passed over the cords instead of under and around. This made it easier for hinges to move and the book to open nearly flat. The process was also faster, leading to a boom in book production that took off in the 19th century.
Raised bands as a design choice
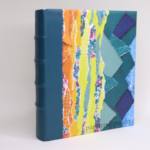
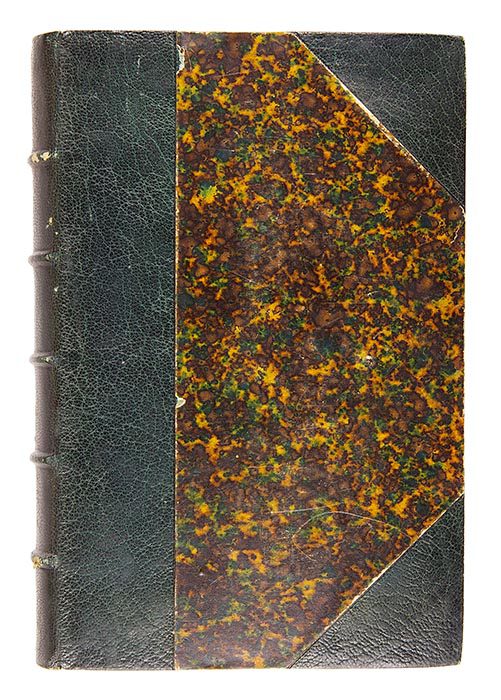
The raised bands profile was so popular that it continued to be a design feature even after sewing on cords was no longer necessary.
To create the look, binders then – and now – will glue a set of faux bands to the spine. These bands are usually a strong, yet flexible material (leather) and molded to fit the spine perfectly. In modern bindings, the material is of archival quality or acid-free.
I really hope you enjoyed and learned something new!
More bookbinding goodness
✨ What tools do I need to get started bookbinding?
- Bookbinding Tools & Supplies Quick Start Guide – learn all about book making tools, which to buy first & where to go online
- Pick up my popular Complete Starter Bookbinding Tools Kit – all the bookbinding essentials in one spot
🌟 Looking for a simple way to start making books?
Try a Complete Book Materials Kit. Each one has everything you need (+ tutorials & videos) to make a beautiful book without all the fuss.
Thank you for taking me along on your book making journey!
Misty


