Folding paper might sound like no big deal, but the process for bookbinding isn’t exactly common knowledge. This is especially true if you’re new to the trade or interested in learning more about how books are made. If that sounds like you, let’s dig in! In this post, I’ll show you two easy ways to create & fold signatures for bookbinding (as well as a few pros and cons of each) so you can spend less time wondering and more time making books.
What is a signature?
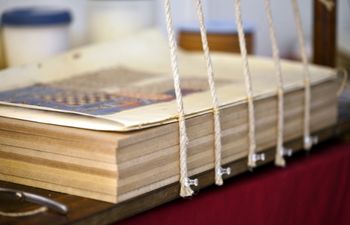
Let’s quickly review what a signature is. A signature is a term used in bookbinding to describe a stack of nested, folded papers.
There are typically 4-7 sheets per signature. In bookbinding, several signatures are created for each book depending on how large the book needs to be. These signatures are then stacked and sewn together.
Fun fact: In bookbinding, groups of folded blank pages are actually called “sections” while groups of folded pages with text are referred to as “signatures.”
Bookbinders like to use the term signatures for both because it’s easier.
Assembly Method
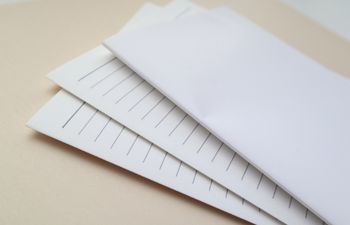
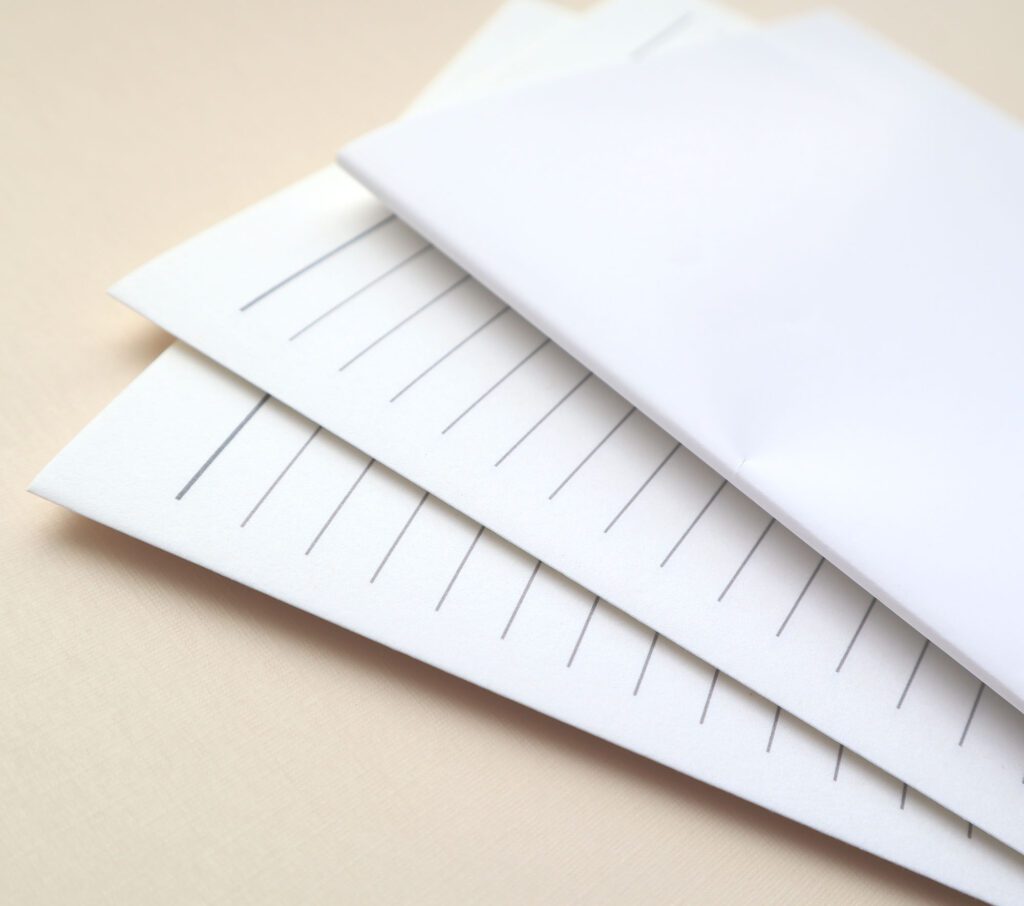
The Assembly Method (also called the Single Fold Method) is probably the most well-known way to fold signatures. Using this technique, each piece of paper is folded individually and creased with a bone folder. Once all papers are folded, they’re nested together in stacks of 4-7. This stack is now called a “signature.”
- Pros: This method is useful for beginner bookbinders when learning how to score, fold and crease paper. That’s about it.
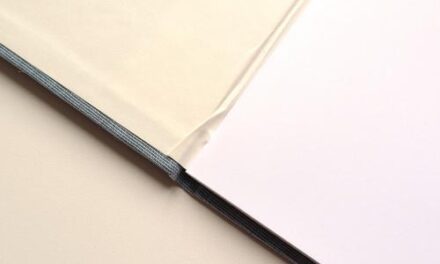
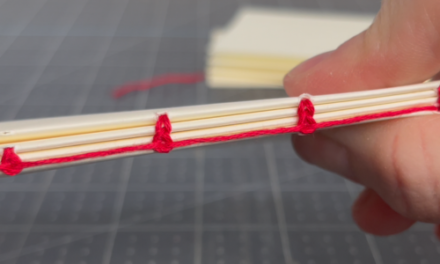
- Cons: While well-known, this method has a couple of disadvantages. First, it’s time consuming. Folding each piece of paper individually is not necessary and takes far too much time away from other processes. Second, individually folded sheets have a sharp edge, preventing the sheets from nesting snugly together. This can cause some issues later on down the road. See image below.
Fold Down Method
The Fold Down Method (also called the Signature Fold Method) is less known, but extremely simple and much preferred. All papers (4-7 sheets) are grouped together and folded down at one time. The entire group is then creased with a bone folder. This stack is now called a “signature.”
- Pros: First, this method is much faster than the alternative. Second, the act of folding all papers down at once allows for a snug fit between sheets. This reduces extra air, makes sewing easier and a host of other benefits later on.
- Cons: The Folded Down signature is fairly thick (since it consists of 4-7 sheets), which can make creasing the edge a bit difficult. If not careful, you could end up with a dent or dimple on the fold itself. This creates a shape issue and can add bulk to the book’s spine. Be sure to practice on less important paper first.
Visual Reference – 2 Easy Ways to Fold Signatures
Demonstration
Here is a quick 30-second video where I demonstrate both methods of signature creation using folded paper.
Remember, when it comes to folding sheets of paper, practice makes perfect!
More bookbinding goodness
✨ What tools do I need to get started bookbinding?
- Bookbinding Tools & Supplies Quick Start Guide – learn all about book making tools, which to buy first & where to go online
- Pick up my popular Complete Starter Bookbinding Tools Kit – all the bookbinding essentials in one spot
🌟 Looking for a simple way to start making books?
Try a Complete Book Materials Kit. Each one has everything you need (+ tutorials & videos) to make a beautiful book without all the fuss.
Thank you for taking me along on your book making journey!
Misty
