Book binding equipment is an important investment for any bindery, but it’s not all about the presses and guillotines. In fact, some of the most important tools in my studio aren’t even considered “bookbinding tools” and cost less than $10 each. In this post, I’ll share three of my favorite little bindery tools and why they make such a big difference in my daily work.
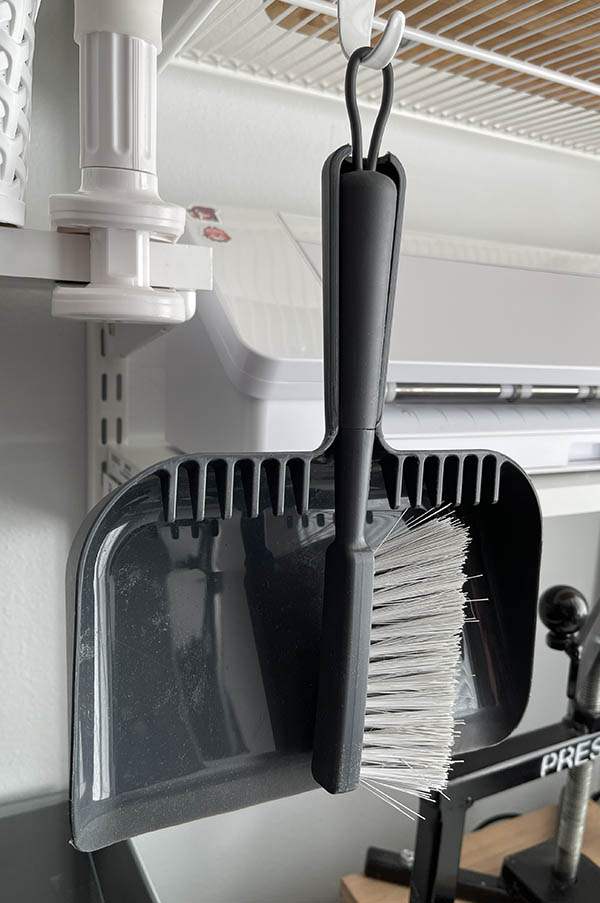
Mini dust pan + stiff bristle brush ($5)
Look, creativity is messy. It’s totally normal to get a wee bit crazy in the bindery during production. What you want to prevent is the mess from one project spilling into – and possibly ruining – the next. That’s where this little dust pan set comes in handy. I use it to quickly sweep up small messes (like the ones below) before moving on to the next binding step.
- sanding board or paper edges
- paring or shaving leather
- sewing (linen thread trimmings and wax crumbles)
- edge trimming (slivers of paper, Japanese tissue, etc)
My set is 8 inches wide and has a convenient rubber loop so I can hang it for easy access.
Tip: some binders use a battery powered handheld vacuum instead of a brush and pan set. Use what works for you!
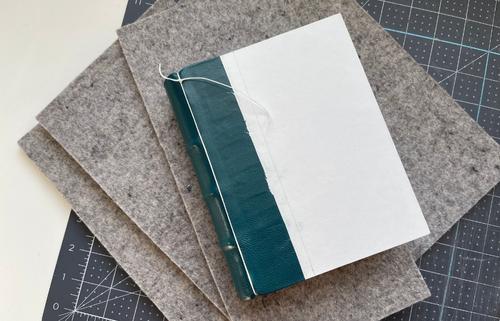
Tin sheets
Like most binders, I’m familiar with the use of brass in bookbinding. If you’ve never used brass, let me quickly explain. Brass is perfect for tools because it’s a soft metal. This makes it less likely to damage delicate papers or board. Tin is actually softer than brass (on the Mohs hardness scale), so using it in direct contact with the parts of a book or box is much safer. Now, let’s talk about tin.
I was first introduced to tin sheets at the American Academy of Bookbinding. There, we were taught to press board covers using tin sheet supports throughout various stages of the binding process. Tin is hard enough to provide an even, flat press and soft enough to avoid damaging delicate papers saturated with adhesive. It’s also resistant to corrosion and rust, which is an added bonus.
Other uses for tin sheets
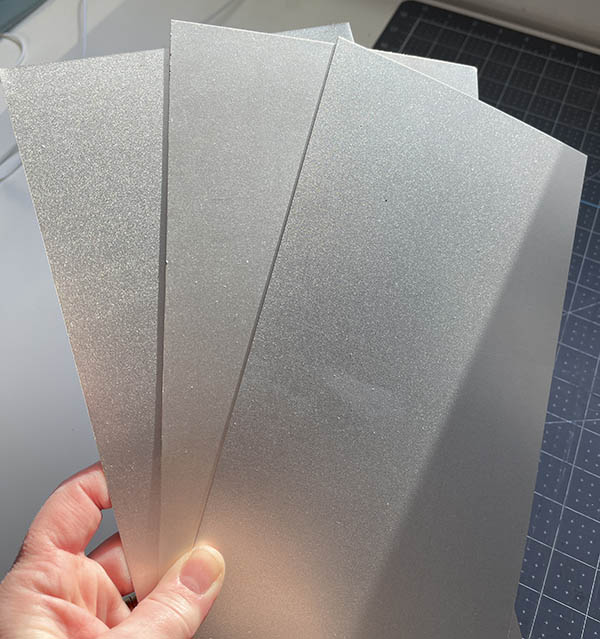
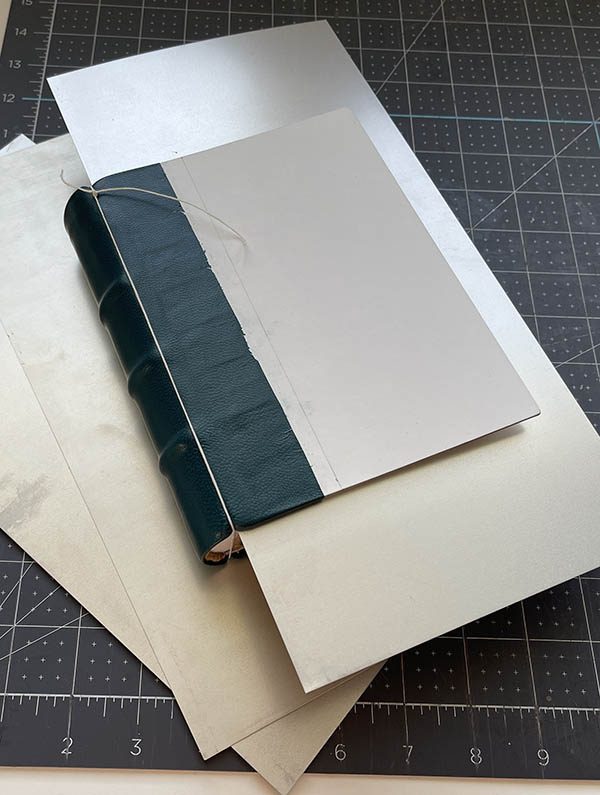
As I mentioned, tin is soft and easily manipulated into thin sheets. These sheets need to be perfectly flat to press properly, so bent or damaged tins can be converted into cutting tools. The thin sheets are easy to slide behind a single piece of paper/issue without damaging the text block or spine. This provides a safe surface on which to cut, regardless of the placement or position.
Thickness considerations
Tin sheets come in a lot of different shapes, sizes and thicknesses. Thick sheets work great on larger books, while thin sheets are better for books under A5. I use 0.013″ and 0.006″ thick tin sheets that are 6 inches wide and 12 inches tall. I find this fits many of the book sizes I prefer to create.
Tips:
- buy tins that will fit in your book press
- always look for 100% pure tin
- be sure to try a couple different thicknesses
- square and rectangle shaped tins are great for different book widths and heights
I recommend buying 4 sheets of tin. This will give you two sheets per cover (one tin on the outside of each cover and one tin for the inside of each cover).
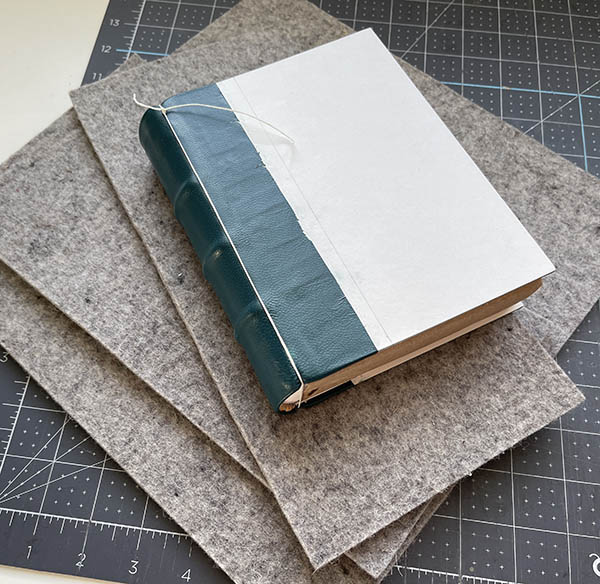
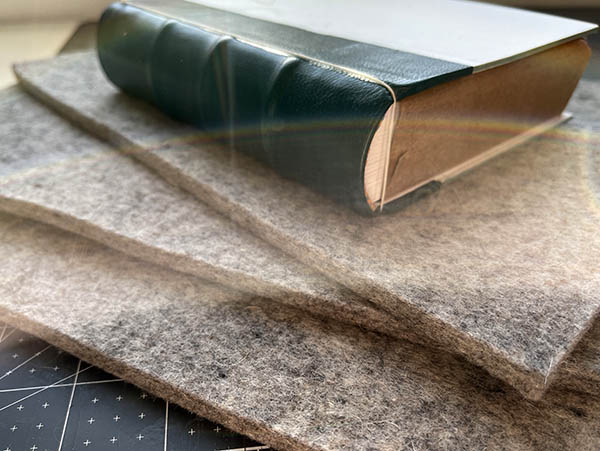
100% thick felt (wool) pads
When working with very delicate materials (think: leather), it’s a good idea to introduce a soft, clean surface between the book and bench. Benches are seldom perfectly smooth. Most of our work areas are covered in nicks, rough edges, dust and debris. These imperfections can (and do) transfer onto delicate materials. I’ve had this happen a number of times over the years and wouldn’t wish it on anyone. To truly protect , this surface should be soft enough to prevent dents or damage, but firm enough to support the book.
Enter: thick felt pads
Felt is an awesome material. It’s incredibly strong and helps to protect books by absorbing oils and water. It can also be ordered in lots of different thicknesses and densities, so there’s a felt pad for any project you can dream up. For most of us bookbinders, a simple 1/4″ (5 or 6mm) thick felt or wool pad will do the trick.
Advantages
There are many advantages to using wool over other options:
- absorbent
- resilient
- strong
- durable
Disadvantages
Like most things in life, there are drawbacks:
- difficult to clean
- may attract moths
Over time, wool pads will absorb oil, water and dirt. These things can attract moths, so be sure to keep the wool in a dry, safe location. If the pads are heavily used and dirty, it might be a good idea to upcycle them vs. using a dry cleaner and toxic chemicals.
Tip: my favorite felt pads are made of Merino wool. I typically buy two 12″x18″ pads and cut one of them down into two 6″x9″ rectangles. The second pad is left whole. This way, I can work on smaller books using the 6×9 and larger books using the 12×18.
In closing
I’m sure you have a bunch of helpful little bindery tools in your own studio. If so, I’d love to hear about them! Reach out to me on Instagram or sign up for my email list where you and I can chat back and forth each week.
More bookbinding goodness
✨ What tools do I need to get started bookbinding?
- Bookbinding Tools & Supplies Quick Start Guide – learn all about book making tools, which to buy first & where to go online
- Pick up my popular Complete Starter Bookbinding Tools Kit – all the bookbinding essentials in one spot
🌟 Looking for a simple way to start making books?
Try a Complete Book Materials Kit. Each one has everything you need (+ tutorials & videos) to make a beautiful book without all the fuss.
Thank you for taking me along on your book making journey!
Misty


