When I first started making books, I had no idea what a spring divider was. If you’re new and just learning, you’re in for a treat. Today, I’m shining a spotlight on my favorite time-saving tool: a spring divider for bookbinding.
What is a spring divider?
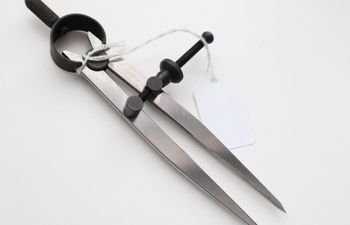
Spring dividers have been used by engineers for decades to measure the distance between two points, or for transferring measurements to a specific place. They do this by using the tool’s structure – two straight legs with pointy ends and a screw and nut mechanism at the top – to lock in a specific measurement. Spring dividers are available in a range of sizes (3-8 inches tall with varying degrees of opening), so there’s likely a size for any purpose.
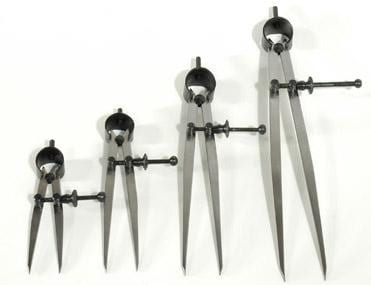
How do bookbinders use spring dividers?
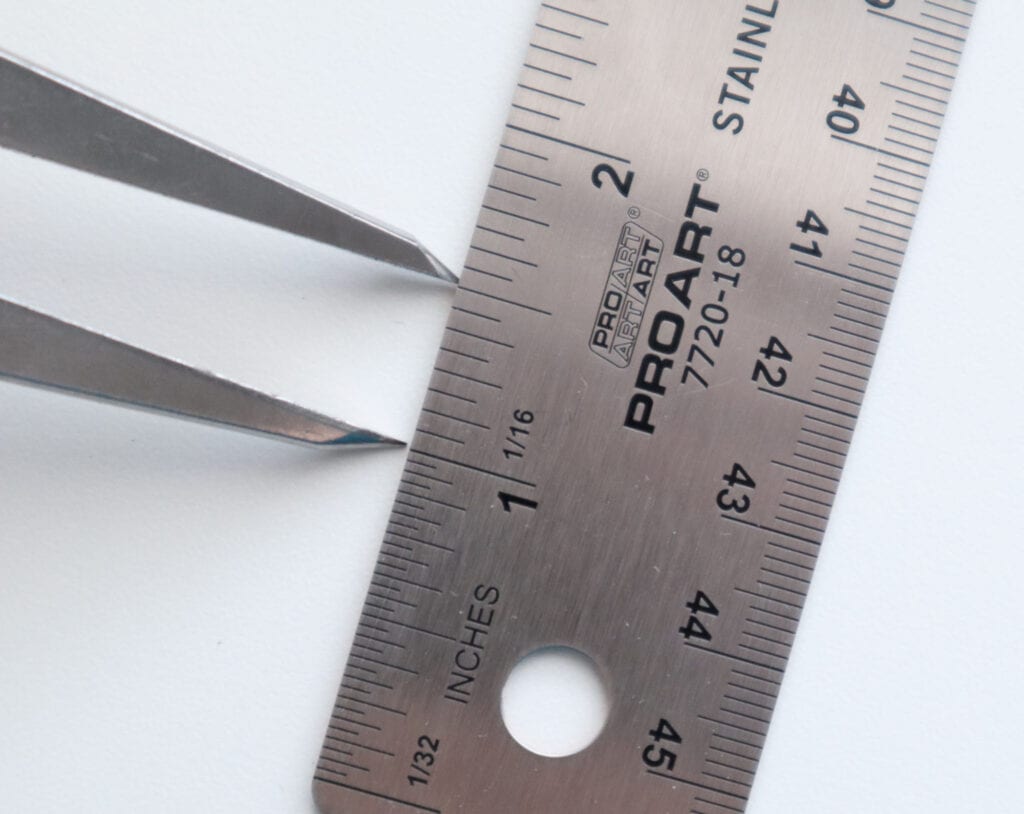
Think about all the times you weren’t able to use a ruler – tight spaces, uneven surfaces, etc. The spring divider’s two straight legs with pointed tips to allow you to measure the desired distance on a ruler, then set the distance in place by tightening the screw and nut. Now, you can leave the ruler behind and simply use the two legs to properly mark the points on your spine strip, covering material, foredge or any place where equal measurements are desired.
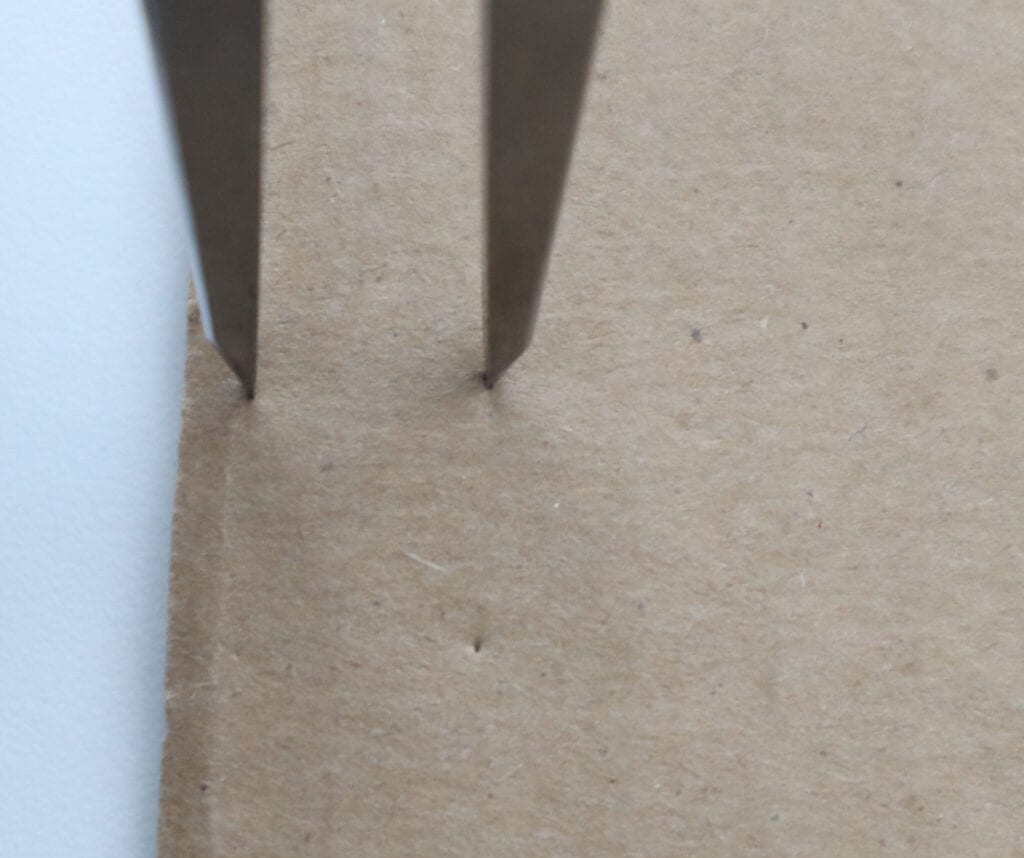
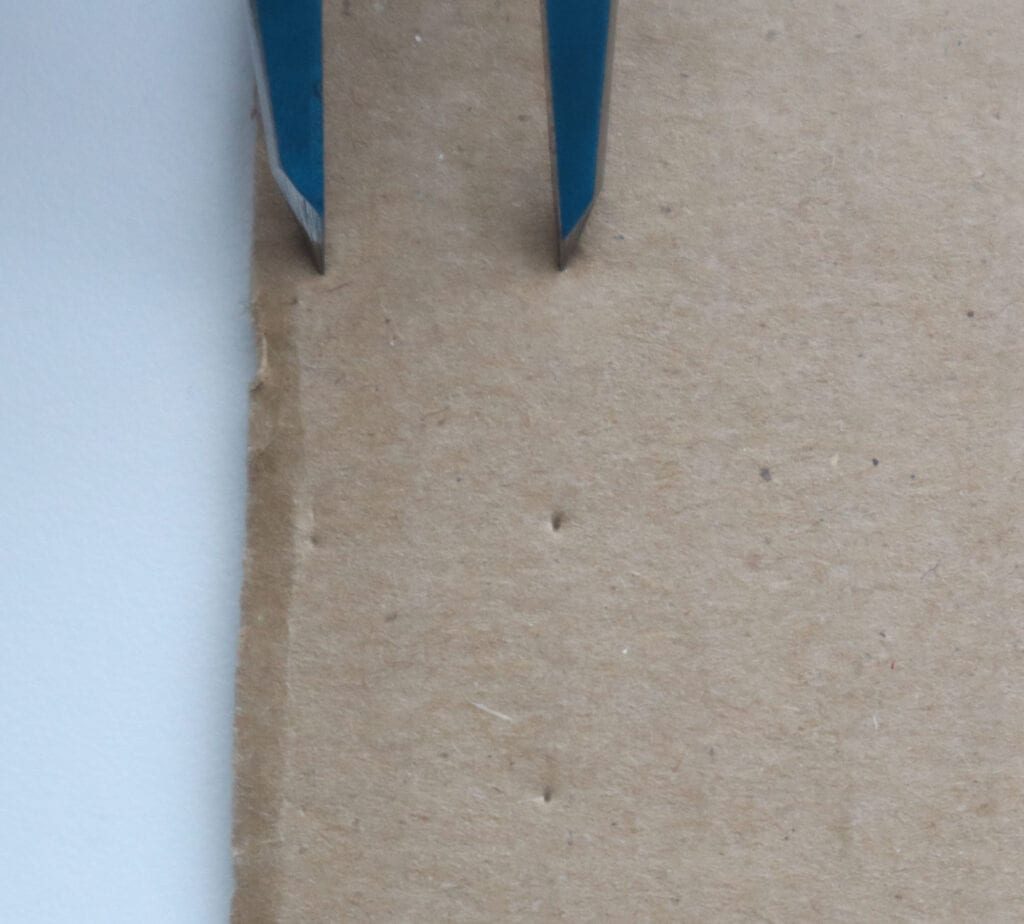
I love using my spring divider to measure the width of my book’s spine. In the past, I used a strip of scrap paper to wrap the spine and measure, but the spring divider makes it so much easier. I fix the points on each edge of the spine, tighten the screw and then mark them out on a piece of book board.
My preferred spring divider
I’ve used two different types of dividers over the past two years and found one to be my absolute favorite. This particular spring divider stands 6-1/2″ tall and opens to 4-3/4″ wide. I find this size works for all my needs.
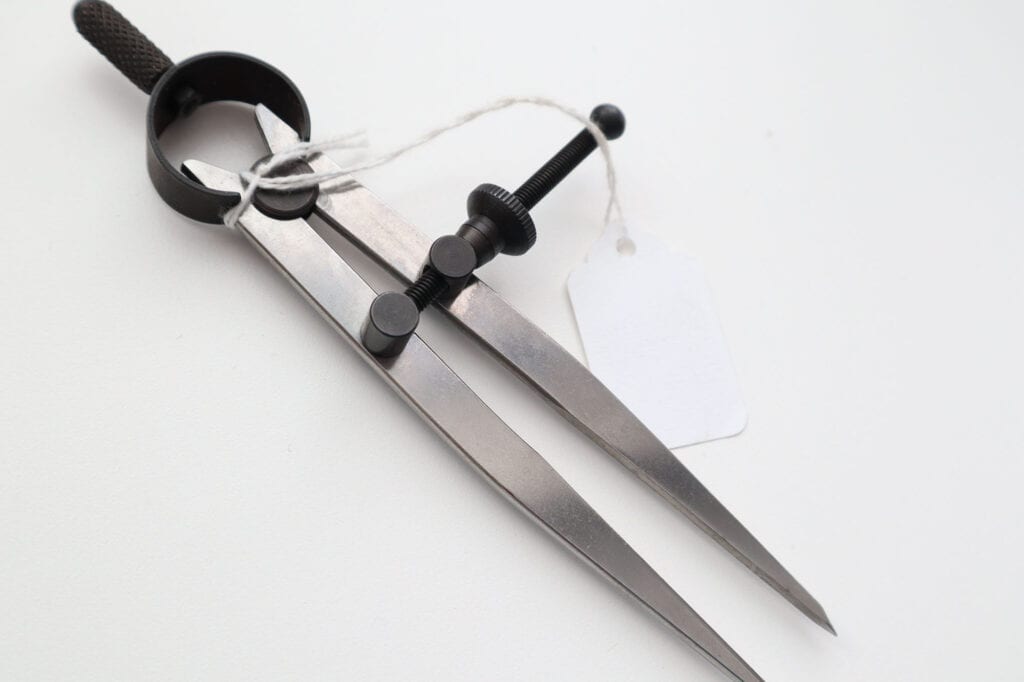
The best part about this spring divider is that it’s made of carbon steel. You might think to yourself, “Why would carbon steel matter when you’re just transferring measurements??”, but let me explain. Carbon steel is stronger than stainless steel or aluminum, allowing it to take and hold a very sharp edge. This is important when you’re stabbing paper day in and day out with the sharp points of the spring divider. Over time, the points may dull – leading to measurements that may be off by 1mm or more.
While I’m sure it could take some time before the stainless steel divider points dull, I prefer to invest once in a tool and hold it for the long term. This means I will consume and waste less over time, something that’s really important to me.
How much does a spring divider cost?
Spring dividers can range widely in expense. I’ve seen them go for as low as $8 all the way up to $120. If you’re picking up a spring divider for bookbinding purposes, I wouldn’t spend more than $20.
Time saving tools are worth the investment
As your bookbinding skills grow and improve, you’ll be drawn to highly efficient, time-saving tools like this one. Not only does the tool cut measuring time, it improves accuracy. I can’t argue with that!
Where to buy
I purchased my Spring Divider from Hollander’s, but you can pick one up wherever quality tools like these are sold.
Good luck to you!
More bookbinding goodness
✨ What tools do I need to get started bookbinding?
- Bookbinding Tools & Supplies Quick Start Guide – learn all about book making tools, which to buy first & where to go online
- Pick up my popular Complete Starter Bookbinding Tools Kit – all the bookbinding essentials in one spot
🌟 Looking for a simple way to start making books?
Try a Complete Book Materials Kit. Each one has everything you need (+ tutorials & videos) to make a beautiful book without all the fuss.
Thank you for taking me along on your book making journey!
Misty
