Today, I’m giving you an overview of the case binding method. This method is used in bookbinding to create strong, flexible books intended to last for generations. Every bookbinder should be familiar with this method, so let’s dig in.
What is a case binding?
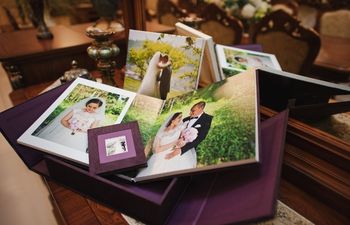
Case bindings are everywhere, from journals and photo albums to recipe books and novels.
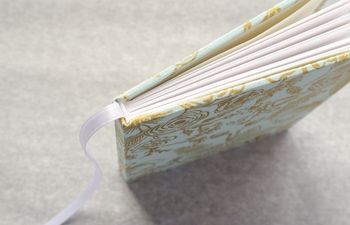
At its simplest, a case binding is just a hard cover book where groups of pages are sewn onto supports and bound between sheets of card board covered in a protective material.
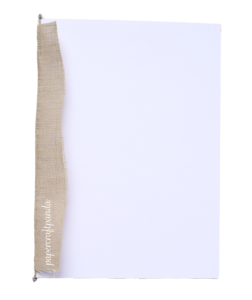
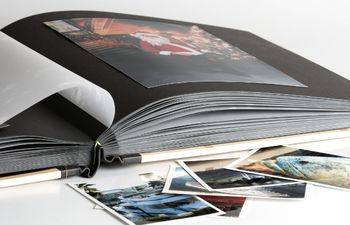
Here is an example of one of my own case bindings:
Take a look around your own home or apartment. Do you see any case bindings? Grab one and open it up. It could be very helpful as we go through the structures.
While I’ll be covering some steps of book assembly, this is not an in-depth tutorial. This article is intended as an overview only. If there is enough interest, I’d be happy to provide an in-depth tutorial. Just pop over to Instagram and let me know.
7 Building Blocks
Case bindings have what I call “7 building blocks”:
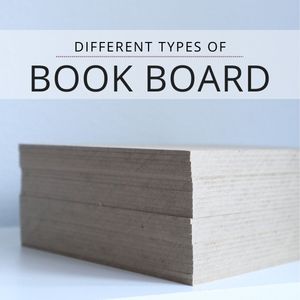
- Book board (also: bookboard)
- Covering material
- Endpapers
- Head/tail bands
- Paper
- Spine
- Extras
The Casing & Text block
When brought together, these 7 building blocks form two structures:
- Casing (or, case)
- Text block
Casing
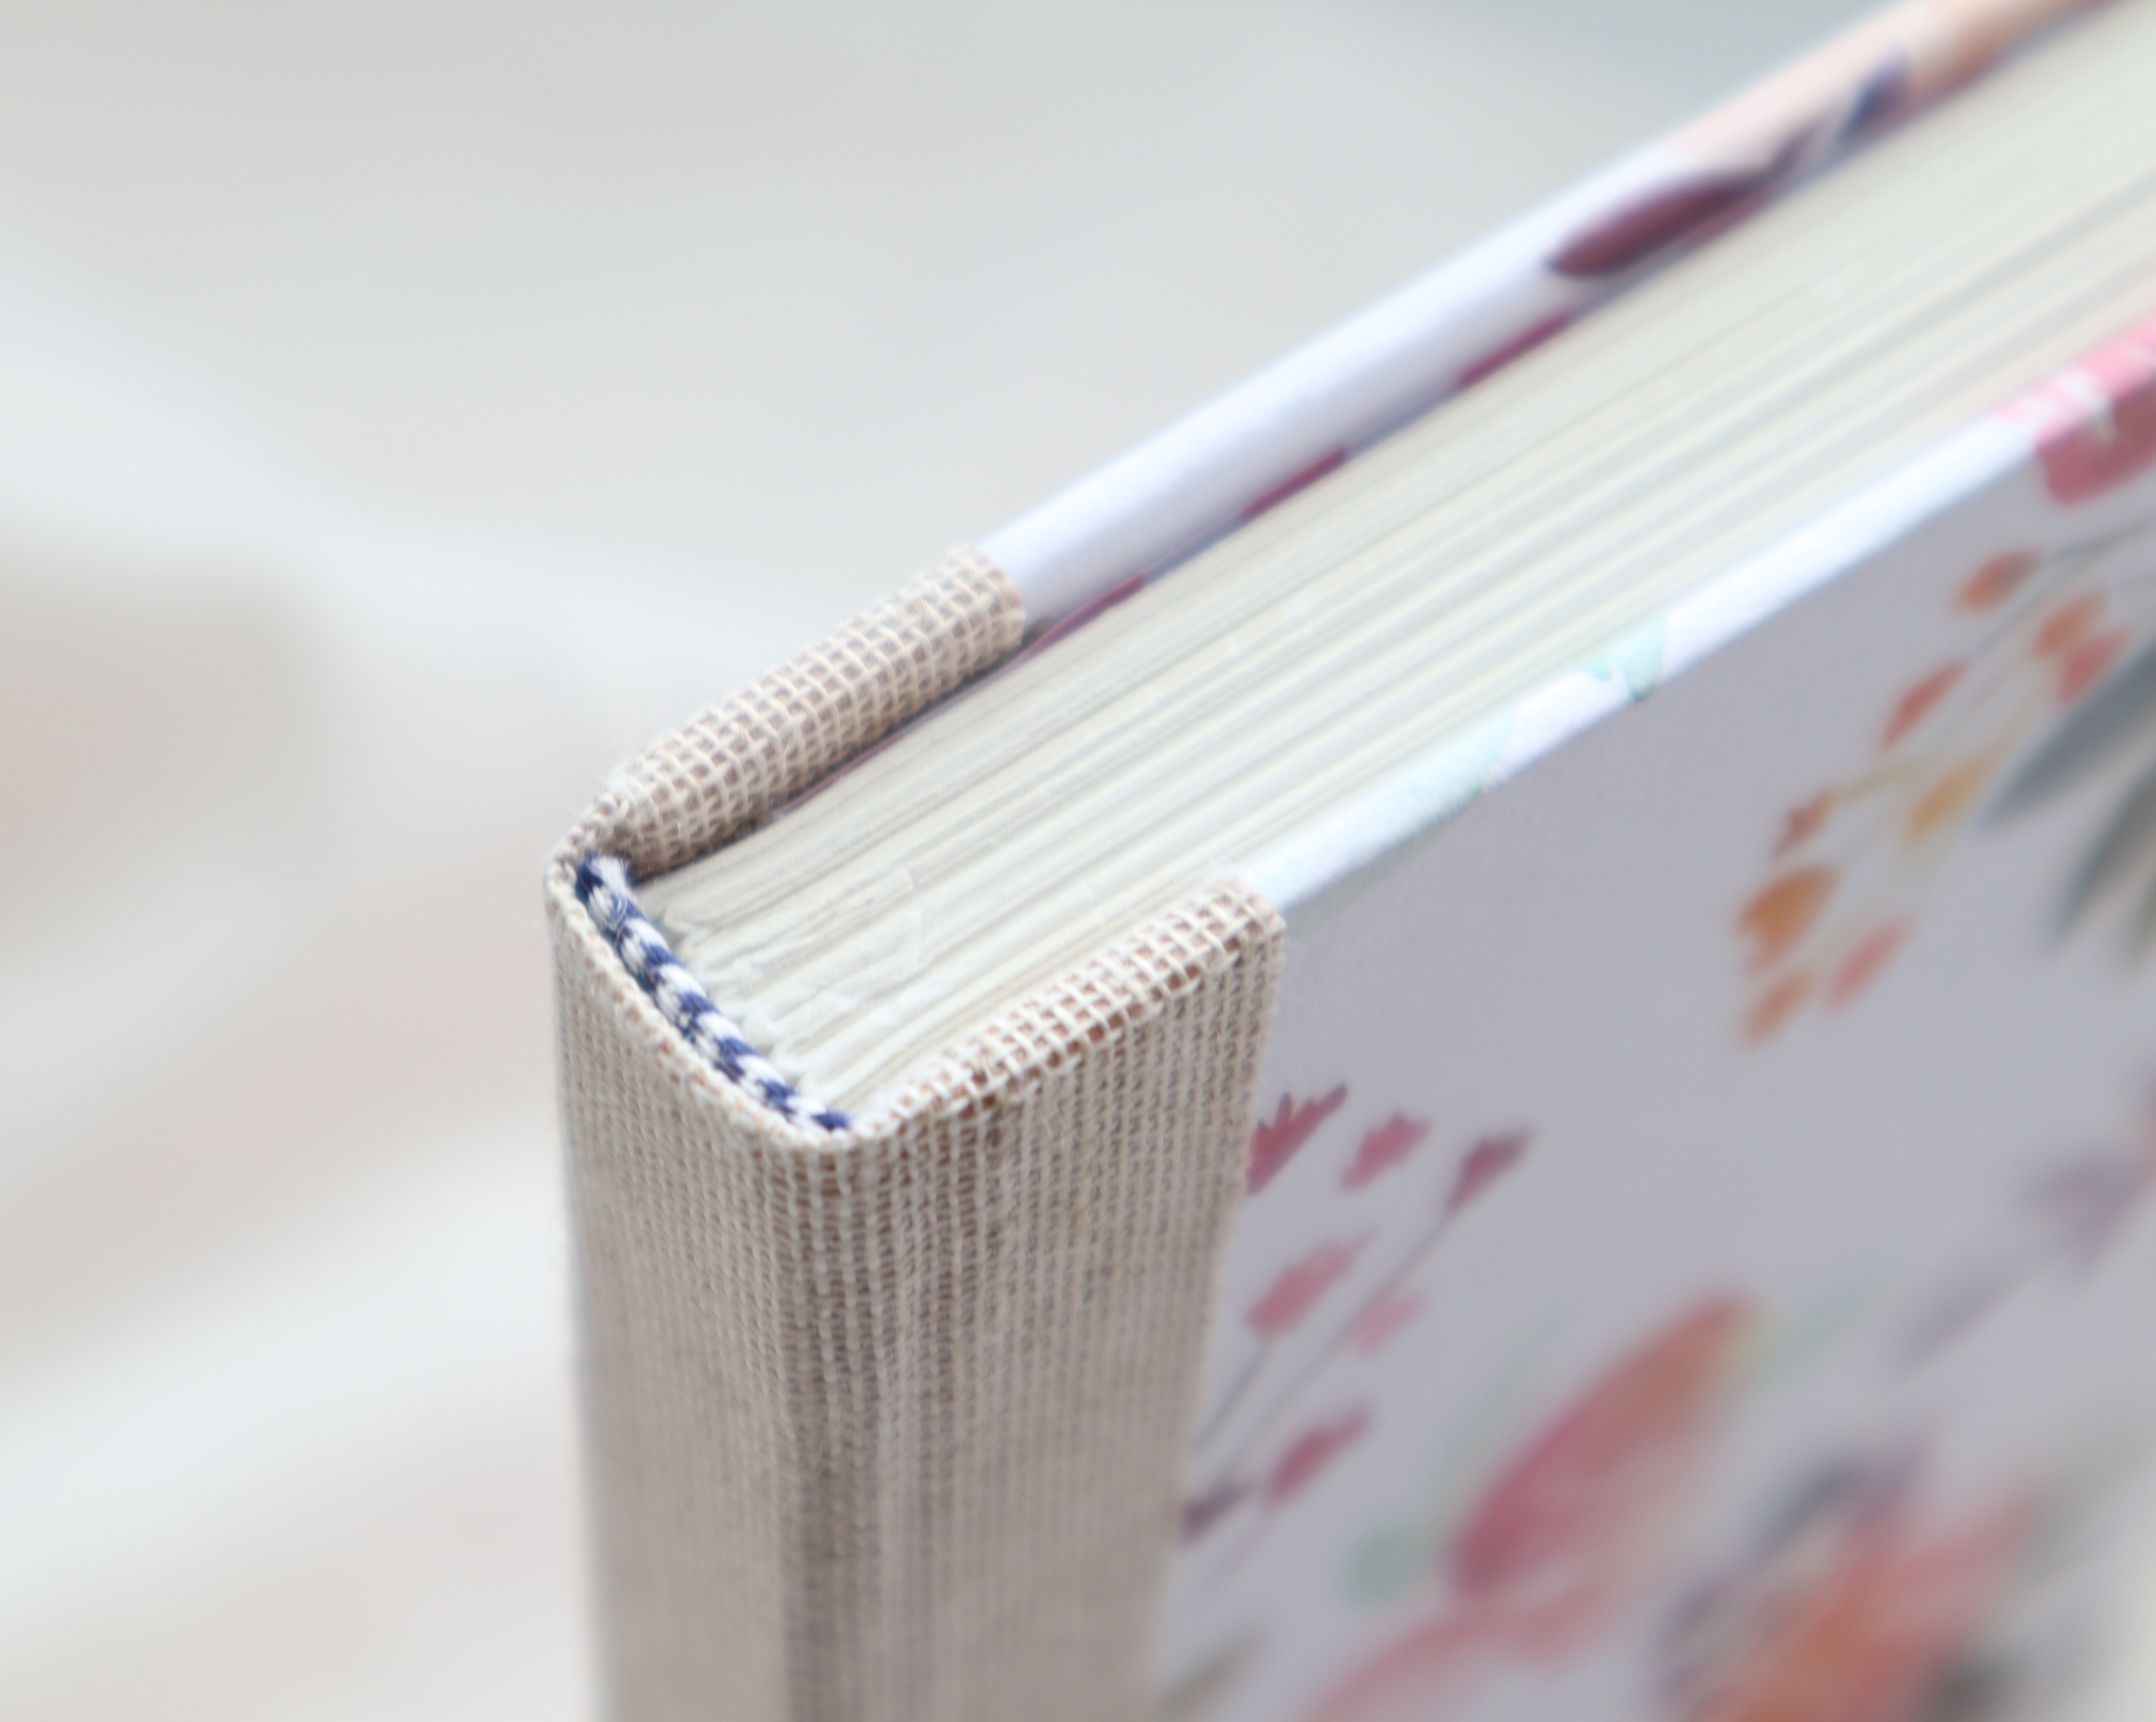
The casing is created by covering the spine, front and back boards in a single sheet (or combination) of paper, cloth or leather. The paper or cloth is glued to the bookboard and pressed under weight until dry.
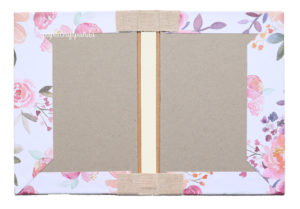
I’m using linen book cloth over the spine and decorative paper over the covers.
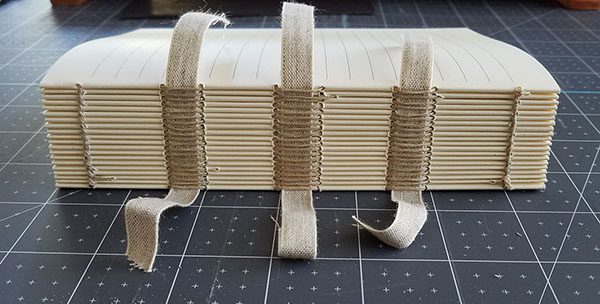
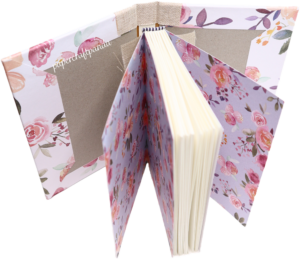
Text or Book block
The text or book block is created by sewing groups of signatures onto raised supports. These supports are typically linen tapes, but may also be thick cords of twine. Once sewn, the signatures go through a process of gluing and pressing until they’re held firmly in place.
Preparing the text block for encasement
At this point, end papers are attached to the text block using glue (called “tipping in”). Some bookbinders sew the end papers in with the signatures. Either way works and is up to your preference.
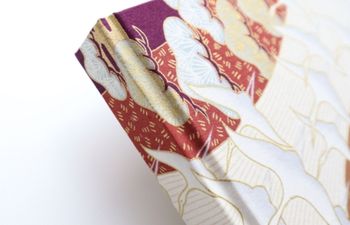
Next, head and tail bands are attached to the text block using glue or hand-sewn methods (not covered here).
Once the head and tail bands are secure, a super (or “mull”) is glued in place around the back of the text block for additional reinforcement.
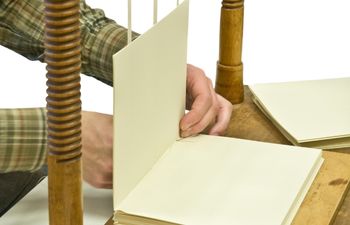
Before the text block can be glued to the case, it is first placed inside the case to ensure adequate coverage. Some bookbinders call this “fitting the text block.”
Encasing the text block
The text block is secured to the case by gluing the end papers to the front and back covers. Newsprint and wax paper are inserted between the end papers and first/last page of the book to prevent moisture from seeping into the text block.
The completed book is then placed under weight (usually a book press) to dry overnight. Most bookbinders recommend pressing the book for up to 3 weeks.
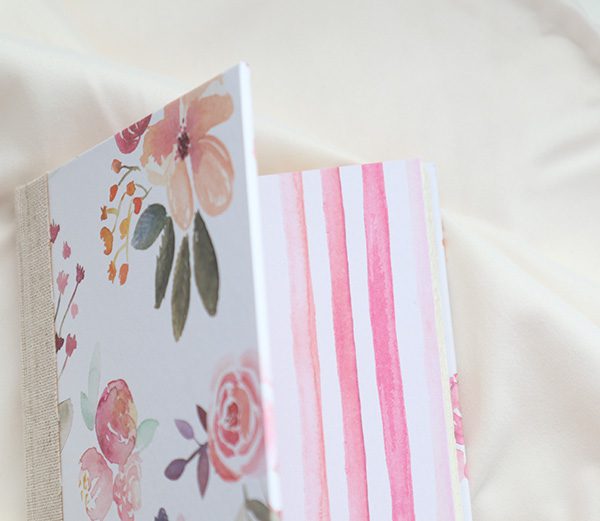
Finished book
Voila! The book is now complete. If you’re looking for additional resources, check the bottom of this article. Everything you need to start making books is in one place!


Resources
- If you are new to bookbinding and looking for the best place to start, read my New Bookbinder Guide.
- Learn what makes a book a “book” in Getting to Know the Physical Parts of a Book
- For a list of bookbinding tools, materials and supplies from retailers I trust and use myself, pick up my Bookbinding Tools & Supplies Quick Start Guide.
- Feel free to ask me questions! I’m active daily on Instagram.
Misty