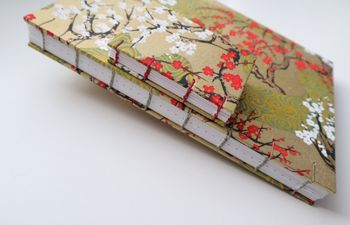
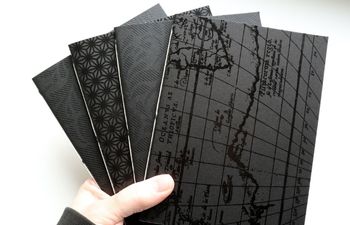
Today, I’m giving you an overview of the Japanese Stab Binding method. This beginner-friendly technique is perfect for single sheets. It developed during the Edo period in Japan (Qing Dynasty in China), around 1603-1867.
While we tend to refer to this method as “Japanese”, the technique itself cultivated across East Asia from Japan to China, Korea and even Vietnam. The number of holes (sewing stations) used and the patterns will vary from country to country, but you get the idea.
This method is well-known for two reasons:
- The simplicity in execution is perfect for beginner-level bookbinders
- It’s a great option for binding single sheets of paper
Now that you’ve got some basics, let’s jump into the details.
What is a Japanese stab binding?
Bookbinding Method or Technique: Japanese Stab Binding
Minimum Skill Level: Beginner
Characteristics: Exposed spine*, single sheets, will not lay flat, sewing patterns take center stage
Great for: Single sheet bindings, newer book makers, printed art books, manuals
Bad for: Scrapbooks, sketch books, watercolor books, journals
*usually, though some historical stab bindings have a closed spine with continuous wrap-around cover
All stab bindings are characterized by an exposed spine with sewn patterns ranging from simple to intricate. These patterns and the number of holes (sewing stations) are often derived from the country of origination. For example, the Japanese and Chinese prefer 4 sewing stations, while Koreans like 5 stations as the number is more favorable in their culture.
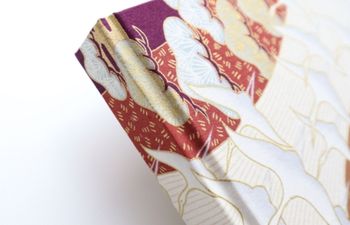
The book block is historically flush with the spine, top and bottom edges and may have a slight overhang on the fore edge (though not always). The combination of a flush book block and patterned sewing make for a strong, long-lasting binding.
While I’ll be covering some steps of book assembly, this is not an in-depth tutorial. This article is intended as an overview of the book’s creation under this technique and recommendations for how you can use this method in your art.
Japanese Stab Binding Technique Steps
There are three primary building steps involved in this technique:
- Creating the covers,
- Punching the sewing stations,
- Sewing the pattern(s)
Step 1: Creating the covers
With traditional stab bindings, there are two different types of covers you can use:
- Two separate sheets, one for each side cover
- One single sheet that wraps around from cover to cover
Each of these has sub-configurations available, but we won’t go into those in this article because most of us work with the first type (two separate sheets, one for the top and another for the bottom).
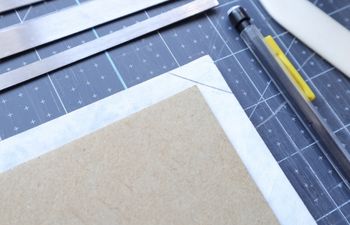
These sheets can be made of book board, card board or thick card stock. Since the cover is made using a thick paper, hinges are recommended to allow the book to open properly. These hinges may be as simple as a score line (when using card stock) or a small gap (between two pieces of book board).
Quick tip: When covering book board, be sure to use a material that will allow you to pierce through it to create sewing stations.
Step 2: Punching the sewing stations
The sewing stations run through the covers and book block, which means they all need to be uniform and perfectly aligned in order to allow the thread to pass through while keeping the edges flush. This process is usually performed manually, but there are no rules against using electronic tools.
Here are a few options you might have at home:
- Tapered awl (be sure to use a heavy duty awl on the book board if it’s thick)
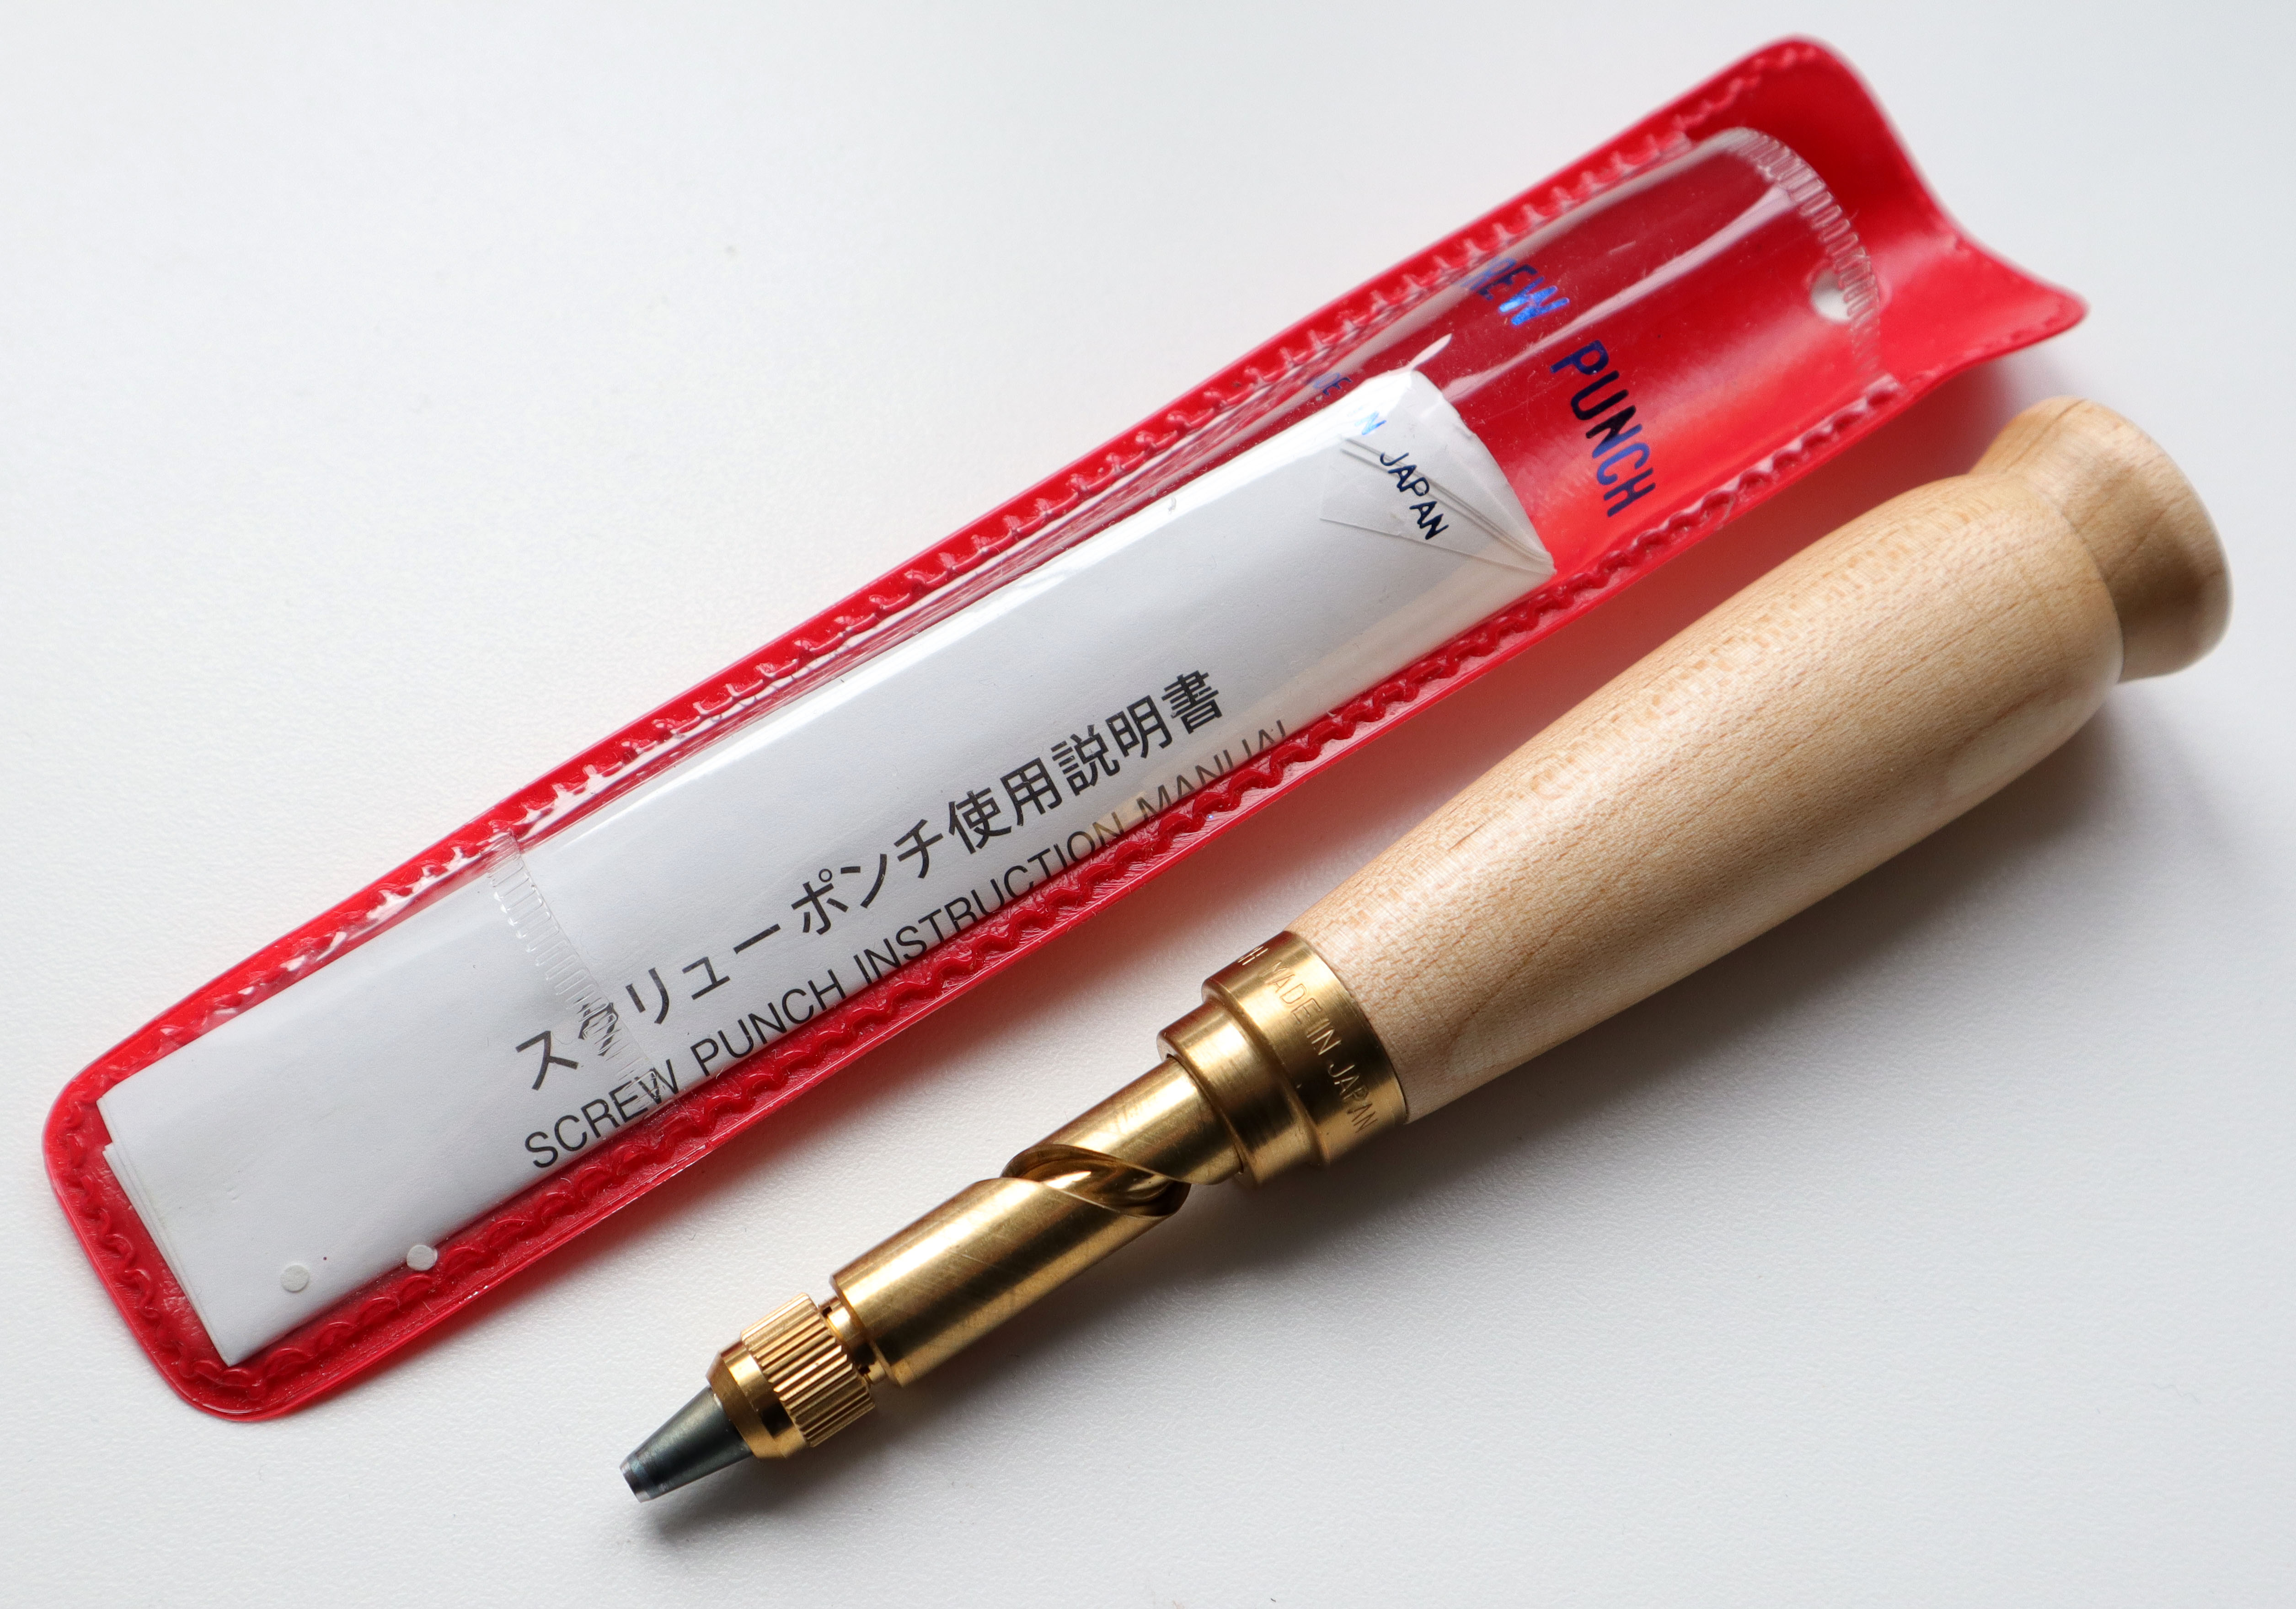
- Japanese screw punch
- Heavy duty hole punch (desktop and handheld)
- The Dremel station
- Handheld drill using a circular wood bit
- Drill press
…the list could go on.
The Japanese screw punch is one of my favorite manual tools for this purpose because it has interchangeable bits, making it easy to create different hole sizes depending on your needs. Just be sure to pick up a quality screw punch that was made in Japan. Otherwise, you run the risk of buying a cheap version that will break instantly, lose sharpness quickly or hurt your hand.
Quick tips:
- have a set of vice grips or clamps on hand to hold the book block in place while creating the sewing station holes
- when using a manual awl, try creating a template first. This will ensure your holes are in the same position each time
Step 3: Sewing the pattern(s)
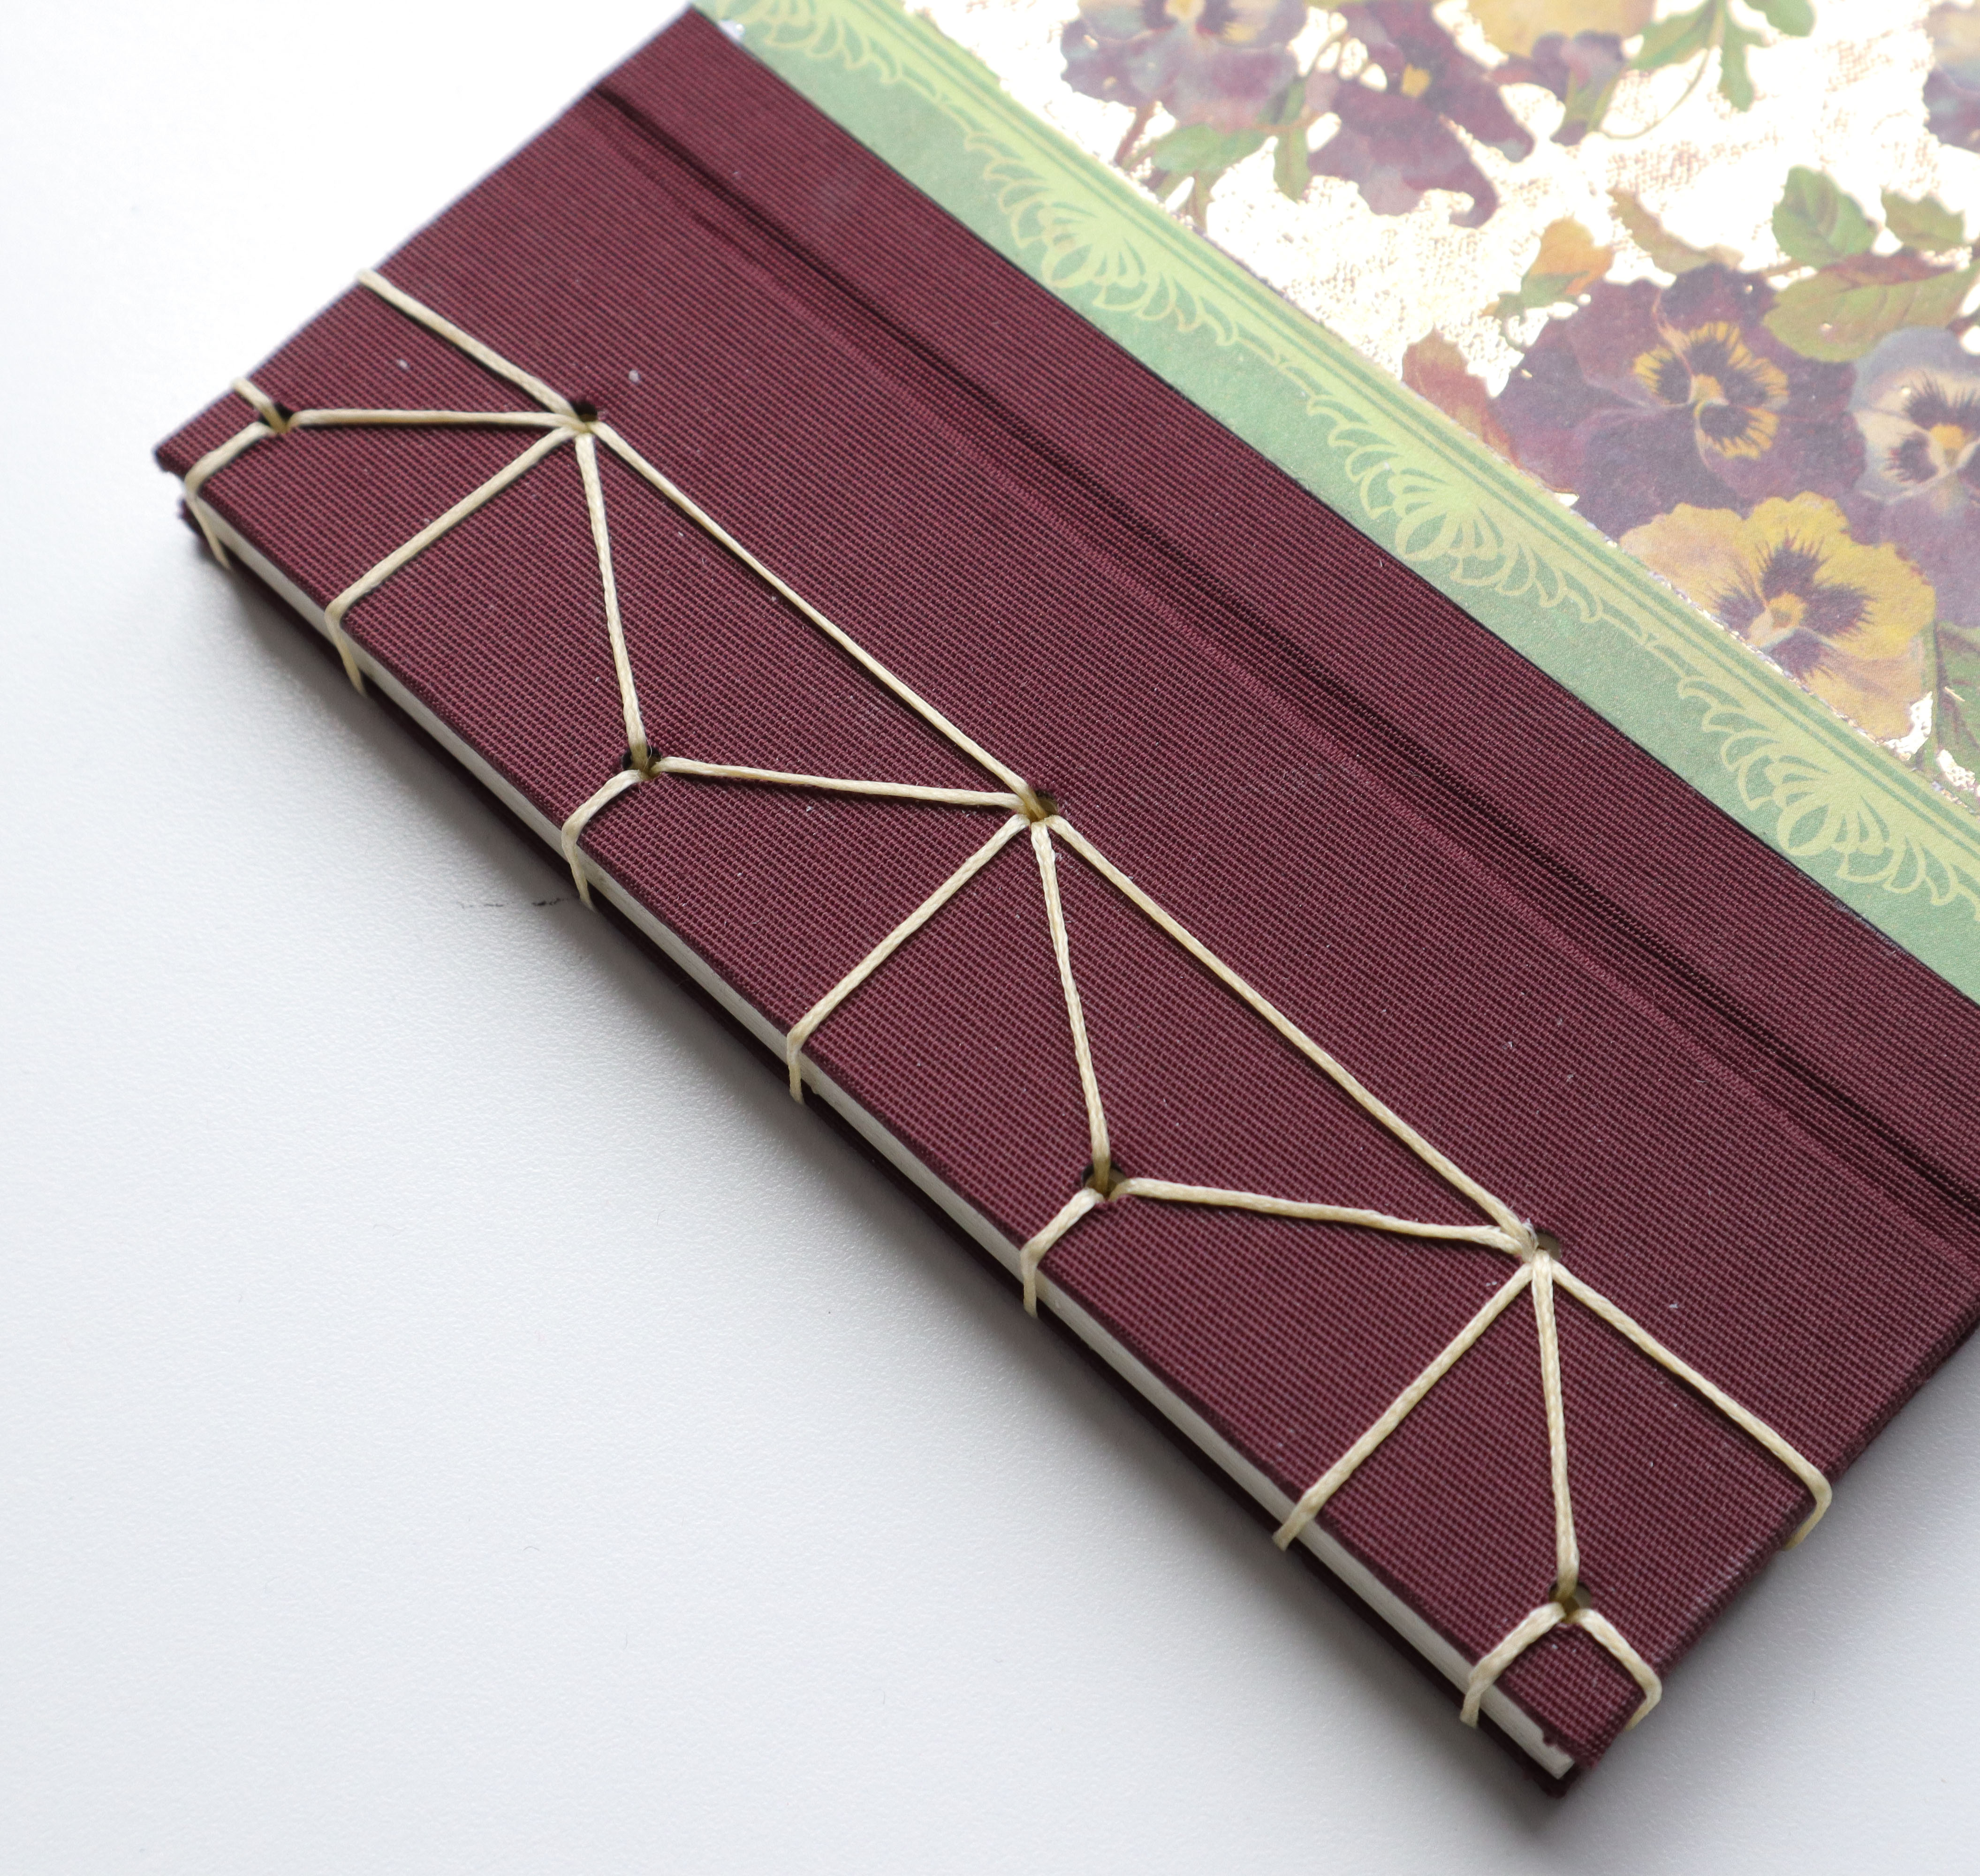
Stab binding patterns range from simple to intricate and usually reflect the origin country’s culture. Most of us book makers will try the Japanese 4-Hole Binding first, which is a very easy pattern to start with. From there, you can try other fun patterns that range in difficulty.
Some of the most popular patterns include:
- Japanese 4 Hole Binding (Yotsume Toji)
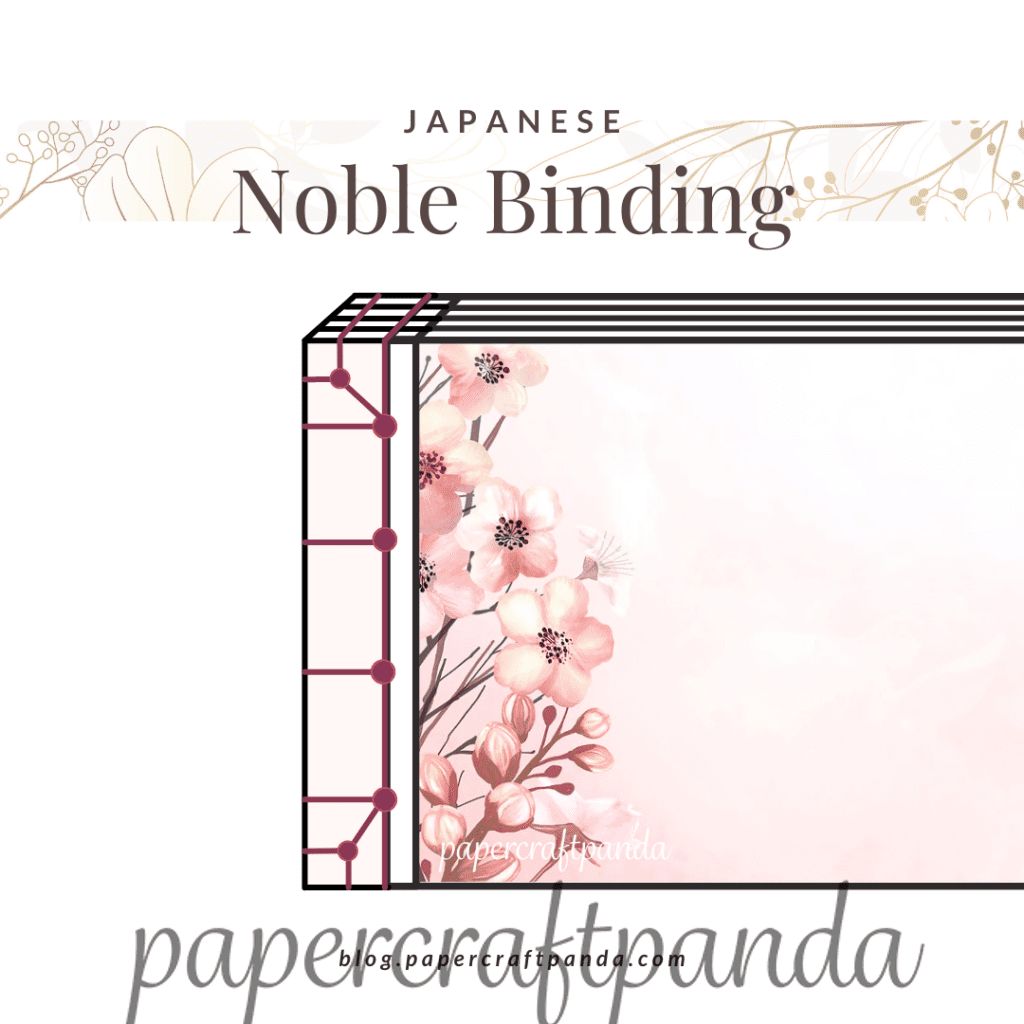
- Noble Binding (Koki Toji)
- Tortoise Shell Binding (Kikko Toji)
- Hemp Leaf Binding (Asa-No-Ha Toji)
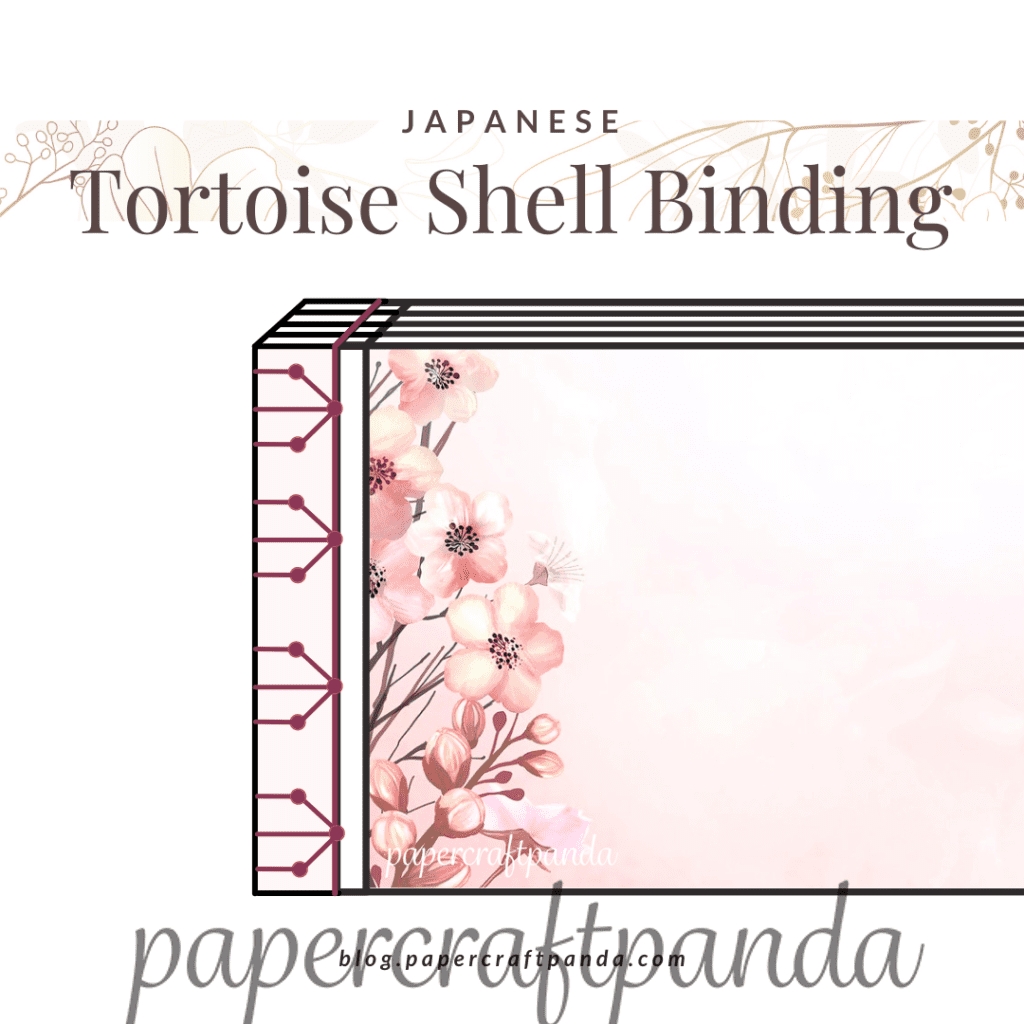
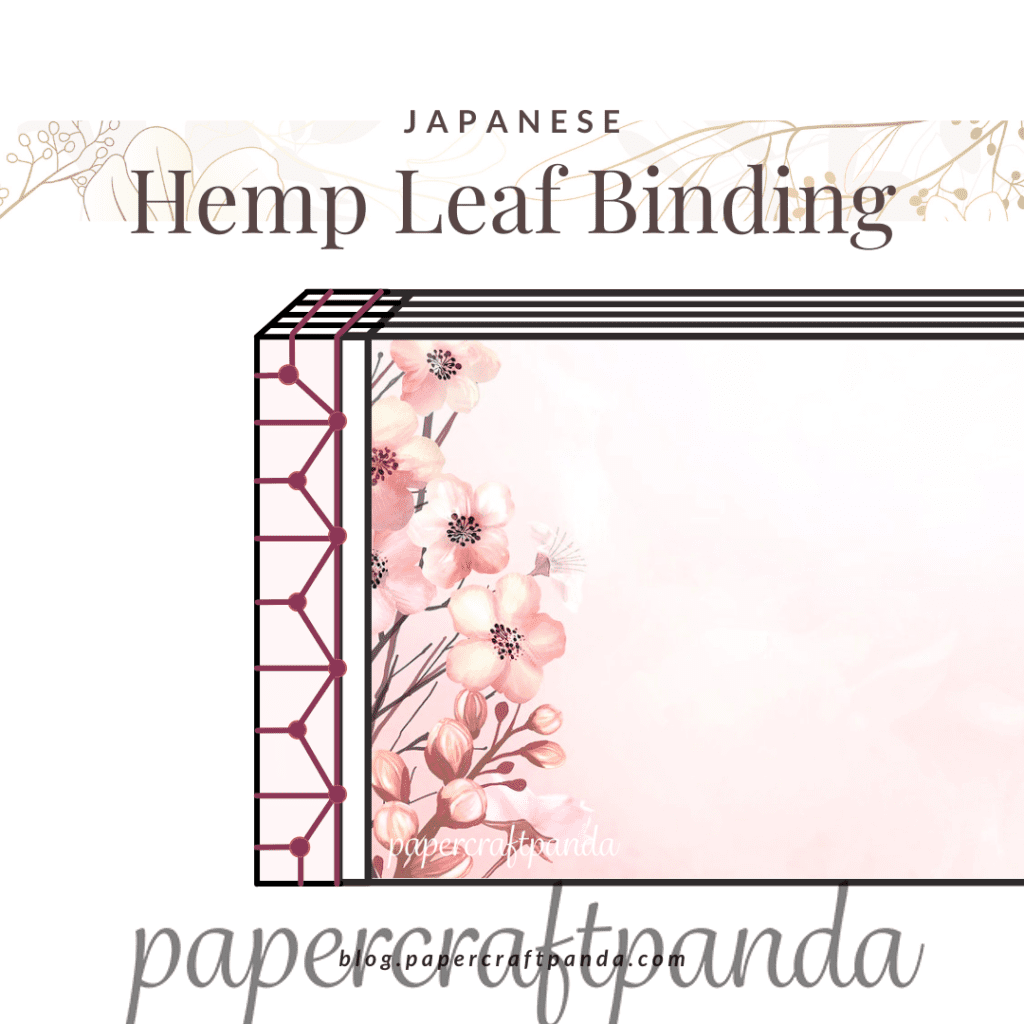
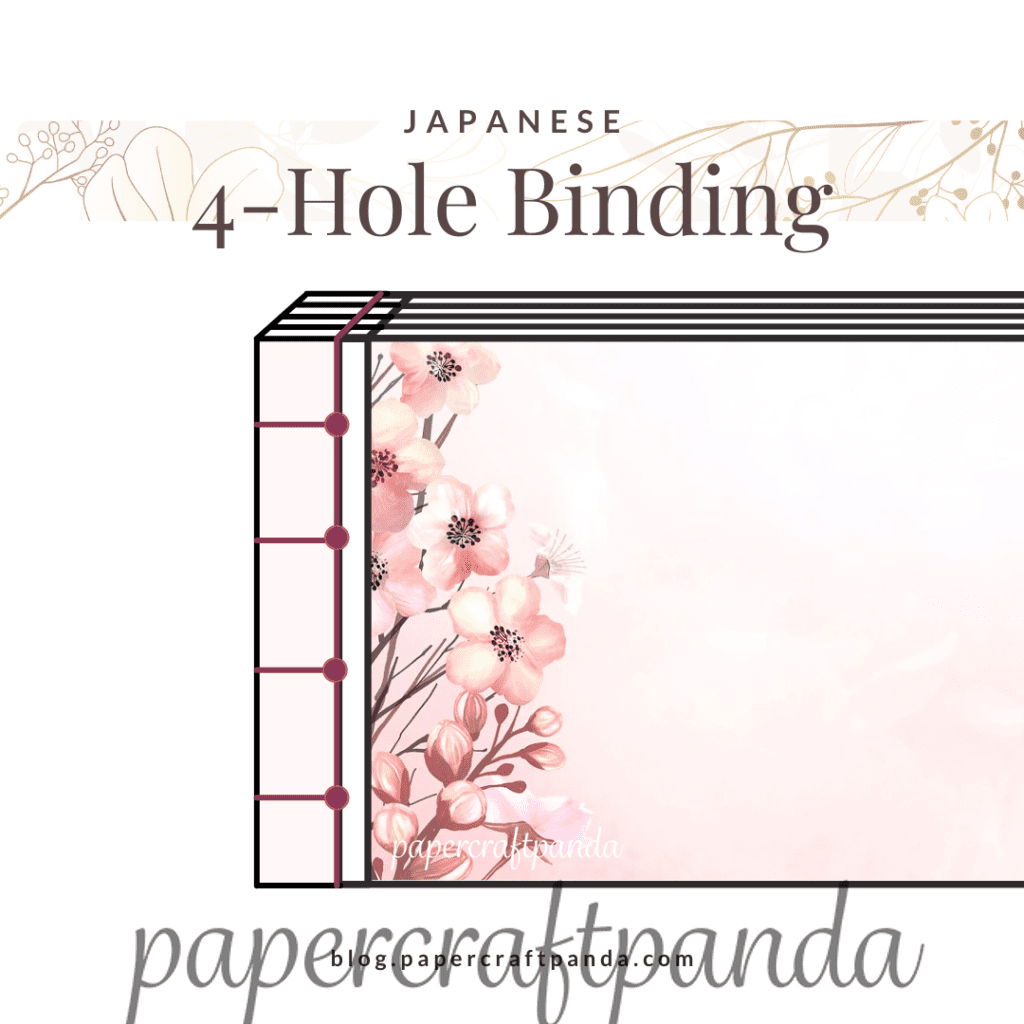
Thread considerations
The thread used with this type of book acts as a binding agent to keep the book together (no glue here!) and as a vehicle for artistic expression (a.k.a the pattern). For these reasons, there are a few things to consider.
Thread type
When choosing thread for this type of binding, be sure to select a strong option that can be waxed for additional support. Waxed or polished linen thread are great options for this.
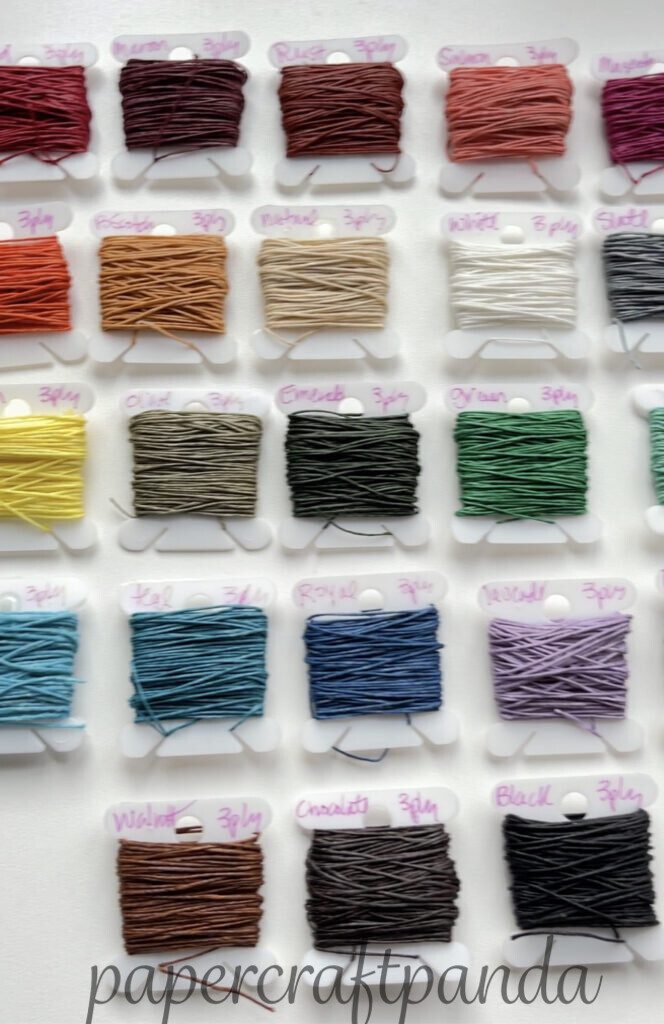
In my own practice, I’ve used embroidery thread of various types because they come in so many different colors & options – such as ombre – that really add character to the final design. Since embroidery thread isn’t as tightly woven, it works best when the book isn’t as thick or not intended to last for generations.
Thread length
With stab bindings, the sewing station holes are exposed. This makes it difficult to tie off a piece of thread should you run out during the sewing process. To avoid this, use one continuous length of thread for the binding. The hard part is knowing exactly how much to use. Obviously, simple patterns will use less thread. More intricate patterns that pass through more sewing stations will need more thread.
Here are some thread length suggestions for the most popular patterns:
- Japanese 4 Hole Binding (4 stations) – use a length 3x the height of the book block
- Tortoise Shell Binding (12 stations) – use a length 6x the height of the book block
- Hemp Leaf Binding (7 stations) – use a length 4x the height of the book block
- Noble Binding (6 stations) – use a length 3.5x the height of the book block
Thread color
This one is pretty obvious, but worth stating. Since the sewing pattern is the star of the show, be sure to use thread colors that compliment the design. As mentioned above under thread type, don’t be afraid to step outside the box and choose a different type of thread. Let your artistic side show!
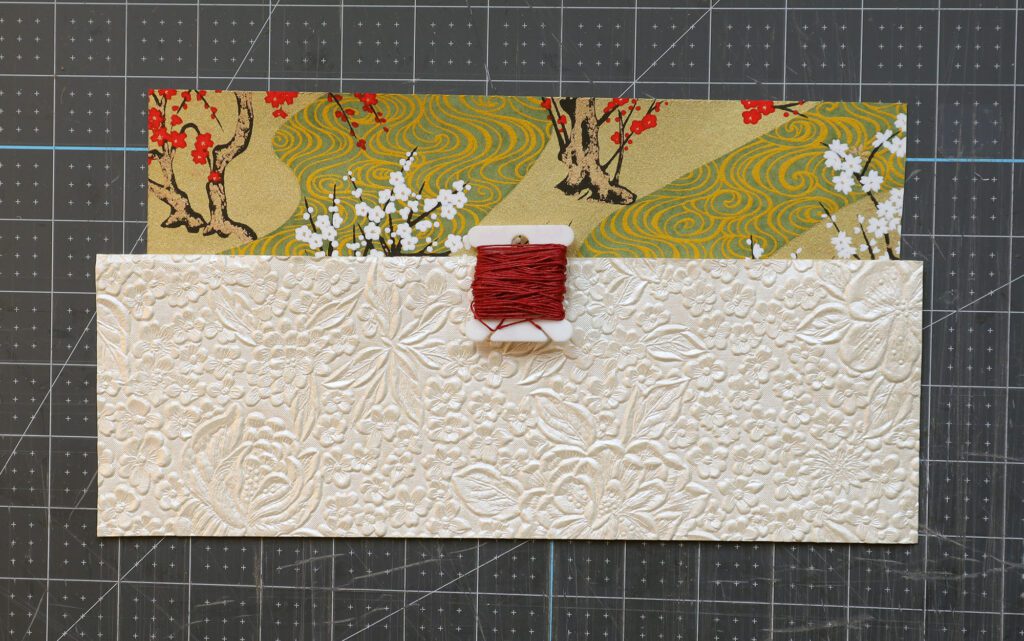
Other Fun Stab Binding Patterns
These four patterns are not the *only* ones out there, but they’re the best place to start if you’re just learning the stab binding method. Once the basics are mastered, it’s time to explore other examples or create your own. One of my favorite patterns is a series of lily pads (I can’t show you a photo here because I have yet to make one… and I’m not sure who to credit for creating it). Pretty crazy, if I do say so myself.
My recommendation is to let your artistic imagination run wild. You never know what you might create!
Resources
- If you are new to bookbinding and looking for the best place to start, read my New Bookbinder Guide.
- Learn what makes a book a “book” in Getting to Know the Physical Parts of a Book
- For a list of bookbinding tools, materials and supplies from retailers I trust and use myself, pick up my Bookbinding Tools & Supplies Quick Start Guide.
I really hope you enjoyed and learned something new from this overview of the Japanese Stab Binding method. If you have any questions, feel free to reach out to me on Instagram.
Thanks for stopping by!
ALL my best,
Misty
