A lot of friends, family and acquaintances ask have asked me, “How long does it actually take to make a book?” I hear the emphasis on the word “actually” as if bookbinders are either over- or under-inflating the time involved to construct a handmade book. Is this truly the case?
The heart of the question
I truly believe the question comes from a place of awe and intrigue, not a place of accusation or interrogation. Some people ask because they’re curious about making a book themselves. Others have such an immense respect for books they assume it must take weeks or months to make just one. Today, I hope to shed some light on what it really takes to create a beautifully bound book by hand.
Experiment guidelines
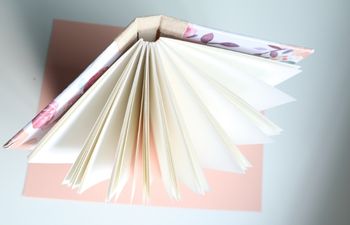
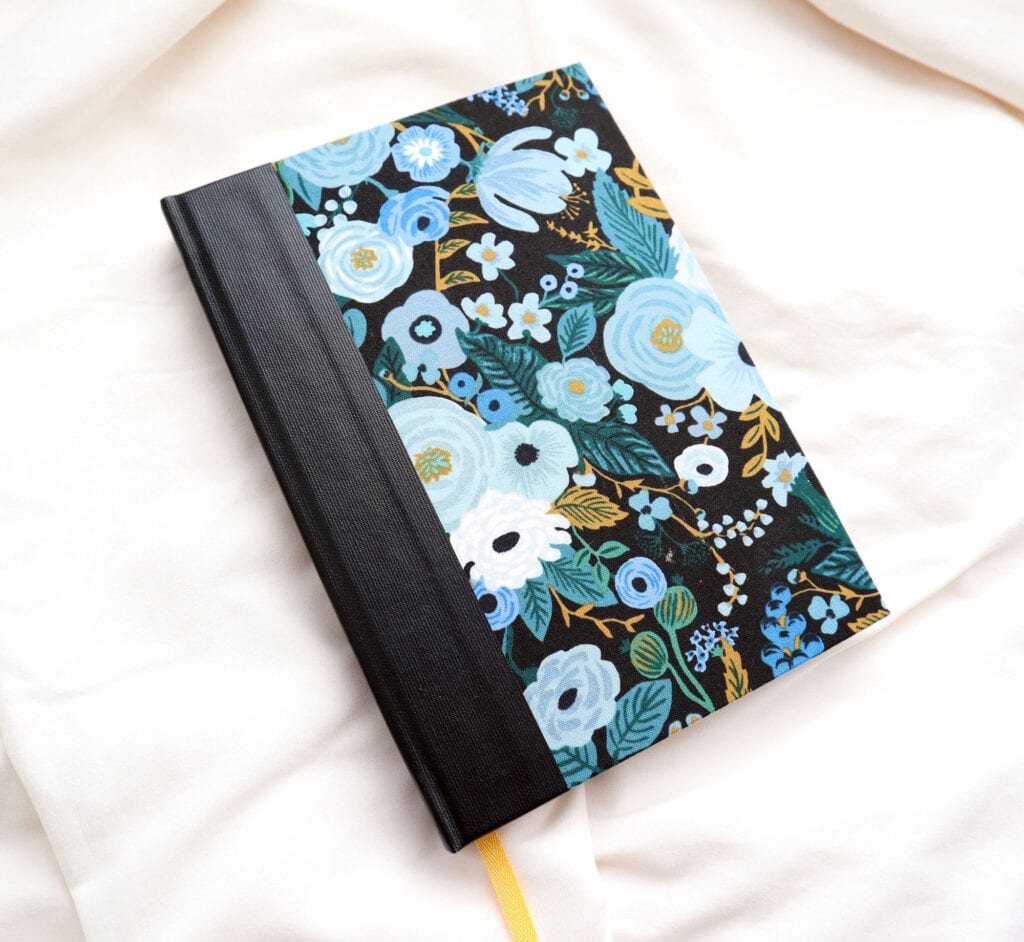
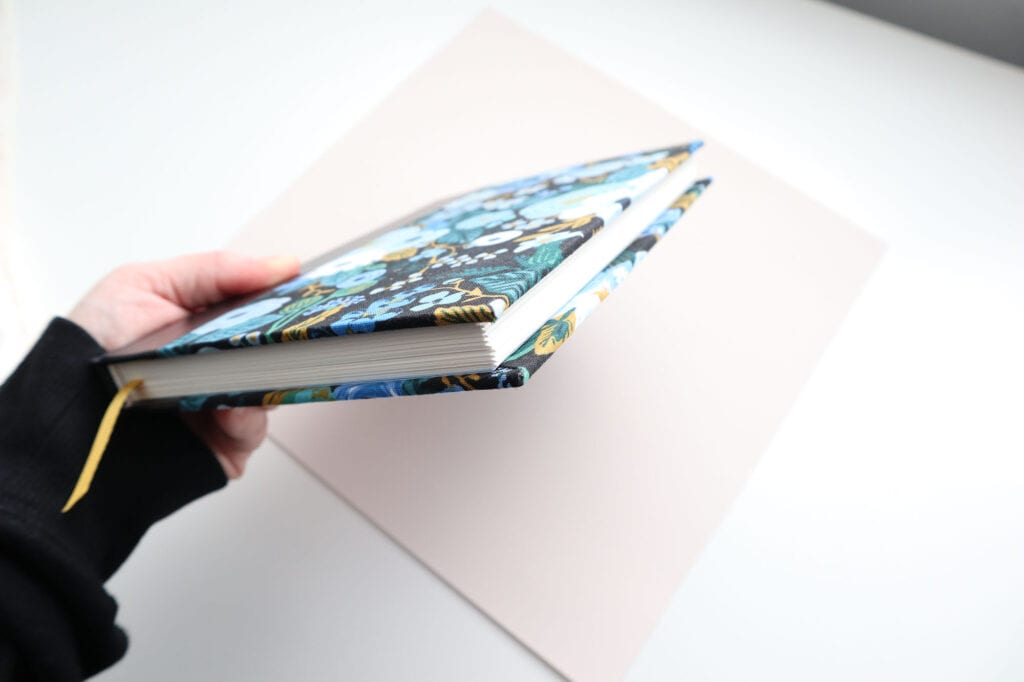
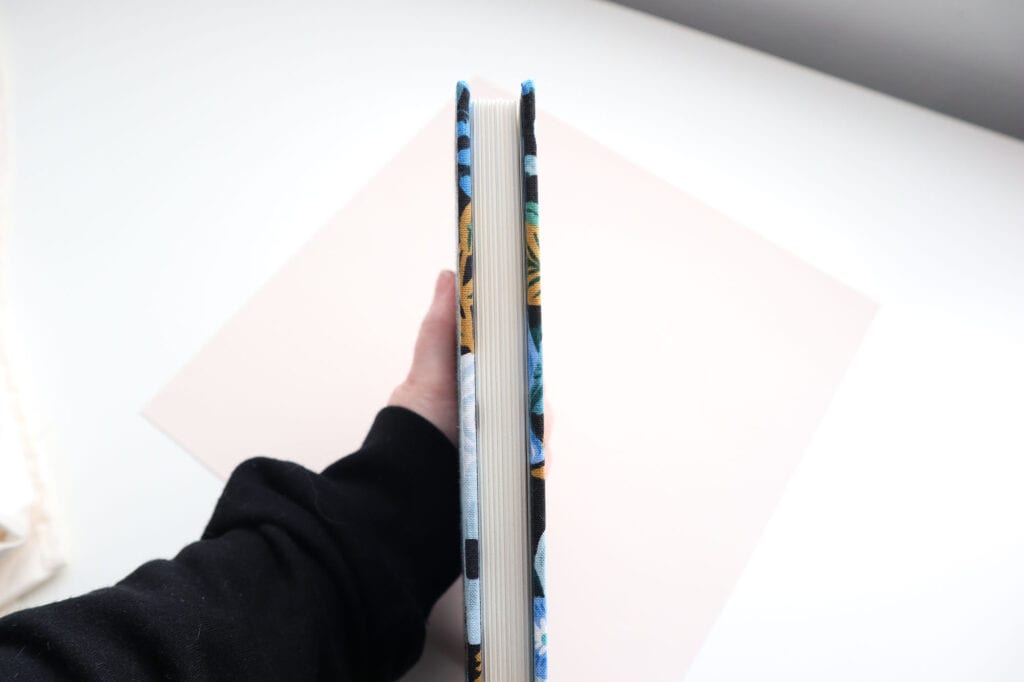
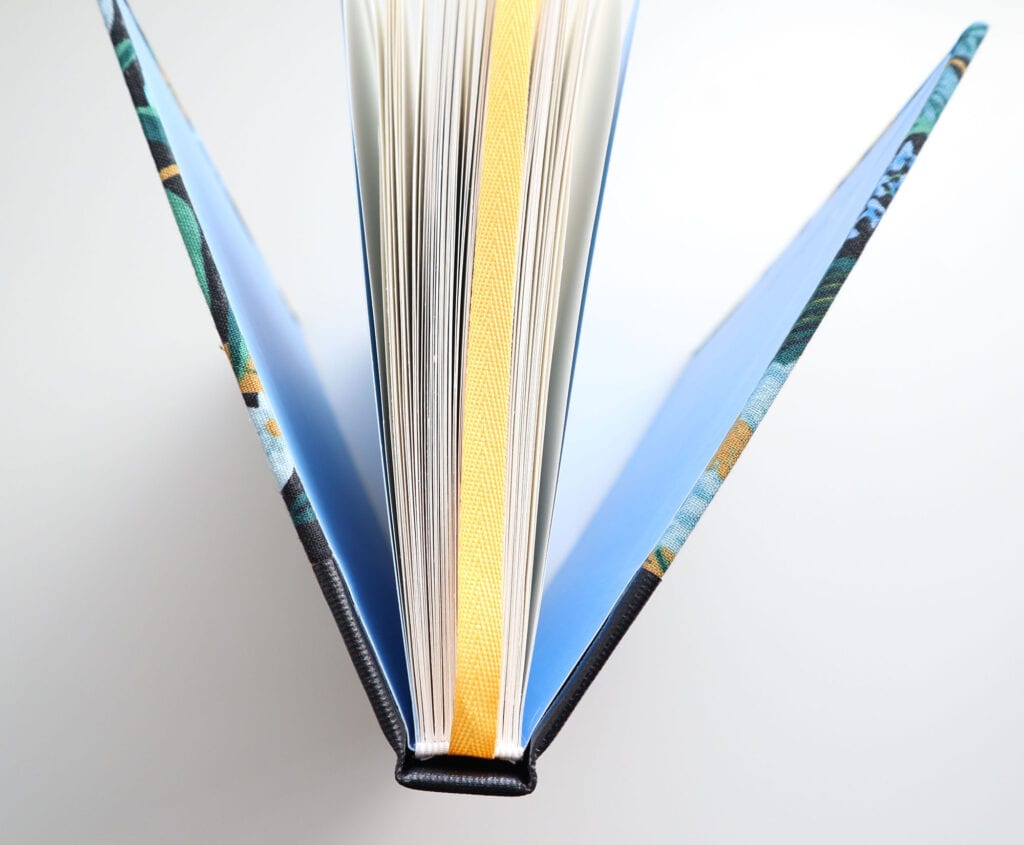
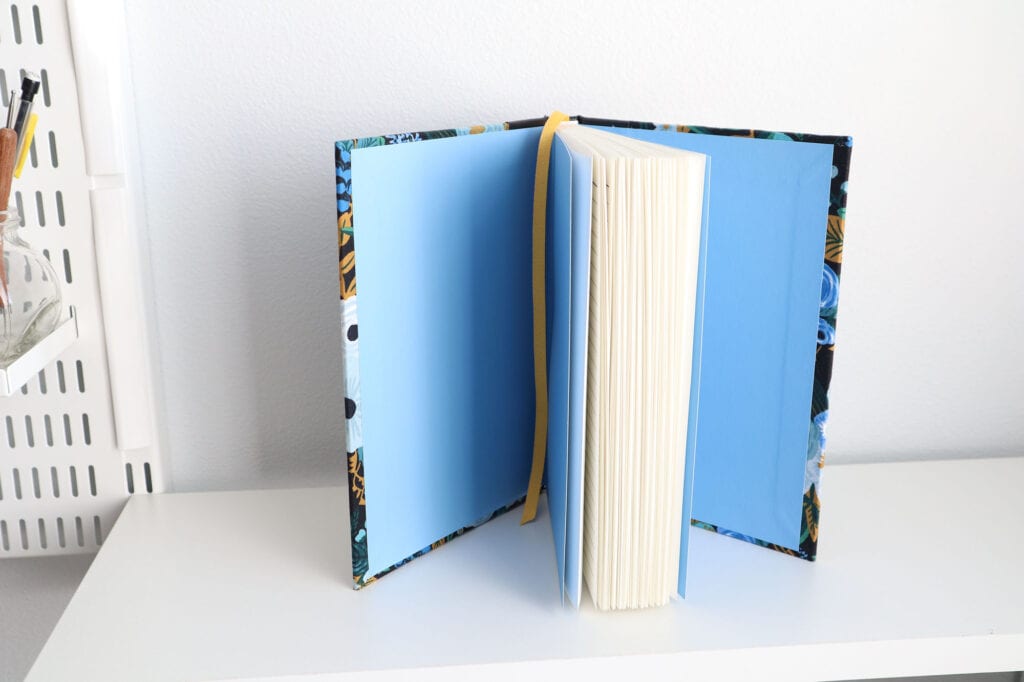
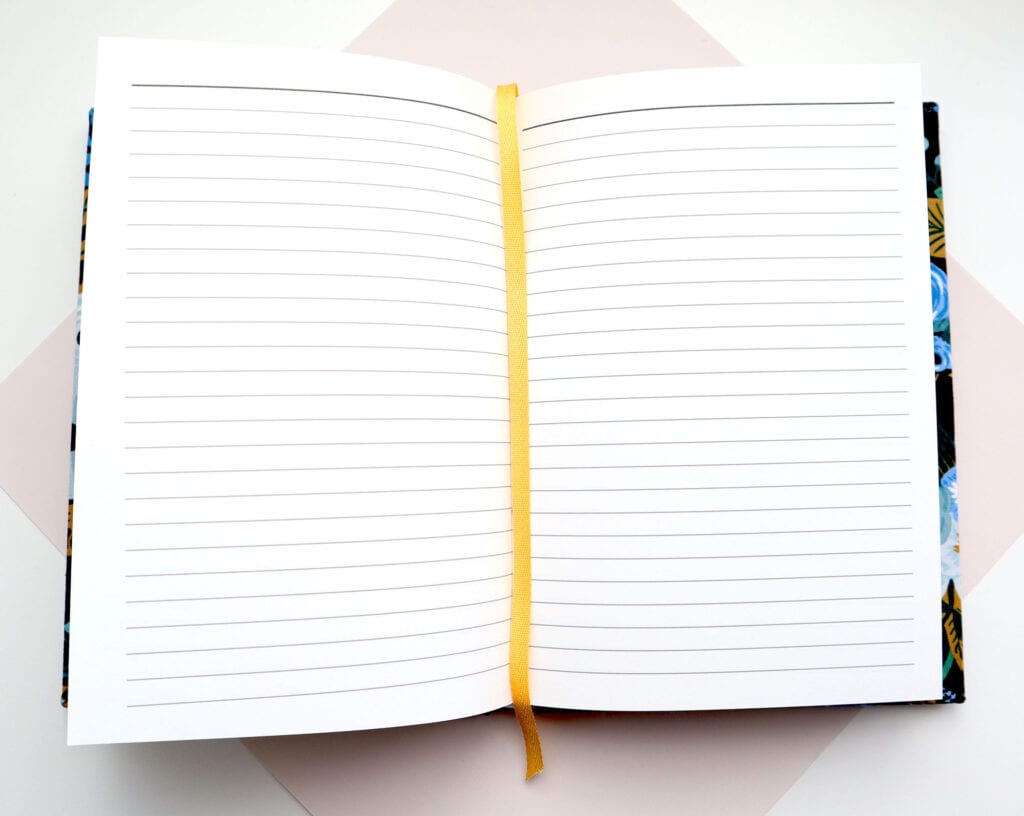
For this experiment, I tracked every step involved in making one of my signature case bindings. The book we’re following today is a gorgeous case binding covered in one of my favorite fabrics with a strong, waterproof black buckram spine, lined white pages, blue endsheets, white pre-sewn silk end bands and a yellow ribbon marker.
This post is not a descriptive “step-by-step” on how to make a book. So, I’ve listed the entire process in table format with the number of minutes (rounded up to the nearest 5 minutes) required for each task. I did include a brief explanation for clarity, but it’s not super detailed. At the very end, I added up the minutes and converted into hours for the sake of simplicity.
Tracking tasks and time
| Task | Description | # of Minutes |
|---|---|---|
| Prepare fabric | Wash, dry & iron fabric (does not include wash/dry machine time) | 20 |
| Back fabric | Cut fabric to size, prepare wheat paste, cut & apply Unryu to cloth, press with rubber brayer, remove excess air. Clean up. Does not include dry time | 30 |
| Print lined paper | 36 sheets of 12×18 paper. Includes time it takes me to monitor for errors, turn 36 sheets of paper & send through machine again (does not include actual machine printing time or the time it took me to create the original template in the first place) | 15 |
| Cut lined paper | Trim out two signatures & foredges (36 sheets at 3 cuts/sheet = 108 cuts) | 25 |
| Fold lined paper | Folding & scoring 72 sheets | 20 |
| Create & press signatures | 7 sheets per signature = 10 total signatures, press under weight alternating for an even press | 15 |
| Jogging signatures | Creates a tight spine for each signature with very little space | 10 |
| Sawing signatures | Instead of piercing all of the holes for each signature, I use a small tooth Japanese saw to cut the holes. Measure & mark 6 cuts, each sawed 1.5mm deep | 15 |
| Preparing endsheets | Selecting, folding, measuring & cutting end sheets to size | 15 |
| Sewing prep | Select & measure thread & linen tapes, apply wax to thread, thread needle, set up sewing frame with tapes & keys | 20 |
| Sewing | Sewing with link stitch method and linen tapes, trimming thread & trimming tapes once complete | 85 |
| Tip in endsheets | Tipping in end sheets onto the text block with PVA | 10 |
| Apply first layer of PVA | Weigh down text block, apply layer of PVA. Does not include air dry time | 15 |
| Apply second layer of PVA | Does not include air dry time | 5 |
| Apply pre-sewn end bands | Cut end bands to size, apply with PVA. Does not include dry time. | 10 |
| Apply yellow ribbon marker | Cut ribbon to size, singe edges. Does not include dry time. | 10 |
| Apply mull | Measure & cut mull for spine reinforcement. Apply & trim mull. Does not include dry time. | 15 |
| Trim foredge | Set text block to correct height, apply safety boards, trim 1/8″ away from foredge using a handheld plough, cleanup | 30 |
| Measure spine thickness | Using a scrap of paper, measure exact spine thickness & covert for bookboard cuts. | 5 |
| Prep book cloth | Remove book cloth from glass with a razor, clean up, cut away rough edges to create 90 degree corners, measure for case (two covers), cut covers into two pieces | 30 |
| Prep buckram | Measure and cut black buckram from roll, prep buckram with spine measurements | 15 |
| Trim bookboard | Cut covers and 1 spine from 15×12 sheet of 0.80 davey board using Olfa knife and steel ruler, ensuring square edges | 25 |
| Glue spine to buckram | Using PVA, define hinges using teflon bone folder, place under weight. Does not include press/dry time | 10 |
| Glue boards | Apply PVA and glue each cover to black buckram, place under weight. Smooth glue with bonefolder. Does not include dry time | 15 |
| Glue book cloth to buckram & boards | Measure start point for book cloth on each cover, apply book cloth to boards using PVA, smooth with bonefolder apply weight. Does not include press & dry time | 15 |
| Measure & cut corners | Using a jig, measure, mark & cut corners using scissors | 5 |
| Fold head & tail | Apply PVA to head and tail book cloth & buckram, fold using bonefolder, smooth & remove excess glue | 20 |
| Fold short edges & turn corners | Apply PVA to short edges, fold using bonefolder, smooth & remove excess glue. Carefully turn each corner using bone folder, remove excess glue. Place under weight & press with newspaper. Does not include dry time | 25 |
| Measure case to text block | Measure & mark case to text block | 5 |
| Case in text block | Sit text block into case, apply PVA to each end sheet & seat in place properly. Define hinges. Apply newsprint & wax paper to protect text block. Wrap in newsprint. Press overnight with dowels. Does not include overnight press time | 35 |
| Miscellaneous | Cutting wax paper and newsprint to size, washing brushes, design planning, arranging for press with dowels, checking on print & other processes, making distilled water | 25 |
| 595 Minutes (9.91 Hours) |
Results
As a skilled bookbinder with many years of practice, using time-saving tools like steel rulers, corner jigs, squares & a guillotine paper cutter, it takes almost 10 hours of my time to create one book. This does not include the time it takes to press & dry.
When I add in the press & dry time (est. 88 hours), the total time to produce one book increases to 97.91 hours, or just over 4 days.
Everyone is different
I feel it’s important to mention the following: if I made a mistake during a task, I stopped the timer. I did this to track the time it takes to make a book if there were no errors or problems.
Of course, we all know this is not the case. Every book has its own challenges, even if you’ve made a dozen of them in the past. These metrics provide a base for estimates, but are by no means the same for everyone.
Binding style & ingredients
My bookbinding style is very traditional, so it might take me longer than someone else to complete the same work. I’m meticulous about the process and source only the finest archival-quality ingredients. I even make my own distilled water to avoid using acidic tap water and prefer to buy endpapers and fly leaves from fellow makers & creators. Sourcing these items takes time.
Handmade books are special
It’s no secret that I’m obsessed with high quality, handmade goods. There is no substitute for beautiful craftsmanship and I love the challenge of finding eco-friendly, ethically-sourced ingredients. That’s why it’s important to share the process clearly and honestly so everyone can see just what’s involved in making a book by hand.

Resources
- Don’t forget, I have a tutorial on how to back your own fabric using Japanese Unryu
- Learn How to Choose Book Cloth: Starched, Backed or Coated if you’d rather not make your own
- Are you new to bookbinding? If so, check out my New Bookbinder Guide
What do you think? Did this post surprise you? Was it not surprising in any way? Pop over to Instagram, Facebook or YouTube and share your thoughts with me!
ALL my best,
Misty
